turn signal Seat Ibiza 5D 2007 Radio System ALANA
[x] Cancel search | Manufacturer: SEAT, Model Year: 2007, Model line: Ibiza 5D, Model: Seat Ibiza 5D 2007Pages: 70, PDF Size: 0.97 MB
Page 11 of 70
Remember 8
If the ignition key is replaced and turned, the radio automatically comes on.
(See chapter “PROG settings”).
Starting up for a limited time (one hour)
With the car radio switched off and the key removed from the ignition, press
the principal control once .
In this mode, the apparatus will operate for one hour and will automatically
switch off after this time. if the key is turned in the ignition during this time,
the function (limited time) is deactivated.
To switch the apparatus off within the hour, press the principal control
again.
The apparatus can be started at any time.
With the car radio switched on and the key in the ignition but not switched on,
the radio stays on for 2 hours and then automatically switches off.
Mobile phone or radiophone function
It is possible to connect a mobile phone or a radio phone to the car radio.
While these accessories are in use, the volume of the radio is lowered to the
value set in the menu of the PROG-System. The values of tone, fader and
balance can be adjusted in this operating mode. The changed values are
stored in the memory. See chapter “PROG-System” (car radio muting).
“PHONE” appears on the display.
MutingWhile these accessories are in use the volume is muted. “PHONE” appears on
the display.
PROG settings
Different options for settings
For easier handling, the car radio is equipped with the PROG system. This
allows the user to programme a series of settings which are necessary only
once or very occasionally.
Function confirmation
The car radio is supplied from the factory with the settings adjusted so that
when certain buttons are pressed a short confirmation signal is heard.
The chapter “PROG-System” describes how to remove the warning signal
using the function “BEEP” (Beep off).
Now, instead of a warning signal, when the button is pressed the loud-
speakers remain silent.
AA
AA
Page 12 of 70
Brief instructions9
Brief instructions
Amplifier
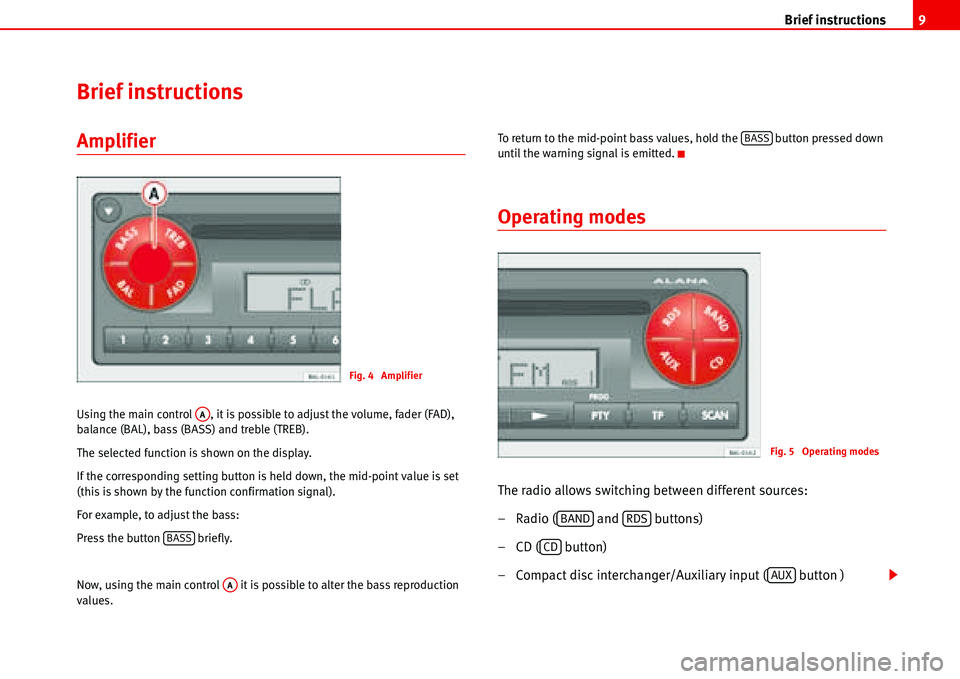
Using the main control , it is possible to adjust the volume, fader (FAD),
balance (BAL), bass (BASS) and treble (TREB).
The selected function is shown on the display.
If the corresponding setting button is held down, the mid-point value is set
(this is shown by the function confirmation signal).
For example, to adjust the bass:
Press the button briefly.
Now, using the main control it is possible to alter the bass reproduction
values.To return to the mid-point bass values, hold the button pressed down
until the warning signal is emitted.
Operating modes
The radio allows switching between different sources:
– Radio ( and buttons)
– CD ( button)
– Compact disc interchanger/Auxiliary input ( button )
Fig. 4 Amplifier
AA
BASS
AA
BASS
Fig. 5 Operating modes
BANDRDS
CD
AUX
Page 18 of 70
Amplifier15
Amplifier
TREB (treble)
Start settings
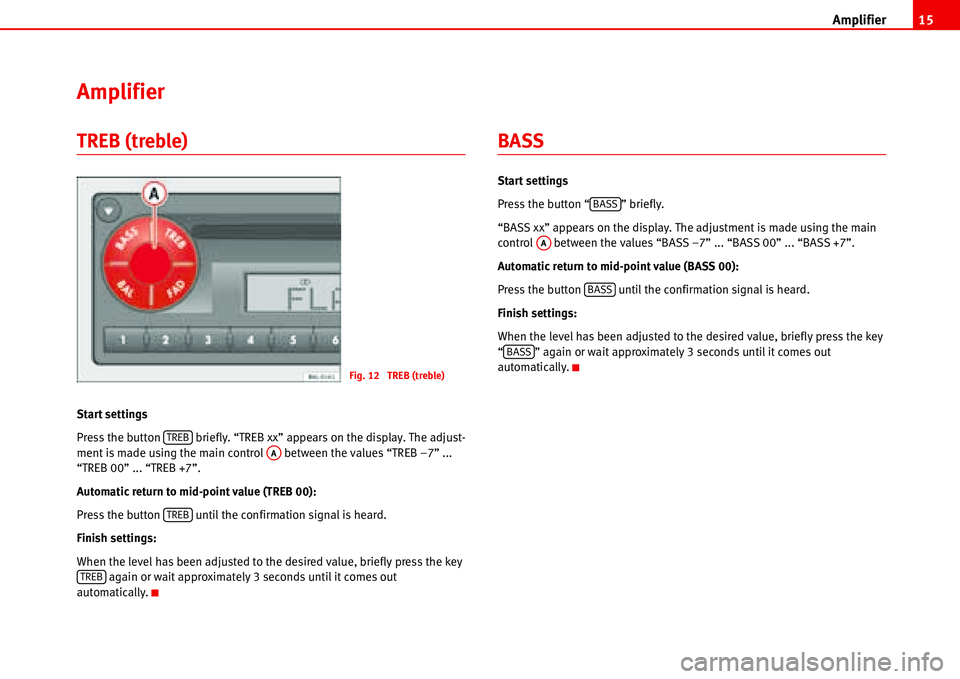
Press the button briefly. “TREB xx” appears on the display. The adjust-
ment is made using the main control between the values “TREB –7” ...
“TREB 00” ... “TREB +7”.
Automatic return to mid-point value (TREB 00):
Press the button until the confirmation signal is heard.
Finish settings:
When the level has been adjusted to the desired value, briefly press the key
again or wait approximately 3 seconds until it comes out
automatically.
BASS
Start settings
Press the button “ ” briefly.
“BASS xx” appears on the display. The adjustment is made using the main
control between the values “BASS –7” ... “BASS 00” ... “BASS +7”.
Automatic return to mid-point value (BASS 00):
Press the button until the confirmation signal is heard.
Finish settings:
When the level has been adjusted to the desired value, briefly press the key
“ ” again or wait approximately 3 seconds until it comes out
automatically.
Fig. 12 TREB (treble)
TREBAA
TREB
TREB
BASS
AA
BASS
BASS
Page 19 of 70
Amplifier 16
Balance BAL
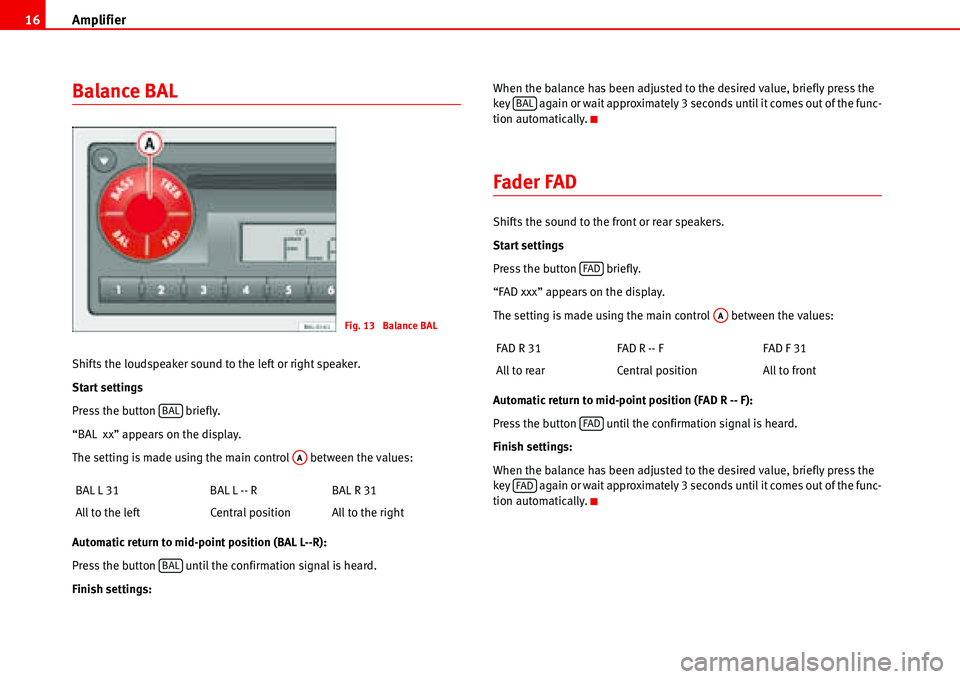
Shifts the loudspeaker sound to the left or right speaker.
Start settings
Press the button briefly.
“BAL xx” appears on the display.
The setting is made using the main control between the values:
Automatic return to mid-point position (BAL L--R):
Press the button until the confirmation signal is heard.
Finish settings:When the balance has been adjusted to the desired value, briefly press the
key again or wait approximately 3 seconds until it comes out of the func-
tion automatically.
Fader FAD
Shifts the sound to the front or rear speakers.
Start settings
Press the button briefly.
“FAD xxx” appears on the display.
The setting is made using the main control between the values:
Automatic return to mid-point position (FAD R -- F):
Press the button until the confirmation signal is heard.
Finish settings:
When the balance has been adjusted to the desired value, briefly press the
key again or wait approximately 3 seconds until it comes out of the func-
tion automatically. BAL L 31 BAL L -- R BAL R 31
All to the left Central position All to the right
Fig. 13 Balance BAL
BAL
AA
BAL
FAD R 31 FAD R -- F FAD F 31
All to rear Central position All to front
BAL
FAD
AA
FAD
FAD
Page 20 of 70
Amplifier17
Tone setting memory
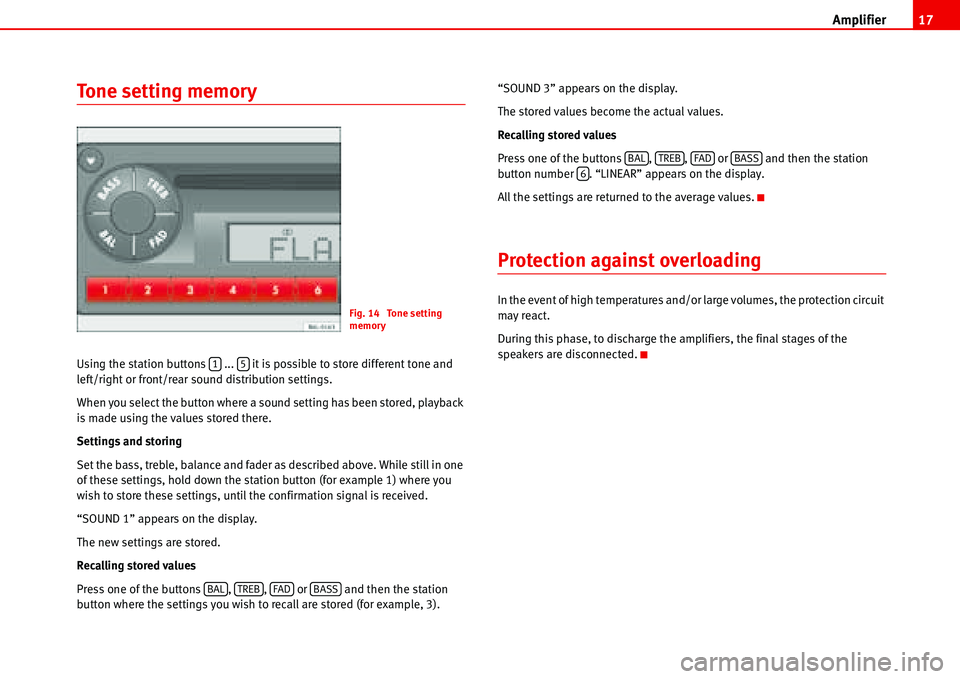
Using the station buttons ... it is possible to store different tone and
left/right or front/rear sound distribution settings.
When you select the button where a sound setting has been stored, playback
is made using the values stored there.
Settings and storing
Set the bass, treble, balance and fader as described above. While still in one
of these settings, hold down the station button (for example 1) where you
wish to store these settings, until the confirmation signal is received.
“SOUND 1” appears on the display.
The new settings are stored.
Recalling stored values
Press one of the buttons , , or and then the station
button where the settings you wish to recall are stored (for example, 3).“SOUND 3” appears on the display.
The stored values become the actual values.
Recalling stored values
Press one of the buttons , , or and then the station
button number . “LINEAR” appears on the display.
All the settings are returned to the average values.
Protection against overloading
In the event of high temperatures and/or large volumes, the protection circuit
may react.
During this phase, to discharge the amplifiers, the final stages of the
speakers are disconnected.Fig. 14 Tone setting
memory
15
BALTREBFADBASS
BALTREBFADBASS6
Page 24 of 70
Radio21
Tuning FM stations using the automatic
search
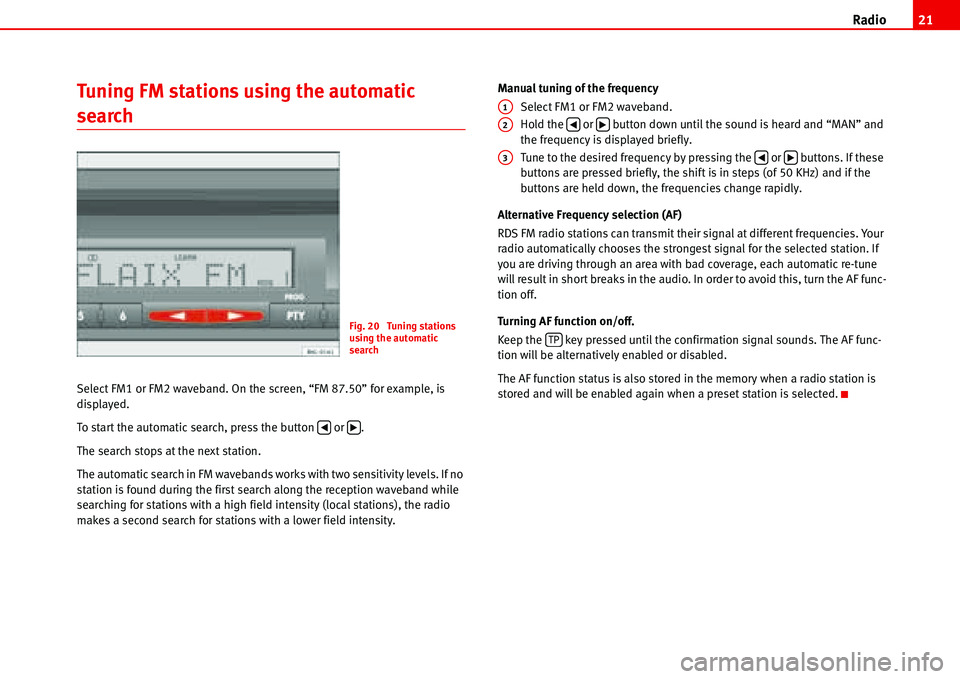
Select FM1 or FM2 waveband. On the screen, “FM 87.50” for example, is
displayed.
To start the automatic search, press the button or .
The search stops at the next station.
The automatic search in FM wavebands works with two sensitivity levels. If no
station is found during the first search along the reception waveband while
searching for stations with a high field intensity (local stations), the radio
makes a second search for stations with a lower field intensity.Manual tuning of the frequency
Select FM1 or FM2 waveband.
Hold the or button down until the sound is heard and “MAN” and
the frequency is displayed briefly.
Tune to the desired frequency by pressing the or buttons. If these
buttons are pressed briefly, the shift is in steps (of 50 KHz) and if the
buttons are held down, the frequencies change rapidly.
Alternative Frequency selection (AF)
RDS FM radio stations can transmit their signal at different frequencies. Your
radio automatically chooses the strongest signal for the selected station. If
you are driving through an area with bad coverage, each automatic re-tune
will result in short breaks in the audio. In order to avoid this, turn the AF func-
tion off.
Turning AF function on/off.
Keep the key pressed until the confirmation signal sounds. The AF func-
tion will be alternatively enabled or disabled.
The AF function status is also stored in the memory when a radio station is
stored and will be enabled again when a preset station is selected.
Fig. 20 Tuning stations
using the automatic
search
�‚�b
A1
A2�‚�b
A3�‚�b
TP
Page 33 of 70
Compact Disc 30
Device for broadcasting traffic messages
while CD is playing
Activate TP
Press the button briefly. TP is shown on the display.
While the traffic message is being broadcast, the CD/CD6 stops playing.
Deactivate TP
Press the button briefly again.
While the traffic message is being broadcast, only the broadcasting of that
message is deactivated.
The player returns to CD/CD6 mode. The word “TP” remains on the display.
During normal CD/CD6 operating mode: if the “TP” function is deactivated.
“TP” goes from the display.
Ending CD mode
Select another operating mode.
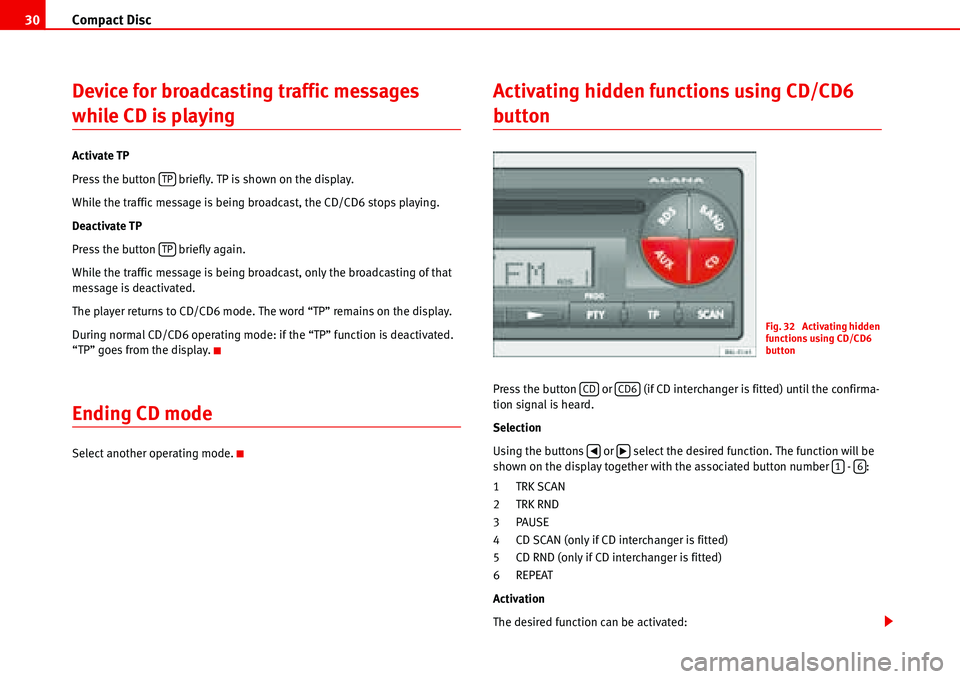
Activating hidden functions using CD/CD6
button
Press the button or (if CD interchanger is fitted) until the confirma-
tion signal is heard.
Selection
Using the buttons or select the desired function. The function will be
shown on the display together with the associated button number - :
1TRK SCAN
2TRK RND
3PAUSE
4 CD SCAN (only if CD interchanger is fitted)
5 CD RND (only if CD interchanger is fitted)
6 REPEAT
Activation
The desired function can be activated:
TP
TP
Fig. 32 Activating hidden
functions using CD/CD6
button
CDCD6
�‚�b16
Page 35 of 70
AUX* mode 32
AUX* mode
Select mode AUX operation
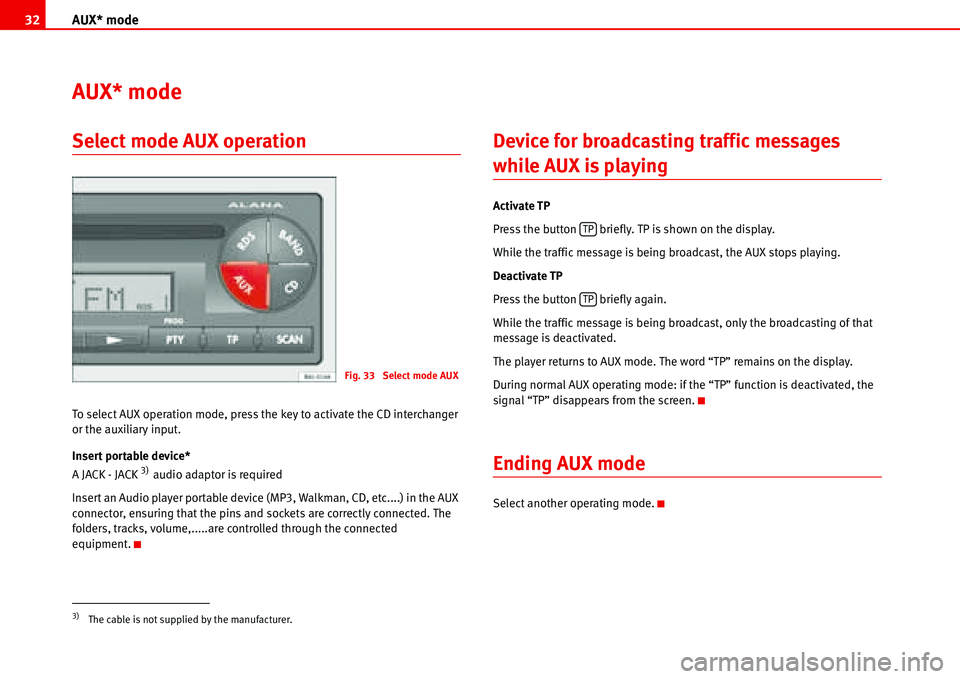
To select AUX operation mode, press the key to activate the CD interchanger
or the auxiliary input.
Insert portable device*
A JACK - JACK
3) audio adaptor is required
Insert an Audio player portable device (MP3, Walkman, CD, etc....) in the AUX
connector, ensuring that the pins and sockets are correctly connected. The
folders, tracks, volume,.....are controlled through the connected
equipment.
Device for broadcasting traffic messages
while AUX is playing
Activate TP
Press the button briefly. TP is shown on the display.
While the traffic message is being broadcast, the AUX stops playing.
Deactivate TP
Press the button briefly again.
While the traffic message is being broadcast, only the broadcasting of that
message is deactivated.
The player returns to AUX mode. The word “TP” remains on the display.
During normal AUX operating mode: if the “TP” function is deactivated, the
signal “TP” disappears from the screen.
Ending AUX mode
Select another operating mode.
3)The cable is not supplied by the manufacturer.
Fig. 33 Select mode AUX
TP
TP