display Seat Leon 5D 2013 SOUND SYSTEM 2.0
[x] Cancel search | Manufacturer: SEAT, Model Year: 2013, Model line: Leon 5D, Model: Seat Leon 5D 2013Pages: 48, PDF Size: 1.85 MB
Page 17 of 48
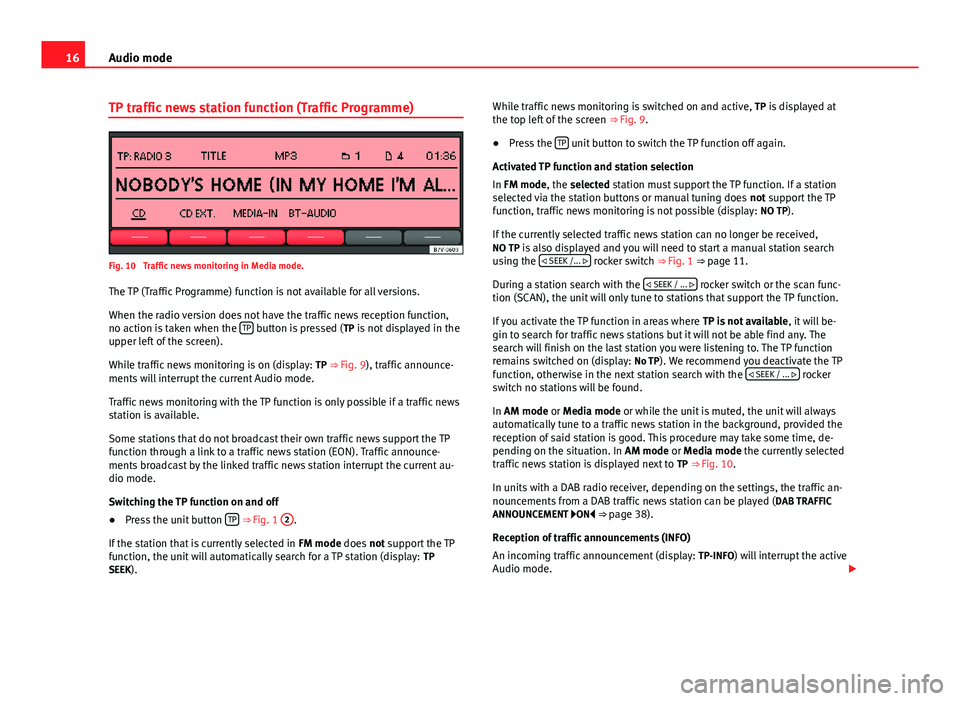
16Audio modeTP traffic news station function (Traffic Programme)Fig. 10
Traffic news monitoring in Media mode.
The TP (Traffic Programme) function is not available for all versions.
When the radio version does not have the traffic news reception function,no action is taken when the TP button is pressed (TP is not displayed in theupper left of the screen).
While traffic news monitoring is on (display: TP ⇒ Fig. 9), traffic announce-ments will interrupt the current Audio mode.
Traffic news monitoring with the TP function is only possible if a traffic newsstation is available.
Some stations that do not broadcast their own traffic news support the TPfunction through a link to a traffic news station (EON). Traffic announce-ments broadcast by the linked traffic news station interrupt the current au-dio mode.
Switching the TP function on and off
●
Press the unit button TP ⇒ Fig. 1
2
.
If the station that is currently selected in FM mode does not support the TPfunction, the unit will automatically search for a TP station (display: TPSEEK).
While traffic news monitoring is switched on and active, TP is displayed atthe top left of the screen ⇒ Fig. 9.●
Press the TP unit button to switch the TP function off again.
Activated TP function and station selection
In FM mode, the selected station must support the TP function. If a stationselected via the station buttons or manual tuning does not support the TPfunction, traffic news monitoring is not possible (display: NO TP).
If the currently selected traffic news station can no longer be received,NO TP is also displayed and you will need to start a manual station searchusing the SEEK /... rocker switch ⇒ Fig. 1 ⇒ page 11.
During a station search with the SEEK / ... rocker switch or the scan func-tion (SCAN), the unit will only tune to stations that support the TP function.
If you activate the TP function in areas where TP is not available, it will be-gin to search for traffic news stations but it will not be able find any. Thesearch will finish on the last station you were listening to. The TP functionremains switched on (display: No TP). We recommend you deactivate the TPfunction, otherwise in the next station search with the SEEK / ... rockerswitch no stations will be found.
In AM mode or Media mode or while the unit is muted, the unit will alwaysautomatically tune to a traffic news station in the background, provided thereception of said station is good. This procedure may take some time, de-pending on the situation. In AM mode or Media mode the currently selectedtraffic news station is displayed next to TP ⇒ Fig. 10.
In units with a DAB radio receiver, depending on the settings, the traffic an-nouncements from a DAB traffic news station can be played (DAB TRAFFICANNOUNCEMENT ON ⇒ page 38).
Reception of traffic announcements (INFO)
An incoming traffic announcement (display: TP-INFO) will interrupt the activeAudio mode.
Page 19 of 48
18Audio modeDAB* radio mode
Function only available in Europe
Introduction
Some units are equipped with an additional DAB radio receiver. DAB is adigital broadcasting standard for the terrestrial reception of radio programs.
Operation
DAB is also known as “digital radio” and is broadcast over band III(174 MHz - 240 MHz) and band L (1452 MHz - 1492 MHz).
The frequencies of the two bands are referred to as “channels” and eachhas a channel name (e.g. 12 A).
Several DAB stations are combined in a channel with the additional servicesavailable in a station “ensemble”.
Using these additional services additional information can be sent to theradio (e.g. news, sports, weather, warnings, etc.).
DAB is currently not available in all areas. In areas without DAB, is dis-played in DAB radio mode.
Settings can be made to display and play messages, to browse stations andto browse traffic news stations (TP function) ⇒ page 38.
Additional information and warnings:
●
Safety notes ⇒ page 4
●
Unit overview ⇒ page 6
●
Radio mode ⇒ page 10
●
TP function (Traffic Programme) ⇒ page 15
●
System and function settings (SETUP) ⇒ page 38
NoteThe individual station is responsible for the information and content trans-mitted in radio text and DAB announcements.
Operation
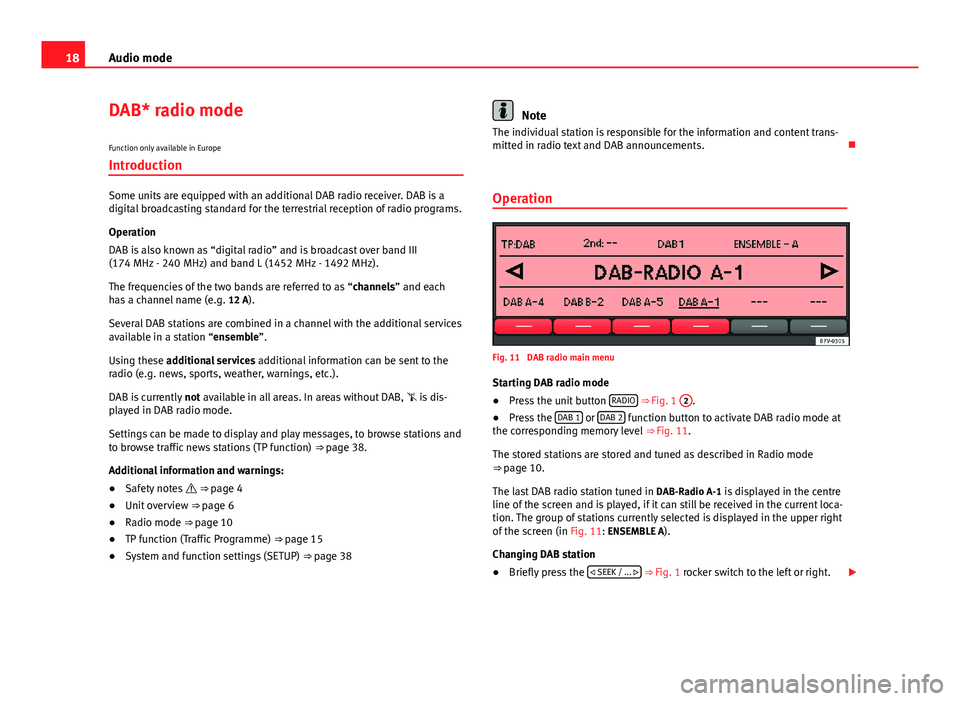
Fig. 11
DAB radio main menu
Starting DAB radio mode
●
Press the unit button RADIO ⇒ Fig. 1
2
.
●
Press the DAB 1 or DAB 2 function button to activate DAB radio mode atthe corresponding memory level ⇒ Fig. 11.
The stored stations are stored and tuned as described in Radio mode⇒ page 10.
The last DAB radio station tuned in DAB-Radio A-1 is displayed in the centreline of the screen and is played, if it can still be received in the current loca-tion. The group of stations currently selected is displayed in the upper rightof the screen (in Fig. 11: ENSEMBLE A).
Changing DAB station
●
Briefly press the SEEK / ... ⇒ Fig. 1 rocker switch to the left or right.
Page 20 of 48
19Audio modeAfter selecting the last (or first) DAB station in the current ensemble, theunit changes to the first (or last) DAB station in the next ensemble.
According to the SEEK MODE system settings, you can only change to thestored stations ⇒ page 38.
Changing the set of stations
●
Briefly press the ENS / ... rocker switch ⇒ Fig. 1
9
to the left or right.
If the location is changed, the list of stations should be updated (UPDATE)so that the radio does not search for the groups available in the previouslocation in the wrong channel ⇒ page 20.
Changing DAB frequency band channels by hand
●
Turn the settings knob ⇒ Fig. 1
8
.
The channel selected is displayed in the centre of the screen. If a DAB groupis broadcast on the channel selected, its name will be displayed at the topright of the screen and the first DAB station of the group will be played.
Scan function (SCAN) and Autostore
The operating and handling of these additional functions is the same asthat described for FM and AM Radio mode ⇒ page 10.
Note
If the data of a channel has been tuned in cannot be decoded, No Audio willbe displayed after the name of the group. The DAB stations of a group ofthis kind cannot be played.
Function only available in Europe
Selecting additional DAB stations
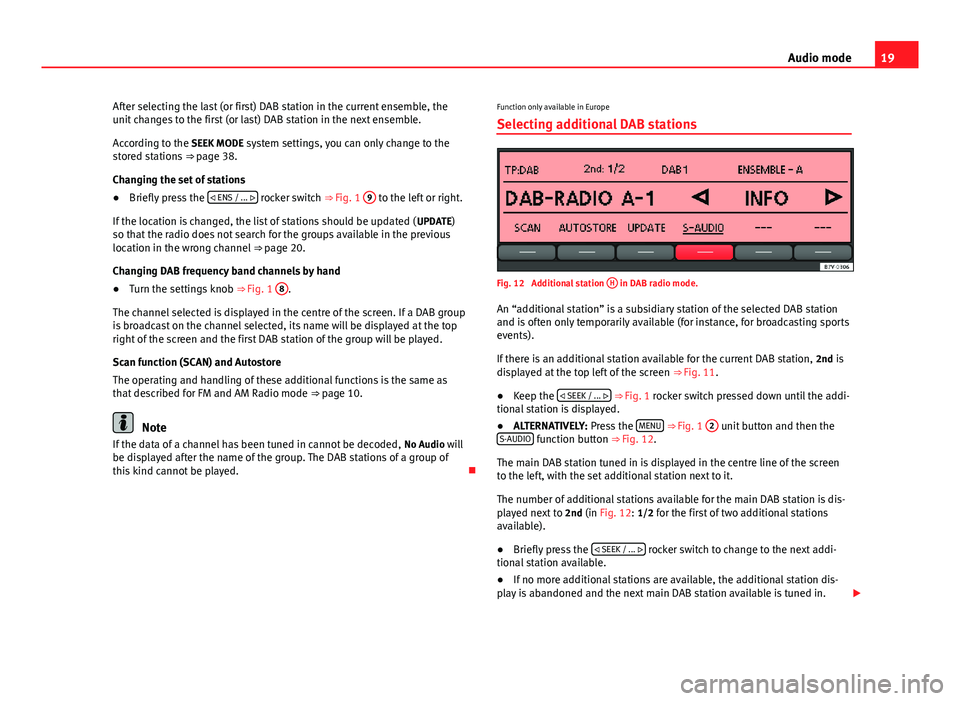
Fig. 12
Additional station
H
in DAB radio mode.
An “additional station” is a subsidiary station of the selected DAB stationand is often only temporarily available (for instance, for broadcasting sportsevents).
If there is an additional station available for the current DAB station, 2nd isdisplayed at the top left of the screen ⇒ Fig. 11.
●
Keep the SEEK / ... ⇒ Fig. 1 rocker switch pressed down until the addi-tional station is displayed.
●
ALTERNATIVELY: Press the MENU ⇒ Fig. 1
2
unit button and then theS-AUDIO function button ⇒ Fig. 12.
The main DAB station tuned in is displayed in the centre line of the screento the left, with the set additional station next to it.
The number of additional stations available for the main DAB station is dis-played next to 2nd (in Fig. 12: 1/2 for the first of two additional stationsavailable).
●
Briefly press the SEEK / ... rocker switch to change to the next addi-tional station available.
●
If no more additional stations are available, the additional station dis-play is abandoned and the next main DAB station available is tuned in.
Page 21 of 48
20Audio modeAn additional station cannot be stored in a station button.
If reception is interrupted, it may be impossible to change to an additionalstation, despite 2nd being displayed.
Function only available in Europe
Starting station update (UPDATE)
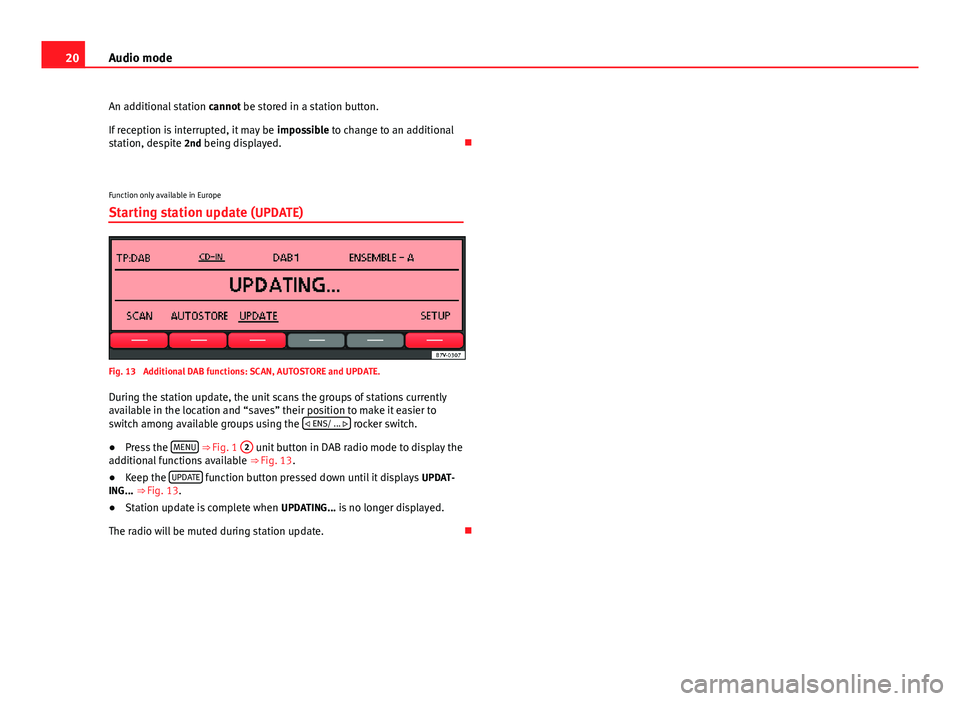
Fig. 13
Additional DAB functions: SCAN, AUTOSTORE and UPDATE.
During the station update, the unit scans the groups of stations currentlyavailable in the location and “saves” their position to make it easier toswitch among available groups using the ENS/ ... rocker switch.
●
Press the MENU ⇒ Fig. 1
2
unit button in DAB radio mode to display theadditional functions available ⇒ Fig. 13.
●
Keep the UPDATE function button pressed down until it displays UPDAT-ING... ⇒ Fig. 13.
●
Station update is complete when UPDATING... is no longer displayed.
The radio will be muted during station update.
Page 23 of 48
22Audio modeMedia sourceRequirements for playing in the unitAUX: External audio source.– 3.5-mm connector jack for the emission ofconnectable audio ⇒ page 28.MDI: External data medium.– Compatible with MEDIA-IN multimedia in-terface ⇒ page 30.
a)
Bluetooth® is a registered trademark of Bluetooth SIG, Inc.
Restrictions and notes
Contamination, exposure to high temperatures and mechanical damage canrender a data medium unusable. Please observe the manufacturer's instruc-tions.
Variations in the quality of data media produced by different manufacturersmay lead to problems during playback.
Please observe copyright laws.
CDs recorded in UDF or Direct CD format cannot be played. Under WindowsVista® ensure that the correct format is selected.
The unit may be unable to read individual tracks or the entire data mediumdue to the data medium configuration or the devices and programs used forrecording. Compatibility with all encoding/recording software, recording de-vices and recording media cannot be guaranteed. Incompatible USB devi-ces can make noise, interrupt playback or not playback at all. Informationabout the best ways to create audio files and data media (compressionrate, ID3 tag etc.) can be found on the Internet.
Due to the larger quantity of data, it takes longer to read a data mediumcontaining compressed audio files (MP3, WMA etc.) than a “normal” audioCD. Complex folder structures can also slow down the reading of a data me-dium.
Playlists only determine a certain playing order. There are no files stored ina playlist. The unit will not play a playlist if the files are not stored on thedata medium at the locations referred to by the playlist (relative file paths).
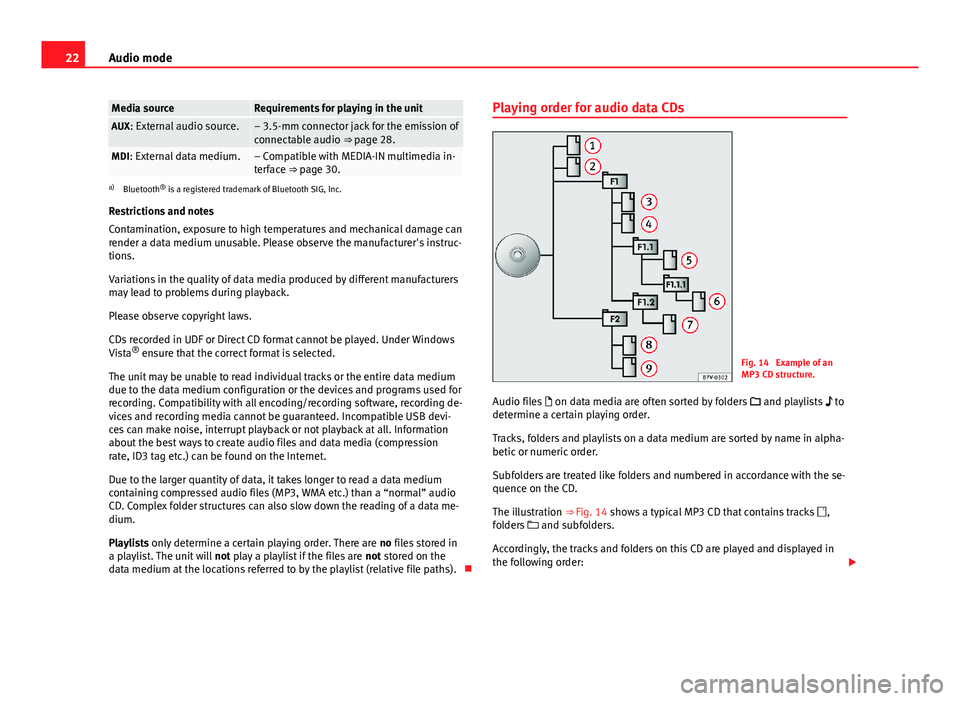
Playing order for audio data CDsFig. 14
Example of anMP3 CD structure.
Audio files on data media are often sorted by folders and playlists todetermine a certain playing order.
Tracks, folders and playlists on a data medium are sorted by name in alpha-betic or numeric order.
Subfolders are treated like folders and numbered in accordance with the se-quence on the CD.
The illustration ⇒ Fig. 14 shows a typical MP3 CD that contains tracks ,folders and subfolders.
Accordingly, the tracks and folders on this CD are played and displayed inthe following order:
Page 24 of 48
23Audio modeTracks 1 and 2 in the root directory of the CD (display: ROOT).
Tracks
3
and
4
in the first folder F1 in the root directory of the CD(display: 01).
Track
5
in the first subfolder F1.1 of the folder F1 (display: 02).
Track
6
in the first subfolder F1.1.1 of the subfolder F1.1 (display: 03).
Track
7
in the second subfolder F1.2 of the folder F1 (display: 04).
Tracks
8
and
9
in the second folder F2 (display: 05).
MEDIA main menu
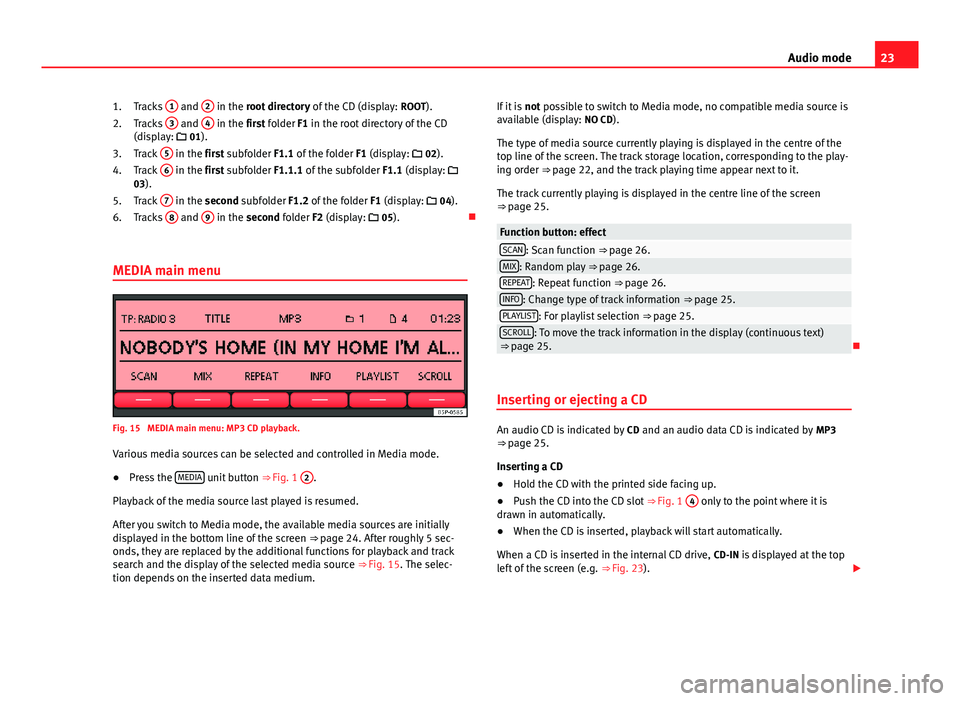
Fig. 15
MEDIA main menu: MP3 CD playback.
Various media sources can be selected and controlled in Media mode.
●
Press the MEDIA unit button ⇒ Fig. 1
2
.
Playback of the media source last played is resumed.
After you switch to Media mode, the available media sources are initiallydisplayed in the bottom line of the screen ⇒ page 24. After roughly 5 sec-onds, they are replaced by the additional functions for playback and tracksearch and the display of the selected media source ⇒ Fig. 15. The selec-tion depends on the inserted data medium.
1.2.3.4.5.6.If it is not possible to switch to Media mode, no compatible media source isavailable (display: NO CD).
The type of media source currently playing is displayed in the centre of thetop line of the screen. The track storage location, corresponding to the play-ing order ⇒ page 22, and the track playing time appear next to it.
The track currently playing is displayed in the centre line of the screen⇒ page 25.
Function button: effectSCAN: Scan function ⇒ page 26.MIX: Random play ⇒ page 26.REPEAT: Repeat function ⇒ page 26.INFO: Change type of track information ⇒ page 25.PLAYLIST: For playlist selection ⇒ page 25.SCROLL: To move the track information in the display (continuous text)⇒ page 25.
Inserting or ejecting a CD
An audio CD is indicated by CD and an audio data CD is indicated by MP3⇒ page 25.
Inserting a CD
●
Hold the CD with the printed side facing up.
●
Push the CD into the CD slot ⇒ Fig. 1
4
only to the point where it isdrawn in automatically.
●
When the CD is inserted, playback will start automatically.
When a CD is inserted in the internal CD drive, CD-IN is displayed at the topleft of the screen (e.g. ⇒ Fig. 23).
Page 25 of 48
24Audio modeEjecting CDs●
Press the EJECT unit button ⇒ Fig. 1.
●
The CD in the drive will be ejected and must be removed within 10 sec-onds.
If the CD is not removed within 10 seconds, it is retracted again for safetyreasons.
Error messages on the display
A reading error is indicated by ERROR in the title bar.
An error message in the bottom line of the screen indicates the possiblecause of the error.
MessageMeaning and consequencesNO CDNo compatible data medium.It is not possible to switch to Media mode.CD ROMData CD inserted.CD will be ejected.CHECK CDThe inserted CD cannot be read.CD will be ejected.Check for damage.
TEMPERATURECD drive is too hot.CD playback is disabled.Another audio source will be played.
SERVICEMechanical fault in the CD drive.Contact a specialised workshop.
Note
Uneven road surfaces and strong vibrations can cause playback to jump.
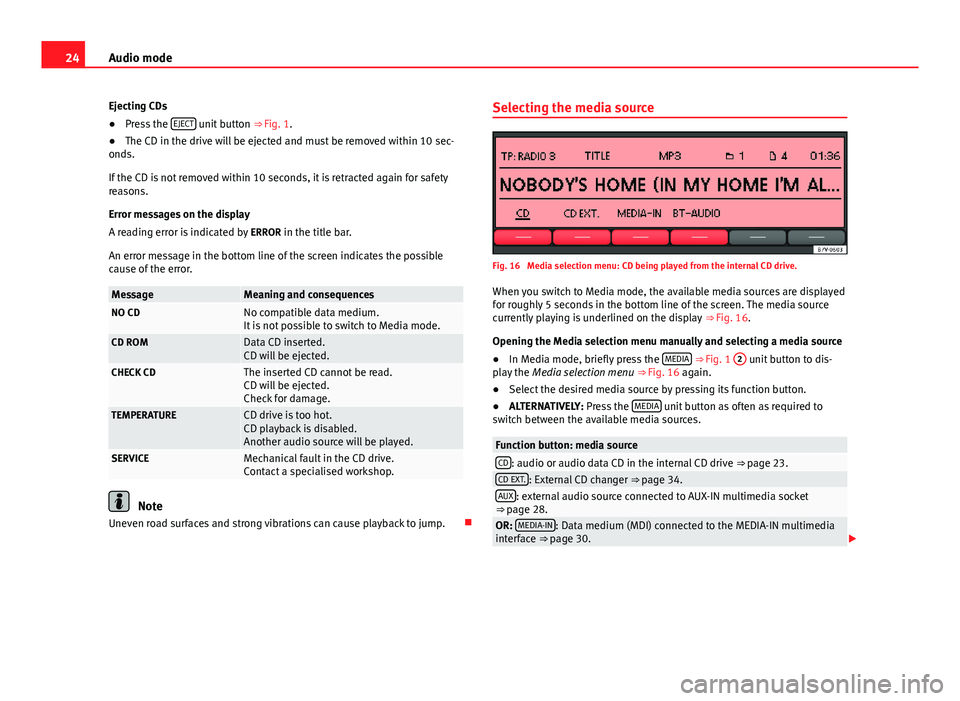
Selecting the media sourceFig. 16
Media selection menu: CD being played from the internal CD drive.
When you switch to Media mode, the available media sources are displayedfor roughly 5 seconds in the bottom line of the screen. The media sourcecurrently playing is underlined on the display ⇒ Fig. 16.
Opening the Media selection menu manually and selecting a media source
●
In Media mode, briefly press the MEDIA ⇒ Fig. 1
2
unit button to dis-play the Media selection menu ⇒ Fig. 16 again.
●
Select the desired media source by pressing its function button.
●
ALTERNATIVELY: Press the MEDIA unit button as often as required toswitch between the available media sources.
Function button: media sourceCD: audio or audio data CD in the internal CD drive ⇒ page 23.CD EXT.: External CD changer ⇒ page 34.AUX: external audio source connected to AUX-IN multimedia socket⇒ page 28.OR: MEDIA-IN: Data medium (MDI) connected to the MEDIA-IN multimediainterface ⇒ page 30.
Page 26 of 48
25Audio modeFunction button: media sourceBT-AUDIO: Bluetooth® audio source connected ⇒ page 28.When a media source that has already been played is selected again, play-back is resumed from the point that was last played (except: external audiosources ⇒ page 28).
Track information display
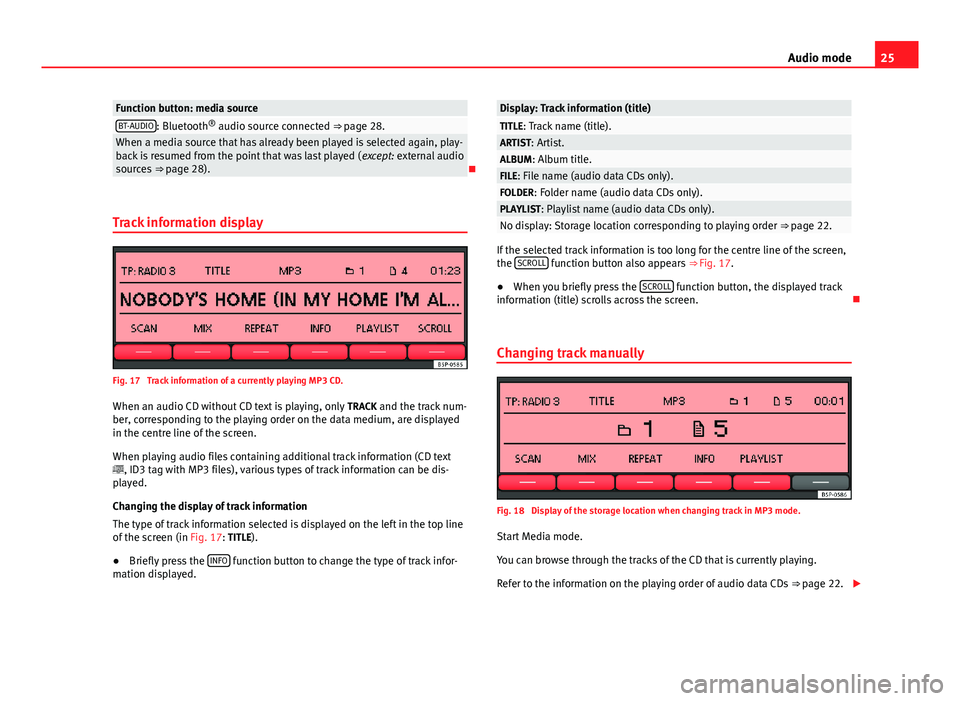
Fig. 17
Track information of a currently playing MP3 CD.
When an audio CD without CD text is playing, only TRACK and the track num-ber, corresponding to the playing order on the data medium, are displayedin the centre line of the screen.
When playing audio files containing additional track information (CD text, ID3 tag with MP3 files), various types of track information can be dis-played.
Changing the display of track information
The type of track information selected is displayed on the left in the top lineof the screen (in Fig. 17: TITLE).
●
Briefly press the INFO function button to change the type of track infor-mation displayed.
Display: Track information (title)TITLE: Track name (title).ARTIST: Artist.ALBUM: Album title.FILE: File name (audio data CDs only).FOLDER: Folder name (audio data CDs only).PLAYLIST: Playlist name (audio data CDs only).No display: Storage location corresponding to playing order ⇒ page 22.
If the selected track information is too long for the centre line of the screen,the SCROLL function button also appears ⇒ Fig. 17.
●
When you briefly press the SCROLL function button, the displayed trackinformation (title) scrolls across the screen.
Changing track manually
Fig. 18
Display of the storage location when changing track in MP3 mode.
Start Media mode.
You can browse through the tracks of the CD that is currently playing.
Refer to the information on the playing order of audio data CDs ⇒ page 22.
Page 27 of 48
26Audio modeBrowsing tracks
Press the ... / TRACK ⇒ Fig. 1 rocker switch to the left or right.
ActioneffectBriefly pressing to the left.Goes to the start of the current track.Briefly pressing to the right.Next track.Briefly pressing twice in quick suc-cession to the left.Goes to the start of the previous track.Pressing and holding to the left.Fast reverse.Pressing and holding to the right.Fast forward.
You can also change track by turning the setting knob ⇒ Fig. 1
8
.
Changing folder in audio data CD mode
●
Press the FOLDER or ... / FLDR ⇒ Fig. 1
9
rocker switch to the rightor left to switch to the first track of the next or previous folder respectively.
After changing folder or track, the storage location corresponding to theplaying order of the audio data CD is briefly displayed (in Fig. 18: folder 1and track number 5). After roughly 5 seconds, the selected track informa-tion is displayed again.
Playing playlists
Playlists on data media do not play automatically.
●
Press the PLAYLIST function button to start playing the playlists on datamedia.
●
Press the FOLDER or ... / FLDR rocker switch to the right or left toswitch to the first track of the next or previous playlist respectively.
The scan function (SCAN) and random playback (MIX) are only available forthe playlist you are listening to ⇒ page 26.
●
Press the PLAYLIST function button again to stop playing the playlists.
Note●Selecting tracks and CDs from an external CD changer ⇒ page 34.●
Selecting tracks and CDs via MEDIA-IN multimedia interface⇒ page 30.
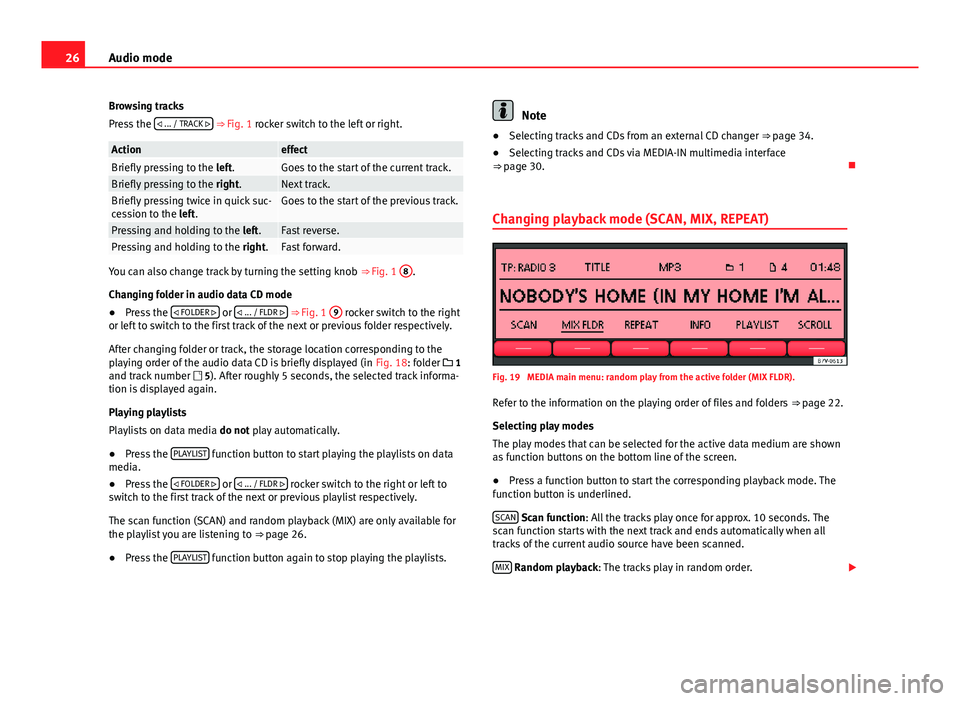
Changing playback mode (SCAN, MIX, REPEAT)
Fig. 19
MEDIA main menu: random play from the active folder (MIX FLDR).
Refer to the information on the playing order of files and folders ⇒ page 22.
Selecting play modes
The play modes that can be selected for the active data medium are shownas function buttons on the bottom line of the screen.
●
Press a function button to start the corresponding playback mode. Thefunction button is underlined.
SCAN Scan function: All the tracks play once for approx. 10 seconds. Thescan function starts with the next track and ends automatically when alltracks of the current audio source have been scanned.
MIX Random playback: The tracks play in random order.
Page 28 of 48
27Audio modeREPEAT Repeat function: Playback is repeated once all the tracks have beenplayed once. In data media with compressed audio files (MP3 and WMA),only folders can be repeated, not the full content of the media.
The repeat (Repeat) and random playback (Mix) functions remain active forthe corresponding media source until they are closed for that source.
●
Press the SCAN, MIX or RPT... function button again to stop the currentplayback mode at the track currently playing.
The scan function can also be started and stopped by pressing the settingbutton ⇒ Fig. 1
8
.
Limiting the playback mode to the folders, playlists or tracks
Depending on the audio source that is being played, playback can be limi-ted to the files, folders or playlists by pressing the playback mode functionbutton several times. The display of the function button changes according-ly (for example in Fig. 19: MIX FLDR).
Display on the function button: effect... CD or ... ALL: All the tracks on the active data medium are played in theselected playback mode.... FLD: Only the tracks in the active folder are played in the selected play-back mode.... PLS: Only the tracks of the active playlists are played in the selectedplayback mode. Playing playlists ⇒ page 26.... TRACK: Repeats the track (title) that is playing (only with REPEAT).
Displays on the function buttons may vary with equipment model.
Compatibility with all encoding/recording software, recording devices andrecording media cannot be guaranteed. Incompatible USB devices canmake noise, interrupt playback or not playback at all.