Seat Leon 5D 2015 MEDIA SYSTEM PLUS - NAVI SYSTEM
Manufacturer: SEAT, Model Year: 2015, Model line: Leon 5D, Model: Seat Leon 5D 2015Pages: 88, PDF Size: 2.23 MB
Page 41 of 88
Navigation*Route criteria: Meaning
Blue route: Economical route, the route is calculated by
taking into consideration economic factors.
Red route: Fastest route to the destination, even if it is
necessary to make a deviation.
Orange route: Shortest route to the destination, even if it
results in longer travelling time. The route may have un-
conventional sections such as secondary roads. ●
Select the desired route by pressing it.
The setting f or the r
oute criteria in the Route
options menu is changed accordingly.
If no route is selected, then route guidance
starts automatically after about one minute
using the setting selected in the Route op- tions .
Navigation announcements (audible recom-
mendations for the driver)
Once the route has been calculated, the sys-
tem gives the first navigation announcement.
Up to 3 navigation announcements are given
before a turn, e.g. “Prepare to turn left”,
“Turn left in 300 metres” and “Now turn left”.
● Press the adjustment knob ››
›
Fig. 1 12 to
li s
t
en to the last audible navigation instruc-
tion.
The distances indicated largely depend on
the type of road and the speed at which you
are driving. For instance, navigation an- nouncements are given much earlier on mo-
torw
ays than on urban roads.
Appropriate navigation announcements are
also given on multi-lane roads, branching
roads and at roundabouts, for example: “At
the roundabout, take the second exit.”
A navigation announcement informs you
when you have reached your “destination”.
A navigation announcement informing you
that you have reached the “destination area”
is given if the exact destination cannot be
reached because it is located in a non-digi-
tised area. It also indicates the cardinal point
and the distance to the previously defined
destination. Navigation resumes “offroad”.
During dynamic route guidance , you receive
information about reported traffic congestion
on the route. An additional navigation an-
nouncement is given if the route is recalcula-
ted due to traffic congestion.
During a navigation announcement, you can
change its volume using the volume control
up to a defined minimum or maximum vol-
ume. The following navigation recommenda-
tions will then be made at the adjusted vol-
ume.
For other adjustments to the navigation rec-
ommendations, see Navigation an-
nouncements settings. ››› page 46. Note
If you miss a turning during route guidance
and are c urr
ently unable to turn back, keep
on driving until the navigation system offers
a new route. Note
The quality of the navigation recommenda-
tions giv
en by the Infotainment system de-
pends on the navigation data available and
any reported traffic problems. Route
In the Navigation main menu, press the
Route function
button.
The Route function button is only displayed with route
guidance activated.
Function button: function
Stop route guidance: Aborts current route guidance.
New stopover destination: To enter a new destination or a
new stopover ››› page 37.
Route information: View route information for current
route.
Store destination: To store the selected destination
in the destination memory.» 39
Page 42 of 88
Navigation*Function button: function
Congestion ahead: To exclude a section (of 0.2 to 10 km in
length) from the current route, e.g. to avoid congestion.
To cancel the exclusion, press the Route
function button
and then Cancel congestion. My destinations (destination memory)
The stored destinations can be selected from
the My destinations
menu.
● Press the M
y de
stinations function button in
the m ain
Na
vigation menu.
● Select the desired function button.
Store po
sition ,
D
e
s tinations or
Home a
d
dr ess .
St or
e po
sition
● By pressing the Store po
sition function but-
t on, the indic
at
ed position is stored as
Flagged destination in the Destina-
tion memory .
To permanently retain the position stored as
a Flagged destination , it must be re-
named in the Destination memory . Oth-
erwise the stored position will be overwritten
the next time a flagged destination is stored.
● Mark the Flagged destination in the
Destination memory .
● Press the Store function button. The name can be changed in the following in-
p
ut
w
indow. Press the function button to
s t
or
e the destination.
Destinations
● Select the desired function button.
Function button: function
Last destinations: View of destinations for which a route
has already been started.
Destination memory: View of destinations stored manually
and from imported vCards ››› page 44, Importing
vCards (electronic business cards) .
Favourites: View of destinations stored as favourites.
Contacts: View of entries in the phonebook that have a
stored address (postal address). Home address
On
ly
one a
ddress or position can be stored
as the home address at any one time. The
stored home address can be edited or over-
written.
If a home address has already been stored,
route guidance will be started to the stored
home address.
If a home address has not yet been stored,
an address can be assigned as the home ad-
dress.
Assigning the home address for the first time:
Position: Press to store the vehicle's current position as
the home address.
Address: Press to enter the home address manually.
Editing the home address:
The home address can be edited in the Navigation
settings menu ››› page 46.
My tour (tour mode) Fig. 34
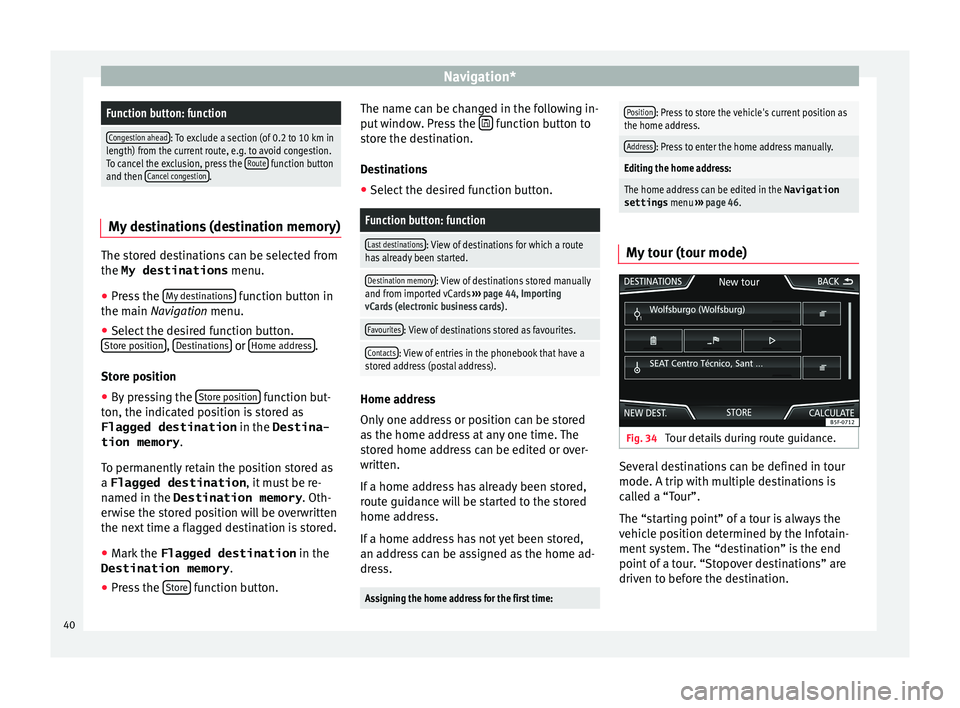
Tour details during route guidance. Several destinations can be defined in tour
mode. A trip w
ith mu
ltip
le destinations is
called a “Tour”.
The “starting point” of a tour is always the
vehicle position determined by the Infotain-
ment system. The “destination” is the end
point of a tour. “Stopover destinations” are
driven to before the destination.
40
Page 43 of 88
Navigation*
● Pr e
s
s the My tours function button in the
m ain
Na
vigation menu.
● Select the desired function button ( Edit
tour , New tour or Tour Memory ).
Function b
uttons on the My tours pop-up
window
Function button: function
Edit toura) : To edit and store the active tour.
New tour: To create a new tour.
Tour memory: To Delete , Edit or Start a stored tour.
a)
This function button is only displayed when route guidance is
activated in tour mode.
Display and function buttons on the New
tour and Edit tour menu
Function button or message: function or meaning
Stopover.
Destination.
...Estimated time of arrival at destina-
tion.
...Calculated distance to destination.
Press on the destination to display the function but-
tons.
Delete destination.
To start guidance direct to the selec-
ted destination. Destinations that
come before the selected destination
are ignored.
To open the detailed view of the desti-
nation in question.
Available function buttons.
New destina-
tionTo add a new destination to the tour.
My destina-
tionsTo add a new destination from My
destinations
to the tour.
StoringTo store the created tour in the tour
memory.
StartTo start route guidance.
CalculateTo update calculated distance and es-
timated arrival time. a)
StopTo stop route guidance to the active
destination.b)
To move a stopover or a destination to
another position on the list. Press and
drag to move the destination.
a)
This function button is only displayed with route guidance ac-
tivated and when a destination has been added to the tour.
b) This function button is only displayed with route guidance ac-
tivated.
Points of interest (POI) Fig. 35
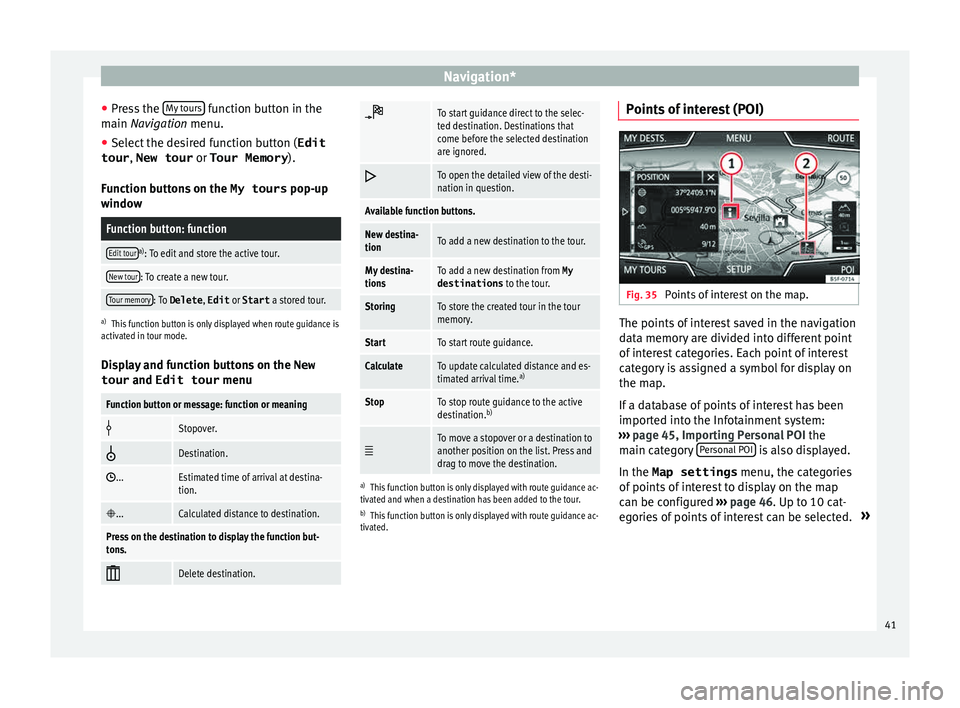
Points of interest on the map. The points of interest saved in the navigation
d
at
a memor
y are divided into different point
of interest categories. Each point of interest
category is assigned a symbol for display on
the map.
If a database of points of interest has been
imported into the Infotainment system:
››› page 45, Importing Personal POI the
main category Personal POI is also displayed.
In the Map settings menu, the cat
e
gories
of points of interest to display on the map
can be configured ››› page 46. Up to 10 cat-
egories of points of interest can be selected. »
41
Page 44 of 88
Navigation*
Selecting a point of interest on the mapFunction button: function
1There are several points of interest in the area.
Press this symbol to open a list of points of inter-
est.
2The only point of interest in this zone. Press the
symbol to open the detailed view of the point of
interest. Search for point of interest
●
In the main Na vigation menu, pr
ess the
POI function button and then
Other POI .
● Press the Se
ar
c
h area function button and
sel ect
the se
arch type for the desired points
of interest.
View Press the
function button in the main Na
v-
igation menu.
Function button: function
2D Map display in two dimensions (conven-
tional).
3D Map display in three dimensions (bird's
eye view).
a)To display the destination on the map.
a)To display the route on the map.
Function button: function
Auto/ Day/
NightTo change between day and night format.
Split screenPress to display the split screen
››› page 42.
Show POIDisplay points of interest on the map.
a)
This function button is only displayed with route guidance ac-
tivated.
Split screen Fig. 36
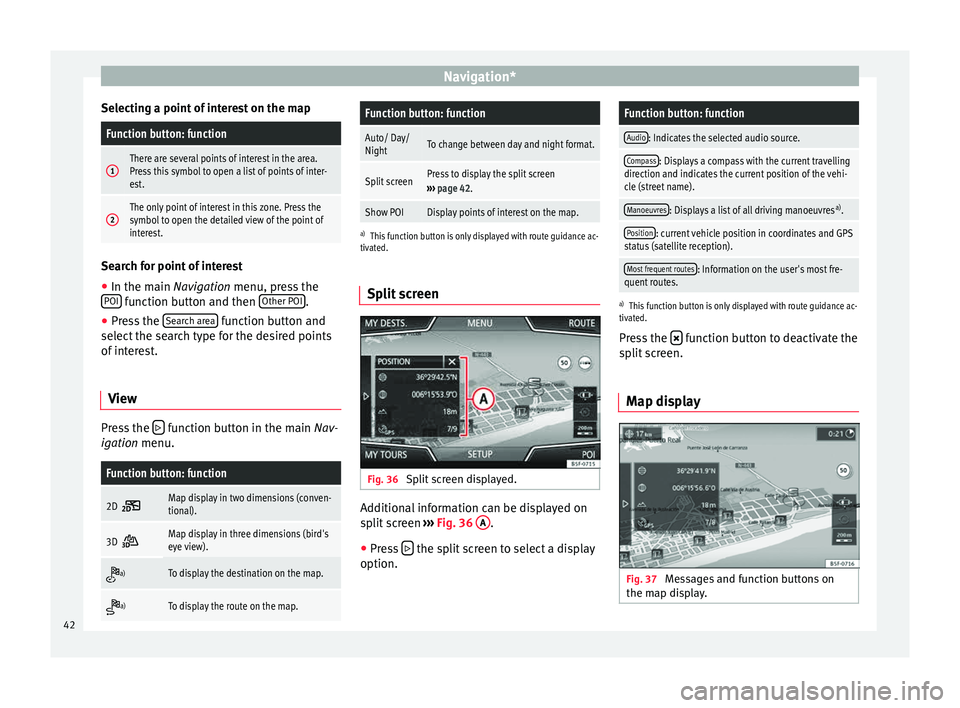
Split screen displayed. Additional information can be displayed on
s
p
lit
screen ›››
Fig. 36 A .
● Press the split screen to select a display
option.
Function button: function
Audio: Indicates the selected audio source.
Compass: Displays a compass with the current travelling
direction and indicates the current position of the vehi-
cle (street name).
Manoeuvres: Displays a list of all driving manoeuvres a)
.
Position: current vehicle position in coordinates and GPS
status (satellite reception).
Most frequent routes: Information on the user's most fre-
quent routes.
a) This function button is only displayed with route guidance ac-
tivated.
Press the function button to deactivate the
s p
lit
screen.
Map display Fig. 37
Messages and function buttons on
the m ap di
s
play.42
Page 45 of 88
Navigation*
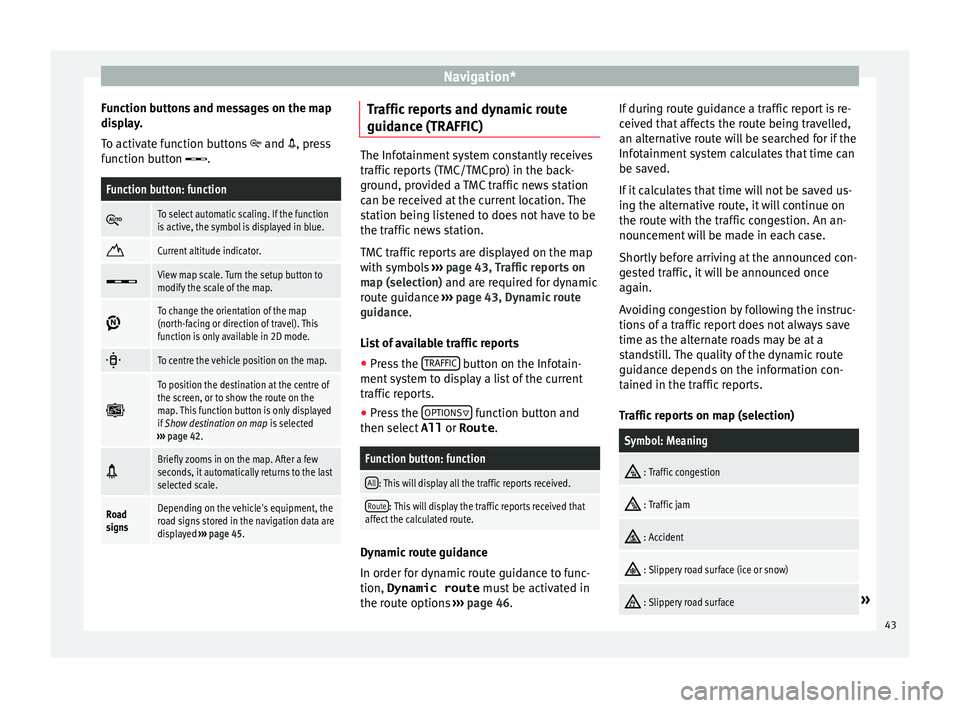
Function buttons and messages on the map
di s
p
lay.
To activate function buttons and , press
function button .
Function button: function
To select automatic scaling. If the function
is active, the symbol is displayed in blue.
Current altitude indicator.
View map scale. Turn the setup button to
modify the scale of the map.
To change the orientation of the map
(north-facing or direction of travel). This
function is only available in 2D mode.
To centre the vehicle position on the map.
To position the destination at the centre of
the screen, or to show the route on the
map. This function button is only displayed
if
Show destination on map is selected
››› page 42.
Briefly zooms in on the map. After a few
seconds, it automatically returns to the last
selected scale.
Road
signsDepending on the vehicle's equipment, the
road signs stored in the navigation data are
displayed
››› page 45. Traffic reports and dynamic route
guid
anc
e (TRAFFIC) The Infotainment system constantly receives
traffic
r
eports (TMC/TMCpro) in the back-
ground, provided a TMC traffic news station
can be received at the current location. The
station being listened to does not have to be
the traffic news station.
TMC traffic reports are displayed on the map
with symbols ››› page 43, Traffic reports on
map (selection) and are required for dynamic
route guidance ››› page 43, Dynamic route
guidance.
List of available traffic reports
● Press the TRAFFIC button on the Infotain-
ment sy
s
tem to display a list of the current
traffic reports.
● Press the OPTIONS function button and
then sel ect
All or
Route .
Function button: function
All: This will display all the traffic reports received.
Route: This will display the traffic reports received that
affect the calculated route. Dynamic route guidance
In or
der f
or dy
namic route guidance to func-
tion, Dynamic route must be activated in
the route options ›››
page 46. If during route guidance a traffic report is re-
ceived th
at affects the route being travelled,
an alternative route will be searched for if the
Infotainment system calculates that time can
be saved.
If it calculates that time will not be saved us-
ing the alternative route, it will continue on
the route with the traffic congestion. An an-
nouncement will be made in each case.
Shortly before arriving at the announced con-
gested traffic, it will be announced once
again.
Avoiding congestion by following the instruc-
tions of a traffic report does not always save
time as the alternate roads may be at a
standstill. The quality of the dynamic route
guidance depends on the information con-
tained in the traffic reports.
Traffic reports on map (selection)
Symbol: Meaning
: Traffic congestion
: Traffic jam
: Accident
: Slippery road surface (ice or snow)
: Slippery road surface»
43
Page 46 of 88
Navigation*Symbol: Meaning
: Danger
: Road works
: Strong wind
: Road closed to traffic
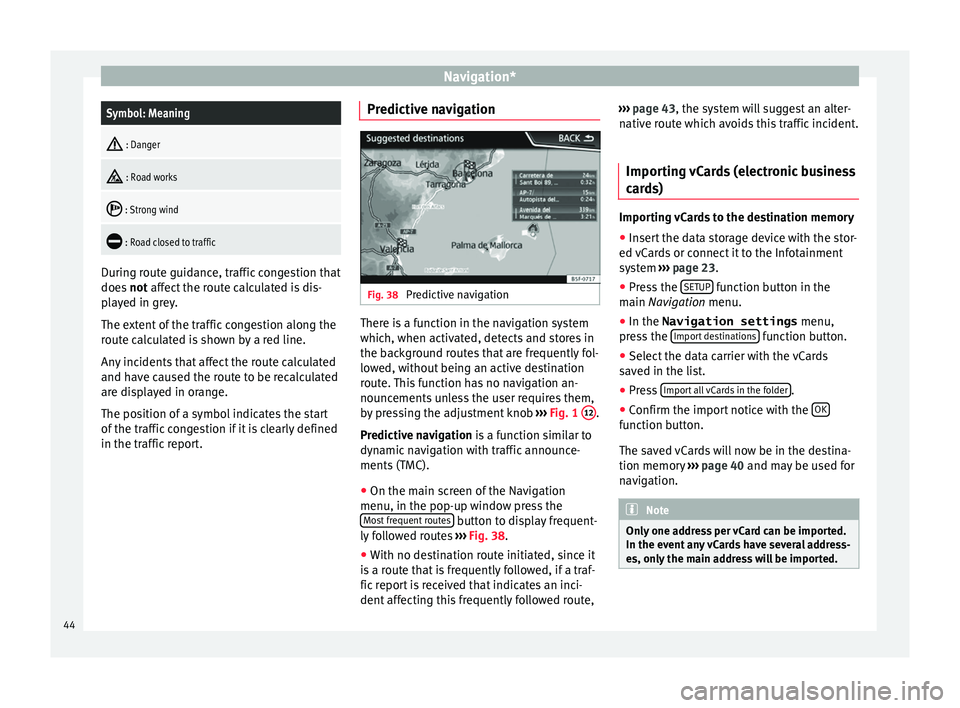
During route guidance, traffic congestion that
does
not
affect the route calculated is dis-
played in grey.
The extent of the traffic congestion along the
route calculated is shown by a red line.
Any incidents that affect the route calculated
and have caused the route to be recalculated
are displayed in orange.
The position of a symbol indicates the start
of the traffic congestion if it is clearly defined
in the traffic report. Predictive navigation Fig. 38
Predictive navigation There is a function in the navigation system
whic
h, when activ
at
ed, detects and stores in
the background routes that are frequently fol-
lowed, without being an active destination
route. This function has no navigation an-
nouncements unless the user requires them,
by pressing the adjustment knob ››› Fig. 1 12 .
Pr edictiv
e n
avigation is a function similar to
dynamic navigation with traffic announce-
ments (TMC).
● On the main screen of the Navigation
menu, in the pop-up window pr
ess the
Most frequent routes button to display frequent-
ly f
o
llowed routes ›››
Fig. 38.
● With no destination route initiated, since it
is a r
oute that is frequently followed, if a traf-
fic report is received that indicates an inci-
dent affecting this frequently followed route, ›››
page 43, the system will suggest an alter-
nativ
e route which avoids this traffic incident.
Importing vCards (electronic business
card
s) Importing vCards to the destination memory
● Insert the data storage device with the stor-
ed vC ar
ds or connect it to the Infotainment
system ››› page 23.
● Press the SETUP function button in the
m ain
Na
vigation menu.
● In the Navigation settings menu,
pres
s the Import destinations function button.
● Select the data carrier with the vCards
s av
ed in the li
st.
● Press Import al
l vCards in the folder .
● Confirm the import notice with the OK function button.
The s
av
ed
vCards will now be in the destina-
tion memory ›››
page 40 and may be used for
navigation. Note
Only one address per vCard can be imported.
In the event an
y vCards have several address-
es, only the main address will be imported. 44
Page 47 of 88
Navigation*
Importing Personal POI Importing the Personal POI to a points of in-
ter
e
st destination memory
● Insert the data storage device with the stor-
ed Person
al POI or connect it to the Infotain-
ment system ››› page 23.
● Press the Infotainment MENU button and
then select Set
up .
● In the System settings menu, pres
s the
System information function button.
● Press U
pd at
e software to import the Personal
POI.
● Confirm the import notice with the OKfunction button.
The s
t
or
ed Personal POI are now in the points
of interest destination memory ›››
page 41
and can be used for navigation purposes.
The stored Personal POI can be deleted in the
Navigation Settings menu
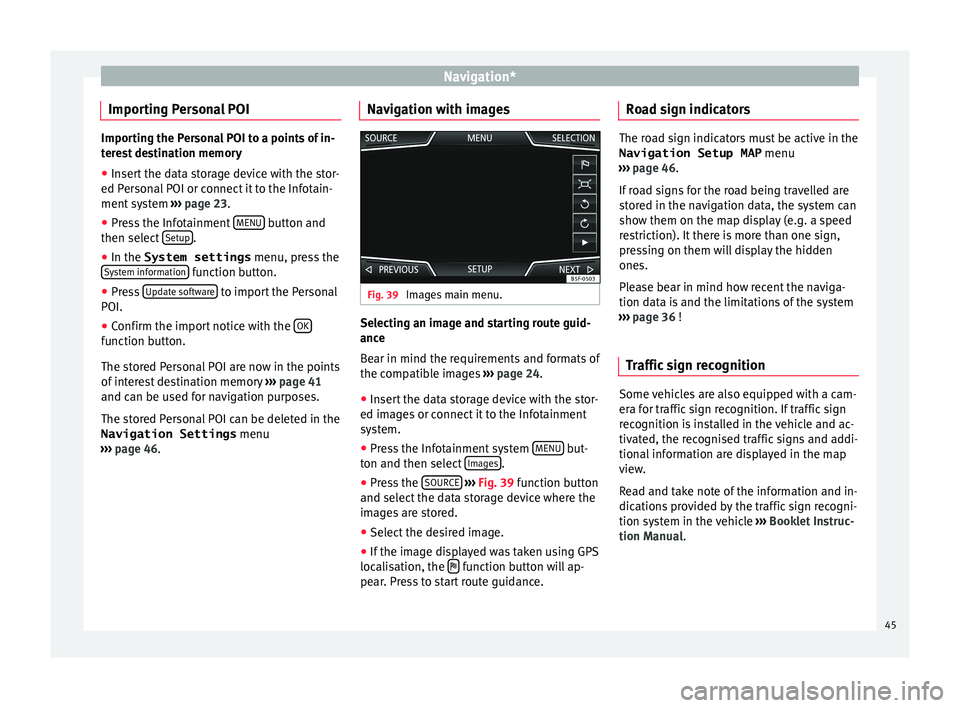
››› page 46. Navigation with images Fig. 39
Images main menu. Selecting an image and starting route guid-
anc
e
B e
ar in mind the requirements and formats of
the compatible images ››› page 24.
● Insert the data storage device with the stor-
ed image
s or connect it to the Infotainment
system.
● Press the Infotainment system MENU but-
t on and then sel
ect
Images .
● Press the SOURC
E
› ›
› Fig. 39
function button
and select the data storage device where the
images are stored.
● Select the desired image.
● If the image displayed was taken using GPS
localis
ation, the function button will ap-
pe ar
. Pr
ess to start route guidance. Road sign indicators The road sign indicators must be active in the
Navigation Setup MAP menu
›› ›
page 46.
If road signs for the road being travelled are
stored in the navigation data, the system can
show them on the map display (e.g. a speed
restriction). It there is more than one sign,
pressing on them will display the hidden
ones.
Please bear in mind how recent the naviga-
tion data is and the limitations of the system
››› page 36 !
Traffic sign recognition Some vehicles are also equipped with a cam-
er
a f
or tr
affic sign recognition. If traffic sign
recognition is installed in the vehicle and ac-
tivated, the recognised traffic signs and addi-
tional information are displayed in the map
view.
Read and take note of the information and in-
dications provided by the traffic sign recogni-
tion system in the vehicle ›››
Booklet Instruc-
tion Manual.
45
Page 48 of 88
Navigation*
Route guidance in demo mode If demo mode is activated in the
Naviga-
tion Settings menu ›››
page 46, an ad-
ditional pop-up window opens when you
start route guidance.
● Pressing the Demo mode function button
st ar
ts a “virtual route guidance” to the desti-
nation you have entered.
● If you press the Normal function button, a
“re al
route guidance” starts.
The sequence of events and the operations in
virtual route guidance are similar to those in
real route guidance.
Virtual route guidance is repeated when you
reach the fictitious destination and always
starts again from the starting point if not
aborted beforehand.
If the starting point for demo mode has been
defined manually in the Navigation Set-
tings menu, virtual route guidance will start
from the position set.
A manually entered starting point is overwrit-
ten with the current vehicle location if the ve-
hicle moves off. Note
Disable demo mode after use, otherwise you
wi l
l be prompted to choose between virtual
and normal route guidance each time you
start route guidance. Navigation settings
●
Press the SETUP function button in the
main Na
vigation menu.
Function button: function
Route options: To make adjustments to route calculation.
Suggest 3 alternative routes: After starting route guid-
ance, 3 alternative routes are suggested ››› page 38.
Route: Select the route type.
Economical: The route is calculated by taking into
consideration economic factors.
Fast: The fastest route to the destination.
Short: shortest route to the destination, even if it
results in a longer travelling time.
Dynamic route: Route guidance with TMC is active
››› page 43.
Most frequent routes: Information on the user's most
frequent routes.
Avoid motorways and highways: Motorways will be ex-
cluded from the calculation whenever possible.
Avoid ferries and motorail trains: Ferries and motorail
trains will not be considered in the calculation of the
route whenever possible.
Avoid toll roads: Toll roads will be excluded from the
calculation whenever possible.
Avoid tunnels: Tunnels will be excluded from the cal-
culation whenever possible.
Function button: function
Avoid routes requiring toll stickers (vignette): Routes re-
quiring toll stickers will be excluded from the calcula-
tion whenever possible.
Show available toll stickers: To mark the available toll
stickers on the list ( Avoid routes requiring toll stickersmust be active).
Roads requiring toll stickers that have been marked
as having said toll sticker will be taken into account
in the calculation of the route.
Map: To make adjustments to the visual display of the
map.
Show road signs: The road signs stored in the naviga-
tion data for the road being travelled will be dis-
played during route guidance ››› page 45.
Lane guidance: During route guidance, when driving
and turning on multi-lane roads, an additional dis-
play is shown with lane guidance. This will only ap-
pear if there is information in the database for the
area being driven in.
Show favourites: The stored destinations are shown
on the map as favourites (orange symbol)
Show POI
Select categories for POI: To select which point of in-
terest categories are displayed on the map
››› page 41.
Show POI flags.: View of category logos of the se-
lected points of interest (e.g. view of petrol station
logos).
Fuel options: To make adjustments relating to fuel. 46
Page 49 of 88
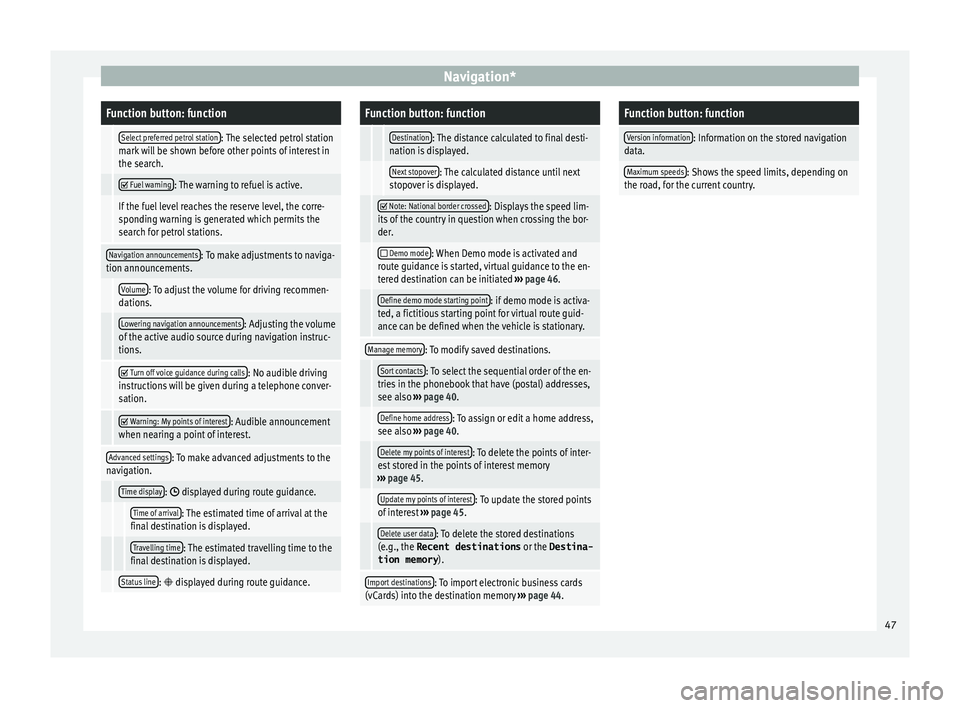
Navigation*Function button: function
Select preferred petrol station: The selected petrol station
mark will be shown before other points of interest in
the search.
Fuel warning: The warning to refuel is active.
If the fuel level reaches the reserve level, the corre-
sponding warning is generated which permits the
search for petrol stations.
Navigation announcements: To make adjustments to naviga-
tion announcements.
Volume: To adjust the volume for driving recommen-
dations.
Lowering navigation announcements: Adjusting the volume
of the active audio source during navigation instruc-
tions.
Turn off voice guidance during calls: No audible driving
instructions will be given during a telephone conver-
sation.
Warning: My points of interest: Audible announcement
when nearing a point of interest.
Advanced settings: To make advanced adjustments to the
navigation.
Time display: displayed during route guidance.
Time of arrival: The estimated time of arrival at the
final destination is displayed.
Travelling time: The estimated travelling time to the
final destination is displayed.
Status line: displayed during route guidance.
Function button: function
Destination: The distance calculated to final desti-
nation is displayed.
Next stopover: The calculated distance until next
stopover is displayed.
Note: National border crossed: Displays the speed lim-
its of the country in question when crossing the bor-
der.
Demo mode: When Demo mode is activated and
route guidance is started, virtual guidance to the en-
tered destination can be initiated ››› page 46.
Define demo mode starting point: if demo mode is activa-
ted, a fictitious starting point for virtual route guid-
ance can be defined when the vehicle is stationary.
Manage memory: To modify saved destinations.
Sort contacts: To select the sequential order of the en-
tries in the phonebook that have (postal) addresses,
see also ››› page 40.
Define home address: To assign or edit a home address,
see also ››› page 40.
Delete my points of interest: To delete the points of inter-
est stored in the points of interest memory
››› page 45.
Update my points of interest: To update the stored points
of interest ››› page 45.
Delete user data: To delete the stored destinations
(e.g., the Recent destinations or the Destina-
tion memory ).
Import destinations: To import electronic business cards
(vCards) into the destination memory ››› page 44.
Function button: function
Version information: Information on the stored navigation
data.
Maximum speeds: Shows the speed limits, depending on
the road, for the current country. 47
Page 50 of 88
CAR menu
CAR menu Intr oduction t
o m
anaging the
CAR menu
Car menu By pressing the “CAR” infotainment button
you w
i
ll access its main menu with the follow-
ing options:
● VIEW
● In the top right corner: MINIPLAYER (Radio
or Medi a) or HDC
(Descent control)*.
● PREVIOUS-NEXT (to change screen).
● SETUP ›››
Booklet Instruction Manual,
chapter System settings (CAR) .
With the function button View you can access
the f o
l
lowing information:
● SPORT*
● OFFROAD*
● CONSUMERS
● DRIVING DATA
● ECOTRAINER*
● VEHICLE STATUS Sport*
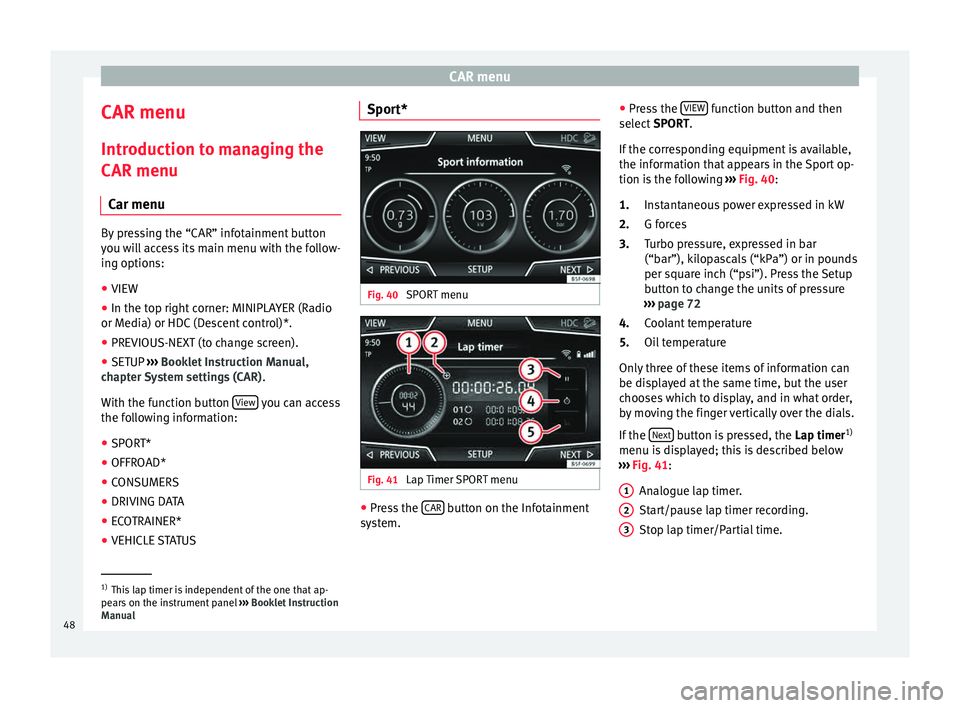
Fig. 40
SPORT menu Fig. 41
Lap Timer SPORT menu ●
Press the CAR button on the Infotainment
sy s
t
em. ●
Pres
s the VIEW function button and then
sel ect
S
PORT.
If the corresponding equipment is available,
the information that appears in the Sport op-
tion is the following ››› Fig. 40:
Instantaneous power expressed in kW
G forces
Turbo pressure, expressed in bar
(“bar”), kilopascals (“kPa”) or in pounds
per square inch (“psi”). Press the Setup
button to change the units of pressure
››› page 72
Coolant temperature
Oil temperature
Only three of these items of information can
be displayed at the same time, but the user
chooses which to display, and in what order,
by moving the finger vertically over the dials.
If the Next button is pressed, the
Lap timer1)
menu i s
di
splayed; this is described below
››› Fig. 41:
Analogue lap timer.
Start/pause lap timer recording.
Stop lap timer/Partial time.
1.
2.
3.
4.
5.
1 2
3
1)
This lap timer is independent of the one that ap-
pear s
on the instrument panel ››› Booklet Instruction
Manual
48