jump start Seat Leon SC 2013 MEDIA SYSTEM PLUS - NAVI SYSTEM
[x] Cancel search | Manufacturer: SEAT, Model Year: 2013, Model line: Leon SC, Model: Seat Leon SC 2013Pages: 72, PDF Size: 3 MB
Page 28 of 72

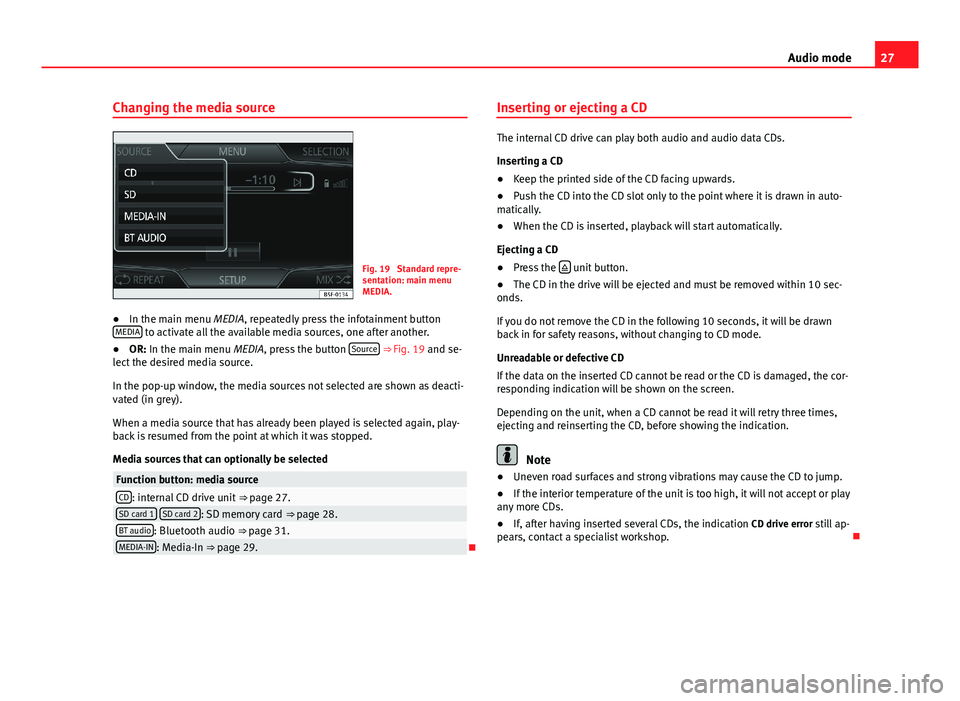
27Audio modeChanging the media sourceFig. 19
Standard repre-sentation: main menuMEDIA.
●
In the main menu MEDIA, repeatedly press the infotainment buttonMEDIA to activate all the available media sources, one after another.
●
OR: In the main menu MEDIA, press the button Source ⇒ Fig. 19 and se-lect the desired media source.
In the pop-up window, the media sources not selected are shown as deacti-vated (in grey).
When a media source that has already been played is selected again, play-back is resumed from the point at which it was stopped.
Media sources that can optionally be selected
Function button: media sourceCD: internal CD drive unit ⇒ page 27.SD card 1 SD card 2: SD memory card ⇒ page 28.BT audio: Bluetooth audio ⇒ page 31.MEDIA-IN: Media-In ⇒ page 29.
Inserting or ejecting a CD
The internal CD drive can play both audio and audio data CDs.
Inserting a CD
●
Keep the printed side of the CD facing upwards.
●
Push the CD into the CD slot only to the point where it is drawn in auto-matically.
●
When the CD is inserted, playback will start automatically.
Ejecting a CD
●
Press the unit button.
●
The CD in the drive will be ejected and must be removed within 10 sec-onds.
If you do not remove the CD in the following 10 seconds, it will be drawnback in for safety reasons, without changing to CD mode.
Unreadable or defective CD
If the data on the inserted CD cannot be read or the CD is damaged, the cor-responding indication will be shown on the screen.
Depending on the unit, when a CD cannot be read it will retry three times,ejecting and reinserting the CD, before showing the indication.
Note
●Uneven road surfaces and strong vibrations may cause the CD to jump.●
If the interior temperature of the unit is too high, it will not accept or playany more CDs.
●
If, after having inserted several CDs, the indication CD drive error still ap-pears, contact a specialist workshop.
Page 29 of 72

28Audio modeInserting and removing memory cards
Inserting a memory card
If a memory card cannot be inserted, ensure that it is positioned correctlyand is compatible with the unit.
Playback starts automatically if supported audio files are stored on thememory card.
Insert a compatible memory card, push it into the memory card slot with thecut-off corner first and facing upwards until it locks.
Removing a memory card
The memory card inserted must be prepared before it is ejected.
●
Press the infotainment button MENU; then, press Setup to open themenu System settings.
●
Press the function button Remove SD card 1 safely or Remove SD card 2 safely.After ejecting the memory card, the function button will be shown in grey.
●
Press the memory card inserted. The memory card jumps to the eject po-sition.
●
Remove the memory card.
Unreadable memory card
If you insert a memory card containing data that cannot be read, the unitwill not change to memory card mode after loading.
It will show the indication: There are no playable files available.
External audio source connected to the AUX-IN multimedia
socket
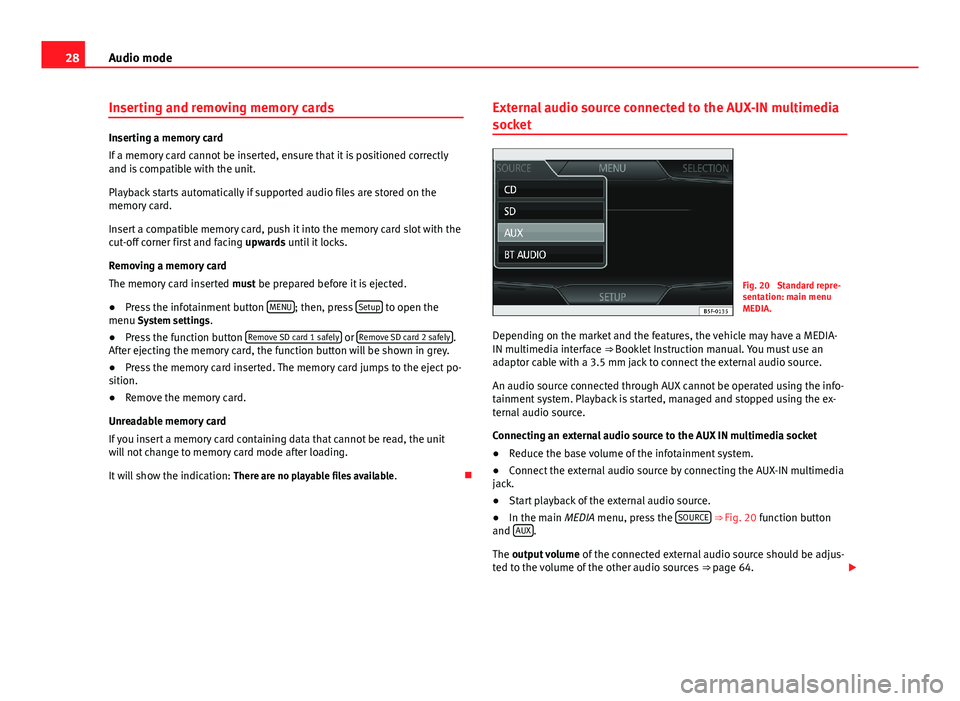
Fig. 20
Standard repre-sentation: main menuMEDIA.
Depending on the market and the features, the vehicle may have a MEDIA-IN multimedia interface ⇒ Booklet Instruction manual. You must use anadaptor cable with a 3.5 mm jack to connect the external audio source.
An audio source connected through AUX cannot be operated using the info-tainment system. Playback is started, managed and stopped using the ex-ternal audio source.
Connecting an external audio source to the AUX IN multimedia socket
●
Reduce the base volume of the infotainment system.
●
Connect the external audio source by connecting the AUX-IN multimediajack.
●
Start playback of the external audio source.
●
In the main MEDIA menu, press the SOURCE ⇒ Fig. 20 function buttonand AUX.
The output volume of the connected external audio source should be adjus-ted to the volume of the other audio sources ⇒ page 64.