buttons Seat Leon SC 2013 MEDIA SYSTEM TOUCH - COLOUR
[x] Cancel search | Manufacturer: SEAT, Model Year: 2013, Model line: Leon SC, Model: Seat Leon SC 2013Pages: 56, PDF Size: 2.47 MB
Page 19 of 56
18Audio modeSetup (FM, AM)
FM setup
●
Select the frequency band FM by pressing the infotainment buttonRADIO.
●
Press the function button Setup to open the menu FM setup.
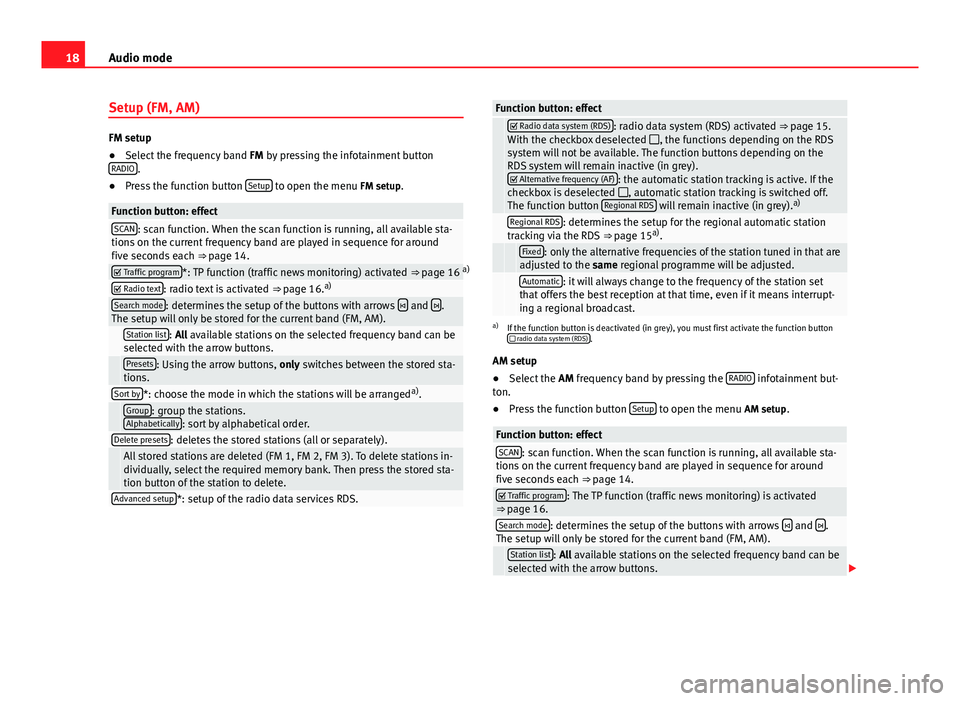
Function button: effectSCAN: scan function. When the scan function is running, all available sta-tions on the current frequency band are played in sequence for aroundfive seconds each ⇒ page 14.
Traffic program*: TP function (traffic news monitoring) activated ⇒ page 16 a) Radio text: radio text is activated ⇒ page 16.a)Search mode: determines the setup of the buttons with arrows and .The setup will only be stored for the current band (FM, AM). Station list: All available stations on the selected frequency band can beselected with the arrow buttons. Presets: Using the arrow buttons, only switches between the stored sta-tions.Sort by*: choose the mode in which the stations will be arrangeda). Group: group the stations.Alphabetically: sort by alphabetical order.Delete presets: deletes the stored stations (all or separately). All stored stations are deleted (FM 1, FM 2, FM 3). To delete stations in-dividually, select the required memory bank. Then press the stored sta-tion button of the station to delete.
Advanced setup*: setup of the radio data services RDS.Function button: effect Radio data system (RDS): radio data system (RDS) activated ⇒ page 15.With the checkbox deselected , the functions depending on the RDSsystem will not be available. The function buttons depending on theRDS system will remain inactive (in grey). Alternative frequency (AF): the automatic station tracking is active. If thecheckbox is deselected , automatic station tracking is switched off.The function button Regional RDS will remain inactive (in grey).a)
Regional RDS: determines the setup for the regional automatic stationtracking via the RDS ⇒ page 15a). Fixed: only the alternative frequencies of the station tuned in that areadjusted to the same regional programme will be adjusted. Automatic: it will always change to the frequency of the station setthat offers the best reception at that time, even if it means interrupt-ing a regional broadcast.
a)
If the function button is deactivated (in grey), you must first activate the function button radio data system (RDS).
AM setup
●
Select the AM frequency band by pressing the RADIO infotainment but-ton.
●
Press the function button Setup to open the menu AM setup.
Function button: effectSCAN: scan function. When the scan function is running, all available sta-tions on the current frequency band are played in sequence for aroundfive seconds each ⇒ page 14.
Traffic program: The TP function (traffic news monitoring) is activated⇒ page 16.Search mode: determines the setup of the buttons with arrows and .The setup will only be stored for the current band (FM, AM). Station list: All available stations on the selected frequency band can beselected with the arrow buttons.
Page 20 of 56
19Audio modeFunction button: effect Presets: Using the arrow buttons, only switches between the stored sta-tions.Delete presets: deletes the stored stations (all or separately). All stored stations are deleted (FM 1, FM 2, FM 3). To delete stations in-dividually, select the required memory bank. Then press the stored sta-tion button of the station to delete.
Page 24 of 56
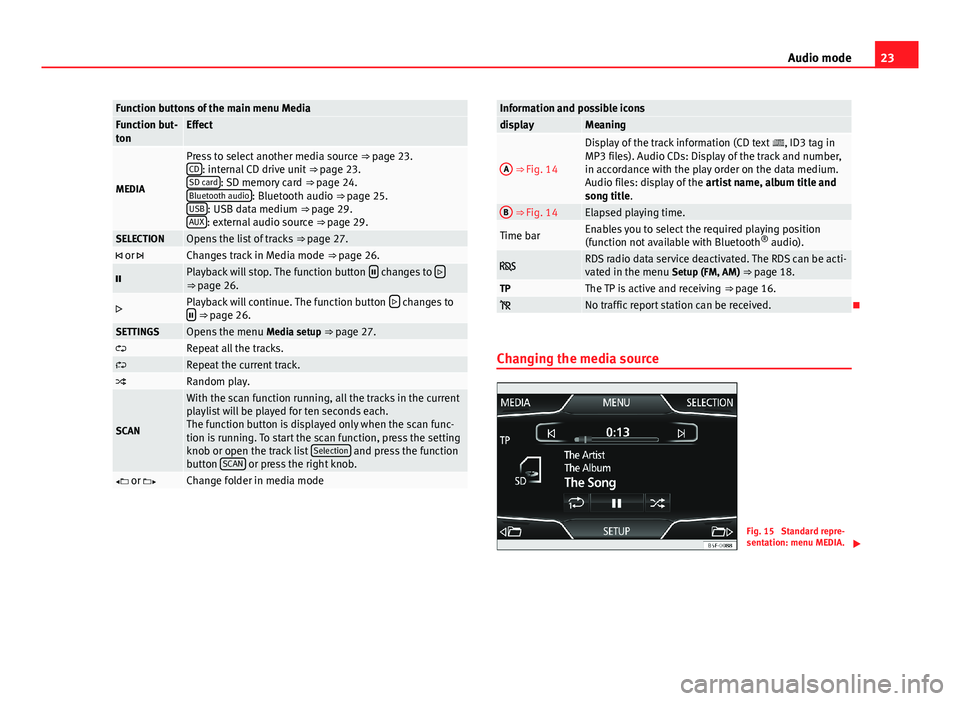
23Audio modeFunction buttons of the main menu MediaFunction but-tonEffect
MEDIA
Press to select another media source ⇒ page 23.CD: internal CD drive unit ⇒ page 23.SD card: SD memory card ⇒ page 24.Bluetooth audio: Bluetooth audio ⇒ page 25.USB: USB data medium ⇒ page 29.AUX: external audio source ⇒ page 29.
SELECTIONOpens the list of tracks ⇒ page 27. or Changes track in Media mode ⇒ page 26.Playback will stop. The function button changes to ⇒ page 26.Playback will continue. The function button changes to ⇒ page 26.SETTINGSOpens the menu Media setup ⇒ page 27.Repeat all the tracks.Repeat the current track.Random play.
SCAN
With the scan function running, all the tracks in the currentplaylist will be played for ten seconds each.The function button is displayed only when the scan func-tion is running. To start the scan function, press the settingknob or open the track list Selection and press the functionbutton SCAN or press the right knob.
or Change folder in media modeInformation and possible iconsdisplayMeaningA
⇒ Fig. 14
Display of the track information (CD text , ID3 tag inMP3 files). Audio CDs: Display of the track and number,in accordance with the play order on the data medium.Audio files: display of the artist name, album title andsong title.
B ⇒ Fig. 14Elapsed playing time.Time barEnables you to select the required playing position(function not available with Bluetooth® audio). RDS radio data service deactivated. The RDS can be acti-vated in the menu Setup (FM, AM) ⇒ page 18.TPThe TP is active and receiving ⇒ page 16. No traffic report station can be received.
Changing the media source
Fig. 15
Standard repre-sentation: menu MEDIA.
Page 27 of 56
26Audio mode●To play music, do not link the external media player simultaneously toBluetooth and the USB interface of the infotainment system, as this cancause limitations during playback.
●
Depending on the external player connected, the response time of thesystem can vary.
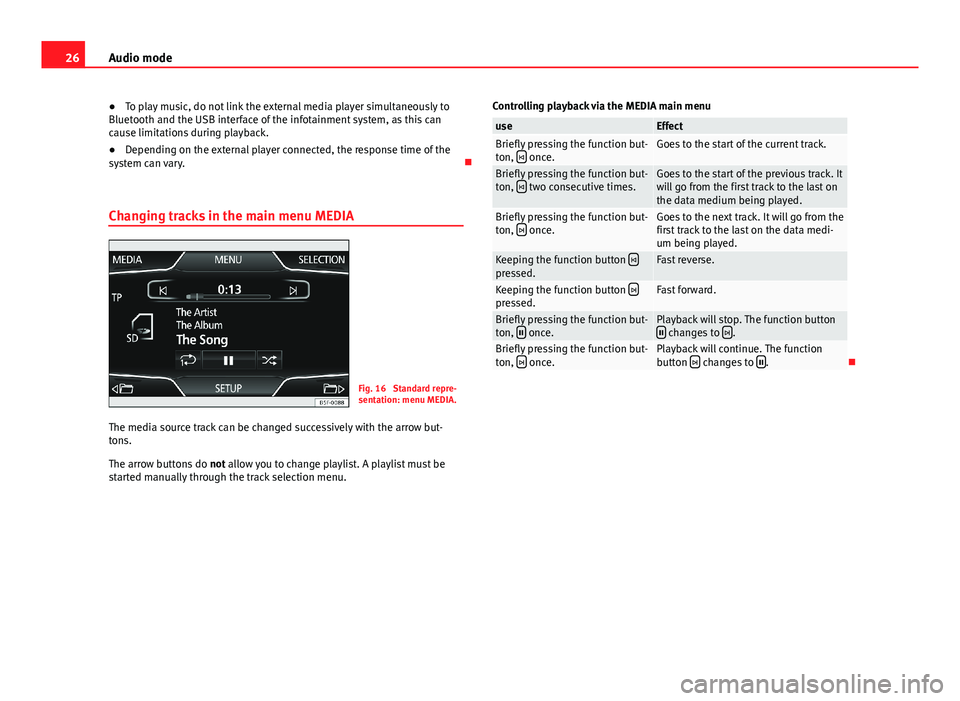
Changing tracks in the main menu MEDIA
Fig. 16
Standard repre-sentation: menu MEDIA.
The media source track can be changed successively with the arrow but-tons.
The arrow buttons do not allow you to change playlist. A playlist must bestarted manually through the track selection menu.
Controlling playback via the MEDIA main menuuseEffectBriefly pressing the function but-ton, once.Goes to the start of the current track.Briefly pressing the function but-ton, two consecutive times.Goes to the start of the previous track. Itwill go from the first track to the last onthe data medium being played.
Briefly pressing the function but-ton, once.Goes to the next track. It will go from thefirst track to the last on the data medi-um being played.
Keeping the function button pressed.Fast reverse.Keeping the function button pressed.Fast forward.Briefly pressing the function but-ton, once.Playback will stop. The function button changes to .Briefly pressing the function but-ton, once.Playback will continue. The functionbutton changes to .
Page 31 of 56
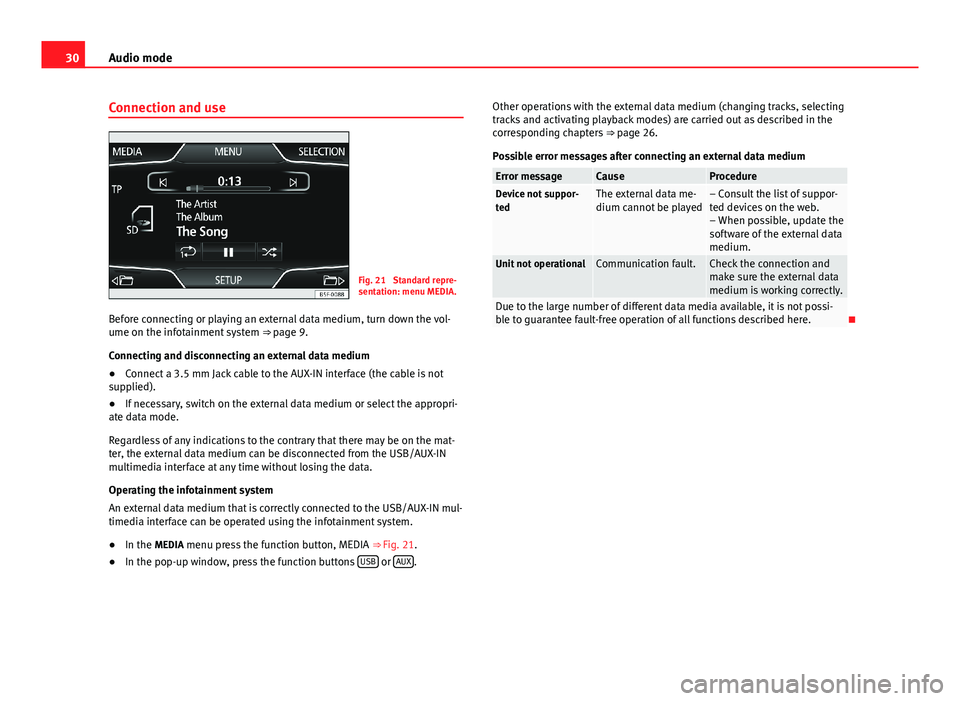
30Audio modeConnection and useFig. 21
Standard repre-sentation: menu MEDIA.
Before connecting or playing an external data medium, turn down the vol-ume on the infotainment system ⇒ page 9.
Connecting and disconnecting an external data medium
●
Connect a 3.5 mm Jack cable to the AUX-IN interface (the cable is notsupplied).
●
If necessary, switch on the external data medium or select the appropri-ate data mode.
Regardless of any indications to the contrary that there may be on the mat-ter, the external data medium can be disconnected from the USB/AUX-INmultimedia interface at any time without losing the data.
Operating the infotainment system
An external data medium that is correctly connected to the USB/AUX-IN mul-timedia interface can be operated using the infotainment system.
●
In the MEDIA menu press the function button, MEDIA ⇒ Fig. 21.
●
In the pop-up window, press the function buttons USB or AUX.
Other operations with the external data medium (changing tracks, selectingtracks and activating playback modes) are carried out as described in thecorresponding chapters ⇒ page 26.
Possible error messages after connecting an external data medium
Error messageCauseProcedureDevice not suppor-tedThe external data me-dium cannot be played– Consult the list of suppor-ted devices on the web.– When possible, update thesoftware of the external datamedium.
Unit not operationalCommunication fault.Check the connection andmake sure the external datamedium is working correctly.
Due to the large number of different data media available, it is not possi-ble to guarantee fault-free operation of all functions described here.
Page 37 of 56
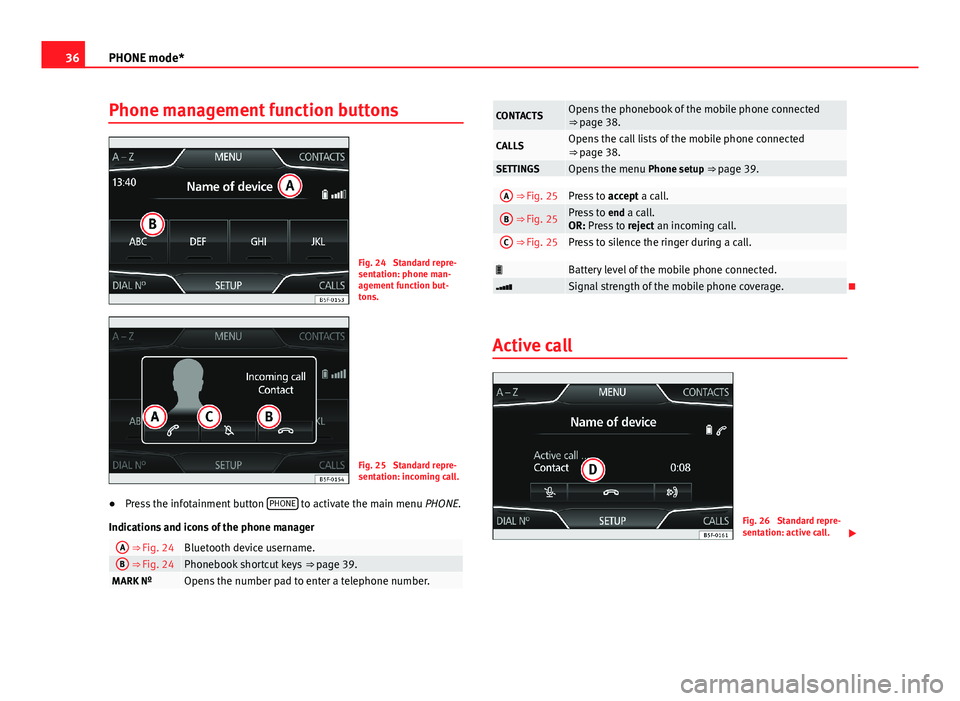
36PHONE mode*Phone management function buttonsFig. 24
Standard repre-sentation: phone man-agement function but-tons.
Fig. 25
Standard repre-sentation: incoming call.
●
Press the infotainment button PHONE to activate the main menu PHONE.
Indications and icons of the phone manager
A ⇒ Fig. 24Bluetooth device username.B ⇒ Fig. 24Phonebook shortcut keys ⇒ page 39.MARK NºOpens the number pad to enter a telephone number.CONTACTSOpens the phonebook of the mobile phone connected⇒ page 38.CALLSOpens the call lists of the mobile phone connected⇒ page 38.SETTINGSOpens the menu Phone setup ⇒ page 39.A ⇒ Fig. 25Press to accept a call.B ⇒ Fig. 25Press to end a call.OR: Press to reject an incoming call.
C ⇒ Fig. 25Press to silence the ringer during a call.Battery level of the mobile phone connected.Signal strength of the mobile phone coverage.
Active call
Fig. 26
Standard repre-sentation: active call.
Page 40 of 56
39PHONE mode*Possible displays in the Calls menudisplayMeaningMissed: shows the numbers of calls that have been receivedbut not answered.
Dialled: shows the numbers that have been dialled using themobile phone and phone manager of the infotainment sys-tem.Received: shows the numbers of the calls received by the mo-bile phone and telephone manager of the infotainment sys-tem and that have been answered.
Note
The call list display will depend on the mobile phone used.
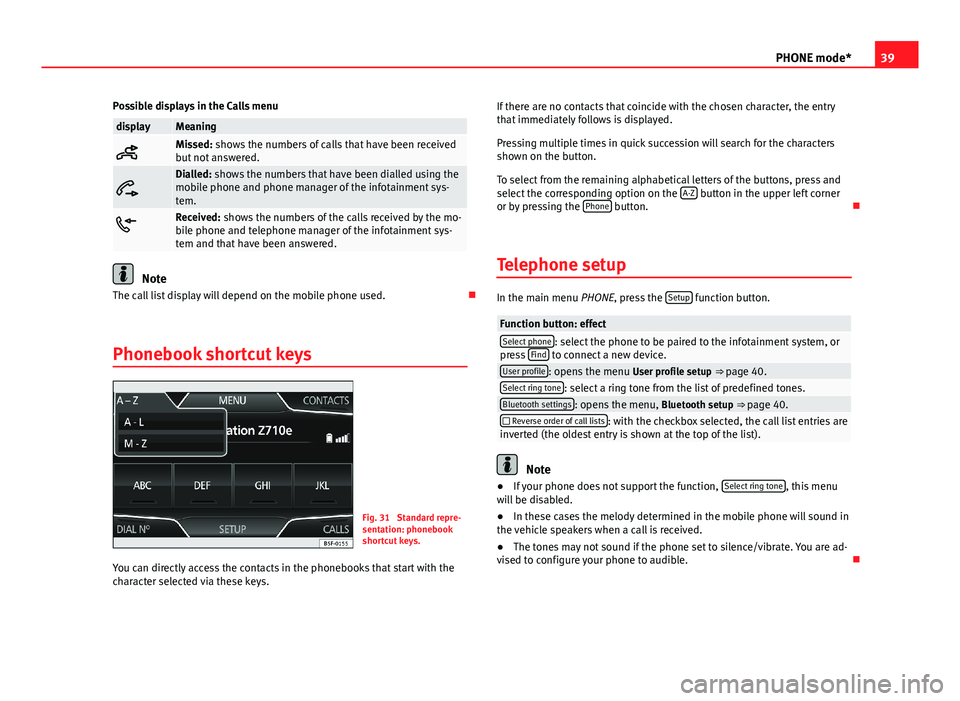
Phonebook shortcut keys
Fig. 31
Standard repre-sentation: phonebookshortcut keys.
You can directly access the contacts in the phonebooks that start with thecharacter selected via these keys.
If there are no contacts that coincide with the chosen character, the entrythat immediately follows is displayed.
Pressing multiple times in quick succession will search for the charactersshown on the button.
To select from the remaining alphabetical letters of the buttons, press andselect the corresponding option on the A-Z button in the upper left corneror by pressing the Phone button.
Telephone setup
In the main menu PHONE, press the Setup function button.
Function button: effectSelect phone: select the phone to be paired to the infotainment system, orpress Find to connect a new device.User profile: opens the menu User profile setup ⇒ page 40.Select ring tone: select a ring tone from the list of predefined tones.Bluetooth settings: opens the menu, Bluetooth setup ⇒ page 40. Reverse order of call lists: with the checkbox selected, the call list entries areinverted (the oldest entry is shown at the top of the list).
Note
●If your phone does not support the function, Select ring tone, this menuwill be disabled.●
In these cases the melody determined in the mobile phone will sound inthe vehicle speakers when a call is received.
●
The tones may not sound if the phone set to silence/vibrate. You are ad-vised to configure your phone to audible.
Page 47 of 56
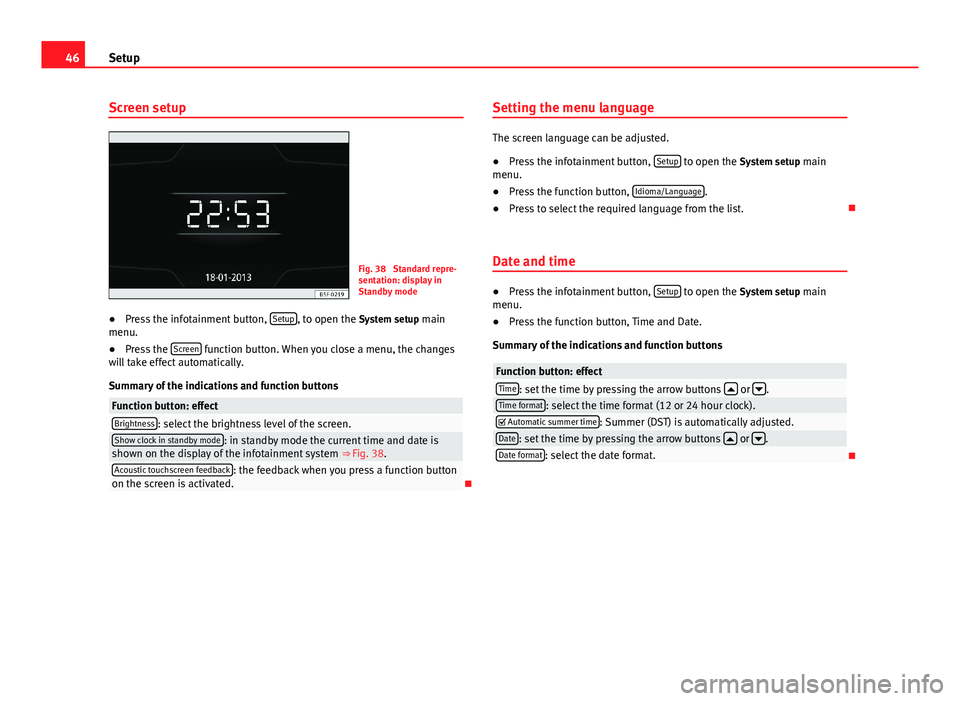
46SetupScreen setupFig. 38
Standard repre-sentation: display inStandby mode
●
Press the infotainment button, Setup, to open the System setup mainmenu.
●
Press the Screen function button. When you close a menu, the changeswill take effect automatically.
Summary of the indications and function buttons
Function button: effectBrightness: select the brightness level of the screen.Show clock in standby mode: in standby mode the current time and date isshown on the display of the infotainment system ⇒ Fig. 38.Acoustic touchscreen feedback: the feedback when you press a function buttonon the screen is activated.
Setting the menu language
The screen language can be adjusted.
●
Press the infotainment button, Setup to open the System setup mainmenu.
●
Press the function button, Idioma/Language.
●
Press to select the required language from the list.
Date and time
●
Press the infotainment button, Setup to open the System setup mainmenu.
●
Press the function button, Time and Date.
Summary of the indications and function buttons
Function button: effectTime: set the time by pressing the arrow buttons or .Time format: select the time format (12 or 24 hour clock). Automatic summer time: Summer (DST) is automatically adjusted.Date: set the time by pressing the arrow buttons or .Date format: select the date format.
Page 49 of 56
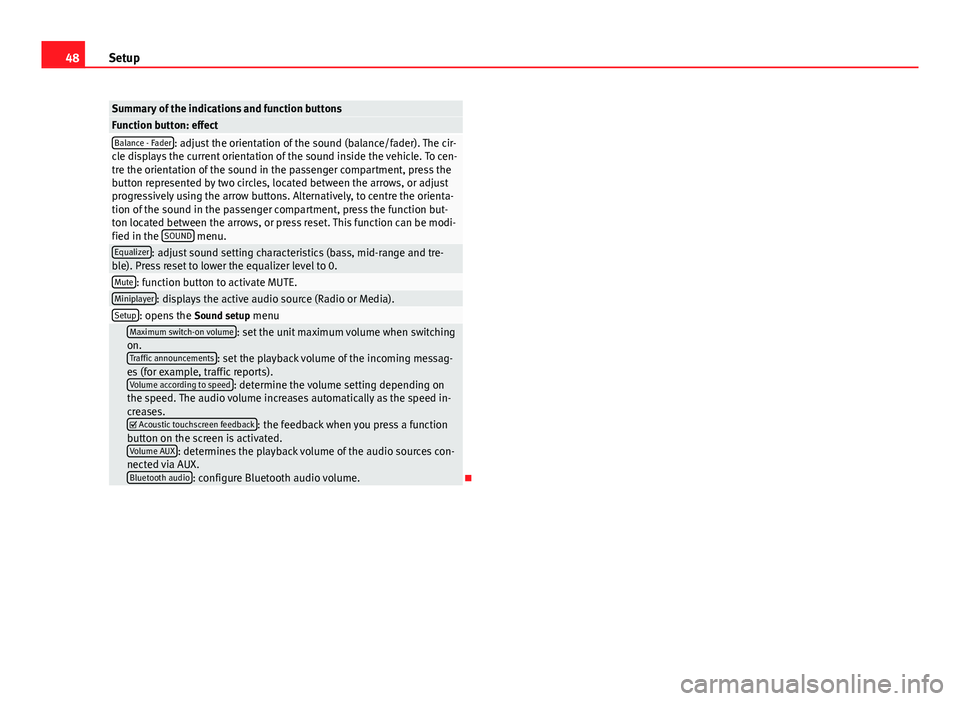
48SetupSummary of the indications and function buttonsFunction button: effectBalance - Fader: adjust the orientation of the sound (balance/fader). The cir-cle displays the current orientation of the sound inside the vehicle. To cen-tre the orientation of the sound in the passenger compartment, press thebutton represented by two circles, located between the arrows, or adjustprogressively using the arrow buttons. Alternatively, to centre the orienta-tion of the sound in the passenger compartment, press the function but-ton located between the arrows, or press reset. This function can be modi-fied in the SOUND menu.
Equalizer: adjust sound setting characteristics (bass, mid-range and tre-ble). Press reset to lower the equalizer level to 0.Mute: function button to activate MUTE.Miniplayer: displays the active audio source (Radio or Media).Setup: opens the Sound setup menu Maximum switch-on volume: set the unit maximum volume when switchingon.Traffic announcements: set the playback volume of the incoming messag-es (for example, traffic reports).Volume according to speed: determine the volume setting depending onthe speed. The audio volume increases automatically as the speed in-creases. Acoustic touchscreen feedback: the feedback when you press a functionbutton on the screen is activated.Volume AUX: determines the playback volume of the audio sources con-nected via AUX.Bluetooth audio: configure Bluetooth audio volume.
Page 52 of 56
IndexA
Air Conditioning . . . . . . . . . . . . . . . . . . . . . . . . . 44
Air Conditioning menu . . . . . . . . . . . . . . . . . . . . 44
AM . . . . . . . . . . . . . . . . . . . . . . . . . . . . . . . . . . . . 49
Automatic station storing . . . . . . . . . . . . . . . . . 15
Autostore . . . . . . . . . . . . . . . . . . . . . . . . . . . . . . 15
AUX . . . . . . . . . . . . . . . . . . . . . . . . . . . . . . . . 28, 49AUX-IN multimedia socket . . . . . . . . . . . . . . 28External audio source . . . . . . . . . . . . . . . . . 28
AUX-IN . . . . . . . . . . . . . . . . . . . . . . . . . . . . . . . . . 28
AUX-IN multimedia socket
See: AUX . . . . . . . . . . . . . . . . . . . . . . . . . . . . 28
B
Back . . . . . . . . . . . . . . . . . . . . . . . . . . . . . . . . . . 26
Balance . . . . . . . . . . . . . . . . . . . . . . . . . . . . . . . . 47
Base volumeChange . . . . . . . . . . . . . . . . . . . . . . . . . . . . . . 9Mute . . . . . . . . . . . . . . . . . . . . . . . . . . . . . . . . 9
Bass . . . . . . . . . . . . . . . . . . . . . . . . . . . . . . . . . . 47
Bluetooth . . . . . . . . . . . . . . . . . . . . . . . . . . . . . . 34
Bluetooth audio (external audio source) . . . . . 25
BT audio . . . . . . . . . . . . . . . . . . . . . . . . . . . . . . . 25
C
CAR . . . . . . . . . . . . . . . . . . . . . . . . . . . . . . . . . . . 41
CAR menu . . . . . . . . . . . . . . . . . . . . . . . . . . . . . . 41
CD modeSee: MEDIA . . . . . . . . . . . . . . . . . . . . . . . . . . 24
Controls . . . . . . . . . . . . . . . . . . . . . . . . . . . . . . . . . 6
D
Delayed switch-off . . . . . . . . . . . . . . . . . . . . . . . . 8
E
Explosion: places of riskTelephone . . . . . . . . . . . . . . . . . . . . . . . . . . . 32
External audio sourceBluetooth audio . . . . . . . . . . . . . . . . . . . . . . 25See: AUX . . . . . . . . . . . . . . . . . . . . . . . . . . . . 28
F
Fader . . . . . . . . . . . . . . . . . . . . . . . . . . . . . . . . . . 47
FM . . . . . . . . . . . . . . . . . . . . . . . . . . . . . . . . . . . . 49
Forward . . . . . . . . . . . . . . . . . . . . . . . . . . . . . . . . 26
Function buttonssee: Function buttons . . . . . . . . . . . . . . . . . . 9
Function buttons (softkeys) . . . . . . . . . . . . . . . . . 9
Function buttons (virtual buttons) . . . . . . . . . . . 8
I
Introduction . . . . . . . . . . . . . . . . . . . . . . . . . . . . . 4
M
Main menuMEDIA . . . . . . . . . . . . . . . . . . . . . . . . . . . . . . 22RADIO . . . . . . . . . . . . . . . . . . . . . . . . . . . . . . 12System . . . . . . . . . . . . . . . . . . . . . . . . . . . . . 45
MDIError messages . . . . . . . . . . . . . . . . . . . . . . . 30Faults . . . . . . . . . . . . . . . . . . . . . . . . . . . . . . 30
MEDIA . . . . . . . . . . . . . . . . . . . . . . . . . . . . . . . . . 20Audio data CD . . . . . . . . . . . . . . . . . . . . . . . . 20AUX-IN multimedia socket . . . . . . . . . . . . . . 28back . . . . . . . . . . . . . . . . . . . . . . . . . . . . . . . . 26Bit rate . . . . . . . . . . . . . . . . . . . . . . . . . . . . . 20Bluetooth audio . . . . . . . . . . . . . . . . . . . . . . 25CD mode . . . . . . . . . . . . . . . . . . . . . . . . . . . . 24changing the media source . . . . . . . . . . . . . 23changing tracks . . . . . . . . . . . . . . . . . . . . . . 26Display information . . . . . . . . . . . . . . . . . . . 22forward . . . . . . . . . . . . . . . . . . . . . . . . . . . . . 26instructions . . . . . . . . . . . . . . . . . . . . . . . . . . 20Main menu . . . . . . . . . . . . . . . . . . . . . . . . . . 22MP3 files . . . . . . . . . . . . . . . . . . . . . . . . . . . . 20Playing order . . . . . . . . . . . . . . . . . . . . . . . . 21Playlists . . . . . . . . . . . . . . . . . . . . . . . . . . . . . 20Requirements . . . . . . . . . . . . . . . . . . . . . . . . 20
51Index