buttons Seat Leon SC 2013 SOUND SYSTEM 2.0
[x] Cancel search | Manufacturer: SEAT, Model Year: 2013, Model line: Leon SC, Model: Seat Leon SC 2013Pages: 48, PDF Size: 1.85 MB
Page 7 of 48
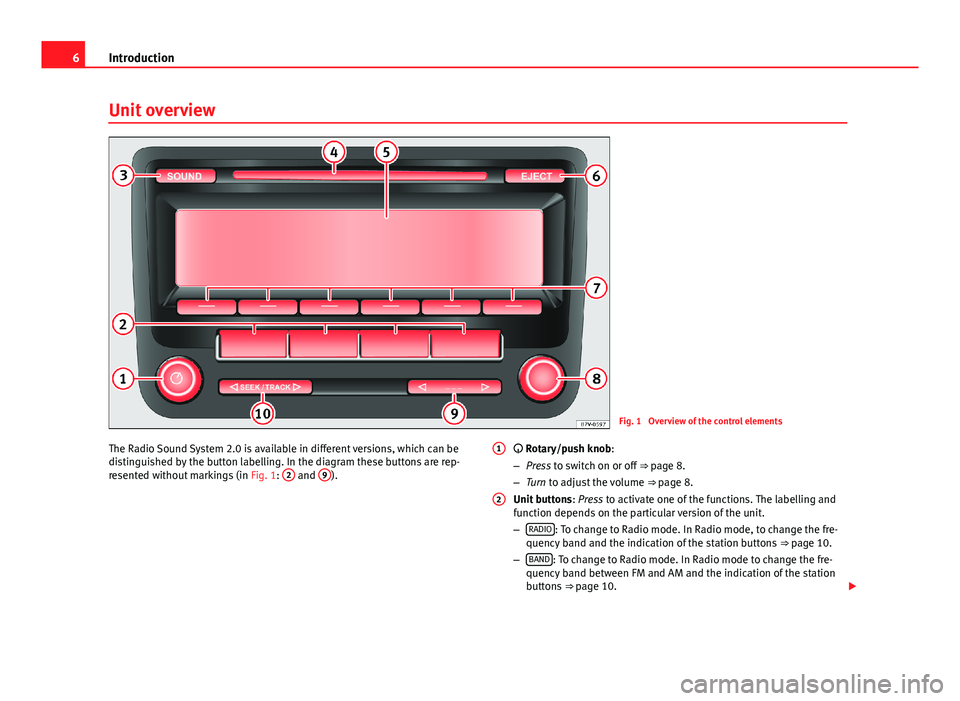
6IntroductionUnit overviewFig. 1
Overview of the control elements
The Radio Sound System 2.0 is available in different versions, which can bedistinguished by the button labelling. In the diagram these buttons are rep-resented without markings (in Fig. 1:
2
and
9
).
Rotary/push knob:
–Press to switch on or off ⇒ page 8.
–Turn to adjust the volume ⇒ page 8.
Unit buttons: Press to activate one of the functions. The labelling andfunction depends on the particular version of the unit.
–RADIO: To change to Radio mode. In Radio mode, to change the fre-quency band and the indication of the station buttons ⇒ page 10.
–BAND: To change to Radio mode. In Radio mode to change the fre-quency band between FM and AM and the indication of the stationbuttons ⇒ page 10.
12
Page 8 of 48
7Introduction–FM: switch to FM radio mode. In FM radio mode change the displayof the station buttons ⇒ page 10.
–AM: switch to AM radio mode. In AM radio mode change the displayof the station buttons ⇒ page 10.
–MEDIA: To change to Media mode. In Media mode to select anothermedia source ⇒ page 21.
–MENU: To view the additional functions of the active mode (Radio,Media, etc.). In the additional functions view press the function but-ton SETUP to view the system and function settings ⇒ page 38.
–TP: To switch on or off the traffic news function (Traffic Programme)⇒ page 15.
SOUND: Press to open the sound settings ⇒ page 37.
CD slot: To insert and eject CDs ⇒ page 21.
Screen: The brightness can be adjusted ⇒ page 38.
EJECT: Press to eject the CD ⇒ page 21.
Function buttons: The active function is shown with the correspondingbutton in the display and is activated by pressing ⇒ page 8.
Setting knob: the function of this button depends on the unit's operat-ing state.
–Turn in all Radio modes to tune the stations or channels manuallyand press to start and stop the scan function (SCAN) ⇒ page 10.
–Media mode: Turn to change track manually and press to start andstop the scan function (SCAN) ⇒ page 21.
–In a settings menu turn to change a setting ⇒ page 37.
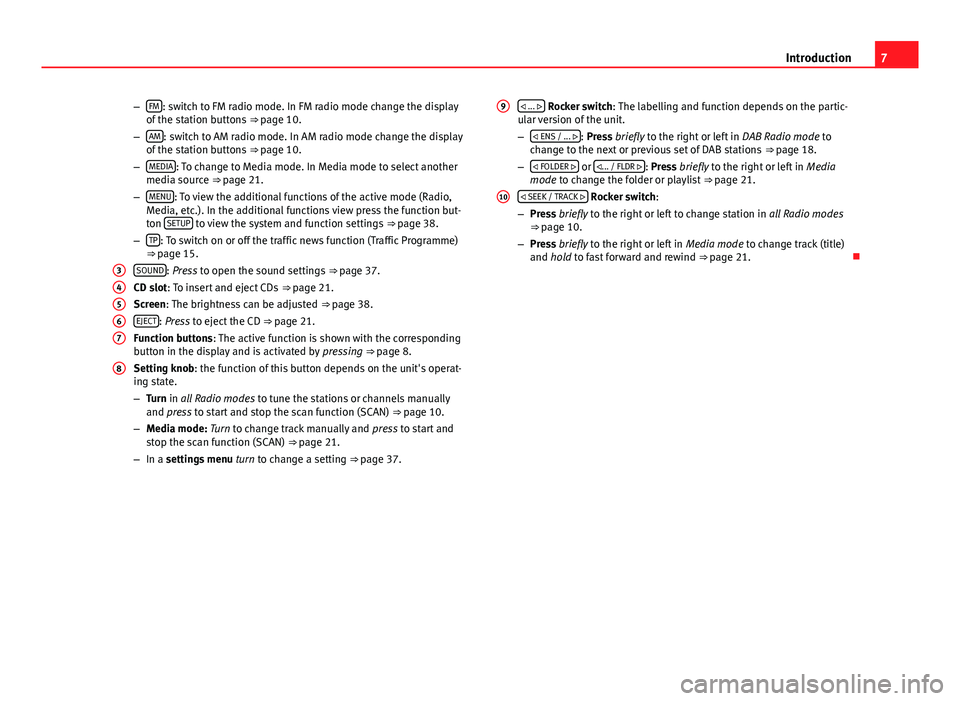
345678 ... Rocker switch: The labelling and function depends on the partic-ular version of the unit.
– ENS / ... : Press briefly to the right or left in DAB Radio mode tochange to the next or previous set of DAB stations ⇒ page 18.
– FOLDER or ... / FLDR : Press briefly to the right or left in Mediamode to change the folder or playlist ⇒ page 21.
SEEK / TRACK Rocker switch:
–Press briefly to the right or left to change station in all Radio modes⇒ page 10.
–Press briefly to the right or left in Media mode to change track (title)and hold to fast forward and rewind ⇒ page 21.
910
Page 9 of 48
8IntroductionGeneral information on operating the unit
Introduction
Depending on the vehicle you can also change the track or station and ad-just the volume using the multifunction steering wheel ⇒ Booklet Instruc-tion manual, chapter Overview of the vehicle.
Additional information and warnings:
●
Safety notes ⇒ page 4
●
Unit overview ⇒ page 6
Additional display information
Depending on the vehicle specification, changes to air conditioning set-tings or information on factory-fitted driver assistance systems may be dis-played temporarily on the screen. These displays disappear automaticallywhen they are no longer required.
Note
●Only a small amount of pressure is needed to operate the unit.●
Due to country-specific legislation, certain functions cannot be selectedwhen the vehicle is travelling above a certain speed.
●
Using a mobile phone in the vehicle may cause noise from the vehiclespeakers.
●
In some vehicles equipped with a parking distance warning system, thevolume of the current audio source is automatically lowered when reversegear is engaged.
Rotary/push knobs, unit and function buttons
Overview
●
Rotary/push knobs.
●
Labelled unit buttons (hard keys).
●
Function buttons (soft keys).
Rotary/push knobs
The left-hand rotary/push knob ⇒ Fig. 1
1
is referred to as the volume con-trol or the on/off switch.
The right-hand rotary/push knob ⇒ Fig. 1
8
is referred to as the settingknob.
Unit buttons and function buttons
The system labelled buttons are called “unit buttons”, e.g. SOUND button⇒ Fig. 1.
There are six unlabelled unit buttons below the screen ⇒ Fig. 1
7
. Theseare known as “function buttons” because their function depends on the ac-tive function mode.
The current function of a function button is displayed just above the buttonin the bottom line of the screen (e.g. ⇒ Fig. 6).
Switching on and off
●
To switch the unit on or off manually, briefly press the rotary/push knob ⇒ Fig. 1 rotary/push knob.
When the unit is switched on the system starts up. The last audio sourceused is played at the last selected volume setting, provided this does notexceed the preselected “switch-on volume” (ON-VOL or START-VOL⇒ page 38).
Page 11 of 48
10Audio modeAudio modeFM and AM Radio mode
Introduction
The radio system is supplied in different versions depending on the countryand model in which it is installed and the vehicle equipment. The overviewof the unit shows all the possible versions ⇒ Fig. 1.
How the Radio mode is activated and operated depends partly on the ver-sion of the unit.
Additional information and warnings:
●
Safety notes ⇒ page 4
●
Unit overview ⇒ page 6
●
RDS and TP radio data services (Traffic Programme) ⇒ page 15
●
System and function settings (SETUP) ⇒ page 38
Note
●Multi-storey car parks, tunnels, high buildings and mountains can im-pair radio signals.●
Foil or metal-coated stickers attached to the windows may affect recep-tion on vehicles with a window aerial.
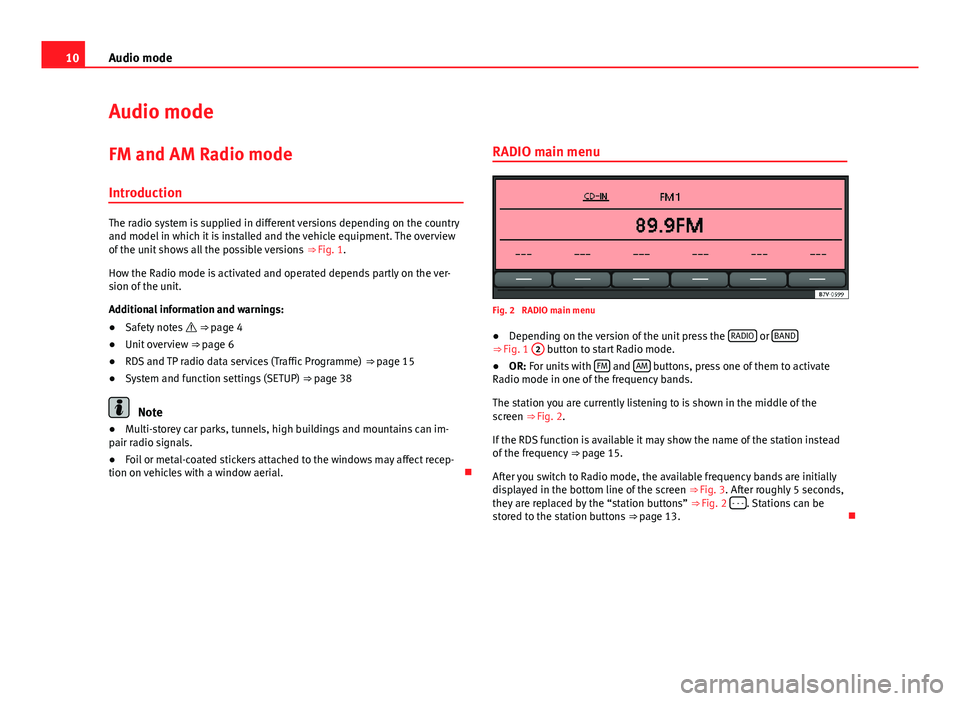
RADIO main menuFig. 2
RADIO main menu
●
Depending on the version of the unit press the RADIO or BAND⇒ Fig. 1
2
button to start Radio mode.
●
OR: For units with FM and AM buttons, press one of them to activateRadio mode in one of the frequency bands.
The station you are currently listening to is shown in the middle of thescreen ⇒ Fig. 2.
If the RDS function is available it may show the name of the station insteadof the frequency ⇒ page 15.
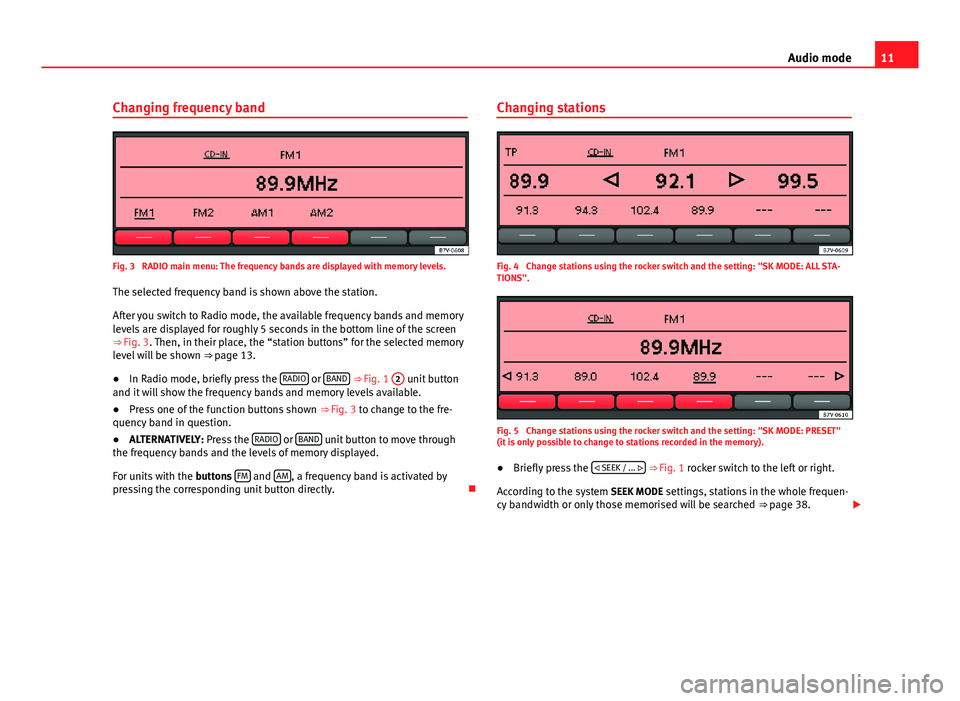
After you switch to Radio mode, the available frequency bands are initiallydisplayed in the bottom line of the screen ⇒ Fig. 3. After roughly 5 seconds,they are replaced by the “station buttons” ⇒ Fig. 2 - - -. Stations can bestored to the station buttons ⇒ page 13.
Page 12 of 48
11Audio modeChanging frequency bandFig. 3
RADIO main menu: The frequency bands are displayed with memory levels.
The selected frequency band is shown above the station.
After you switch to Radio mode, the available frequency bands and memorylevels are displayed for roughly 5 seconds in the bottom line of the screen⇒ Fig. 3. Then, in their place, the “station buttons” for the selected memorylevel will be shown ⇒ page 13.
●
In Radio mode, briefly press the RADIO or BAND ⇒ Fig. 1
2
unit buttonand it will show the frequency bands and memory levels available.
●
Press one of the function buttons shown ⇒ Fig. 3 to change to the fre-quency band in question.
●
ALTERNATIVELY: Press the RADIO or BAND unit button to move throughthe frequency bands and the levels of memory displayed.
For units with the buttons FM and AM, a frequency band is activated bypressing the corresponding unit button directly.
Changing stationsFig. 4
Change stations using the rocker switch and the setting: "SK MODE: ALL STA-TIONS".
Fig. 5
Change stations using the rocker switch and the setting: "SK MODE: PRESET"(it is only possible to change to stations recorded in the memory).
●
Briefly press the SEEK / ... ⇒ Fig. 1 rocker switch to the left or right.
According to the system SEEK MODE settings, stations in the whole frequen-cy bandwidth or only those memorised will be searched ⇒ page 38.
Page 14 of 48
13Audio modeSCAN ALL: All the stations that can be received in the selected frequencyband will be played.
Special case: Search using the SEEK / ... rocker switch after completingthe scan function (SCAN)
If all tunable stations have been listened to, and the scan function (SCAN)has stopped, the search for stations using the rocker switch SEEK / ... will, in this case, search all tunable stations, even if the SEEK MODE functionsetting is PRESET ⇒ page 38.
Note
If traffic news monitoring is switched on (display: TP), the scan function onlytunes to stations that support the TP function ⇒ page 15.
Selecting the memory level
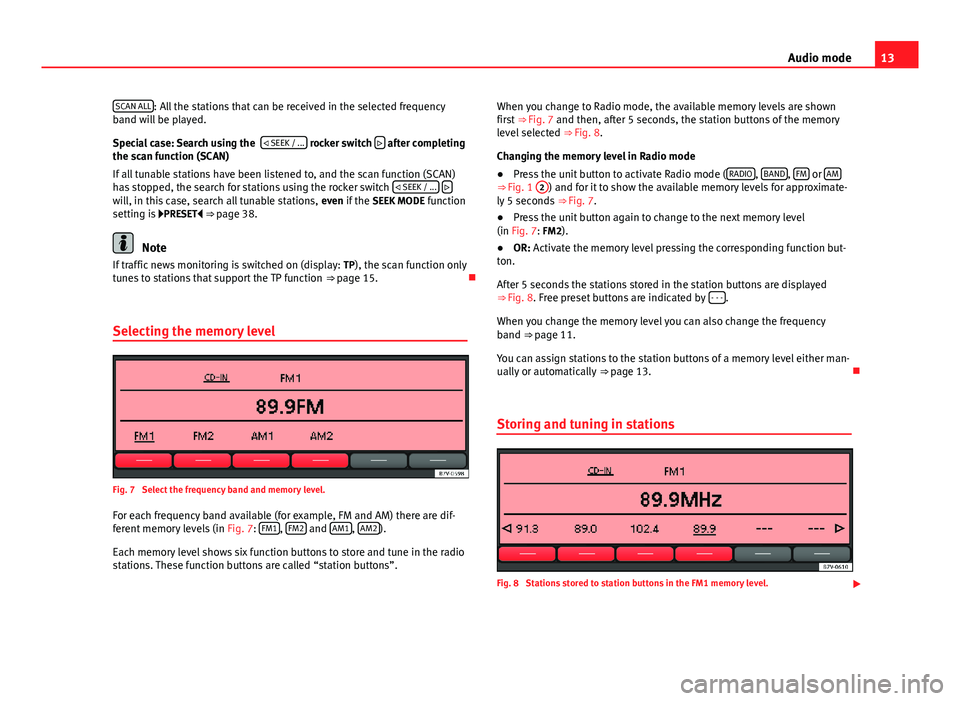
Fig. 7
Select the frequency band and memory level.
For each frequency band available (for example, FM and AM) there are dif-ferent memory levels (in Fig. 7: FM1, FM2 and AM1, AM2).
Each memory level shows six function buttons to store and tune in the radiostations. These function buttons are called “station buttons”.
When you change to Radio mode, the available memory levels are shownfirst ⇒ Fig. 7 and then, after 5 seconds, the station buttons of the memorylevel selected ⇒ Fig. 8.
Changing the memory level in Radio mode
●
Press the unit button to activate Radio mode (RADIO, BAND, FM or AM⇒ Fig. 1
2
) and for it to show the available memory levels for approximate-ly 5 seconds ⇒ Fig. 7.
●
Press the unit button again to change to the next memory level(in Fig. 7: FM2).
●
OR: Activate the memory level pressing the corresponding function but-ton.
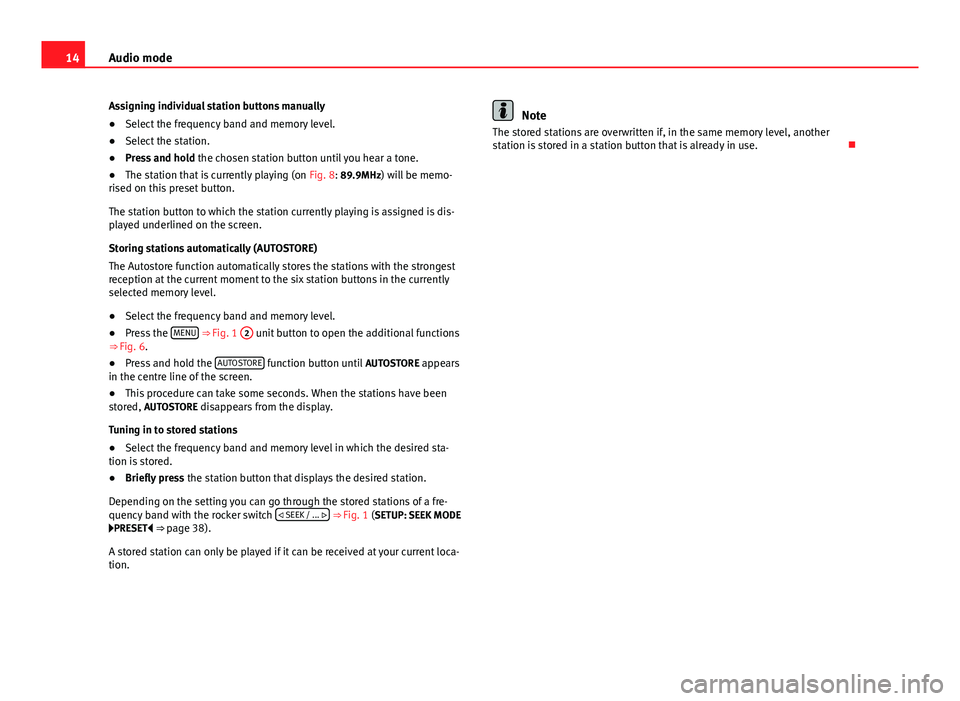
After 5 seconds the stations stored in the station buttons are displayed⇒ Fig. 8. Free preset buttons are indicated by - - -.
When you change the memory level you can also change the frequencyband ⇒ page 11.
You can assign stations to the station buttons of a memory level either man-ually or automatically ⇒ page 13.
Storing and tuning in stations
Fig. 8
Stations stored to station buttons in the FM1 memory level.
Page 15 of 48
14Audio modeAssigning individual station buttons manually●
Select the frequency band and memory level.
●
Select the station.
●
Press and hold the chosen station button until you hear a tone.
●
The station that is currently playing (on Fig. 8: 89.9MHz) will be memo-rised on this preset button.
The station button to which the station currently playing is assigned is dis-played underlined on the screen.
Storing stations automatically (AUTOSTORE)
The Autostore function automatically stores the stations with the strongestreception at the current moment to the six station buttons in the currentlyselected memory level.
●
Select the frequency band and memory level.
●
Press the MENU ⇒ Fig. 1
2
unit button to open the additional functions⇒ Fig. 6.
●
Press and hold the AUTOSTORE function button until AUTOSTORE appearsin the centre line of the screen.
●
This procedure can take some seconds. When the stations have beenstored, AUTOSTORE disappears from the display.
Tuning in to stored stations
●
Select the frequency band and memory level in which the desired sta-tion is stored.
●
Briefly press the station button that displays the desired station.
Depending on the setting you can go through the stored stations of a fre-quency band with the rocker switch SEEK / ... ⇒ Fig. 1 (SETUP: SEEK MODEPRESET ⇒ page 38).
A stored station can only be played if it can be received at your current loca-tion.
NoteThe stored stations are overwritten if, in the same memory level, anotherstation is stored in a station button that is already in use.
Page 17 of 48
16Audio modeTP traffic news station function (Traffic Programme)Fig. 10
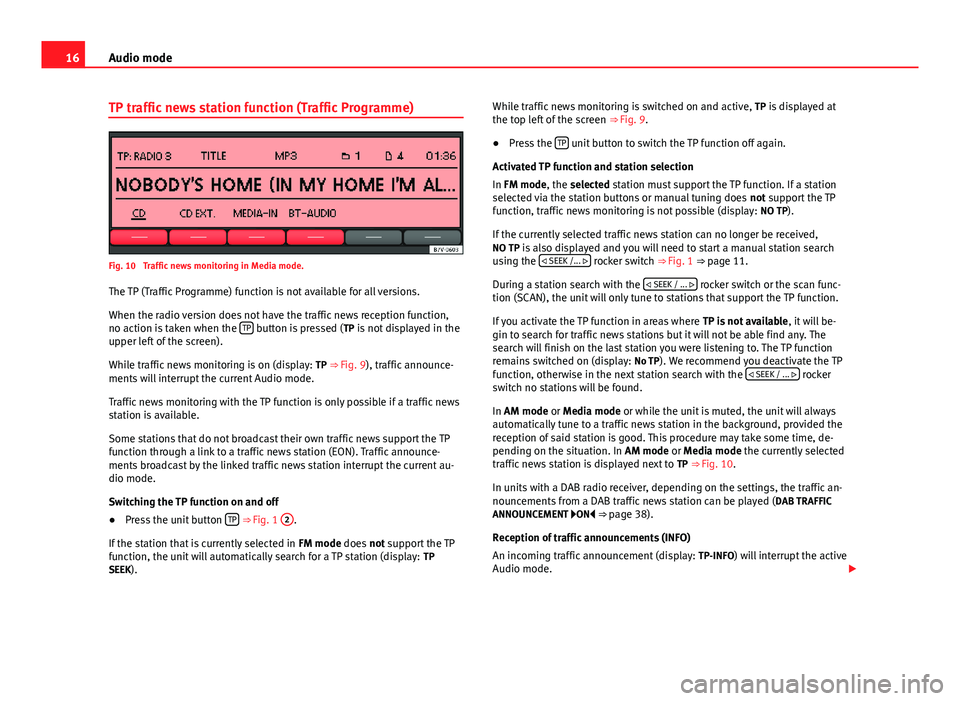
Traffic news monitoring in Media mode.
The TP (Traffic Programme) function is not available for all versions.
When the radio version does not have the traffic news reception function,no action is taken when the TP button is pressed (TP is not displayed in theupper left of the screen).
While traffic news monitoring is on (display: TP ⇒ Fig. 9), traffic announce-ments will interrupt the current Audio mode.
Traffic news monitoring with the TP function is only possible if a traffic newsstation is available.
Some stations that do not broadcast their own traffic news support the TPfunction through a link to a traffic news station (EON). Traffic announce-ments broadcast by the linked traffic news station interrupt the current au-dio mode.
Switching the TP function on and off
●
Press the unit button TP ⇒ Fig. 1
2
.
If the station that is currently selected in FM mode does not support the TPfunction, the unit will automatically search for a TP station (display: TPSEEK).
While traffic news monitoring is switched on and active, TP is displayed atthe top left of the screen ⇒ Fig. 9.●
Press the TP unit button to switch the TP function off again.
Activated TP function and station selection
In FM mode, the selected station must support the TP function. If a stationselected via the station buttons or manual tuning does not support the TPfunction, traffic news monitoring is not possible (display: NO TP).
If the currently selected traffic news station can no longer be received,NO TP is also displayed and you will need to start a manual station searchusing the SEEK /... rocker switch ⇒ Fig. 1 ⇒ page 11.
During a station search with the SEEK / ... rocker switch or the scan func-tion (SCAN), the unit will only tune to stations that support the TP function.
If you activate the TP function in areas where TP is not available, it will be-gin to search for traffic news stations but it will not be able find any. Thesearch will finish on the last station you were listening to. The TP functionremains switched on (display: No TP). We recommend you deactivate the TPfunction, otherwise in the next station search with the SEEK / ... rockerswitch no stations will be found.
In AM mode or Media mode or while the unit is muted, the unit will alwaysautomatically tune to a traffic news station in the background, provided thereception of said station is good. This procedure may take some time, de-pending on the situation. In AM mode or Media mode the currently selectedtraffic news station is displayed next to TP ⇒ Fig. 10.
In units with a DAB radio receiver, depending on the settings, the traffic an-nouncements from a DAB traffic news station can be played (DAB TRAFFICANNOUNCEMENT ON ⇒ page 38).
Reception of traffic announcements (INFO)
An incoming traffic announcement (display: TP-INFO) will interrupt the activeAudio mode.
Page 27 of 48
26Audio modeBrowsing tracks
Press the ... / TRACK ⇒ Fig. 1 rocker switch to the left or right.
ActioneffectBriefly pressing to the left.Goes to the start of the current track.Briefly pressing to the right.Next track.Briefly pressing twice in quick suc-cession to the left.Goes to the start of the previous track.Pressing and holding to the left.Fast reverse.Pressing and holding to the right.Fast forward.
You can also change track by turning the setting knob ⇒ Fig. 1
8
.
Changing folder in audio data CD mode
●
Press the FOLDER or ... / FLDR ⇒ Fig. 1
9
rocker switch to the rightor left to switch to the first track of the next or previous folder respectively.
After changing folder or track, the storage location corresponding to theplaying order of the audio data CD is briefly displayed (in Fig. 18: folder 1and track number 5). After roughly 5 seconds, the selected track informa-tion is displayed again.
Playing playlists
Playlists on data media do not play automatically.
●
Press the PLAYLIST function button to start playing the playlists on datamedia.
●
Press the FOLDER or ... / FLDR rocker switch to the right or left toswitch to the first track of the next or previous playlist respectively.
The scan function (SCAN) and random playback (MIX) are only available forthe playlist you are listening to ⇒ page 26.
●
Press the PLAYLIST function button again to stop playing the playlists.
Note●Selecting tracks and CDs from an external CD changer ⇒ page 34.●
Selecting tracks and CDs via MEDIA-IN multimedia interface⇒ page 30.
Changing playback mode (SCAN, MIX, REPEAT)
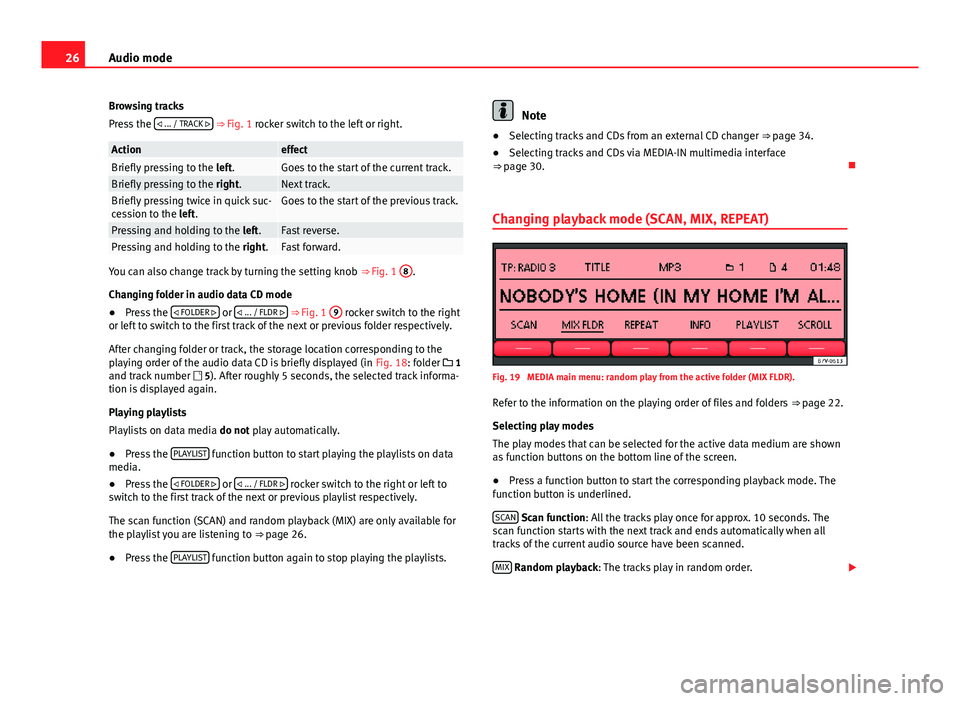
Fig. 19
MEDIA main menu: random play from the active folder (MIX FLDR).
Refer to the information on the playing order of files and folders ⇒ page 22.
Selecting play modes
The play modes that can be selected for the active data medium are shownas function buttons on the bottom line of the screen.
●
Press a function button to start the corresponding playback mode. Thefunction button is underlined.
SCAN Scan function: All the tracks play once for approx. 10 seconds. Thescan function starts with the next track and ends automatically when alltracks of the current audio source have been scanned.
MIX Random playback: The tracks play in random order.
Page 28 of 48
27Audio modeREPEAT Repeat function: Playback is repeated once all the tracks have beenplayed once. In data media with compressed audio files (MP3 and WMA),only folders can be repeated, not the full content of the media.
The repeat (Repeat) and random playback (Mix) functions remain active forthe corresponding media source until they are closed for that source.
●
Press the SCAN, MIX or RPT... function button again to stop the currentplayback mode at the track currently playing.
The scan function can also be started and stopped by pressing the settingbutton ⇒ Fig. 1
8
.
Limiting the playback mode to the folders, playlists or tracks
Depending on the audio source that is being played, playback can be limi-ted to the files, folders or playlists by pressing the playback mode functionbutton several times. The display of the function button changes according-ly (for example in Fig. 19: MIX FLDR).
Display on the function button: effect... CD or ... ALL: All the tracks on the active data medium are played in theselected playback mode.... FLD: Only the tracks in the active folder are played in the selected play-back mode.... PLS: Only the tracks of the active playlists are played in the selectedplayback mode. Playing playlists ⇒ page 26.... TRACK: Repeats the track (title) that is playing (only with REPEAT).
Displays on the function buttons may vary with equipment model.
Compatibility with all encoding/recording software, recording devices andrecording media cannot be guaranteed. Incompatible USB devices canmake noise, interrupt playback or not playback at all.