stop start Seat Leon SC 2013 SOUND SYSTEM 2.0
[x] Cancel search | Manufacturer: SEAT, Model Year: 2013, Model line: Leon SC, Model: Seat Leon SC 2013Pages: 48, PDF Size: 1.85 MB
Page 4 of 48
3Important InformationImportant InformationImportant Information. Traffic safety
Travelling on today's roads requires the driver's full attention at all times.
Only operate the radio system and its various functions when the traffic sit-uation really permits this.
WARNING●Before starting the trip, you should familiarise yourself with the dif-ferent radio functions.●
High audio volume may represent a danger to you and to others.
●
Adjust the volume in a way that you can distinguish surroundingnoise, for example, horns and sirens, etc.
●
Radio settings should be made when the car is stopped or by a pas-senger.
Note
Separate the radio card and keep it in a safe place, but never inside the ve-hicle. If the card bearing the radio code is lost, go to a SEAT dealership,where you will be given help.
Note
●The anti-theft coding does not need re-entering if the battery has onlybeen disconnected. In this case, switch the ignition on before switching onthe sound system.
●
The card bearing the radio code is available according to the model ofthe vehicle.
Page 8 of 48
7Introduction–FM: switch to FM radio mode. In FM radio mode change the displayof the station buttons ⇒ page 10.
–AM: switch to AM radio mode. In AM radio mode change the displayof the station buttons ⇒ page 10.
–MEDIA: To change to Media mode. In Media mode to select anothermedia source ⇒ page 21.
–MENU: To view the additional functions of the active mode (Radio,Media, etc.). In the additional functions view press the function but-ton SETUP to view the system and function settings ⇒ page 38.
–TP: To switch on or off the traffic news function (Traffic Programme)⇒ page 15.
SOUND: Press to open the sound settings ⇒ page 37.
CD slot: To insert and eject CDs ⇒ page 21.
Screen: The brightness can be adjusted ⇒ page 38.
EJECT: Press to eject the CD ⇒ page 21.
Function buttons: The active function is shown with the correspondingbutton in the display and is activated by pressing ⇒ page 8.
Setting knob: the function of this button depends on the unit's operat-ing state.
–Turn in all Radio modes to tune the stations or channels manuallyand press to start and stop the scan function (SCAN) ⇒ page 10.
–Media mode: Turn to change track manually and press to start andstop the scan function (SCAN) ⇒ page 21.
–In a settings menu turn to change a setting ⇒ page 37.
345678 ... Rocker switch: The labelling and function depends on the partic-ular version of the unit.
– ENS / ... : Press briefly to the right or left in DAB Radio mode tochange to the next or previous set of DAB stations ⇒ page 18.
– FOLDER or ... / FLDR : Press briefly to the right or left in Mediamode to change the folder or playlist ⇒ page 21.
SEEK / TRACK Rocker switch:
–Press briefly to the right or left to change station in all Radio modes⇒ page 10.
–Press briefly to the right or left in Media mode to change track (title)and hold to fast forward and rewind ⇒ page 21.
910
Page 13 of 48
12Audio modeStatuseffectRadio mode with ... displayed inthe centre line of the screen⇒ Fig. 4.
Switches to the next available stationon the current frequency band. As youscroll through the subsequent sta-tions will be shown.
Radio mode with ... displayed inthe bottom line of the screen⇒ Fig. 5.
Switches to the next stored station⇒ page 13.Radio mode with ... displayed inthe centre line of the screen and TPindication ⇒ Fig. 4.
Switches to the next available trafficnews station ⇒ page 15.
AM mode: quickly browsing the frequency band
In AM mode it is possible to skip stations.
●
Press and hold the SEEK / ... rocker switch.
●
When the rocker switch SEEK / ... is released a search will be per-formed until the next tunable station is found.
Tuning to a station frequency manually
●
Select the desired frequency band ⇒ page 10.
●
Turn the setting knob ⇒ Fig. 1
8
until the desired station frequency(e.g. 89.9 MHz) is displayed on the screen.
Scan function (SCAN)Fig. 6
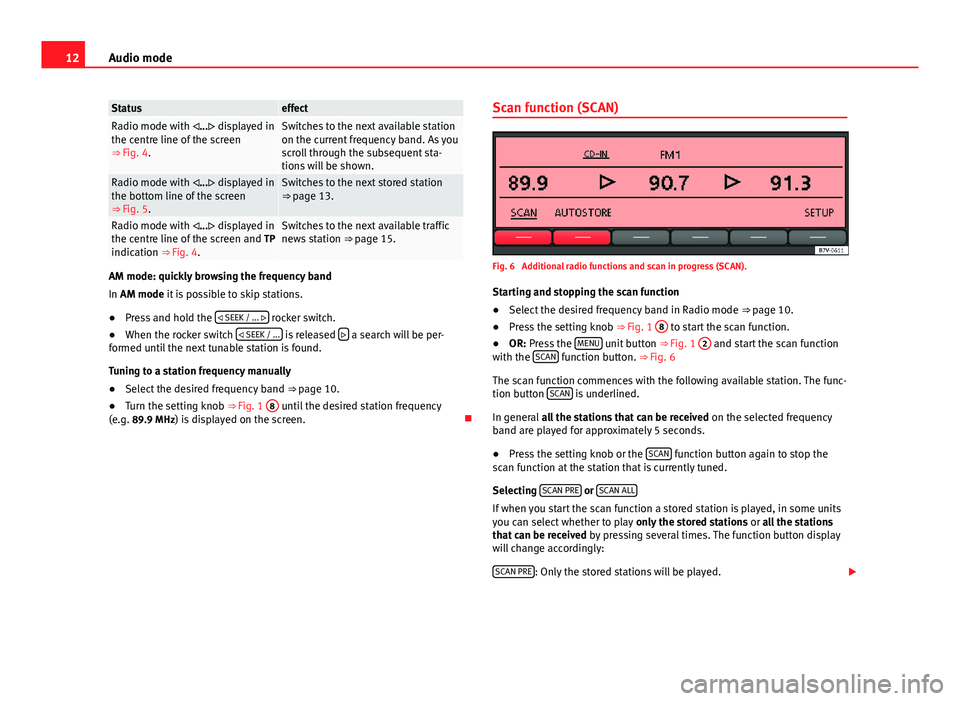
Additional radio functions and scan in progress (SCAN).
Starting and stopping the scan function
●
Select the desired frequency band in Radio mode ⇒ page 10.
●
Press the setting knob ⇒ Fig. 1
8
to start the scan function.
●
OR: Press the MENU unit button ⇒ Fig. 1
2
and start the scan functionwith the SCAN function button. ⇒ Fig. 6
The scan function commences with the following available station. The func-tion button SCAN is underlined.
In general all the stations that can be received on the selected frequencyband are played for approximately 5 seconds.
●
Press the setting knob or the SCAN function button again to stop thescan function at the station that is currently tuned.
Selecting SCAN PRE or SCAN ALL
If when you start the scan function a stored station is played, in some unitsyou can select whether to play only the stored stations or all the stationsthat can be received by pressing several times. The function button displaywill change accordingly:
SCAN PRE: Only the stored stations will be played.
Page 27 of 48
26Audio modeBrowsing tracks
Press the ... / TRACK ⇒ Fig. 1 rocker switch to the left or right.
ActioneffectBriefly pressing to the left.Goes to the start of the current track.Briefly pressing to the right.Next track.Briefly pressing twice in quick suc-cession to the left.Goes to the start of the previous track.Pressing and holding to the left.Fast reverse.Pressing and holding to the right.Fast forward.
You can also change track by turning the setting knob ⇒ Fig. 1
8
.
Changing folder in audio data CD mode
●
Press the FOLDER or ... / FLDR ⇒ Fig. 1
9
rocker switch to the rightor left to switch to the first track of the next or previous folder respectively.
After changing folder or track, the storage location corresponding to theplaying order of the audio data CD is briefly displayed (in Fig. 18: folder 1and track number 5). After roughly 5 seconds, the selected track informa-tion is displayed again.
Playing playlists
Playlists on data media do not play automatically.
●
Press the PLAYLIST function button to start playing the playlists on datamedia.
●
Press the FOLDER or ... / FLDR rocker switch to the right or left toswitch to the first track of the next or previous playlist respectively.
The scan function (SCAN) and random playback (MIX) are only available forthe playlist you are listening to ⇒ page 26.
●
Press the PLAYLIST function button again to stop playing the playlists.
Note●Selecting tracks and CDs from an external CD changer ⇒ page 34.●
Selecting tracks and CDs via MEDIA-IN multimedia interface⇒ page 30.
Changing playback mode (SCAN, MIX, REPEAT)
Fig. 19
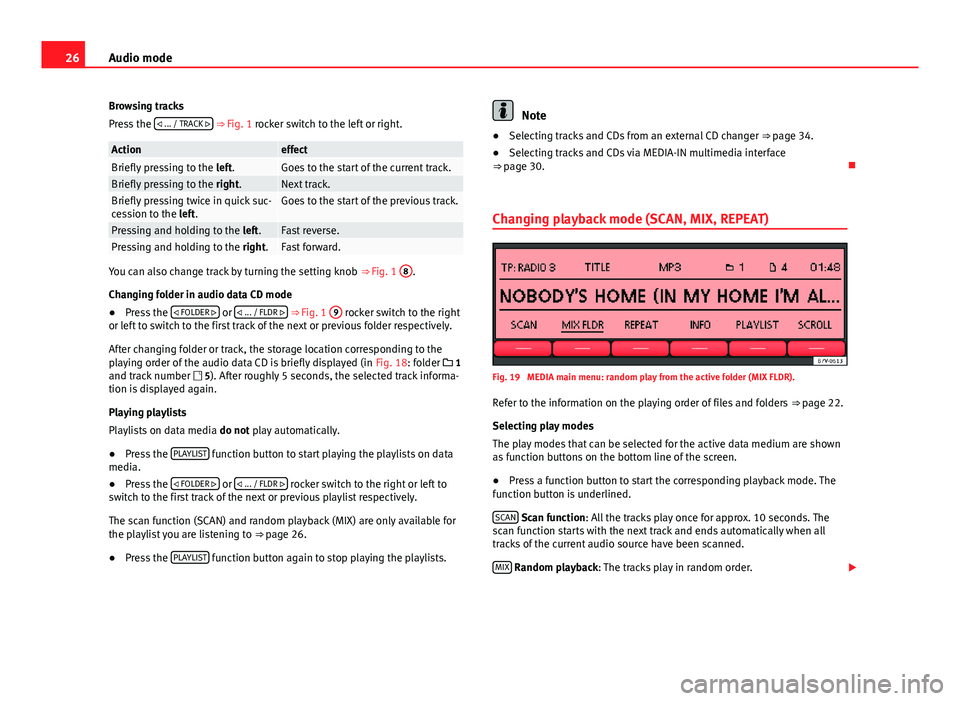
MEDIA main menu: random play from the active folder (MIX FLDR).
Refer to the information on the playing order of files and folders ⇒ page 22.
Selecting play modes
The play modes that can be selected for the active data medium are shownas function buttons on the bottom line of the screen.
●
Press a function button to start the corresponding playback mode. Thefunction button is underlined.
SCAN Scan function: All the tracks play once for approx. 10 seconds. Thescan function starts with the next track and ends automatically when alltracks of the current audio source have been scanned.
MIX Random playback: The tracks play in random order.
Page 28 of 48
27Audio modeREPEAT Repeat function: Playback is repeated once all the tracks have beenplayed once. In data media with compressed audio files (MP3 and WMA),only folders can be repeated, not the full content of the media.
The repeat (Repeat) and random playback (Mix) functions remain active forthe corresponding media source until they are closed for that source.
●
Press the SCAN, MIX or RPT... function button again to stop the currentplayback mode at the track currently playing.
The scan function can also be started and stopped by pressing the settingbutton ⇒ Fig. 1
8
.
Limiting the playback mode to the folders, playlists or tracks
Depending on the audio source that is being played, playback can be limi-ted to the files, folders or playlists by pressing the playback mode functionbutton several times. The display of the function button changes according-ly (for example in Fig. 19: MIX FLDR).
Display on the function button: effect... CD or ... ALL: All the tracks on the active data medium are played in theselected playback mode.... FLD: Only the tracks in the active folder are played in the selected play-back mode.... PLS: Only the tracks of the active playlists are played in the selectedplayback mode. Playing playlists ⇒ page 26.... TRACK: Repeats the track (title) that is playing (only with REPEAT).
Displays on the function buttons may vary with equipment model.
Compatibility with all encoding/recording software, recording devices andrecording media cannot be guaranteed. Incompatible USB devices canmake noise, interrupt playback or not playback at all.
Page 29 of 48
28Audio modeExternal audio sources (AUX and audio
Bluetooth®)
Introduction
The external audio sources described here can only be played over the vehi-cle speakers, but cannot be controlled via the radio system.
Additional information and warnings:
●
Safety notes ⇒ page 4
●
Unit overview ⇒ page 6
●
Media mode ⇒ page 21
●
System and function settings (SETUP) ⇒ page 38
Note
Please read and observe the manufacturer's manual for the external audiosource.
External audio source connected to the AUX-IN multimedia
socket
Depending on the version of the vehicle, the multimedia socket AUX-IN maybe in a different location. Please refer to the vehicle Instruction Manual tolocate the position of the socket.
The AUX-IN multimedia socket can only be used with a 3.5 mm jack plug.
The external audio source connected is indicated by the AUX function but-ton in the Media selection menu.
If the function button AUX is not displayed, AUX must be activated in theSETUP menu ⇒ page 38.
Connecting an external audio source to the AUX-IN multimedia socket
●
Connect the external audio source to the AUX-IN multimedia socket.
●
Lower the basic volume of the radio ⇒ page 8.
●
Start playback on the external audio source.
●
Open the Media selection menu and select the AUX function button⇒ page 24.
The output volume of a connected external audio source should be adjustedto the volume of the other audio sources ⇒ page 39.
Vehicles with AUX-IN multimedia socket and MEDIA-IN multimedia interface
In vehicles also equipped with the MEDIA-IN multimedia interface theMEDIA-IN function button is displayed instead of the AUX function button⇒ page 30.
An external audio source connected to the AUX-IN multimedia socket canonly be played when no external data medium is connected to the MEDIA-INmultimedia interface.
The audio source of the devices connected in the MEDIA-IN device (USB asAUX-IN) takes priority over those connected in the RSE. Where both optionsare available, make sure that there is nothing connected in the MEDIA-IN*connections when you wish to listen to the audio source of the RSE(⇒ Booklet Rear Seat Entertainment) in the car.
Note
●When playback on the external audio source is stopped or the plug isdisconnected from the AUX-IN multimedia socket, the radio-navigation sys-tem remains in the AUX menu.
●
Interference may be heard if the external audio source is powered fromthe vehicle’s 12-volt socket.