jump start Seat Leon SC 2014 MEDIA SYSTEM 2.2
[x] Cancel search | Manufacturer: SEAT, Model Year: 2014, Model line: Leon SC, Model: Seat Leon SC 2014Pages: 114, PDF Size: 2.47 MB
Page 31 of 114

30Audio mode
If the audio files contain additional track information (CD text, ID3 tag in the
case of MP3 files), the track name is displayed in the centre, with the artist
above and the album name below it ⇒ Fig. 25.
Press the
unit button
⇒ Fig. 1 7 to display further track information (stor-
age location).
The elapsed playing time and the remaining playing time of the track are
displayed in minutes and seconds on the left and right. The remaining play-
ing time cannot be displayed for files with variable bit rate ( VBR).
Inserting and ejecting a CD
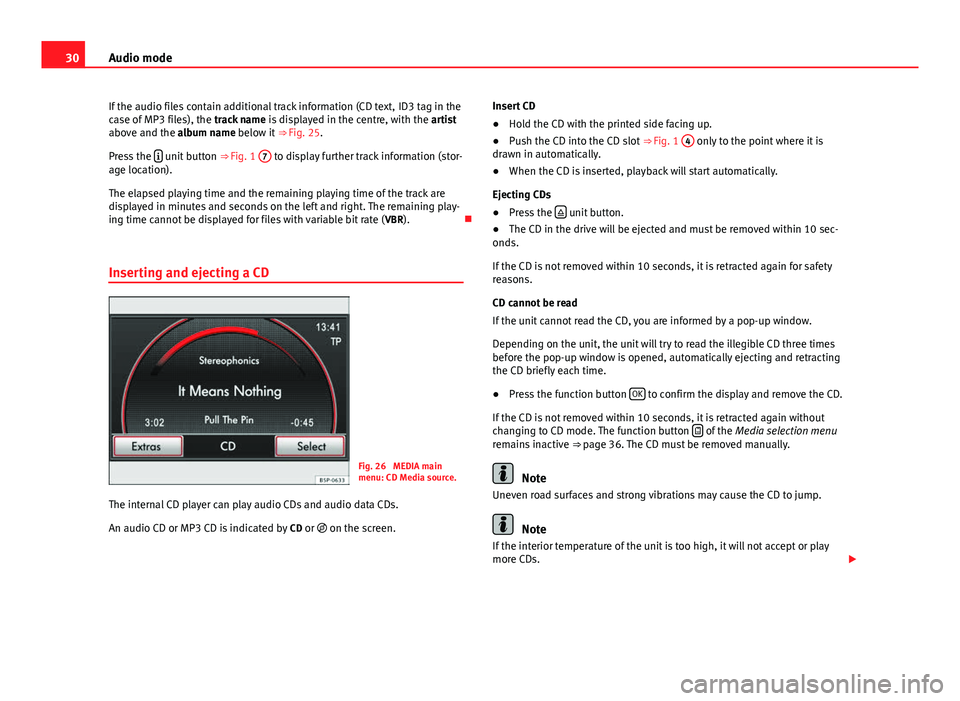
Fig. 26 MEDIA main
menu: CD Media source.
The internal CD player can play audio CDs and audio data CDs.
An audio CD or MP3 CD is indicated by CD or on the screen. Insert CD
●
Hold the CD with the printed side facing up.
● Push the CD into the CD slot ⇒ Fig. 1 4
only to the point where it is
drawn in automatically.
● When the CD is inserted, playback will start automatically.
Ejecting CDs
● Press the
unit button.
● The CD in the drive will be ejected and must be removed within 10 sec-
onds.
If the CD is not removed within 10 seconds, it is retracted again for safety
reasons.
CD cannot be read
If the unit cannot read the CD, you are informed by a pop-up window.
Depending on the unit, the unit will try to read the illegible CD three times
before the pop-up window is opened, automatically ejecting and retracting
the CD briefly each time.
● Press the function button OK
to confirm the display and remove the CD.
If the CD is not removed within 10 seconds, it is retracted again without
changing to CD mode. The function button
of the
Media selection menu
remains inactive ⇒ page 36. The CD must be removed manually.
Note
Uneven road surfaces and strong vibrations may cause the CD to jump.
Note
If the interior temperature of the unit is too high, it will not accept or play
more CDs.
Page 32 of 114

31
Audio mode
Note
If you insert a number of different CDs and receive the message CD drive er-
ror every time, contact a specialised workshop.
Inserting and removing memory cards
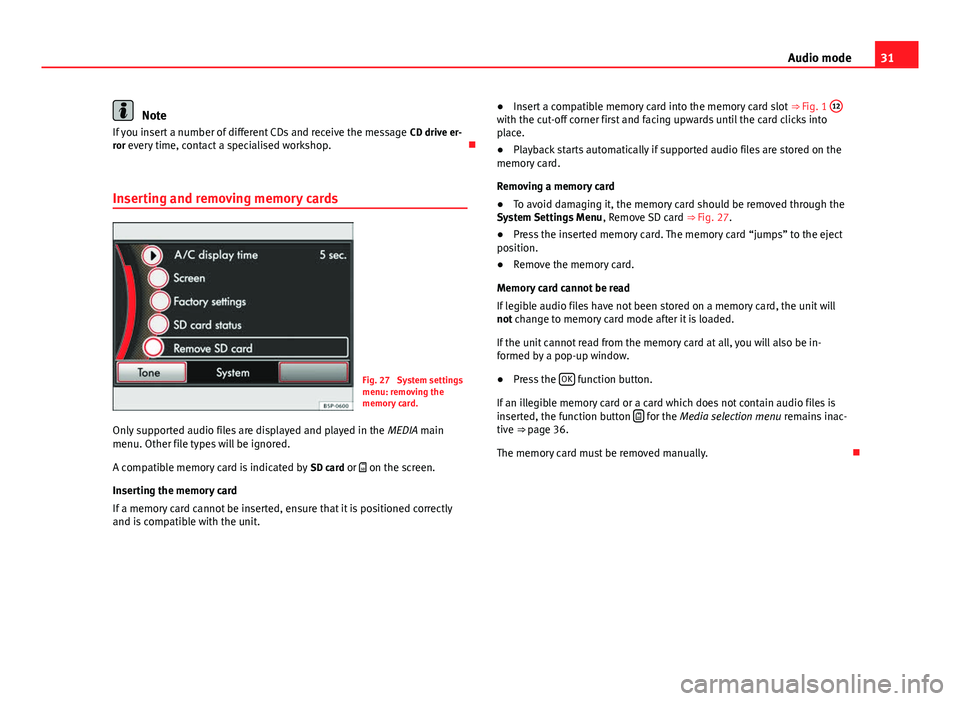
Fig. 27 System settings
menu: removing the
memory card.
Only supported audio files are displayed and played in the MEDIA main
menu. Other file types will be ignored.
A compatible memory card is indicated by SD card or on the screen.
Inserting the memory card
If a memory card cannot be inserted, ensure that it is positioned correctly
and is compatible with the unit. ●
Insert a compatible memory card into the memory card slot ⇒ Fig. 1 12
with the cut-off corner first and facing upwards until the card clicks into
place.
● Playback starts automatically if supported audio files are stored on the
memory card.
Removing a memory card
● To avoid damaging it, the memory card should be removed through the
System Settings Menu , Remove SD card ⇒ Fig. 27.
● Press the inserted memory card. The memory card “jumps” to the eject
position.
● Remove the memory card.
Memory card cannot be read
If legible audio files have not been stored on a memory card, the unit will
not change to memory card mode after it is loaded.
If the unit cannot read from the memory card at all, you will also be in-
formed by a pop-up window.
● Press the OK
function button.
If an illegible memory card or a card which does not contain audio files is
inserted, the function button
for the Media selection menu
remains inac-
tive ⇒ page 36.
The memory card must be removed manually.