sensor Seat Leon SC 2014 MEDIA SYSTEM PLUS - NAVI SYSTEM
[x] Cancel search | Manufacturer: SEAT, Model Year: 2014, Model line: Leon SC, Model: Seat Leon SC 2014Pages: 64, PDF Size: 1.71 MB
Page 8 of 64

Introduction
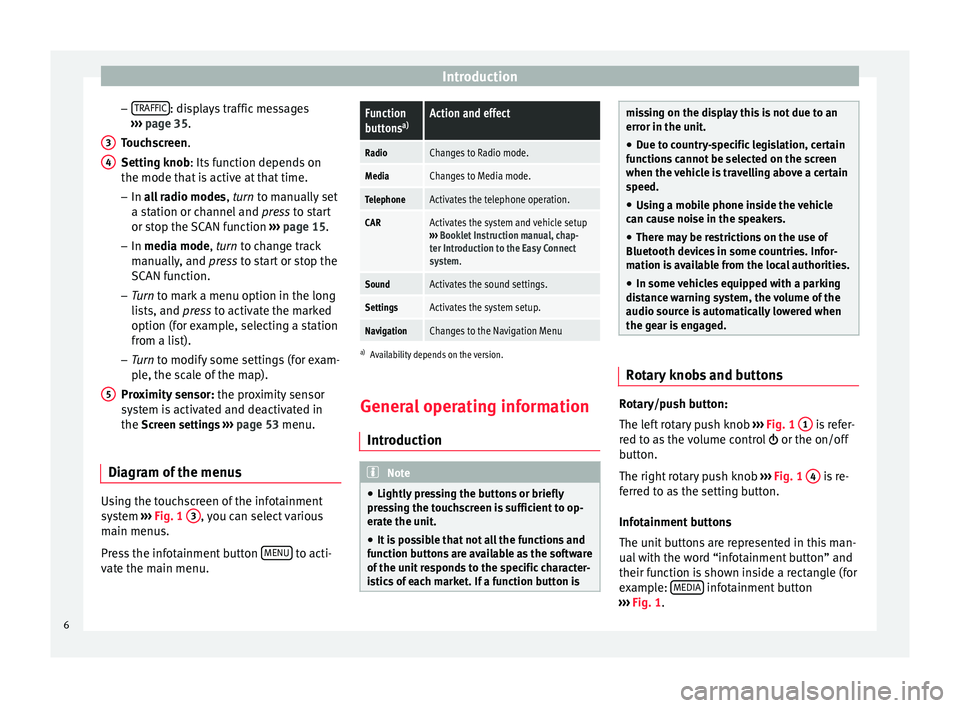
– TRAFFIC : displays traffic messages
››› page 35 .
T ouc
hscreen
.
Setting knob
: Its function depends on
the mode that is active at that time.
– In all radio modes , turn
to manually set
a station or channel and press to start
or stop the SCAN function ››› page 15.
– In media mode,
turn to change track
manually, and press to start or stop the
SCAN function.
– Turn to mark a menu option in the long
lis
ts, and press to activate the marked
option (for example, selecting a station
from a list).
– Turn to modify some settings (for exam-
pl
e, the scale of the map).
Proximity sensor: the proximity sensor
system is activated and deactivated in
the Screen settings ››› page 53 menu.
Diagram of the menus Using the touchscreen of the infotainment
system
›››
Fig. 1 3 , you can select various
main menus.
Press the infotainment button MENU to acti-
vate the main menu. 3 4
5
Function
buttons
a)Action and effect
RadioChanges to Radio mode.
MediaChanges to Media mode.
TelephoneActivates the telephone operation.
CARActivates the system and vehicle setup
››› Booklet Instruction manual, chap-
ter Introduction to the Easy Connect
system.
SoundActivates the sound settings.
SettingsActivates the system setup.
NavigationChanges to the Navigation Menu
a) Availability depends on the version.
General operating information
Introduction Note
● Lightly pressing the buttons or briefly
pressing the touchscreen is sufficient to op-
erate the unit.
● It is possible that not all the functions and
function buttons are available as the software
of the unit responds to the specific character-
istics of each market. If a function button is missing on the display this is not due to an
error in the unit.
● Due to country-specific legislation, certain
functions cannot be selected on the screen
when the vehicle is travelling above a certain
speed.
● Using a mobile phone inside the vehicle
can cause noise in the speakers.
● There may be restrictions on the use of
Bluetooth devices in some countries. Infor-
mation is available from the local authorities.
● In some vehicles equipped with a parking
distance warning system, the volume of the
audio source is automatically lowered when
the gear is engaged. Rotary knobs and buttons
Rotary/push button:
The left rotary push knob
››› Fig. 1 1 is refer-
red to as the volume control or the on/off
button.
The right rotary push knob ››› Fig. 1 4 is re-
ferred to as the setting button.
Infotainment buttons
The unit buttons are represented in this man-
ual with the word “infotainment button” and
their function is shown inside a rectangle (for
example: MEDIA infotainment button
››› Fig. 1 .
6
Page 31 of 64

Navigation
Navigation Introduction and operation of
the navigation system Introduction General information
The current position of the vehicle is deter-
mined through the GPS satellite system
(Global Positioning System). Sensors in the
vehicle measure distances driven. With the
detailed material stored in the map, and ac-
cording to the traffic news stored, all the val-
ues obtained are compared. Similarly, the
traffic reports are taken into account to calcu-
late the route (dynamic navigation
››› page 35 ). With all the data available, the
n av
igation system calculates the optimum
route to the destination.
The destination is defined by entering an ad-
dress or a point of interest, e.g. a petrol sta-
tion or hotel.
Spoken instructions and visual guidance on
the navigation unit and the combi-instrument
direct you to your destination.
Depending on the country, some infotain-
ment system functions can no longer be se-
lected when the vehicle is travelling above a
certain speed. This is not an operational er- ror; it is to comply with the legal require-
ments.
Limitations during navigation Possible errors during navigation
When the navigation system cannot receive
data from the GPS satellites (dense tree foli-
age, underground parking areas), it is possi-
ble to proceed with navigation using the sys-
tem of vehicle sensors.
For the navigator to work properly, navigation
should begin when the signal is received
from the satellite.
In areas that are not or only partially digitised
on the data medium (e.g. insufficient defini-
tion of one-way streets and road categories),
the navigation system will still attempt to
provide route guidance.
If navigation data are unavailable or incom-
plete, the navigation system may be unable
to determine the exact vehicle position. As a
result, the navigation may not be as exact as
usual.
Area of navigation and validity of the
navigation data
Roads and streets are subject to constant
change (e.g. new roads, changes to street
names and house numbers). After some
time, navigation data will no longer be up-to-date. This may lead to inaccurate or incorrect
route guidance.
Current navigation data media and versions
for other countries are available from SEAT
dealerships.
Note
The user must pay attention to the road
signs, which take precedence over those
shown on the screen. Use navigation data from a memory
card
Memory cards containing updated navigation
data can be obtained from SEAT dealerships.
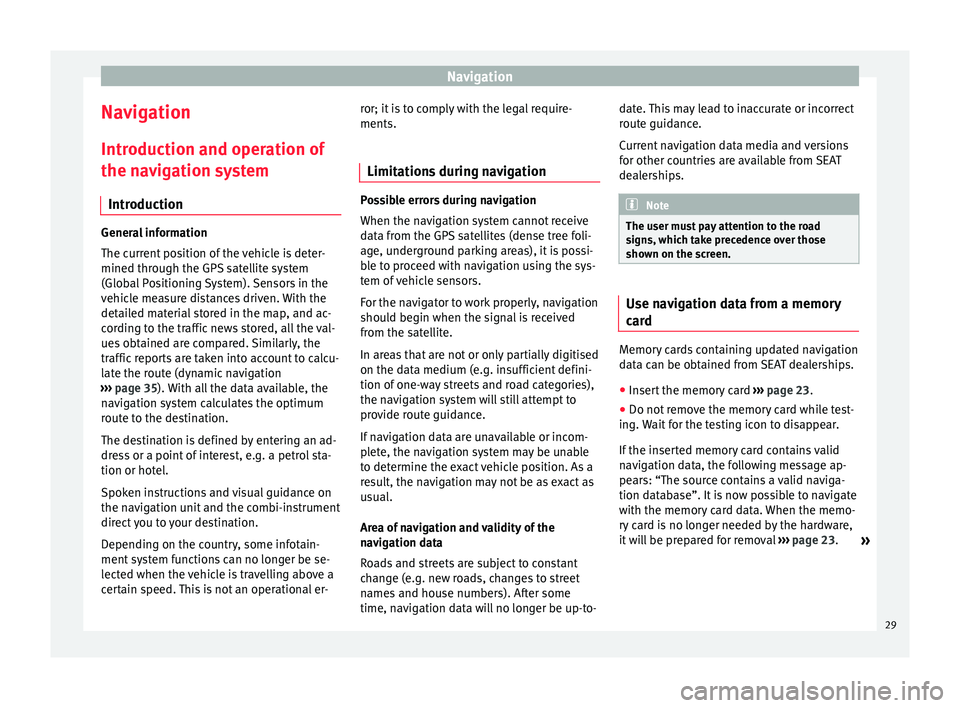
●
Insert the memory card ›››
page 23 .
● Do not remove the memory card while test-
ing. Wait for the testing icon to disappear.
If the inserted memory card contains valid
navigation data, the following message ap-
pears: “The source contains a valid naviga-
tion database”. It is now possible to navigate
with the memory card data. When the memo-
ry card is no longer needed by the hardware,
it will be prepared for removal ›››
page 23.
»
29
Page 32 of 64

Navigation
Note
● Do not remove the memory card while the
navigation data is in use. This could damage
the memory card!
● The navigation memory card may not be
used as memory for other files. The infotain-
ment system will not recognise the files
saved.
● SEAT recommends only using original SEAT
memory cards to use navigation data. The
use of other memory cards could limit its op-
eration. Main menu of navigation
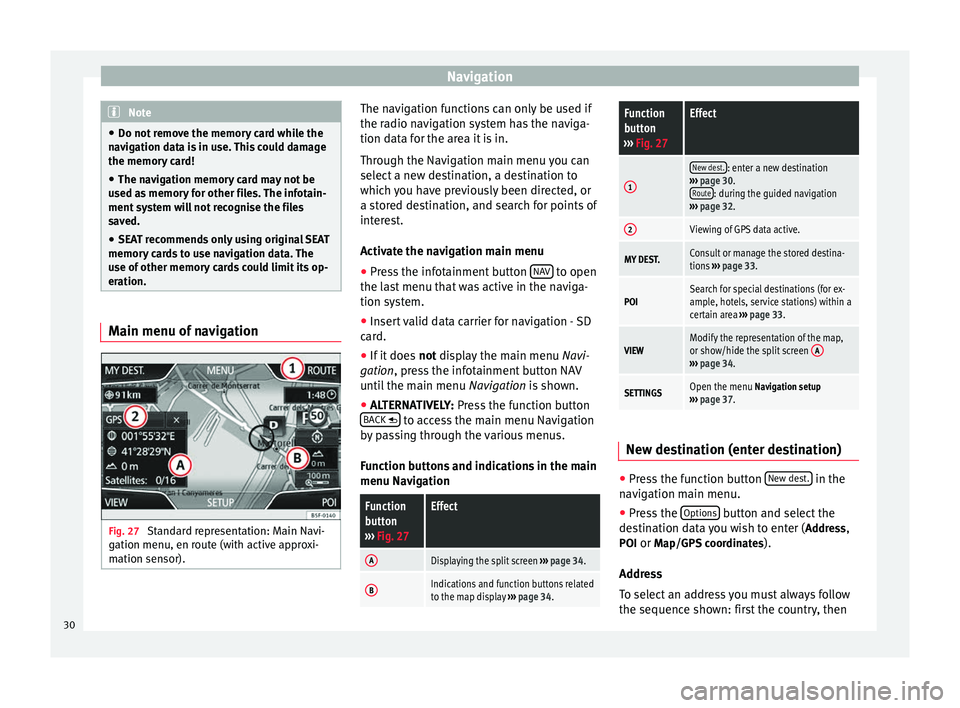
Fig. 27
Standard representation: Main Navi-
gation menu, en route (with active approxi-
mation sensor). The navigation functions can only be used if
the radio navigation system has the naviga-
tion data for the area it is in.
Through the Navigation main menu you can
select a new destination, a destination to
which you have previously been directed, or
a stored destination, and search for points of
interest.
Activate the navigation main menu
● Press the infotainment button NAV to open
the last menu that was active in the naviga-
tion system.
● Insert valid data carrier for navigation - SD
card.
● If it does not display the main menu
Na
vi-
gation, press the infotainment button NAV
until the main menu Navigation is shown.
● ALTERNATIVELY:
Press the function button
BACK to access the main menu Navigation
by passing through the various menus.
Function buttons and indications in the main
menu Navigation
Function
button
››› Fig. 27Effect
ADisplaying the split screen ››› page 34.
BIndications and function buttons related
to the map display ››› page 34.
Function
button
››› Fig. 27Effect
1
New dest.: enter a new destination
››› page 30.
Route
: during the guided navigation
››› page 32.
2Viewing of GPS data active.
MY DEST.Consult or manage the stored destina-
tions ››› page 33.
POISearch for special destinations (for ex-
ample, hotels, service stations) within a
certain area ››› page 33.
VIEWModify the representation of the map,
or show/hide the split screen A
›››
page 34.
SETTINGSOpen the menu Navigation setup
››› page 37. New destination (enter destination)
●
Press the function button New dest. in the
navigation main menu.
● Press the Options button and select the
destination data you wish to enter ( Address,
POI or Map/GPS coordinates ).
Address
To select an address you must always follow
the sequence shown: first the country, then
30
Page 55 of 64

Setup
Setup
Menu and system setting
(SETUP) Introduction Depending on the country, the device and
the features of the vehicle, some settings
may be different.
Activating the main menu.
● Press the infotainment button MENU to
open the main menu System setup (SETUP).
● Press the function button SETUP to access
the system setup.
Menu and system setup (SETUP) Activating the main menu.
● Press the infotainment button MENU to
open the main menu System setup (SETUP)
.
● Press the function button SETUP to access
the system setup.Function button: effect
Sound setup: adjust volume and sound setup
››› page 54.
Screen: complete the touch screen setting ››› page 53.
Function button: effect
Date and time: ››› Booklet Instruction Manual, chap-
ter System setup (CAR)
Idioma/Language: set the desired language for the texts
and announcements.
Keyboard: select the desired keyboard (ABC or QWERTY).
Additional keyboard languages: select an additional lan-
guage for the keyboard.
Units: ››› Booklet Instruction Manual, chapter System
setup (CAR)
Voice control: adjust the voice control setup ››› page 54.
Safely remove SD card 1, Safely remove SD card 2: eject the de-
sired memory card from the system. After ejecting the
memory card, the function button will be shown in grey.
Safely remove the USB data medium: eject the USB data medi-
um from the system.
Factory settings: ››› page 54.
Bluetooth: adjust the Bluetooth setup ››› page 51.
System information: indication of the system information
(device number, hardware and software version).
Copyright Note
For all the infotainment systems to work
properly, it is important to set the correct
time and date in the vehicle. Screen settings
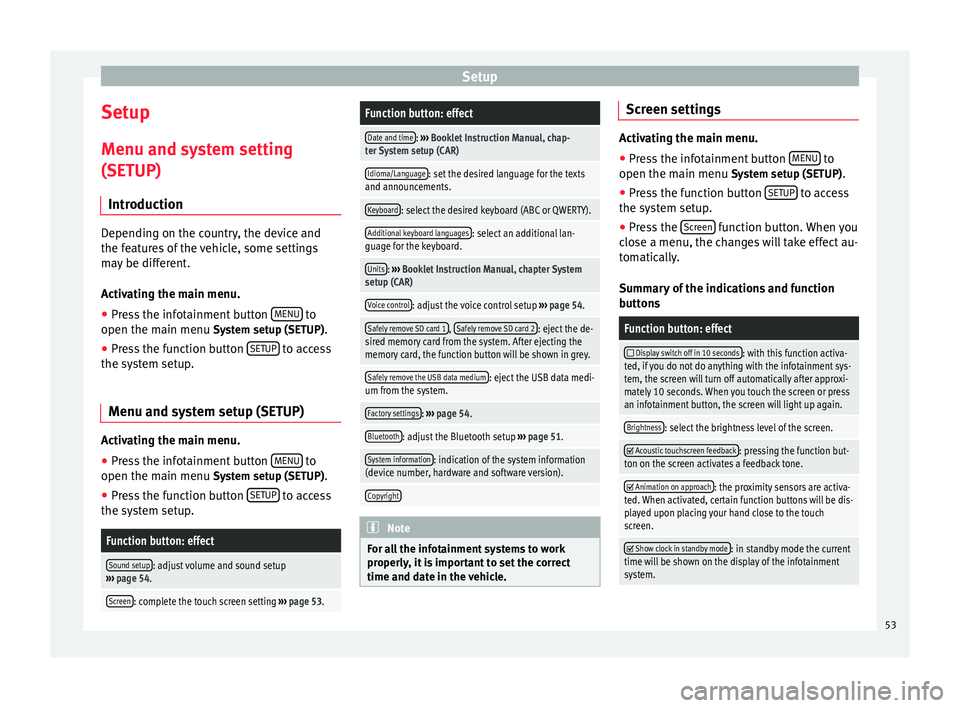
Activating the main menu.
●
Press the infotainment button MENU to
open the main menu System setup (SETUP).
● Pr e
ss the function button SETUP to access
the system setup.
● Press the Screen function button. When you
close a menu, the changes will take effect au-
tomatically.
Summary of the indications and function
buttons
Function button: effect
Display switch off in 10 seconds: with this function activa-
ted, if you do not do anything with the infotainment sys-
tem, the screen will turn off automatically after approxi-
mately 10 seconds. When you touch the screen or press
an infotainment button, the screen will light up again.
Brightness: select the brightness level of the screen.
Acoustic touchscreen feedback: pressing the function but-
ton on the screen activates a feedback tone.
Animation on approach: the proximity sensors are activa-
ted. When activated, certain function buttons will be dis-
played upon placing your hand close to the touch
screen.
Show clock in standby mode: in standby mode the current
time will be shown on the display of the infotainment
system. 53