window Seat Leon SC 2014 MEDIA SYSTEM TOUCH - COLOUR
[x] Cancel search | Manufacturer: SEAT, Model Year: 2014, Model line: Leon SC, Model: Seat Leon SC 2014Pages: 44, PDF Size: 1.45 MB
Page 10 of 44
Introduction Action and effect
DMove the control around the screen by
pressing lightly, without lifting your finger
››› Fig. 2.
BACK Briefly press to return progressively to the
main menu from a sub-menu, or to undo the
changes made.
Press briefly to open a pop-up window with
additional setup options. To close the pop-
up window briefly press outside of it or se-
lect an option.
/
Activated/deactivated function.
Some functions or instructions are marked
with a checkbox, and are activated or deac-
tivated by touching them briefly.
OKBriefly press to confirm the data entered or
to select.
×
Briefly press to close a pop-up window or a
data entry screen.
/ Briefly press to modify the setup progres-
sively.
SET-
TINGSTo activate the setup of the menus and sys-
tems.
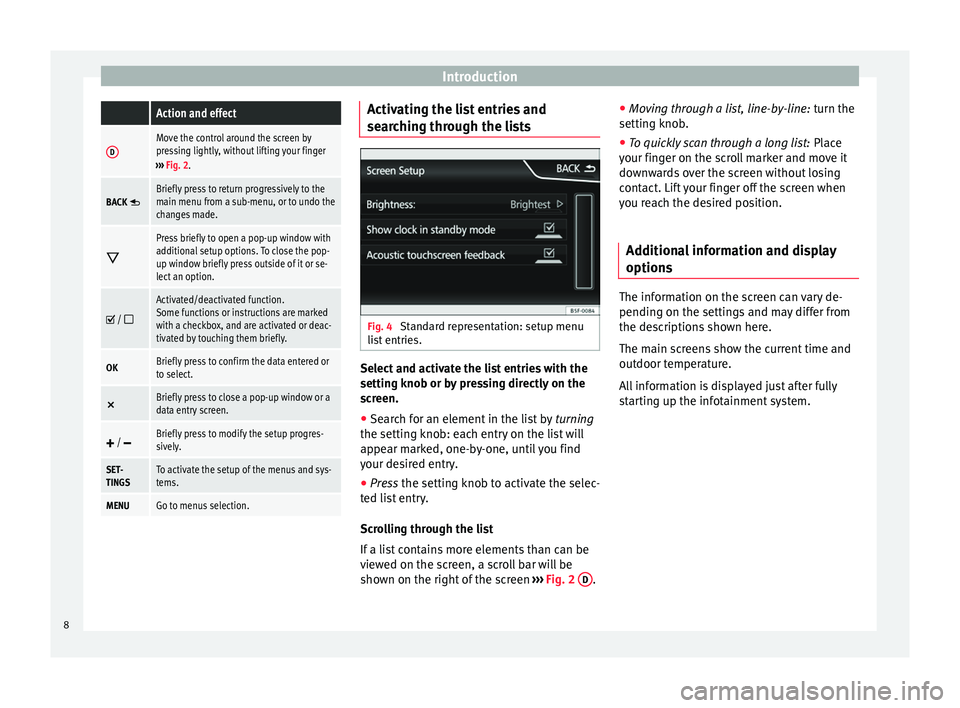
MENUGo to menus selection. Activating the list entries and
searching through the lists
Fig. 4
Standard representation: setup menu
list entries. Select and activate the list entries with the
setting knob or by pressing directly on the
screen.
● Search for an element in the list by turning
the setting knob: each entry on the list will
appear marked, one-by-one, until you find
your desired entry.
● Press the setting knob to activate the selec-
t ed li
st entry.
Scrolling through the list
If a list contains more elements than can be
viewed on the screen, a scroll bar will be
shown on the right of the screen ›››
Fig. 2 D .●
Moving through a list, line-by-line: turn the
setting knob.
● To quickly scan through a long list: Place
your finger on the scroll marker and move it
downwards over the screen without losing
contact. Lift your finger off the screen when
you reach the desired position.
Additional information and display
options The information on the screen can vary de-
pending on the settings and may differ from
the descriptions shown here.
The main screens show the current time and
outdoor temperature.
All information is displayed just after fully
starting up the infotainment system.
8
Page 11 of 44
Audio mode
Audio mode
Radio mode Introduction Note
● Please bear in mind that in car parks, tun-
nels, areas with high buildings or mountains
the radio signal can be impaired.
● Foil or metal-coated stickers attached to
the windows may affect reception on vehicles
with a window aerial. RADIO main menu
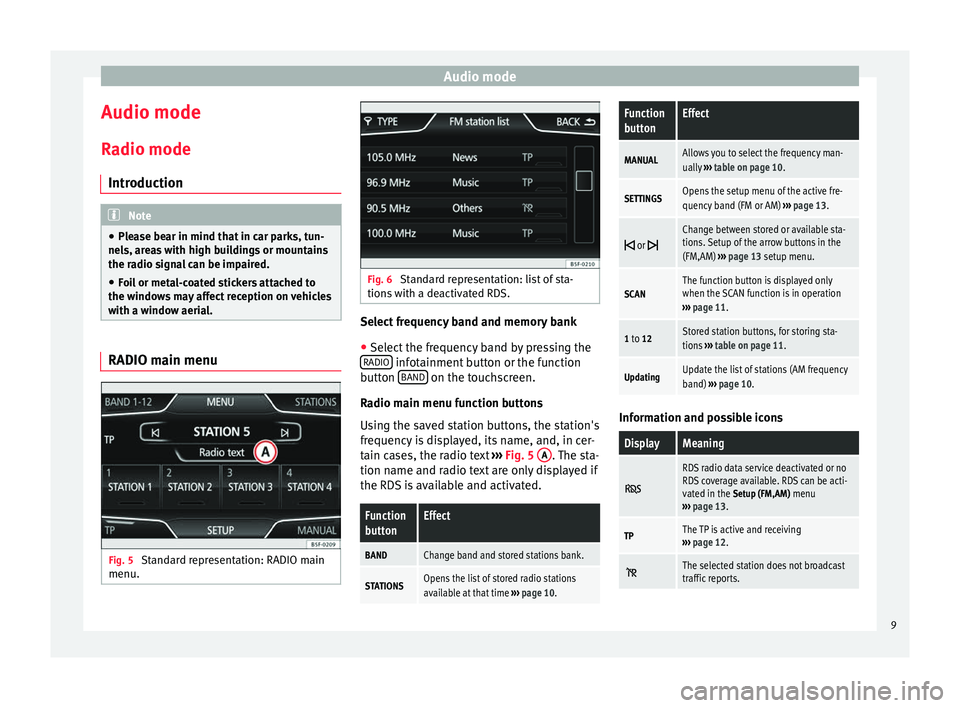
Fig. 5
Standard representation: RADIO main
menu. Fig. 6
Standard representation: list of sta-
tions with a deactivated RDS. Select frequency band and memory bank
● Select the frequency band by pressing the
RADIO infotainment button or the function
button BAND on the touchscreen.
Radio main menu function buttons
Using the saved station buttons, the station's
frequency is displayed, its name, and, in cer-
tain cases, the radio text ›››
Fig. 5 A . The sta-
tion name and radio text are only displayed if
the RDS is available and activated.Function
buttonEffect
BANDChange band and stored stations bank.
STATIONSOpens the list of stored radio stations
available at that time ››› page 10.
Function
buttonEffect
MANUALAllows you to select the frequency man-
ually ››› table on page 10.
SETTINGSOpens the setup menu of the active fre-
quency band (FM or AM) ››› page 13.
or
Change between stored or available sta-
tions. Setup of the arrow buttons in the
(FM,AM)
››› page 13 setup menu.
SCANThe function button is displayed only
when the SCAN function is in operation
››› page 11.
1 to 12Stored station buttons, for storing sta-
tions ››› table on page 11.
UpdatingUpdate the list of stations (AM frequency
band) ››› page 10. Information and possible icons
DisplayMeaning
RDS radio data service deactivated or no
RDS coverage available. RDS can be acti-
vated in the Setup (FM,AM) menu
››› page 13.
TPThe TP is active and receiving
››› page 12.
The selected station does not broadcast
traffic reports. 9
Page 15 of 44
Audio mode
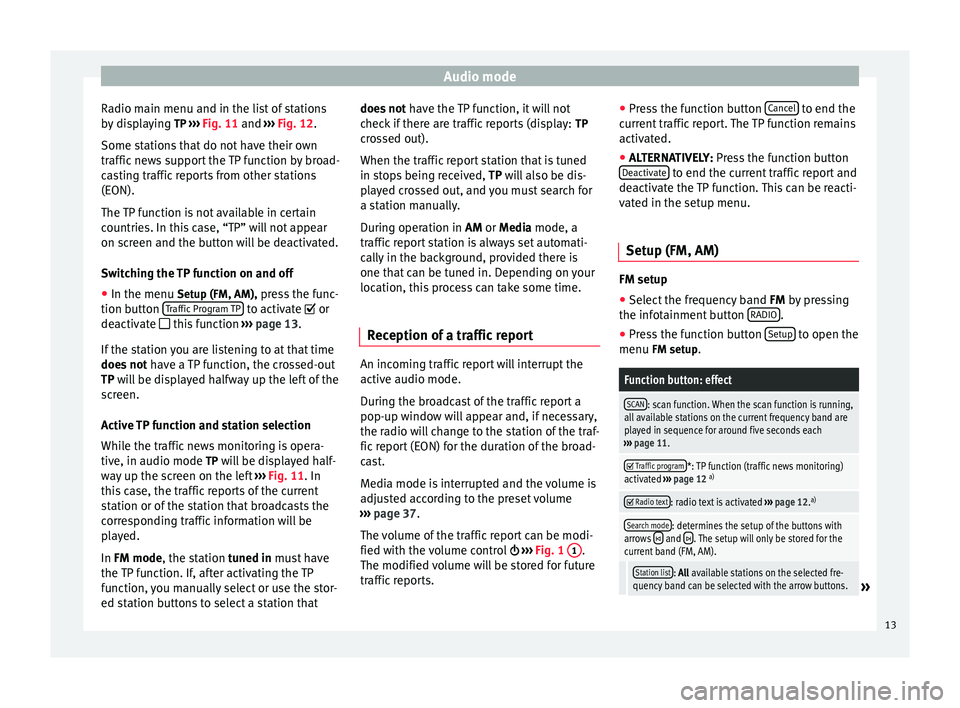
Radio main menu and in the list of stations
by displaying TP ››› Fig. 11 and
›
›› Fig. 12.
Some stations that do not have their own
traffic news support the TP function by broad-
casting traffic reports from other stations
(EON).
The TP function is not available in certain
countries. In this case, “TP” will not appear
on screen and the button will be deactivated.
Switching the TP function on and off ● In the menu Setup (FM, AM), press the func-
tion button Traffic Program TP to activate or
deactivate this function ››› page 13.
If the station you are listening to at that time
does not have a TP function, the crossed-out
TP will be displayed halfway up the left of the
s c
reen.
Active TP function and station selection
While the traffic news monitoring is opera-
tive, in audio mode TP will be displayed half- way up the screen on the left ››› Fig. 11. In
this
case, the traffic reports of the current
station or of the station that broadcasts the
corresponding traffic information will be
played.
In
FM mode, the station tuned in must have
the TP function. If, after activating the TP
function, you manually select or use the stor-
ed station buttons to select a station that does not
have the TP function, it will not
check if there are traffic reports (display: TP
crossed out).
When the traffic report station that is tuned
in stops being received, TP will also be dis-
pl
ayed crossed out, and you must search for
a station manually.
During operation in
AM or Media mode, a
traffic report station is always set automati-
cally in the background, provided there is
one that can be tuned in. Depending on your
location, this process can take some time.
Reception of a traffic report An incoming traffic report will interrupt the
active audio mode.
During the broadcast of the traffic report a
pop-up window will appear and, if necessary,
the radio will change to the station of the traf-
fic report (EON) for the duration of the broad-
cast.
Media mode is interrupted and the volume is
adjusted according to the preset volume
››› page 37 .
The v
olume of the traffic report can be modi-
fied with the volume control ›››
Fig. 1
1 .
The modified volume will be stored for future
traffic reports. ●
Press the function button Cancel to end the
current traffic report. The TP function remains
activated.
● ALTERNATIVELY: Press the function button
D e
activate to end the current traffic report and
deactivate the TP function. This can be reacti-
vated in the setup menu.
Setup (FM, AM) FM setup
● Select the frequency band FM
by pressing
the inf ot
ainment button RADIO .
● Press the function button Setup to open the
menu FM setup.
Function button: effect
SCAN: scan function. When the scan function is running,
all available stations on the current frequency band are
played in sequence for around five seconds each
››› page 11.
Traffic program*: TP function (traffic news monitoring)
activated ››› page 12 a)
Radio text: radio text is activated
››› page 12. a)
Search mode: determines the setup of the buttons with
arrows and . The setup will only be stored for the
current band (FM, AM).
Station list: All available stations on the selected fre-
quency band can be selected with the arrow buttons.» 13
Page 19 of 44
Audio mode
Function buttons of the main menu MediaFunction
buttonEffect
MEDIA
Press to select another media source
››› page 17.
CD
: internal CD drive unit ››› page 17.
SD card: SD memory card ››› page 18.
Bluetooth audio: Bluetooth audio
››› page 19.
USB
: USB data medium ››› page 22.
AUX: external audio source ››› page 22.
SELECTIONOpens the list of tracks ››› page 20.
or Changes track in Media mode
››› page 19.
Playback will stop. The function button changes to
››› page 19.
Playback will continue. The function button changes to
››› page 19.
SETTINGSOpens the menu Media setup ››› page 21.
Repeat all the tracks.
Repeat the current track.
Random play.
Function
buttonEffect
SCAN
With the scan function running, all the
tracks in the current playlist will be played
for ten seconds each.
The function button is displayed only when
the scan function is running. To start the
scan function, press the setting knob or
open the track list
Selection
and press the
function button SCAN or press the right
knob.
or
Change folder in media mode
Information and possible icons
DisplayMeaning
A›››
Fig. 14
Display of the track information (CD text, ID3 tag in MP3 files). Audio CDs: Dis-
play of the track and number, in accord-
ance with the play order on the data me-
dium.
Audio files: display of the artist name, al-
bum title and song title.
B››› Fig. 14Elapsed playing time.
Time barEnables you to select the required playing
position (function not available with Blue-
tooth ®
audio).
RDS radio data service deactivated. The
RDS can be activated in the menu Setup
(FM, AM) ››› page 13.
DisplayMeaning
TPThe TP is active and receiving ››› page 12.
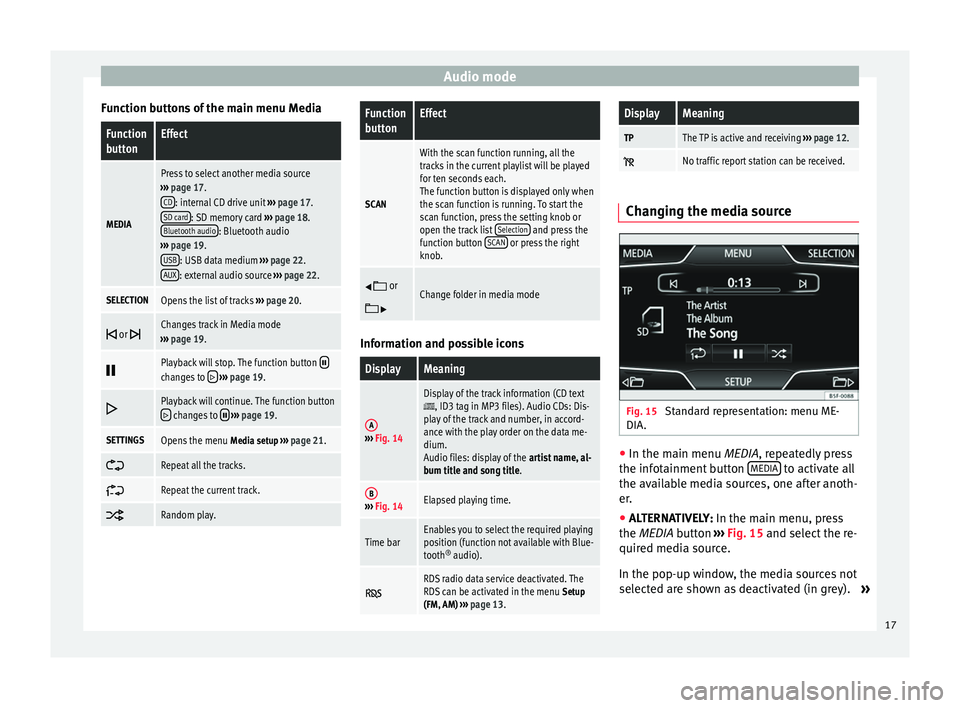
No traffic report station can be received. Changing the media source
Fig. 15
Standard representation: menu ME-
DIA. ●
In the main menu MEDIA
, repeatedly press
the inf
otainment button MEDIA to activate all
the available media sources, one after anoth-
er.
● ALTERNATIVELY: In the main menu, press
the MEDIA
button ››› Fig. 15 and select the re-
quired media source.
In the pop-up window, the media sources not
selected are shown as deactivated (in grey). »
17
Page 42 of 44
Index
Phonebook menu . . . . . . . . . . . . . . . . . . . . . . . . 30
Places with risk of explosion . . . . . . . . . . . . . . . 25
Places with special regulations . . . . . . . . . . . . . 25
Setup . . . . . . . . . . . . . . . . . . . . . . . . . . . . . . . . . . 31
Places with special regulations . . . . . . . . . . . . . . . 25
Pop-up window . . . . . . . . . . . . . . . . . . . . . . . . . . . . . 7
Q Quick Reference Guide . . . . . . . . . . . . . . . . . . . . . . . 3
R
Radio . . . . . . . . . . . . . . . . . . . . . . . . . . . . . . . . . . . . . 9
RADIO frequency bands . . . . . . . . . . . . . . . . . . . . . . . . . 10
Main menu . . . . . . . . . . . . . . . . . . . . . . . . . . . . . . 9
radio data services RDS . . . . . . . . . . . . . . . . . . . 11
radio text . . . . . . . . . . . . . . . . . . . . . . . . . . . . . . . 12
scan function (SCAN) . . . . . . . . . . . . . . . . . . . . . 11
selecting, adjusting and storing a station . . . . 10
station name and automatic station tracking . . 11
Stored station buttons . . . . . . . . . . . . . . . . . . . . 10
RDS . . . . . . . . . . . . . . . . . . . . . . . . . . . . . . . . . . . . . 38 TP (Traffic Program) . . . . . . . . . . . . . . . . . . . 12, 13
Requirements CDs . . . . . . . . . . . . . . . . . . . . . . . . . . . . . . . . . . . 15
Memory cards . . . . . . . . . . . . . . . . . . . . . . . . . . . 15
SD cards . . . . . . . . . . . . . . . . . . . . . . . . . . . . . . . 15
Requirements for adapter (MDI) . . . . . . . . . . . . . . . . . . . . . . . . . . . 22
external data media (MDI) . . . . . . . . . . . . . . . . . 22
Rotary/push knobs . . . . . . . . . . . . . . . . . . . . . . . . . 7
Rotary knobs . . . . . . . . . . . . . . . . . . . . . . . . . . . . . . . 6
S Safety notes . . . . . . . . . . . . . . . . . . . . . . . . . . . . . . . 3
SCAN see scan function . . . . . . . . . . . . . . . . . . . . . . . . 11 Scan function (SCAN)
Radio mode . . . . . . . . . . . . . . . . . . . . . . . . . . . . . 11
SD card . . . . . . . . . . . . . . . . . . . . . . . . . . . . . . . . . . 18
SETUP see: "Setup (SETUP)" . . . . . . . . . . . . . . . . . . . . . 36
Setup (SETUP) . . . . . . . . . . . . . . . . . . . . . . . . . . . . . 36 Bluetooth setup . . . . . . . . . . . . . . . . . . . . . . . . . 36
Date and Time . . . . . . . . . . . . . . . . . . . . . . . . . . . 36
factory settings . . . . . . . . . . . . . . . . . . . . . . . . . . 36
language . . . . . . . . . . . . . . . . . . . . . . . . . . . . . . . 36
screen setup . . . . . . . . . . . . . . . . . . . . . . . . . . . . 36
sound . . . . . . . . . . . . . . . . . . . . . . . . . . . . . . . . . 37
system . . . . . . . . . . . . . . . . . . . . . . . . . . . . . . . . . 36
units . . . . . . . . . . . . . . . . . . . . . . . . . . . . . . . . . . 36
volume distribution . . . . . . . . . . . . . . . . . . . . . . 37
Sound distribution (Balance/Fader) . . . . . . . . . . . 37
Sound setup . . . . . . . . . . . . . . . . . . . . . . . . . . . . . . 37
Sound (treble/midrange/bass) . . . . . . . . . . . . . . . 37
Station search see scan function . . . . . . . . . . . . . . . . . . . . . . . . 11
Switch-on volume . . . . . . . . . . . . . . . . . . . . . . . . . . 37
Switching off . . . . . . . . . . . . . . . . . . . . . . . . . . . . . . . 6
Switching on . . . . . . . . . . . . . . . . . . . . . . . . . . . . . . . 6
Symbols used in this manual . . . . . . . . . . . . . . . . . 7
T
Things to note AUX mode . . . . . . . . . . . . . . . . . . . . . . . . . . . . . . 22
Touchscreen . . . . . . . . . . . . . . . . . . . . . . . . . . . . . . . 7
TP (Traffic Program) traffic news station . . . . . . . . . . . . . . . . . . . . 12, 13
Track search . . . . . . . . . . . . . . . . . . . . . . . . . . . . . . 19
Traffic news (TP) station monitoring . . . . . . . . 12, 13
Traffic Program (TP) station monitoring . . . . . . . . 13
Treble . . . . . . . . . . . . . . . . . . . . . . . . . . . . . . . . . . . 37 U
Unit buttons overview . . . . . . . . . . . . . . . . . . . . . . . 5
Unit buttons (physical buttons) . . . . . . . . . . . . . . . . 6
Unit overview . . . . . . . . . . . . . . . . . . . . . . . . . . . . . . 5
USB . . . . . . . . . . . . . . . . . . . . . . . . . . . . . . . . . . . . . 21
V Volume See base volume . . . . . . . . . . . . . . . . . . . . . . . . . 6
switch-on volume . . . . . . . . . . . . . . . . . . . . . . . . 37
traffic reports . . . . . . . . . . . . . . . . . . . . . . . . . . . 37
Volume distribution (Balance/Fader) . . . . . . . . . . 37
W Wireless communication interface . . . . . . . . . . . . 19
40