infotainment Seat Leon SC 2015 MEDIA SYSTEM PLUS - NAVI SYSTEM
[x] Cancel search | Manufacturer: SEAT, Model Year: 2015, Model line: Leon SC, Model: Seat Leon SC 2015Pages: 88, PDF Size: 2.23 MB
Page 24 of 88
Audio and Media Mode
Incoming traffic announcement In active Audio mode, an incoming traffic an-
nounc
ement
will play automatically.
During the traffic announcement, a pop-up
window is displayed and the radio changes,
depending on the case, to the traffic news
station (EON).
The media mode is paused and the volume is
adjusted to the preset level ››› page 73.
The volume of the traffic announcement can
be modified with the volume control . The
adjusted volume setting will be applied to
subsequent announcements.
● Press the Canc
el function button to end the
c urr
ent
traffic announcement. The TP function
remains switched on.
● OR: Press the De
activate function button to
end the tr affic
annou
ncement and disconnect
the TP function permanently.
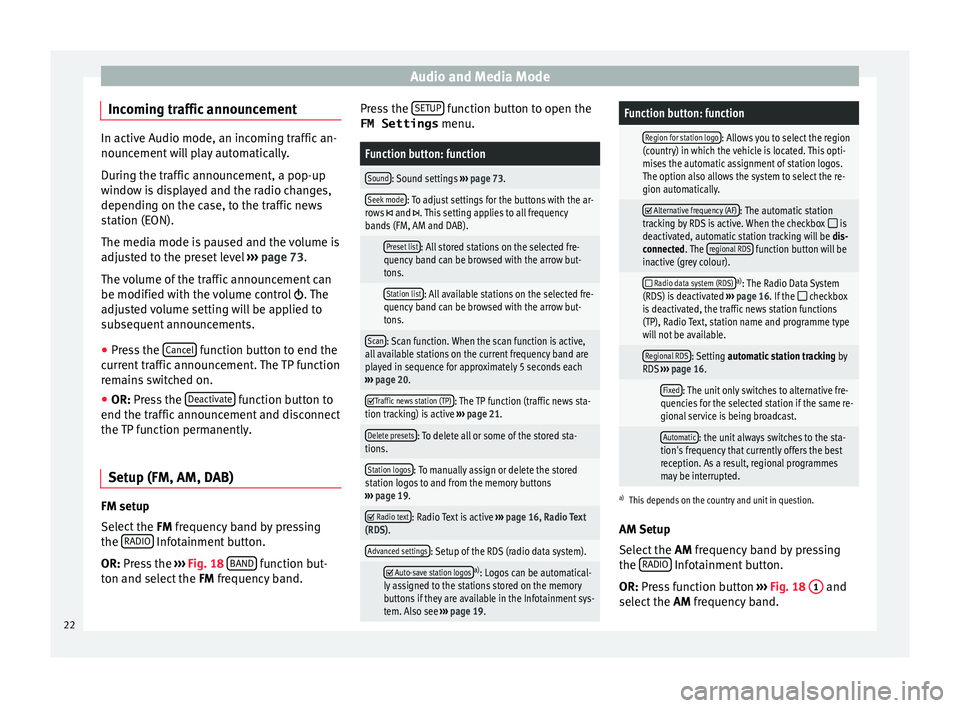
Setup (FM, AM, DAB) FM setup
Sel
ect
the FM
frequency band by pressing
the RADIO Infotainment button.
OR: Pr e
s
s the ›››
Fig. 18 BAND function but-
t on and sel
ect
the FM frequency band. Press the
SETUP function button to open the
FM Settings menu.
Function button: function
Sound: Sound settings ››› page 73.
Seek mode: To adjust settings for the buttons with the ar-
rows and . This setting applies to all frequency
bands (FM, AM and DAB).
Preset list: All stored stations on the selected fre-
quency band can be browsed with the arrow but-
tons.
Station list: All available stations on the selected fre-
quency band can be browsed with the arrow but-
tons.
Scan: Scan function. When the scan function is active,
all available stations on the current frequency band are
played in sequence for approximately 5 seconds each
››› page 20.
Traffic news station (TP): The TP function (traffic news sta-
tion tracking) is active ››› page 21.
Delete presets: To delete all or some of the stored sta-
tions.
Station logos: To manually assign or delete the stored
station logos to and from the memory buttons
››› page 19.
Radio text: Radio Text is active
››› page 16, Radio Text
(RDS).
Advanced settings: Setup of the RDS (radio data system).
Auto-save station logosa)
: Logos can be automatical-
ly assigned to the stations stored on the memory
buttons if they are available in the Infotainment sys-
tem. Also see ››› page 19.
Function button: function
Region for station logo: Allows you to select the region
(country) in which the vehicle is located. This opti-
mises the automatic assignment of station logos.
The option also allows the system to select the re-
gion automatically.
Alternative frequency (AF): The automatic station
tracking by RDS is active. When the checkbox is
deactivated, automatic station tracking will be dis-
connected. The regional RDS
function button will be
inactive (grey colour).
Radio data system (RDS)a)
: The Radio Data System
(RDS) is deactivated ››› page 16. If the checkbox
is deactivated, the traffic news station functions
(TP), Radio Text, station name and programme type
will not be available.
Regional RDS: Setting automatic station tracking by
RDS ››› page 16.
Fixed: The unit only switches to alternative fre-
quencies for the selected station if the same re-
gional service is being broadcast.
Automatic: the unit always switches to the sta-
tion's frequency that currently offers the best
reception. As a result, regional programmes
may be interrupted.
a) This depends on the country and unit in question.
AM Setup
Select the AM frequency band by pressing
the RADIO Infotainment button.
OR: Pr e
s
s function button ››› Fig. 18 1 and
sel ect
the AM
frequency band.
22
Page 25 of 88
Audio and Media Mode
Press the S
ETUP function button to open the
AM Settings menu.Function button: function
Sound: Sound settings ››› page 73.
Seek mode: To adjust settings for the buttons with the ar-
rows and . This setting applies to all frequency
bands (FM, AM and DAB).
Preset list: All stored stations on the selected fre-
quency band can be browsed with the arrow but-
tons.
Station list: All available stations on the selected fre-
quency band can be browsed with the arrow but-
tons.
Scan: Scan function. When the scan function is active,
all available stations on the current frequency band are
played in sequence for approximately 5 seconds each
››› page 20.
Traffic news station (TP): The TP function (traffic news sta-
tion tracking) is active ››› page 21.
Delete presets: To delete all or some of the stored sta-
tions.
Station logos: To assign the logos to the stations stored
on the memory buttons ››› page 19. DAB Settings
Sel
ect
the D
AB frequency range by pressing
the RADIO Infotainment button.
OR: Pr e
s
s function button ››› Fig. 18 1 and
sel ect
the D
AB frequency range. Press the
SETUP function button to open the
DAB Settings menu.
Function button: function
Sound: Sound settings ››› page 73.
Seek mode: To adjust settings for the buttons with the ar-
rows and . This setting applies to all frequency
bands (FM, AM and DAB).
Preset list: All stored stations on the selected fre-
quency band can be browsed with the arrow but-
tons.
Station list: All available stations on the selected fre-
quency band can be browsed with the arrow but-
tons.
Scan: Scan function. When the scan function is active,
all available stations on the current frequency band are
played in sequence for approximately 5 seconds each
››› page 20.
Traffic news station (TP): The TP function (traffic news sta-
tion tracking) is active ››› page 21.
Delete presets: To delete all or some of the stored sta-
tions.
Station logos: To assign the logos to the stations stored
on the memory buttons ››› page 19.
Radio text: Radio Text is active
››› page 16, Radio Text
(RDS).
Advanced settings: DAB services settings.
Auto-save station logos: The station logos are auto-
matically assigned when the radio stations are stor-
ed to the memory buttons ››› page 19.
Function button: function
DAB traffic announcements: DAB traffic announce-
ments are played in the same way as TP traffic an-
nouncements in all operating modes.
Other DAB alerts: DAB announcements (news,
sport, weather, warnings etc.) will interrupt the cur-
rent DAB radio mode.
DAB-DAB station tracking: Automatic station tracking
within the DAB frequency band is active.
DAB-FM Automatic switching: switching to FM fre-
quency band is allowed for automatic station track-
ing.
L-Band: L-band is activated (low-range station fre-
quencies for local reception). Media mode
Intr oduction
››
›
table on page 2
“Media sources” are audio sources contain-
ing audio files on various different data stor-
age devices (e.g. CD, memory card, external
MP3 player). These audio files can be played
by the Infotainment system via their corre-
sponding drives or audio input sockets (inter-
nal CD drive, memory card slot, AUX-IN multi-
media socket etc.). »
23
Page 26 of 88
Audio and Media Mode
Copyright
Audio and v
ideo fi
les on data storage devices
are usually protected by intellectual property
rights, as per the corresponding national and
international laws. Be aware of the current le-
gal provisions! Note
● MPEG-4 HE -AA
C audio coding technology
and patents are licensed from Fraunhofer IIS.
● This product is subject to certain intellectu-
al pr
operty rights and copyrights owned by the Microsoft Corporation. The use or distri-
bution of
thi
s type of technology outside this
product requires a licence from Microsoft or
an authorised Microsoft company. Requirements for data storage devices and files
Factory-fitted CD drives conform to safety
cl
a
ss 1 according to DIN IEC 76 (CO)
6/ VDE 0837.
The Infotainment system only accepts stand-
ard 12 cm CDs and memory cards with these dimensions: 32 mm x 24 mm x 2.1 mm or
1.4 mm.
The suppor
ted file formats listed are collec-
tively referred to below as “audio files”. A CD containing audio files of these types is refer-
red to a
s an “audio data CD”.
24
Page 30 of 88
Audio and Media Mode
Change the media source Fig. 22
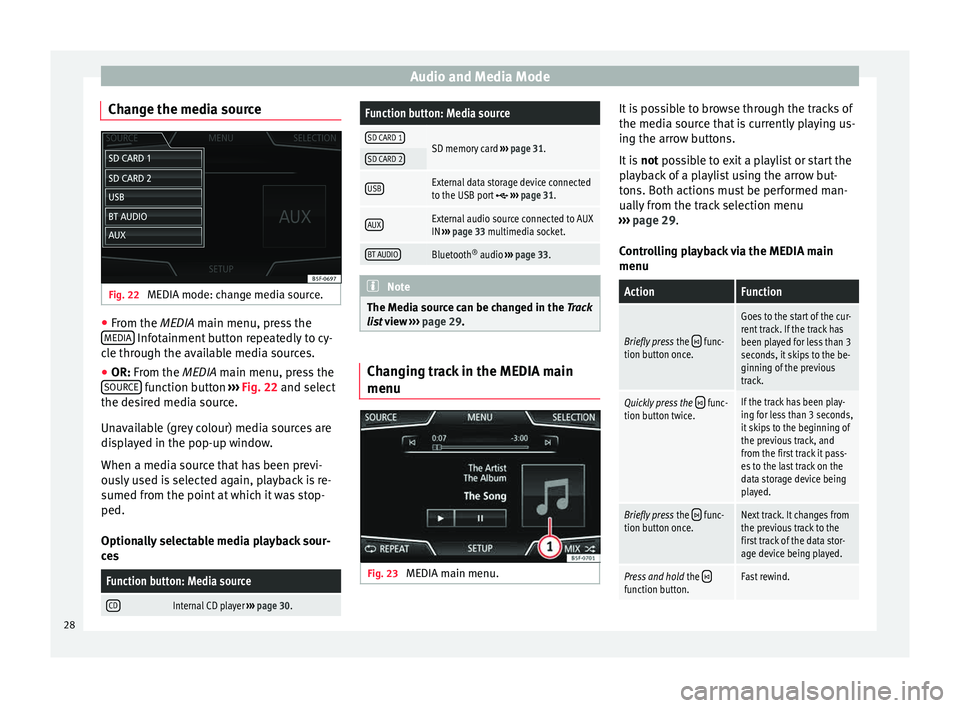
MEDIA mode: change media source. ●
From the MEDIA m ain menu, pr
e ss the
MEDIA Infotainment button repeatedly to cy-
c l
e thr
ough the available media sources.
● OR: From the MEDIA main menu, press the
SOURCE function button
››
›
Fig. 22 and select
the desired media source.
Unavailable (grey colour) media sources are
displayed in the pop-up window.
When a media source that has been previ-
ously used is selected again, playback is re-
sumed from the point at which it was stop-
ped.
Optionally selectable media playback sour-
ces
Function button: Media source
CDInternal CD player ››› page 30.
Function button: Media source
SD CARD 1SD memory card ››› page 31.SD CARD 2
USBExternal data storage device connected
to the USB port ››› page 31.
AUXExternal audio source connected to AUX
IN ››› page 33 multimedia socket.
BT AUDIOBluetooth ®
audio ››› page 33. Note
The Media source can be changed in the Tr ac
k
list view ››› page 29. Changing track in the MEDIA main
menu
Fig. 23
MEDIA main menu. It is possible to browse through the tracks of
the medi
a sour
c
e that is currently playing us-
ing the arrow buttons.
It is not possible to exit a playlist or start the
playback of a playlist using the arrow but-
tons. Both actions must be performed man-
ually from the track selection menu
››› page 29.
Controlling playback via the MEDIA main
menu
ActionFunction
Briefly press the func-
tion button once.
Goes to the start of the cur-
rent track. If the track has
been played for less than 3
seconds, it skips to the be-
ginning of the previous
track.
Quickly press the func-
tion button twice.If the track has been play-
ing for less than 3 seconds,
it skips to the beginning of
the previous track, and
from the first track it pass-
es to the last track on the
data storage device being
played.
Briefly press the func-
tion button once.Next track. It changes from
the previous track to the
first track of the data stor-
age device being played.
Press and hold the function button.Fast rewind.28
Page 33 of 88
Audio and Media Mode
● The CD in the driv e w
i
ll be ejected and
must be removed within approximately
10 seconds.
If the CD is not removed within the 10 sec-
onds, it is automatically retracted for security
reasons without activating the CD mode.
CD cannot be read or is faulty
If the data on an inserted CD cannot be read
or a faulty CD is inserted, the corresponding
warning appears on screen.
Depending on the unit, unreadable CDs are
ejected 3 times automatically and inserted
again to initiate another three attempts be-
fore said message is displayed. Note
● Uneven r o
ad surfaces and strong vibrations
can cause playback to jump.
● You will be unable to insert or play a CD if
the temperat
ure inside the unit is too high.
● If you insert a number of different CDs and
receiv
e the message CD drive error every
time, contact a qualified workshop. Insert or eject a memory card
Only supported audio files are displayed and
p
l
a
yed. Other files are ignored. Inserting a memory card
Insert
the compatible memory card, bevelled
edge first and with the label face up (con-
tacts face down), into one of the two slots
››› Fig. 28 2 , until properly inserted.
If a memor
y
card cannot be inserted, make
sure it is positioned correctly and is compati-
ble with the unit.
Removing a memory card
The inserted memory cards must be prepared
for removal.
● From the main Media menu, press the
SETUP button to open the Media Settings
menu or pr e
s
s the Infotainment MENU button
and then pr e
s
s Settings to open the System
settings menu.
● Press the R
emo
v
e safely function button. A
dr opdo
wn menu ap
pears with three options:
SD Card1, SD Card 2 and USB. After correctly
ejecting the memory card from the system,
the function button becomes inactive (grey
colour).
● Press the inserted memory card. The mem-
ory c
ard “jumps” to the eject position.
● Remove the memory card.
Unrea
dable memory card
If a memory card is inserted and the data
cannot be read, the following warning ap-
pears: No playable files available .External data storage device connec-
ted to USB por
t Depending on the equipment and the coun-
try
, the
vehicle may have a USB/AUX-IN con-
nection.(vehicle instruction manual).
Audio files on an external data storage de-
vice connected to the USB port can be
played and controlled via the Infotainment
system.
Where this manual refers to external data
storage devices, this means USB mass stor-
age devices containing supported audio
files, such as MP3 players, iPods™ and USB
sticks.
Only supported audio files are displayed and
played. Other files are ignored.
Further operation of the external data medi-
um (changing track, selecting tracks and
playback modes) is described in the appro-
priate chapters of this manual ›››
page 23.
Instructions and restrictions
Compatibility with Apple™ devices and other
media players depends on the unit.
The USB port supplies the usual USB volt-
age of 5 volts for a USB connection.
External hard disks with a capacity greater
than 32 GB must be reformatted for the
FAT32 file system in some circumstances. You »
31
Page 34 of 88
Audio and Media Mode
will find the necessary software and
inf orm
ation on the Int
ernet.
Take into account all other instructions and
limitations regarding requirements for media
sources ››› page 24.
iPod™, iPad™ and iPhone™
Depending on the country and the equip-
ment, iPods™, iPads™ or iPhones™ can be
connected using the device's USB cable to
the USB port of the vehicle and used as
audio sources.
After connecting an iPod™, iPad™ or
iPhone™, the specific list views of the iPod
are displayed in the upper selection level
( Playlists , Artists , Albums ,
Tracks , Podcasts etc.). Possible error messages after connecting an
extern
al data storage device 1)
The device is not compatible
CauseProcedure
The external data carri-
er cannot be played or
communication is not
possible with the
adapter cable being
used.Check the connection and
make sure the external data
medium is working correctly.
If possible, update the data
storage device software.
The device does not work
CauseProcedure
Communication fault.Check the connection and
make sure the external data
medium is working correctly. Disconnecting
An
y
c
onnected data storage devices must be
prepared before their disconnection in order
to remove them.
● From the main Media menu, press the
SETUP button to open the Media Settings
menu or pr e
s
s the Infotainment MENU buttonand then press
Settin
g
s to open the System
settings menu.
● Press the R
emo
v
e safely function button. A
dr opdo
wn menu ap
pears with three options:
SD Card1, SD Card 2 and USB. After correctly
ejecting the data storage device from the sys-
tem, the function button becomes inactive
(grey colour).
● Now the data storage device can be discon-
nected. Note
● Do not c onnect
an external media player at
the same time to play music via Bluetooth ®
and via the USB port with the Infotain-
ment system, as this could cause playback
limitations.
● If the external player is an Apple device™,
it cannot
be simultaneously connected by
USB and by Bluetooth.
● If a connected device is not recognised, dis-
connect a
ll the connected devices and try
connecting the device again.
● Do not use memory card adaptors, USB ex-
tens
ion cords or USB hubs! 1)
Due to the large number of different data storage
devic e
s and various iPod™, iPad™ and iPhone™
generations available, it is not possible to guarantee
fault-free operation of all functions described here.
32
Page 35 of 88
Audio and Media Mode
External audio source connected to
the A UX
-IN mu
ltimedia socketFig. 29
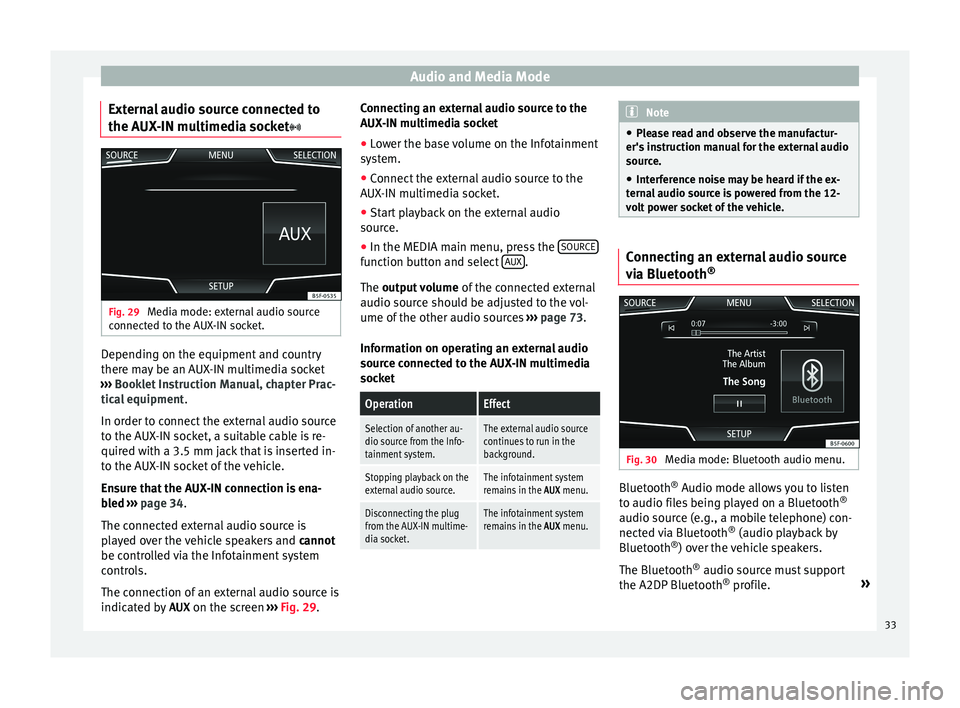
Media mode: external audio source
c onnect
ed t
o the AUX-IN socket. Depending on the equipment and country
ther
e m
a
y be an AUX-IN multimedia socket
››› Booklet Instruction Manual, chapter Prac-
tical equipment .
In order to connect the external audio source
to the AUX-IN socket, a suitable cable is re-
quired with a 3.5 mm jack that is inserted in-
to the AUX-IN socket of the vehicle.
Ensure that the AUX-IN connection is ena-
bled ››› page 34.
The connected external audio source is
played over the vehicle speakers and cannot
be controlled via the Infotainment system
controls.
The connection of an external audio source is
indicated by AUX on the screen ››› Fig. 29. Connecting an external audio source to the
AUX-IN mu
ltimedia socket
● Lower the base volume on the Infotainment
syst
em.
● Connect the external audio source to the
AUX-IN mu
ltimedia socket.
● Start playback on the external audio
source.
● In the MEDIA m
ain menu, press the SOURCE function button and select
A
UX .
The outp ut
volume of the connected external
audio source should be adjusted to the vol-
ume of the other audio sources ››› page 73.
Information on operating an external audio
source connected to the AUX-IN multimedia
socket
OperationEffect
Selection of another au-
dio source from the Info-
tainment system.The external audio source
continues to run in the
background.
Stopping playback on the
external audio source.The infotainment system
remains in the AUX menu.
Disconnecting the plug
from the AUX-IN multime-
dia socket.The infotainment system
remains in the AUX menu. Note
● Ple a
se read and observe the manufactur-
er's instruction manual for the external audio
source.
● Interference noise may be heard if the ex-
terna
l audio source is powered from the 12-
volt power socket of the vehicle. Connecting an external audio source
vi
a Bluet
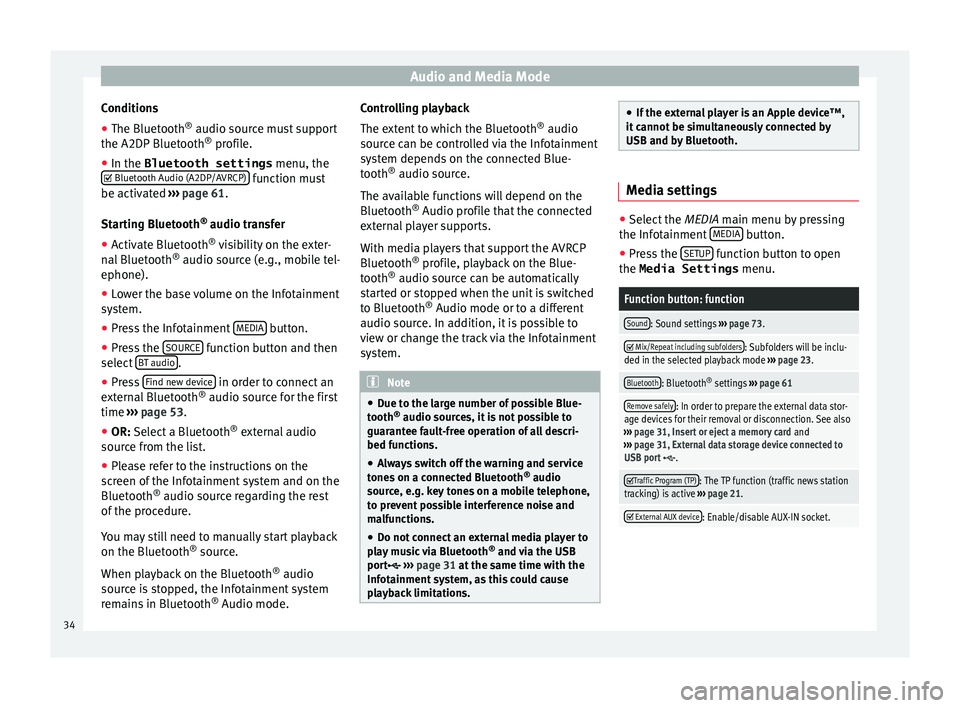
ooth® Fig. 30
Media mode: Bluetooth audio menu. Bluetooth
®
Audio mode al lo
w
s you to listen
to audio files being played on a Bluetooth ®
audio source (e.g., a mobile telephone) con-
nected via Bluetooth ®
(audio playback by
Bluetooth ®
) over the vehicle speakers.
The Bluetooth ®
audio source must support
the A2DP Bluetooth ®
profile. »
33
Page 36 of 88
Audio and Media Mode
Conditions
● The Bluetooth ®
audio sour c
e mu st support
the A2DP Bluetooth ®
profile.
● In the Bluetooth settings menu, the
Bluetooth Audio (A2DP/AVRCP) function must
be activ at
ed ›
›› page 61.
Starting Bluetooth ®
audio transfer
● Activate Bluetooth ®
vis
ibility on the exter-
nal Bluetooth ®
audio source (e.g., mobile tel-
ephone).
● Lower the base volume on the Infotainment
syst
em.
● Press the Infotainment MEDIA button.
● Press the SOURC
E function button and then
sel ect
B
T audio .
● Press Find new dev
ic
e in order to connect an
e xt
ern
al Bluetooth ®
audio source for the first
time ››› page 53.
● OR: Select a Bluetooth ®
ext
ernal audio
source from the list.
● Please refer to the instructions on the
scr
een of the Infotainment system and on the
Bluetooth ®
audio source regarding the rest
of the procedure.
You may still need to manually start playback
on the Bluetooth ®
source.
When playback on the Bluetooth ®
audio
source is stopped, the Infotainment system
remains in Bluetooth ®
Audio mode. Controlling playback
The extent
to which the Bluetooth ®
audio
source can be controlled via the Infotainment
system depends on the connected Blue-
tooth ®
audio source.
The available functions will depend on the
Bluetooth ®
Audio profile that the connected
external player supports.
With media players that support the AVRCP
Bluetooth ®
profile, playback on the Blue-
tooth ®
audio source can be automatically
started or stopped when the unit is switched
to Bluetooth ®
Audio mode or to a different
audio source. In addition, it is possible to
view or change the track via the Infotainment
system. Note
● Due t o the l
arge number of possible Blue-
tooth ®
audio sources, it is not possible to
guarantee fault-free operation of all descri-
bed functions.
● Always switch off the warning and service
tones
on a connected Bluetooth ®
audio
source, e.g. key tones on a mobile telephone,
to prevent possible interference noise and
malfunctions.
● Do not connect an external media player to
pla
y music via Bluetooth ®
and via the USB
port ››› page 31 at the same time with the
Infotainment system, as this could cause
playback limitations. ●
If the e xt
ernal player is an Apple device™,
it cannot be simultaneously connected by
USB and by Bluetooth. Media settings
●
Select the MEDIA main menu b y
pressing
the Infotainment MEDIA button.
● Press the SETUP function button to open
the Media Settings menu.
Function button: function
Sound: Sound settings ››› page 73.
Mix/Repeat including subfolders: Subfolders will be inclu-
ded in the selected playback mode ››› page 23.
Bluetooth: Bluetooth ®
settings ››› page 61
Remove safely: In order to prepare the external data stor-
age devices for their removal or disconnection. See also
››› page 31, Insert or eject a memory card and
››› page 31, External data storage device connected to
USB port
.
Traffic Program (TP): The TP function (traffic news station
tracking) is active ››› page 21.
External AUX device: Enable/disable AUX-IN socket.
34
Page 37 of 88
Audio and Media Mode
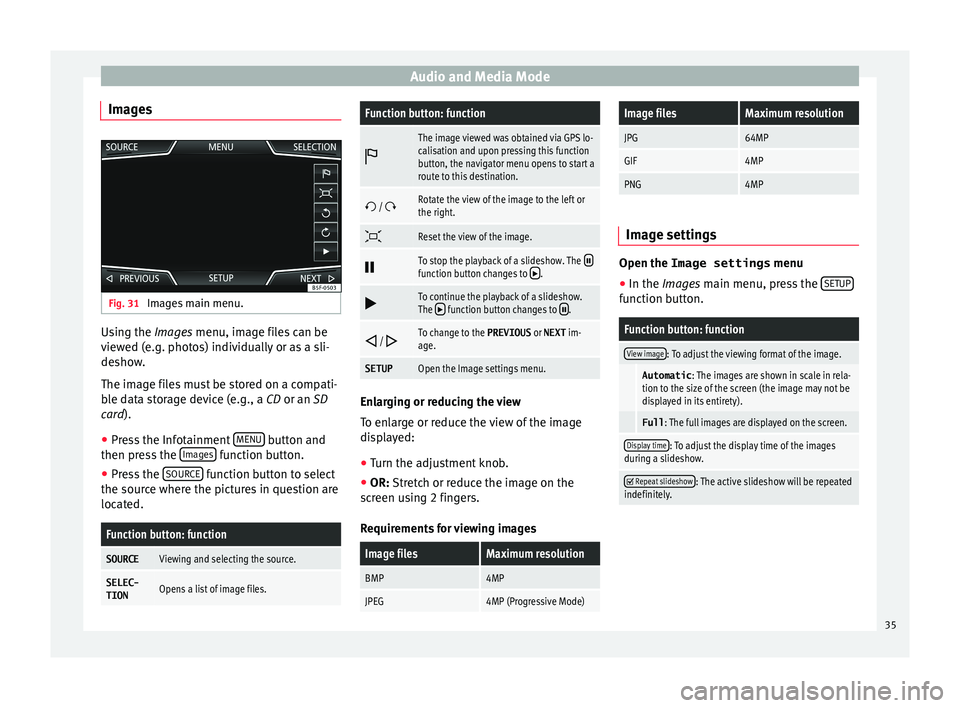
Images Fig. 31
Images main menu. Using the Ima
ge
s menu, image files can be
viewed (e.g. photos) individually or as a sli-
deshow.
The image files must be stored on a compati-
ble data storage device (e.g., a CD or an SD
card).
● Press the Infotainment MENU button and
then pr e
s
s the Images function button.
● Press the SOURC
E function button to select
the sour c
e wher
e the pictures in question are
located.
Function button: function
SOURCEViewing and selecting the source.
SELEC-
TIONOpens a list of image files.
Function button: function
The image viewed was obtained via GPS lo-
calisation and upon pressing this function
button, the navigator menu opens to start a
route to this destination.
/ Rotate the view of the image to the left or
the right.
Reset the view of the image.
To stop the playback of a slideshow. The function button changes to .
To continue the playback of a slideshow.
The function button changes to .
/ To change to the PREVIOUS
or NEXT im-
age.
SETUPOpen the Image settings menu. Enlarging or reducing the view
T
o en
l
arge or reduce the view of the image
displayed:
● Turn the adjustment knob.
● OR: Stretch or reduce the image on the
sc
reen using 2 fingers.
Requirements for viewing images
Image filesMaximum resolution
BMP4MP
JPEG4MP (Progressive Mode)
Image filesMaximum resolution
JPG64MP
GIF4MP
PNG4MP Image settings
Open the Image settings
menu
● In the Images main menu, press the SETUP function button.
Function button: function
View image: To adjust the viewing format of the image.
Automatic
: The images are shown in scale in rela-
tion to the size of the screen (the image may not be
displayed in its entirety).
Full : The full images are displayed on the screen.
Display time: To adjust the display time of the images
during a slideshow.
Repeat slideshow: The active slideshow will be repeated
indefinitely. 35
Page 38 of 88
Navigation*
Navigation*
Nav ig
ation, entr
y and control
Introduction
›› ›
table on page 2
General information
The current vehicle position is determined by
means of the GPS satellite system (Global Po-
sitioning System). Sensors in the vehicle
measure distances that have been driven.
The measurement values are compared with
the detailed map data and the road informa-
tion stored therein. Traffic reports, if any, will
also be taken into account in the route calcu-
lation (dynamic route guidance
››› page 43). Using all the data available,
the Infotainment system calculates the opti-
mum route to the destination.
The destination is defined by entering an ad-
dress or a point of interest, e.g. a petrol sta-
tion or hotel.
Spoken instructions and visual guidance on
the navigation unit and on the dash panel
will direct you to your destination.
Depending on the country, some infotain-
ment system functions can no longer be se-
lected when the vehicle is travelling above a certain speed. This is not a malfunction, but
simp
ly
a legal requirement.
Navigation messages When the Infotainment system is unable to
rec
eiv
e any data from GPS satellites (due to a
dense tree canopy, underground car park),
navigation can still continue using the vehi-
cle sensors.
Possible navigation limitations
In areas that are not or are only partially digi-
tised on the data storage device (e.g. insuffi-
cient definition of one-way streets and road
categories), the Infotainment system will still
attempt to provide route guidance.
If navigation data are unavailable or incom-
plete, the navigation system may be unable
to determine the exact vehicle position. As a
result, the navigation may not be as exact as
usual.
Navigation area and updating of navigation
data
Roads and streets are subject to constant
change (e.g. new roads, changes to street
names and building numbers). Therefore, if
the navigation data is not updated, then er-
rors or inaccuracies may occur during guid-
ance. SEAT recommends updating navigation data
on a re
gu
lar basis. Up to date navigation da-
ta can be acquired at a SEAT dealer.
Use navigation data from a memory
card. Memory cards containing updated navigation
dat
a c
an be obtained from SEAT dealerships.
● Insert the memory card ›››
page 31 .
● Do not remove the memory card while test-
ing. W
ait for the testing icon to disappear.
If the inserted memory card contains valid
navigation data, the following message ap-
pears: “The source contains a valid naviga-
tion database”. It is now possible to navigate
with the memory card data. When the memo-
ry card is no longer needed by the hardware,
it will be prepared for removal ›››
page 31. Note
● The inser t
ed memory card must be pre-
pared before it is ejected ››› page 31.
● Press the Infotainment button MENU ; then,
pre s
s Setup to open the System settings
menu.
● Navigation is not possible without the SD
card. 36