service Seat Leon SC 2015 MEDIA SYSTEM TOUCH - COLOUR
[x] Cancel search | Manufacturer: SEAT, Model Year: 2015, Model line: Leon SC, Model: Seat Leon SC 2015Pages: 52, PDF Size: 1.43 MB
Page 8 of 52
Introduction
Introduction Gener a
l
operating information
Safety notes Travelling on today's roads requires the driv-
er's f
u
ll attention at all times.
Only operate the radio and its various func-
tions when the traffic situation really permits
this. WARNING
● Bef or
e starting the trip, you should famili-
arise yourself with the different radio func-
tions.
● High audio volume may represent a danger
to y
ou and to others.
● Adjust the volume in a way that you can
distin
guish surrounding noise, for example,
horns and sirens, etc.
● Radio settings should be made when the
car is
stopped or by a passenger. WARNING
Distracting the driver in any way can lead to
an acc ident
and cause injuries. Operating the
infotainment system while driving can dis-
tract your attention from the traffic.
● Always drive carefully and responsibly. ●
Select
volume settings that allow you to
easily hear signals from outside the vehicle
at all times (e.g. emergency service sirens).
● If you set the volume excessively high you
may
suffer damage to your ears. This can also
happen if you are exposed to an excessively
high volume even for a short time. WARNING
The volume level may suddenly change when
y ou sw it
ch audio source or connect a new au-
dio source.
● Reduce the base volume before switching
audio source or c
onnecting a new audio
source ››› page 7. WARNING
Connecting, inserting or removing a data me-
dium whil e driv
ing can distract your attention
from the traffic and cause an accident. WARNING
Connecting leads for external devices may
ob s
truct the driver.
● Arrange the connecting leads so that they
do not ob
struct the driver. WARNING
External devices that are loose or not proper-
ly sec ur
ed could be flung though the interior during a sudden driving or braking manoeu-
vre, or in the ev
ent
of an accident.
● Never, for any reason, fit the external units
on the doors, on the wind
screen, on or near
the area marked “AIRBAG” on the steering
wheel, on the dash panel, on the seat backr-
ests or between these areas and the passen-
gers. These units may cause serious injury in
the event of an accident, especially if the air-
bag is activated. WARNING
The centre armrest may obstruct the driver's
arm mo vement
s, which could cause an acci-
dent and severe injuries.
● Always keep the armrest closed while the
vehicl
e is in motion. Note
● Not in ser
ting the data medium correctly, or
inserting unsuitable data media, may damage
the unit.
● When inserting the memory card, make
sure it
is in the correct position ››› page 20
● If you push too hard, you could damage the
lock on the memor
y card slot.
● Only use suitable memory cards.
● The vehicle loudspeakers may be damaged
if the v
olume is too high or the sound is dis-
torted. 6
Page 13 of 52
Radio
Information and possible iconsDisplay: Meaning
RDS radio data service deactivated or no
RDS coverage available. The RDS can be
activated in the FM Advanced setup
menu
››› page 15.
TPThe TP is active and receiving
››› page 14.
The available station is not broadcasting
traffic information and no alternative
source has been found on other bands.
Stored station buttons
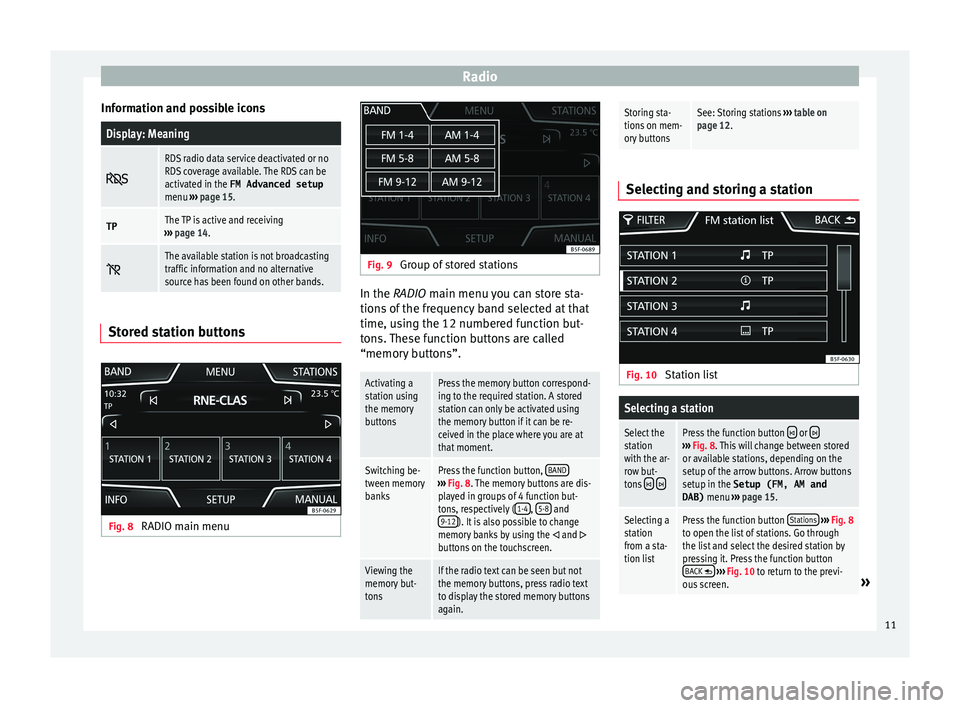
Fig. 8
RADIO main menu Fig. 9
Group of stored stations In the RADIO m
ain menu
y
ou can store sta-
tions of the frequency band selected at that
time, using the 12 numbered function but-
tons. These function buttons are called
“memory buttons”.
Activating a
station using
the memory
buttonsPress the memory button correspond-
ing to the required station. A stored
station can only be activated using
the memory button if it can be re-
ceived in the place where you are at
that moment.
Switching be-
tween memory
banksPress the function button, BAND›››
Fig. 8. The memory buttons are dis-
played in groups of 4 function but-
tons, respectively ( 1-4
, 5-8 and
9-12). It is also possible to change
memory banks by using the and buttons on the touchscreen.
Viewing the
memory but-
tonsIf the radio text can be seen but not
the memory buttons, press radio text
to display the stored memory buttons
again.
Storing sta-
tions on mem-
ory buttonsSee: Storing stations ››› table on
page 12. Selecting and storing a station
Fig. 10
Station list
Selecting a station
Select the
station
with the ar-
row but-
tons
Press the function button or ››› Fig. 8. This will change between stored
or available stations, depending on the
setup of the arrow buttons. Arrow buttons
setup in the Setup (FM, AM and
DAB) menu ››› page 15.
Selecting a
station
from a sta-
tion listPress the function button Stations
››› Fig. 8
to open the list of stations. Go through
the list and select the desired station by
pressing it. Press the function button BACK
››› Fig. 10 to return to the previ-
ous screen.» 11
Page 14 of 52
RadioSelecting a station
To update
the list of
stationsThe list of stations in the FM frequency
band is automatically updated. For the
AM and DAB frequency bands, press the
function button
Update
to update the sta-
tion list.
Selecting the available frequency manually
Viewing the
frequency di-
alBriefly press the function button Manual›››
Fig. 6.
Adjusting the
frequency in
stagesPress the buttons + –, to the right and
left of the frequency band.
OR: Turn the adjustment knob.
Quickly
browsing the
frequency
bandPlace your finger on the slider in the fre-
quency dial and drag it along the dial.
Hiding the
frequency
bandBriefly press the button Manual.
Storing stations
Storing the
station being
listened to
on a memory
buttonHold down the desired memory button
››› Fig. 6 until you hear the signal. The
station that you are listening to will be
stored in this memory button.
Storing stations
Storing a sta-
tion on the
list of sta-
tionsPress the function button Stations›››
Fig. 6 to open the list of stations. Se-
lect the desired station (by holding a
finger on the touchscreen or holding
down the setup button) until the store
display appears.
Press the memory button and, after the
confirmation tone, the station will then
be recorded on this memory button.
To store more stations from the list,
press Back and repeat the process.
Deleting a
stored sta-
tionThe stored stations can be deleted one
by one or all at once in the FM, AM and
DAB setup menu. Scan function (SCAN)
When the scan function is running, all availa-
b
l
e s
tations on the current frequency band
are played in sequence for around 5 seconds
each.
Starting
the scan
functionBriefly press the setting knob.
OR: Press the function button Setup and
then select SCAN
End station
scan func-
tionPress the function button to stop the
scan function on the station you are lis-
tening to.
OR: Briefly press the setting knob. The
scan function also ends when you man-
ually select a station using the stored sta-
tion buttons, or when a traffic announce-
ment comes in. Radio data system RDS
The RDS (Radio Data System) offers addition-
al inf
orm
ation in FM such as the visualisation
of the station name, automatic station track-
ing (AF), text broadcast by radio (Radio Text
››› Fig. 6), traffic announcements (TP) and sta-
tion type (PTY).
Not all units have RDS, nor do all FM stations
offer this service.
Without RDS it is not possible to obtain radio
data services. Note
● The bro a
dcasting companies are responsi-
ble for the content broadcast.
● Due to matters of infrastructure, RDS func-
tions m
ay be limited in certain countries, and
you may not be able to receive traffic an-
nouncements, automatic station tracking (AF)
or programme types (PTY).
● In some cases the name of the station is
too long.
This text may be blocked/unblocked
by pressing on the station name for 3 sec-
onds. A dot will appear/disappear to the left
or right of the station name. Station name and automatic station
tr
ac
k
ing When the RDS is available, you can view the
n
ame s
of the stations providing this service
12
Page 15 of 52
Radio
in the RADIO m ain menu and in the
list of
FM stations .
The FM s
tations send different contents un-
der one name (for example, Radio 3) in vari-
ous regional frequencies, provisionally or
permanently ››› Fig. 6.
When driving, the automatic station tracking
automatically changes to the frequency that
provides the best reception of the currently-
selected station. However, this can interrupt
the regional station currently tuned.
The automatic change of frequencies and au-
tomatic station tracking can be linked
through the FM setup ››› page 15.
Digital radio mode (DAB, DAB+ and
DMB audio)* Fig. 11
Main DAB RADIO menu. The DAB radio receiver is compatible with the
s
t
and
ards DAB, DAB+ and DMB audio.
In Europe, digital radio broadcasts on fre-
quencies from band frequency III (174 MHz
to 240 MHz) and band frequency L
(1452 MHz to 1492 MHz).
The frequencies of the two bands are referred
to as “channels” and each has a channel
name (e.g. 12 A ).
Several available DAB stations are combined
into one channel in an “ensemble”.
DAB is not currently available in all areas . In
DAB Radio mode, it will show when you are in
an area with no DAB service .
Starting DAB radio mode
In the RADIO main menu, press the function
key ››› Fig. 11 BAND and select
D
AB .
The D AB r
a
dio station that was last selected
will be played if it can still be received at the
current location.
The station selected at that time is shown on
the top line of the screen. The selected En-
semble of stations is displayed below
››› Fig. 11.
Additional DAB stations
Some DAB stations temporarily or perma-
nently offer additional programmes , (for ex-
ample, for broadcasting sports events). Additional stations are selected in the same
way
as the conventional DAB stations. How-
ever, these are differentiated in the station
list by the icon 2nd.
The name of the additional available station
is displayed in the main DAB menu next to
the symbol .
The additional stations cannot be stored.
From the main
screenPress the name of the main sta-
tion
Press the memory button of the
main station
From the station listSelect the additional station
from the list Automatic station tracking: change from DAB
t
o FM
In DAB setup/Advanced setup y
ou c
an
change to the FM frequency band for auto-
matic station tracking.
When the DAB station you are listening to
can no longer be received (for example, due
to DAB no longer being available), the unit
will try to locate and tune in this station in
the FM band frequency.
For station tracking across various frequen-
cies, the DAB station and the FM station must
broadcast the same station code, or the sta-
tion in FM that corresponds to the equivalent
in DAB, must be indicated through the DAB. »
13
Page 18 of 52
RadioFunction button: function
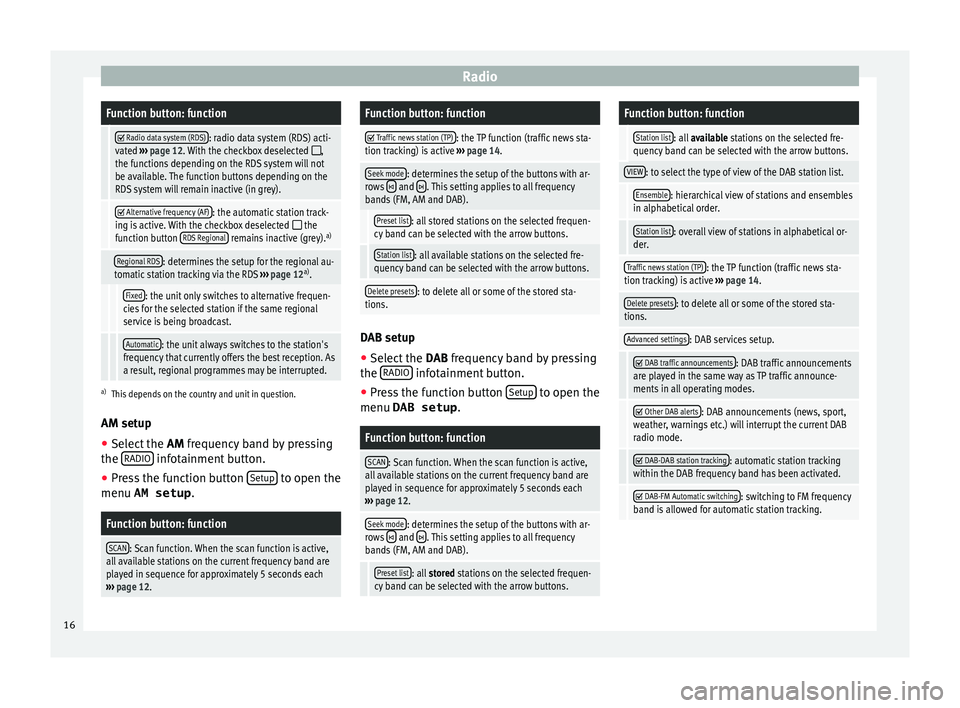
Radio data system (RDS): radio data system (RDS) acti-
vated ››› page 12. With the checkbox deselected ,
the functions depending on the RDS system will not
be available. The function buttons depending on the
RDS system will remain inactive (in grey).
Alternative frequency (AF): the automatic station track-
ing is active. With the checkbox deselected the
function button RDS Regional remains inactive (grey). a)
Regional RDS: determines the setup for the regional au-
tomatic station tracking via the RDS ››› page 12 a)
.
Fixed: the unit only switches to alternative frequen-
cies for the selected station if the same regional
service is being broadcast.
Automatic: the unit always switches to the station's
frequency that currently offers the best reception. As
a result, regional programmes may be interrupted.
a) This depends on the country and unit in question.
AM setup
● Select the AM frequency b
and by pressing
the RADIO infotainment button.
● Press the function button Set
up to open the
menu AM setup .
Function button: function
SCAN: Scan function. When the scan function is active,
all available stations on the current frequency band are
played in sequence for approximately 5 seconds each
››› page 12.
Function button: function
Traffic news station (TP): the TP function (traffic news sta-
tion tracking) is active ››› page 14.
Seek mode: determines the setup of the buttons with ar-
rows and . This setting applies to all frequency
bands (FM, AM and DAB).
Preset list: all stored stations on the selected frequen-
cy band can be selected with the arrow buttons.
Station list: all available stations on the selected fre-
quency band can be selected with the arrow buttons.
Delete presets: to delete all or some of the stored sta-
tions. DAB setup
● Select the DAB
fr
equency band by pressing
the RADIO infotainment button.
● Press the function button Set
up to open the
menu DAB setup .
Function button: function
SCAN: Scan function. When the scan function is active,
all available stations on the current frequency band are
played in sequence for approximately 5 seconds each
››› page 12.
Seek mode: determines the setup of the buttons with ar-
rows and . This setting applies to all frequency
bands (FM, AM and DAB).
Preset list: all stored stations on the selected frequen-
cy band can be selected with the arrow buttons.
Function button: function
Station list: all available stations on the selected fre-
quency band can be selected with the arrow buttons.
VIEW: to select the type of view of the DAB station list.
Ensemble: hierarchical view of stations and ensembles
in alphabetical order.
Station list: overall view of stations in alphabetical or-
der.
Traffic news station (TP): the TP function (traffic news sta-
tion tracking) is active ››› page 14.
Delete presets: to delete all or some of the stored sta-
tions.
Advanced settings: DAB services setup.
DAB traffic announcements: DAB traffic announcements
are played in the same way as TP traffic announce-
ments in all operating modes.
Other DAB alerts: DAB announcements (news, sport,
weather, warnings etc.) will interrupt the current DAB
radio mode.
DAB-DAB station tracking: automatic station tracking
within the DAB frequency band has been activated.
DAB-FM Automatic switching: switching to FM frequency
band is allowed for automatic station tracking. 16
Page 21 of 52
Media
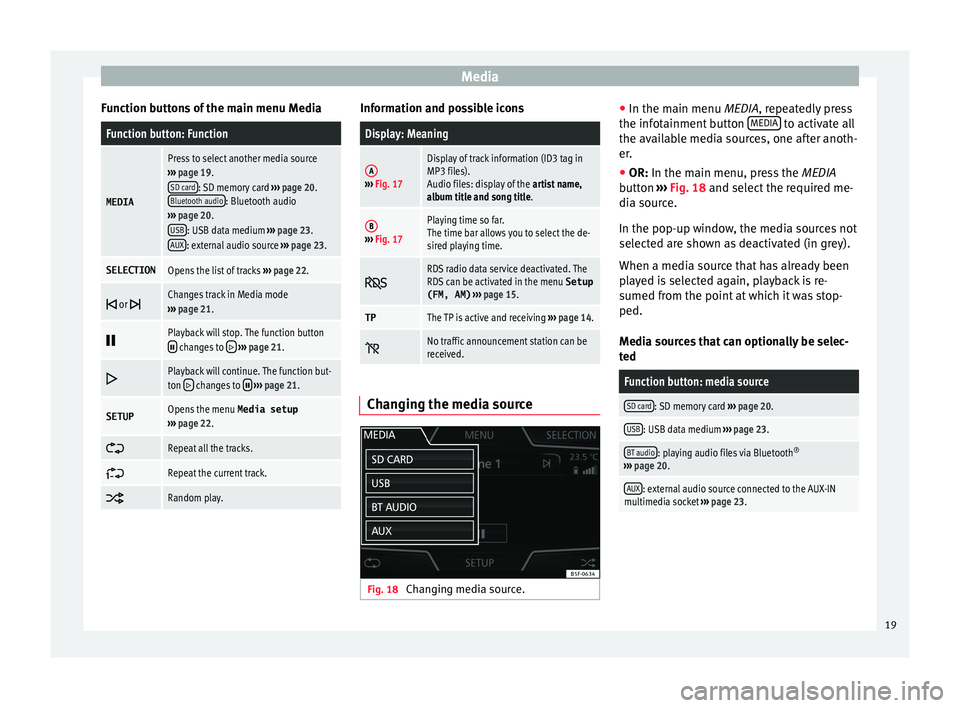
Function buttons of the main menu MediaFunction button: Function
MEDIA
Press to select another media source
››› page 19.
SD card
: SD memory card ››› page 20.
Bluetooth audio: Bluetooth audio
››› page 20.
USB
: USB data medium ››› page 23.
AUX: external audio source ››› page 23.
SELECTIONOpens the list of tracks ››› page 22.
or Changes track in Media mode
››› page 21.
Playback will stop. The function button changes to
››› page 21.
Playback will continue. The function but-
ton changes to
››› page 21.
SETUPOpens the menu Media setup
››› page 22.
Repeat all the tracks.
Repeat the current track.
Random play. Information and possible icons
Display: Meaning
A›››
Fig. 17
Display of track information (ID3 tag in
MP3 files).
Audio files: display of the artist name,
album title and song title.
B››› Fig. 17
Playing time so far.
The time bar allows you to select the de-
sired playing time.
RDS radio data service deactivated. The
RDS can be activated in the menu
Setup
(FM, AM) ››› page 15.
TPThe TP is active and receiving ››› page 14.
No traffic announcement station can be
received.
Changing the media source
Fig. 18
Changing media source. ●
In the m ain menu
MEDIA
, repeatedly press
the infotainment button MEDIA to activate all
the av ai
l
able media sources, one after anoth-
er.
● OR: In the main menu, pre
ss the MEDIA
button ››› Fig. 18 and select the required me-
dia source.
In the pop-up window, the media sources not
selected are shown as deactivated (in grey).
When a media source that has already been
played is selected again, playback is re-
sumed from the point at which it was stop-
ped.
Media sources that can optionally be selec-
ted
Function button: media source
SD card: SD memory card ››› page 20.
USB: USB data medium ››› page 23.
BT audio: playing audio files via Bluetooth ®
››› page 20.
AUX: external audio source connected to the AUX-IN
multimedia socket ››› page 23. 19
Page 23 of 52
Media
●
De activ
ate the service and warning sounds
of a connected Bluetooth audio source (for
example, the key tones of the mobile tele-
phone) to avoid interference noise and
anomalies in the operation.
● To play music, do not link the external me-
dia pl
ayer simultaneously to Bluetooth and
the USB interface of the infotainment system,
as this can cause limitations during playback.
● Depending on the external player connec-
ted, the re
sponse time of the system can
vary.
● Do not connect an external media player at
the same time to p
lay music via Bluetooth®
and via the USB port with the Infotainment
system, as this could cause playback limita-
tions.
● If the external player is an Apple device™,
it cannot
be simultaneously connected by
USB and by Bluetooth. Changing tracks in the main menu
MEDIA
Fig. 19
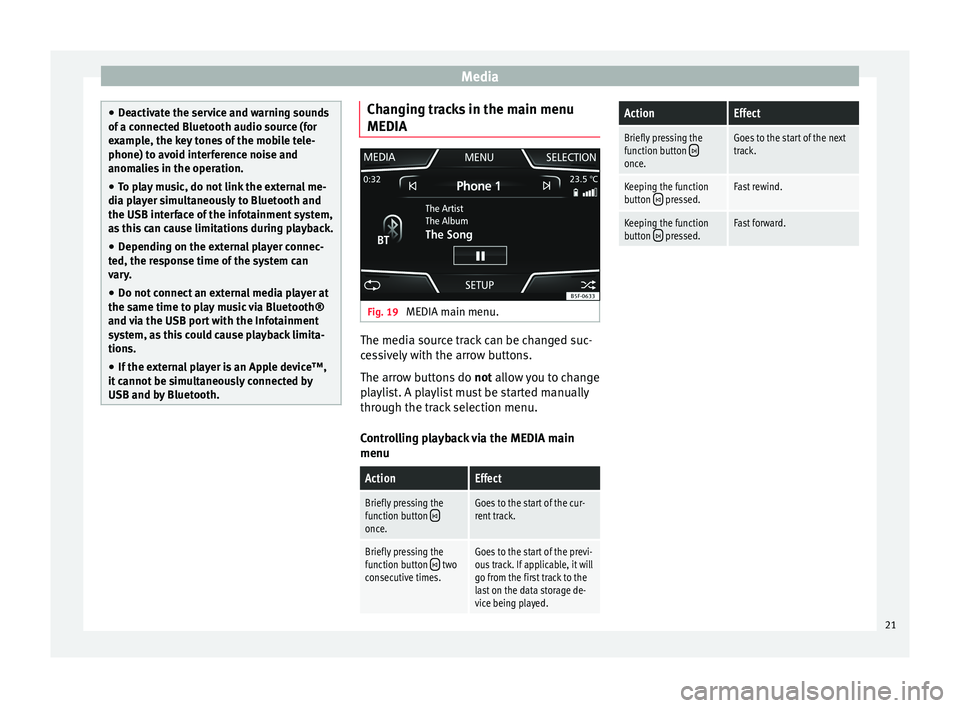
MEDIA main menu. The media source track can be changed suc-
c
e
s
sively with the arrow buttons.
The arrow buttons do not allow you to change
playlist. A playlist must be started manually
through the track selection menu.
Controlling playback via the MEDIA main
menu
ActionEffect
Briefly pressing the
function button once.
Goes to the start of the cur-
rent track.
Briefly pressing the
function button two
consecutive times.Goes to the start of the previ-
ous track. If applicable, it will
go from the first track to the
last on the data storage de-
vice being played.
ActionEffect
Briefly pressing the
function button once.
Goes to the start of the next
track.
Keeping the function
button pressed.Fast rewind.
Keeping the function
button pressed.Fast forward. 21
Page 28 of 52
Telephone management system (PHONE)
Telephone management sys-
t em (PHONE)
Intr oduction t
o the telephone
management system
General information The Telephone functions described below
can be u
sed thr
ough the Infotainment system
if there is a mobile telephone connected to it
via Bluetooth ®
››› page 28.
In order for the mobile telephone to be able
to connect to the Infotainment system the tel-
ephone must be equipped with Bluetooth®
.
If there is no mobile telephone connected to
the Infotainment system, the telephone man-
agement system will not be available.
The instructions shown on the screen for the
telephone menus will depend on the mobile
telephone used. There may be variations.
Only use compatible Bluetooth ®
devices. For
further information on compatible Blue-
tooth ®
products, ask your nearest SEAT deal-
er or check on the internet.
Use the instruction manual of the mobile tel-
ephone and of any accessories.
If you detect any operating issues between
your mobile telephone and the Infotainment system, restart your mobile by switching it off
and on again.
Y ou m
ay experience poor reception or may be
cut off in areas where the signal is weak.
Most electronic devices are shielded against
HF (high-frequency) signals. In any case, the
electronic equipment may not be protected
from the HF signals of the telephone man-
agement system. This may cause interfer-
ence. WARNING
Speaking by telephone and operating the mo-
bi l
e telephone whilst driving can distract you
from the road and cause an accident.
● Always drive carefully and responsibly.
● Select volume settings that allow you to
eas
ily hear signals from outside the vehicle
at all times (e.g. emergency services sirens
and horns).
● In areas of little or no coverage or, in some
case
s, in a tunnel, garage or underpass, your
call may be cut off and you may not be able to
make even emergency calls. WARNING
If a mobile telephone is not secured or is in-
corr ectly
secured in the vehicle, it could move
around the passenger compartment in the
event of a sudden driving manoeuvre or emer-
gency stop, resulting in injury. ●
Whil e the
vehicle is in motion, always se-
cure the mobile telephone properly outside
the airbag deployment zone. WARNING
Mobile telephones may interfere with and al-
t er the c orr
ect operation of pacemakers if
they are carried directly over them.
● Maintain a minimum distance of at least
20 centimetre
s between the aerials of the
mobile telephone and the pacemaker, as mo-
bile phones may affect the functioning of
pacemakers.
● Do not carry your switched-on mobile tele-
phone in your br
east pocket directly over the
pacemaker.
● If you suspect interference, switch off the
mobi
le telephone immediately. CAUTION
High speeds, poor weather or road conditions
and the quality of
reception can all affect the
quality of a telephone conversation in the ve-
hicle. Note
● Re s
trictions on the use of devices using
Bluetooth ®
technology may apply in some
countries. For further information, contact the
local authorities. 26
Page 31 of 52
Telephone management system (PHONE)
telephone. After loading, the data will be
av ai
l
able on the Infotainment system.
Pairing and connection of mobile telephones
You can pair up to 20 mobile telephones to
the Infotainment system, but only one mobile
telephone can be connected as hands-free,
and this or another device as a Bluetooth au-
dio profile.
When the Infotainment system is switched
on, it automatically connects to the last con-
nected mobile telephone. If it is not possible
to connect to this mobile telephone, the tele-
phone management system will try to auto-
matically connect to the next mobile tele-
phone on the list of paired devices.
The maximum range of the Bluetooth ®
con-
nection is approx. 10 metres. The active
Bluetooth ®
connection disconnects if this
distance is exceeded. The connection is auto-
matically re-established as soon as the de-
vice is once again within Bluetooth ®
range.
If the maximum number of paired devices is
reached and you wish to pair another one to
the system, it will automatically replace the
one least used recently. If you wish to replace
it with another one, the user must erase it be-
forehand. To do so:
● Press the Setup button on the device while
in telephone mode.
● Pr
ess the Bluetooth function button.●
Activ
at
e the Paired devices function button.
● In the list of paired devices, press the function button next to the mobile telephone
t
o be del
et
ed and then press Delete to con-
firm the process. Note
It may be necessary to confirm the phone-
book d at
a transfer request on the mobile tel-
ephone. Description of the telephone
m
an
ag
ement system
Introduction Some functions and setup can only be per-
f
ormed when the
v
ehicle is stopped and are
not available on all mobile telephones.
With the help of the telephone manager, up
to 2 mobile telephones can be connected to
the Infotainment system via the Bluetooth
profiles (for example, one used as a Blue-
tooth-audio player and/or another as a
hands-free telephone). Note
● Us in
g a mobile telephone inside the vehicle
may provoke noise in the speakers. ●
Some network s
may not recognise all lan-
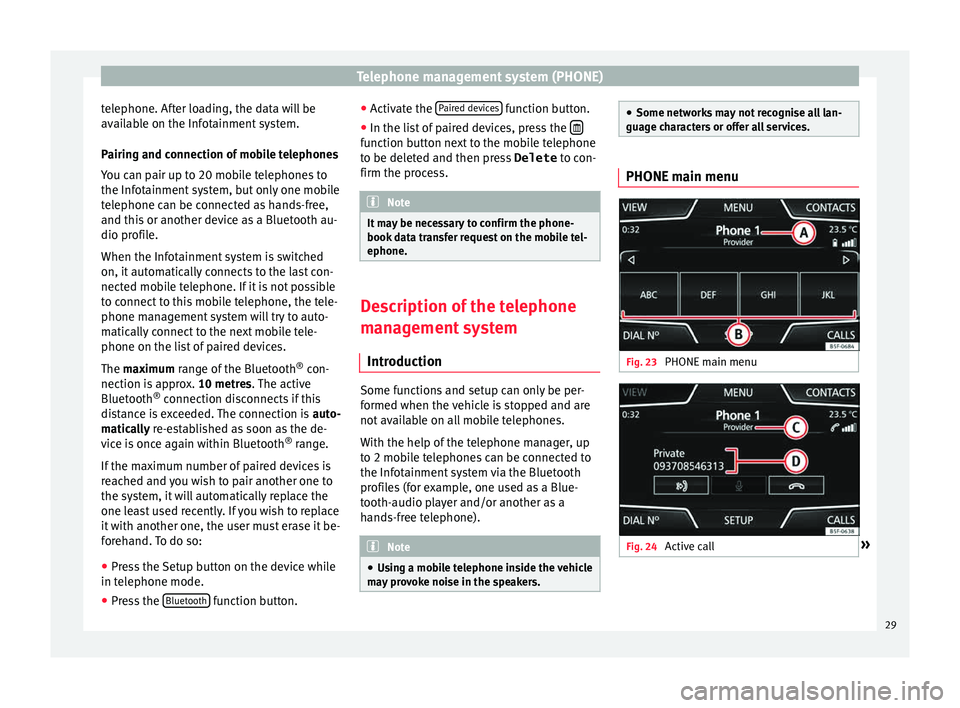
guage characters or offer all services. PHONE main menu
Fig. 23
PHONE main menu Fig. 24
Active call » 29
Page 33 of 52
Telephone management system (PHONE)
With the private mode activated the active
audio and mic r
ophone bec
ome that of the
mobile phone connected to the hands-free.
When deactivated, the audio reverts to the
vehicle's audio system. This configuration is
only applicable to the active call, so for sub-
sequent calls, the audio will revert by default
to vehicle's audio system. WARNING
Remember that the driver must not operate
the mob i
le telephone while driving. Note
Some telephones with the SYMBIAN™ oper-
ating sy s
tem disconnect when private mode
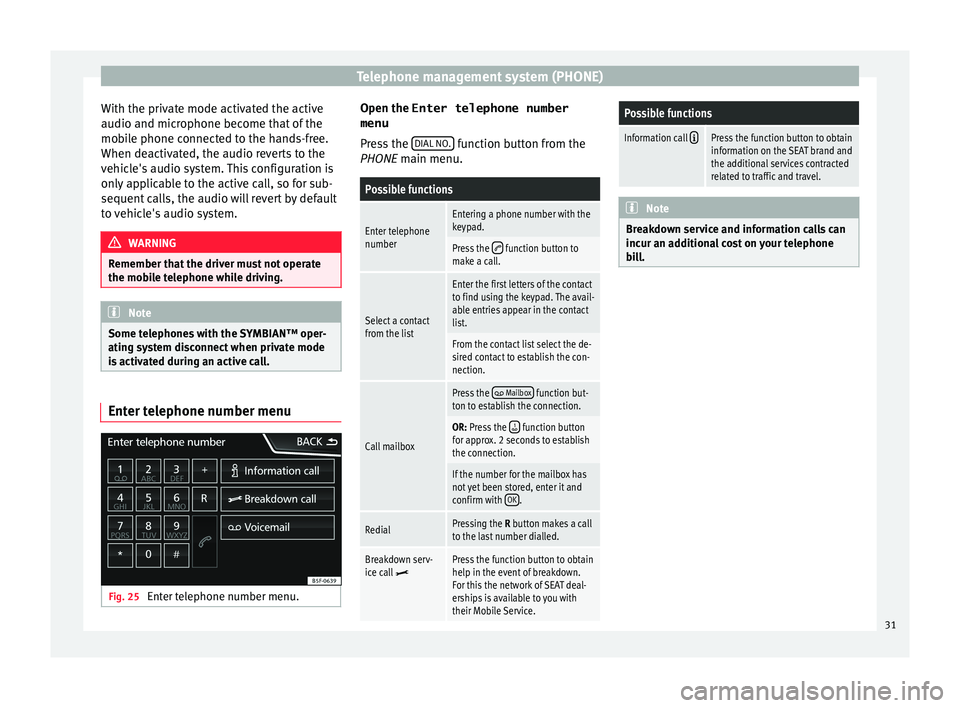
is activated during an active call. Enter telephone number menu
Fig. 25
Enter telephone number menu. Open the
Enter telephone number
menu
Pr es
s the DIAL NO. function button from the
PHONE m ain menu.
Possible functions
Enter telephone
numberEntering a phone number with the
keypad.
Press the function button to
make a call.
Select a contact
from the list
Enter the first letters of the contact
to find using the keypad. The avail-
able entries appear in the contact
list.
From the contact list select the de-
sired contact to establish the con-
nection.
Call mailbox
Press the Mailbox function but-
ton to establish the connection.
OR: Press the function button
for approx. 2 seconds to establish
the connection.
If the number for the mailbox has
not yet been stored, enter it and
confirm with OK
.
RedialPressing the R button makes a call
to the last number dialled.
Breakdown serv-
ice call Press the function button to obtain
help in the event of breakdown.
For this the network of SEAT deal-
erships is available to you with
their Mobile Service.
Possible functions
Information call Press the function button to obtain
information on the SEAT brand and
the additional services contracted
related to traffic and travel. Note
Breakdown service and information calls can
incur an a d
ditional cost on your telephone
bill. 31