service Seat Mii 2012 SOUND SYSTEM 1.X
[x] Cancel search | Manufacturer: SEAT, Model Year: 2012, Model line: Mii, Model: Seat Mii 2012Pages: 35, PDF Size: 1.13 MB
Page 5 of 35
4IntroductionIntroductionBefore using the unit for the first timeBefore using the unit for the first time, carry out the following steps. Thiswill enable you to use the unit safely and make full use of the functions itprovides:
¥Take the basic safety notes into account ⇒ page 4.
¥Familiarise yourself with the unit overview ⇒ page 6.
¥Use suitable data media for Media mode ⇒ page 17.
Safety notes
WARNINGAny distraction may lead to an accident, with the risk of injury. Operatingthe radio system could distract you from the traffic.●
You should always drive with due care and attention.
●
Select volume settings that allow you to easily hear signals from out-side the vehicle at all times (e.g. emergency service sirens).
●
Setting the volume too high may cause damage to your hearing. Thisalso applies if the device is set to high volumes for a short period.
WARNINGThe volume level may suddenly change when you switch audio source orconnect a new audio source.●
Reduce the base volume before switching audio source or connectinga new audio source.
WARNINGThe connection, introduction or removal of data media whilst driving maydistract you from the traffic, causing an accident.WARNINGConnecting leads for external devices may obstruct the driver.●
Arrange the connecting leads so that they do not obstruct the driver.WARNINGExternal devices that are placed loose in the vehicle or not properly se-cured could be flung through the interior of the vehicle during a suddendriving or braking manoeuvre, or in the event of an accident and causedamage or injury.
●
Never fit external units on the doors, windscreen, on or near the areamarked with the word “AIRBAG” on the steering wheel, the dash panel,seat backrests or between these areas and the vehicle occupants. In thecase of an accident, external units can cause serious injury, particularlywhen the airbags inflate.
WARNINGOpening a CD player's housing may lead to injuries from invisible laserradiation.●
Only have CD players repaired by a Specialised workshop.
Page 12 of 35
11Audio modeRDS and automatic station tracking
RDS is a radio data service which makes it possible to receive additionalservices such as the display of station names, automatic station trackingand the TP function (Traffic Program ⇒ page 15).
With automatic station tracking, when the vehicle is in motion the stationalways changes to the frequency with the best reception in that moment. Ifthe reception is poor, the unit may be muted for a short time as it searchesfor alternative frequencies (AF).
RDS does not exist everywhere nor is it available for all stations.
Depending on the country and the unit, it is possible that the RDS and thealternative frequencies (AF) are deactivated ⇒ page 28.
Changing frequency band
The currently selected frequency band (FM or AM) is indicated above thestation display.
●
In Radio mode, briefly press the RADIO unit button to display the func-tion buttons ⇒ Fig. 1 FM1, FM2, AM1 and AM2 ⇒ Fig. 2.
●
Press one of the FM or AM function buttons to switch to the FM or AMfrequency band.
●
ALTERNATIVELY: Press the RADIO unit button as often as required toswitch between the frequency bands and memory levels.
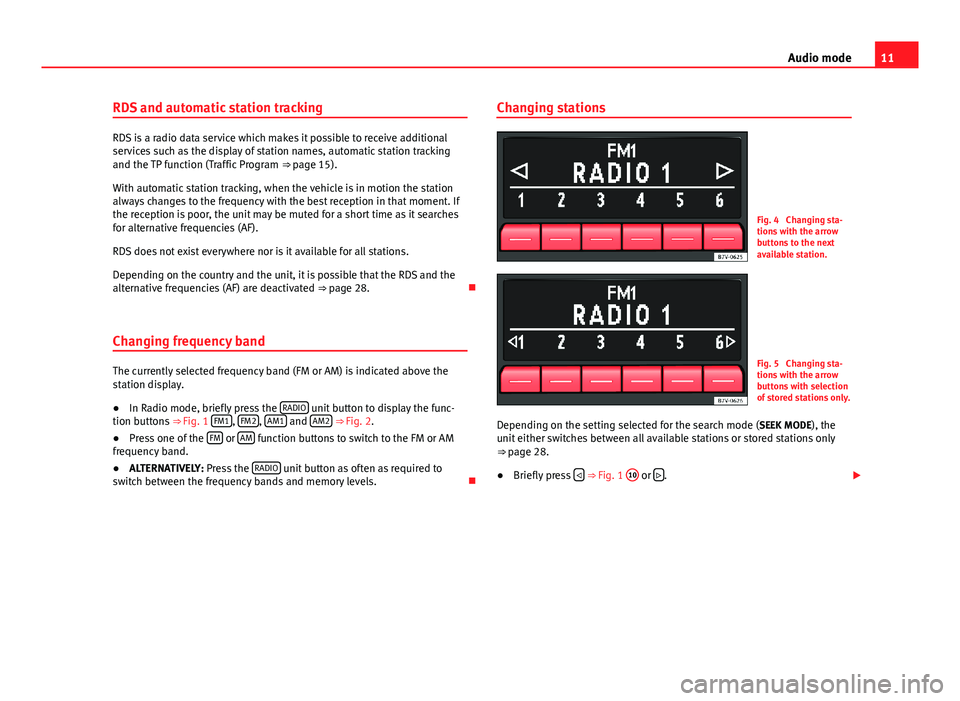
Changing stationsFig. 4
Changing sta-tions with the arrowbuttons to the nextavailable station.
Fig. 5
Changing sta-tions with the arrowbuttons with selectionof stored stations only.
Depending on the setting selected for the search mode (SEEK MODE), theunit either switches between all available stations or stored stations only⇒ page 28.
●
Briefly press ⇒ Fig. 1
10
or .
Page 16 of 35
15Audio modeTP (Traffic Program) function
Introduction
The TP function is an RDS radio data service.
RDS is not available in all areas, and depending on the country and equip-ment, it may be deactivated ⇒ page 28.
While traffic news monitoring is on (display: TP), traffic announcements willinterrupt the current Audio mode.
On the AM frequency band, traffic news monitoring is not possible.
Additional information and warnings:
●
Safety notes ⇒ page 4
●
Unit overview ⇒ page 6
●
Basic information on use ⇒ page 8
●
Radio mode ⇒ page 10
Monitoring traffic news stations using the TP function
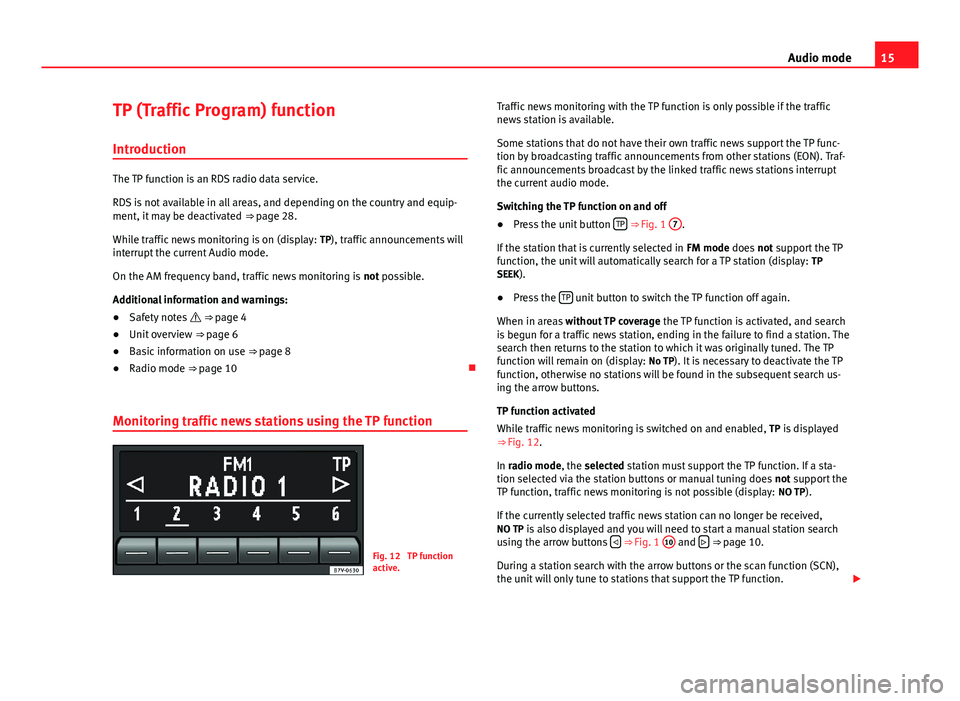
Fig. 12
TP functionactive.
Traffic news monitoring with the TP function is only possible if the trafficnews station is available.
Some stations that do not have their own traffic news support the TP func-tion by broadcasting traffic announcements from other stations (EON). Traf-fic announcements broadcast by the linked traffic news stations interruptthe current audio mode.
Switching the TP function on and off
●
Press the unit button TP ⇒ Fig. 1
7
.
If the station that is currently selected in FM mode does not support the TPfunction, the unit will automatically search for a TP station (display: TPSEEK).
●
Press the TP unit button to switch the TP function off again.
When in areas without TP coverage the TP function is activated, and searchis begun for a traffic news station, ending in the failure to find a station. Thesearch then returns to the station to which it was originally tuned. The TPfunction will remain on (display: No TP). It is necessary to deactivate the TPfunction, otherwise no stations will be found in the subsequent search us-ing the arrow buttons.
TP function activated
While traffic news monitoring is switched on and enabled, TP is displayed⇒ Fig. 12.
In radio mode, the selected station must support the TP function. If a sta-tion selected via the station buttons or manual tuning does not support theTP function, traffic news monitoring is not possible (display: NO TP).
If the currently selected traffic news station can no longer be received,NO TP is also displayed and you will need to start a manual station searchusing the arrow buttons ⇒ Fig. 1
10
and ⇒ page 10.
During a station search with the arrow buttons or the scan function (SCN),the unit will only tune to stations that support the TP function.
Page 21 of 35
20Audio modeInserting a CD●
Keep the printed side of the CD facing upwards.
●
Push the CD into the CD slot
4
⇒ page 6 only to the point where it isdrawn in automatically.
●
When the CD is inserted, the play function will start automatically.
When other functions are selected, CD-IN is displayed at the top left of thescreen if a CD is inserted in the internal CD drive.
Ejecting CDs
●
Press the setting knob ⇒ Fig. 1
6
.
●
The CD in the drive will be ejected and must be removed within 10 sec-onds.
If the CD is not removed within approximately 10 seconds, it is retractedagain for safety reasons.
Error messages on the screen
A reading error is indicated by ERROR in the title bar.
An error message in the bottom line of the screen indicates the possiblecause of the error.
NO CD: Illegible data medium. It is not possible to switch to Media mode.
CD ROM: Inserted data CD. The CD will be returned.
CHECK CD: The inserted CD cannot be read. The CD will be returned. Checkfor damage.
TEMPERATURE: The CD drive is overheated. No more CDs can be inserted.Another audio source will be played.
SERVICE: The CD drive has a mechanical anomaly. Visit the specialised work-shop.
NoteUneven road surfaces and strong vibrations may cause the CD to jump.
Selecting a media source
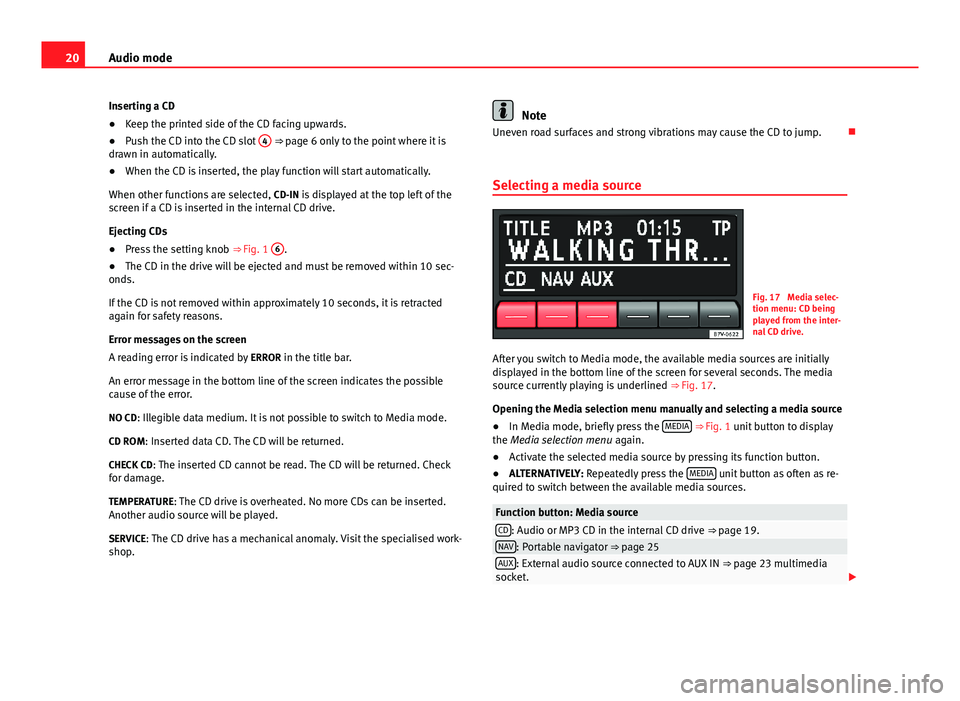
Fig. 17
Media selec-tion menu: CD beingplayed from the inter-nal CD drive.
After you switch to Media mode, the available media sources are initiallydisplayed in the bottom line of the screen for several seconds. The mediasource currently playing is underlined ⇒ Fig. 17.
Opening the Media selection menu manually and selecting a media source
●
In Media mode, briefly press the MEDIA ⇒ Fig. 1 unit button to displaythe Media selection menu again.
●
Activate the selected media source by pressing its function button.
●
ALTERNATIVELY: Repeatedly press the MEDIA unit button as often as re-quired to switch between the available media sources.
Function button: Media sourceCD: Audio or MP3 CD in the internal CD drive ⇒ page 19.NAV: Portable navigator ⇒ page 25AUX: External audio source connected to AUX IN ⇒ page 23 multimediasocket.
Page 29 of 35
28Settings menuSystem and function settings (SETUP)
Introduction
Additional information and warnings:
●
Safety notes ⇒ page 4
●
Unit overview ⇒ page 6
●
Basic information on use ⇒ page 8
Modifying the settings
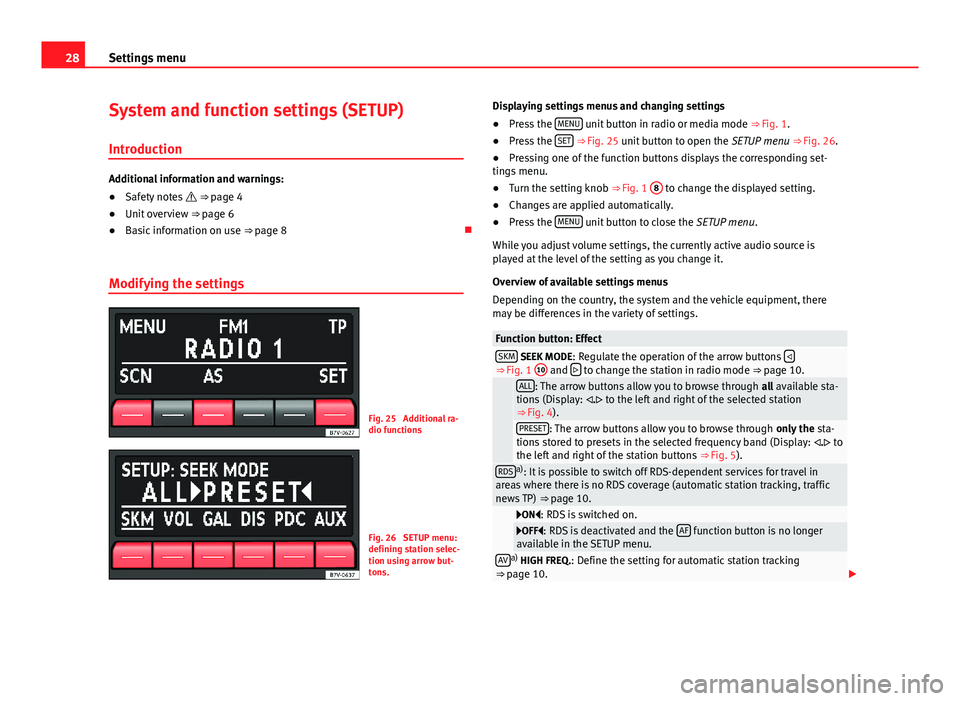
Fig. 25
Additional ra-dio functions
Fig. 26
SETUP menu:defining station selec-tion using arrow but-tons.
Displaying settings menus and changing settings●
Press the MENU unit button in radio or media mode ⇒ Fig. 1.
●
Press the SET ⇒ Fig. 25 unit button to open the SETUP menu ⇒ Fig. 26.
●
Pressing one of the function buttons displays the corresponding set-tings menu.
●
Turn the setting knob ⇒ Fig. 1
8
to change the displayed setting.
●
Changes are applied automatically.
●
Press the MENU unit button to close the SETUP menu.
While you adjust volume settings, the currently active audio source isplayed at the level of the setting as you change it.
Overview of available settings menus
Depending on the country, the system and the vehicle equipment, theremay be differences in the variety of settings.
Function button: EffectSKM SEEK MODE: Regulate the operation of the arrow buttons ⇒ Fig. 1
10
and to change the station in radio mode ⇒ page 10.
ALL: The arrow buttons allow you to browse through all available sta-tions (Display: . to the left and right of the selected station⇒ Fig. 4).
PRESET: The arrow buttons allow you to browse through only the sta-tions stored to presets in the selected frequency band (Display: . tothe left and right of the station buttons ⇒ Fig. 5).
RDSa): It is possible to switch off RDS-dependent services for travel inareas where there is no RDS coverage (automatic station tracking, trafficnews TP) ⇒ page 10.
ON: RDS is switched on.OFF: RDS is deactivated and the AF function button is no longeravailable in the SETUP menu.AVa) HIGH FREQ.: Define the setting for automatic station tracking⇒ page 10.