Seat Mii 2013 SOUND SYSTEM 1.X
Manufacturer: SEAT, Model Year: 2013, Model line: Mii, Model: Seat Mii 2013Pages: 37, PDF Size: 1.7 MB
Page 11 of 37
10Audio modeAudio modeRadio mode
Introduction
The various versions of the radio system will be distributed depending onthe country and the unit. In the unit overview the possible variations of theunit are described ⇒ page 6.
Additional information and warnings:
●
Safety notes ⇒ page 4
●
Unit overview ⇒ page 6
●
Basic information on use ⇒ page 8
●
System and function settings (SETUP) ⇒ page 30
Note
Multi-storey car parks, tunnels, high buildings and mountains can impair ra-dio signals.
Note
Foil or metal-coated stickers attached to the windows may affect receptionon vehicles with a window aerial.
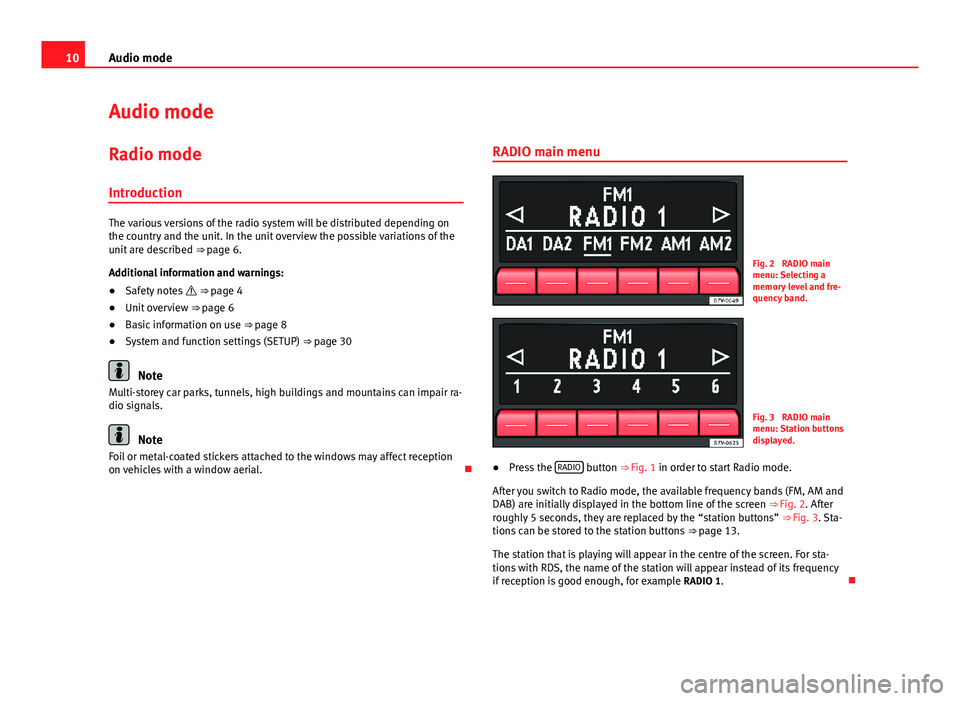
RADIO main menuFig. 2
RADIO mainmenu: Selecting amemory level and fre-quency band.
Fig. 3
RADIO mainmenu: Station buttonsdisplayed.
●
Press the RADIO button ⇒ Fig. 1 in order to start Radio mode.
After you switch to Radio mode, the available frequency bands (FM, AM andDAB) are initially displayed in the bottom line of the screen ⇒ Fig. 2. Afterroughly 5 seconds, they are replaced by the “station buttons” ⇒ Fig. 3. Sta-tions can be stored to the station buttons ⇒ page 13.
The station that is playing will appear in the centre of the screen. For sta-tions with RDS, the name of the station will appear instead of its frequencyif reception is good enough, for example RADIO 1.
Page 12 of 37
11Audio modeRDS and automatic station tracking (only in FM)
RDS is a radio data service which makes it possible to receive additionalservices such as the display of station names, automatic station tracking(AF) and the TP function (Traffic Program ⇒ page 17).
With automatic station tracking, when the vehicle is in motion the stationalways changes to the frequency with the best reception in that moment. Ifthe reception is poor, the unit may be muted for a short time as it searchesfor alternative frequencies (AF).
RDS does not exist everywhere nor is it available for all stations.
Depending on the country and the unit, it is possible that the RDS and thealternative frequencies (AF) are deactivated ⇒ page 30.
Changing frequency band
The currently selected frequency band (FM or AM) is indicated above thestation display.
●
In Radio mode, briefly press the RADIO ⇒ Fig. 1 equipment button to dis-play the function buttons FM1, FM2, AM1, AM2, DA1* and DA2* ⇒ Fig. 2.
●
Press one of the FM or AM function buttons to switch to the DAB*, FM orAM frequency band.
●
OR: Press the RADIO unit button as often as required to switch betweenthe frequency bands and memory levels.
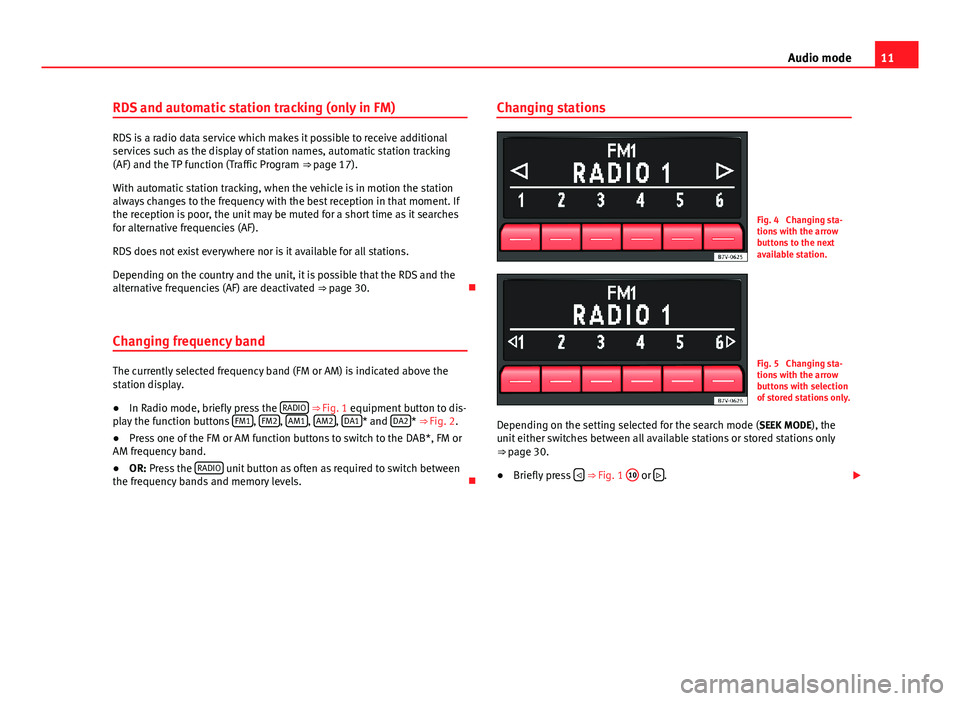
Changing stationsFig. 4
Changing sta-tions with the arrowbuttons to the nextavailable station.
Fig. 5
Changing sta-tions with the arrowbuttons with selectionof stored stations only.
Depending on the setting selected for the search mode (SEEK MODE), theunit either switches between all available stations or stored stations only⇒ page 30.
●
Briefly press ⇒ Fig. 1
10
or .
Page 13 of 37
12Audio modeStatusEffectRadio mode with ... displayed inthe centre line of the screen⇒ Fig. 4.
Switches to the next available stationon the current frequency band.Radio mode with ... displayed inthe bottom line of the screen⇒ Fig. 5.
Switches to the next stored station⇒ page 13.Radio mode with ... displayed inthe centre line of the screen and TPindication.
Switches to the next available TP traf-fic news station ⇒ page 17.
Tuning to a station frequency manually in FM and AM mode
●
Select the desired frequency band ⇒ page 10.
●
Turn the setting knob ⇒ Fig. 1
8
until the desired station frequency(e.g. 89.9 MHz) is displayed on the screen.
Scan function (SCN)
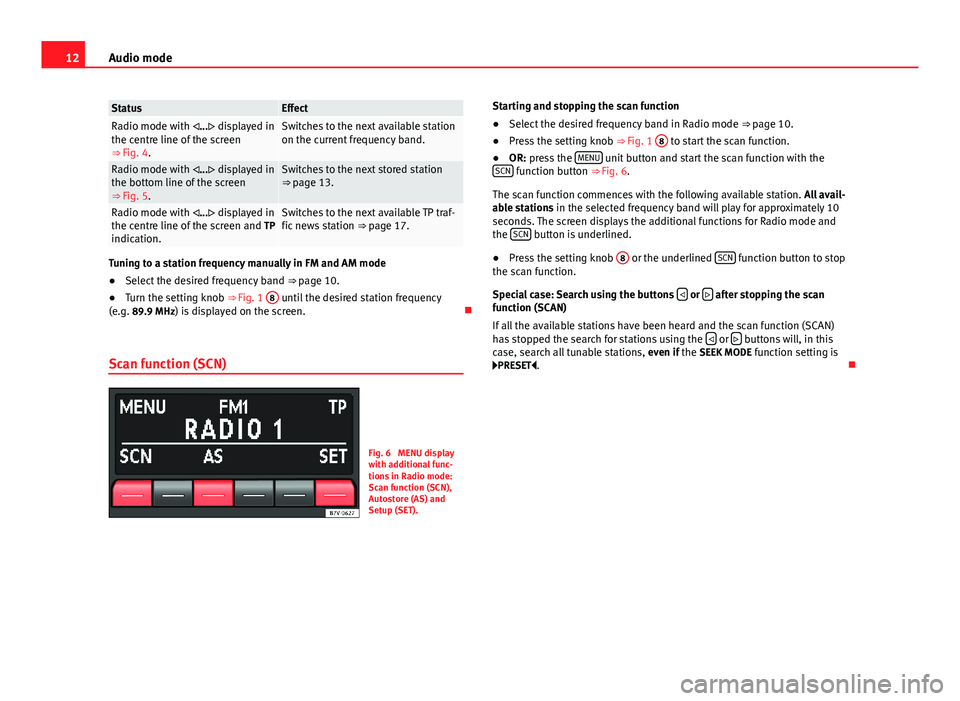
Fig. 6
MENU displaywith additional func-tions in Radio mode:Scan function (SCN),Autostore (AS) andSetup (SET).
Starting and stopping the scan function●
Select the desired frequency band in Radio mode ⇒ page 10.
●
Press the setting knob ⇒ Fig. 1
8
to start the scan function.
●
OR: press the MENU unit button and start the scan function with theSCN function button ⇒ Fig. 6.
The scan function commences with the following available station. All avail-able stations in the selected frequency band will play for approximately 10seconds. The screen displays the additional functions for Radio mode andthe SCN button is underlined.
●
Press the setting knob
8
or the underlined SCN function button to stopthe scan function.
Special case: Search using the buttons or after stopping the scanfunction (SCAN)
If all the available stations have been heard and the scan function (SCAN)has stopped the search for stations using the or buttons will, in thiscase, search all tunable stations, even if the SEEK MODE function setting isPRESET.
Page 14 of 37
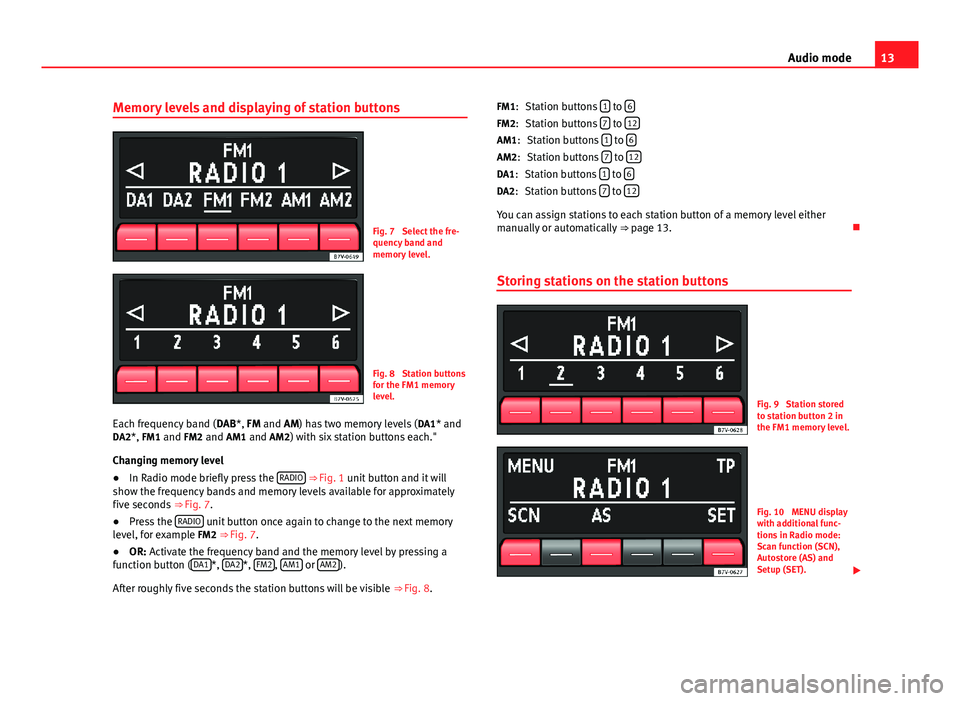
13Audio modeMemory levels and displaying of station buttonsFig. 7
Select the fre-quency band andmemory level.
Fig. 8
Station buttonsfor the FM1 memorylevel.
Each frequency band (DAB*, FM and AM) has two memory levels (DA1* andDA2*, FM1 and FM2 and AM1 and AM2) with six station buttons each."
Changing memory level
●
In Radio mode briefly press the RADIO ⇒ Fig. 1 unit button and it willshow the frequency bands and memory levels available for approximatelyfive seconds ⇒ Fig. 7.
●
Press the RADIO unit button once again to change to the next memorylevel, for example FM2 ⇒ Fig. 7.
●
OR: Activate the frequency band and the memory level by pressing afunction button (DA1*, DA2*, FM2, AM1 or AM2).
After roughly five seconds the station buttons will be visible ⇒ Fig. 8.
Station buttons 1 to 6
Station buttons 7 to 12
Station buttons 1 to 6
Station buttons 7 to 12
Station buttons 1 to 6
Station buttons 7 to 12
You can assign stations to each station button of a memory level eithermanually or automatically ⇒ page 13.
Storing stations on the station buttons
Fig. 9
Station storedto station button 2 inthe FM1 memory level.
Fig. 10
MENU displaywith additional func-tions in Radio mode:Scan function (SCN),Autostore (AS) andSetup (SET).
FM1:FM2:AM1:AM2:DA1:DA2:
Page 15 of 37
14Audio modeWhen storing a station to a station button, any station already stored to thesame station button in the same memory level will be overwritten.
Manually assigning station buttons individually
●
Select the frequency band and memory level.
●
Select the station.
●
Press and hold the desired station button until you hear a tone.
●
The station currently playing (RADIO 1) will then be stored to that stationbutton.
The station button to which the station currently playing is assigned is dis-played underlined on the screen ⇒ Fig. 9.
Storing stations automatically with Autostore (AS)
The Autostore function automatically stores the stations with the strongestreception at the current moment to the six station buttons in the currentlyselected memory level.
●
Select the frequency band and memory level.
●
Press the MENU ⇒ Fig. 1 unit button to open the additional functions⇒ Fig. 10.
●
Press and hold the AS function button until STORE appears.
●
This procedure can take some seconds. When the stations have beenstored, STORE disappears from the display.
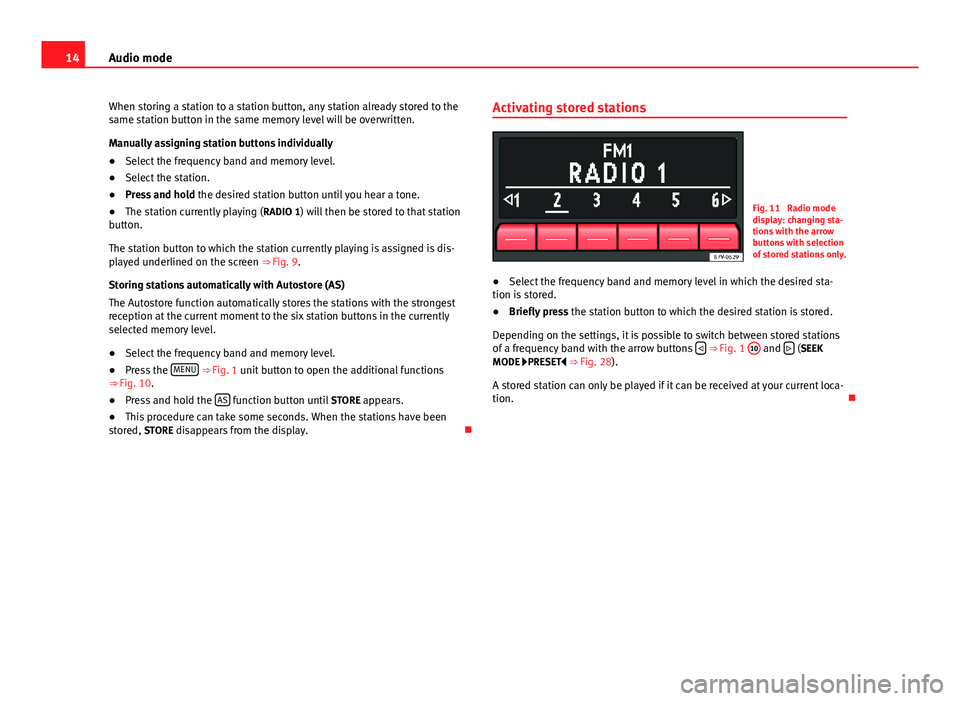
Activating stored stationsFig. 11
Radio modedisplay: changing sta-tions with the arrowbuttons with selectionof stored stations only.
●
Select the frequency band and memory level in which the desired sta-tion is stored.
●
Briefly press the station button to which the desired station is stored.
Depending on the settings, it is possible to switch between stored stationsof a frequency band with the arrow buttons ⇒ Fig. 1
10
and (SEEKMODE PRESET ⇒ Fig. 28).
A stored station can only be played if it can be received at your current loca-tion.
Page 16 of 37
15Audio modeDigital radio mode* (DAB, DAB+ and DMB-
Audio)
Operation
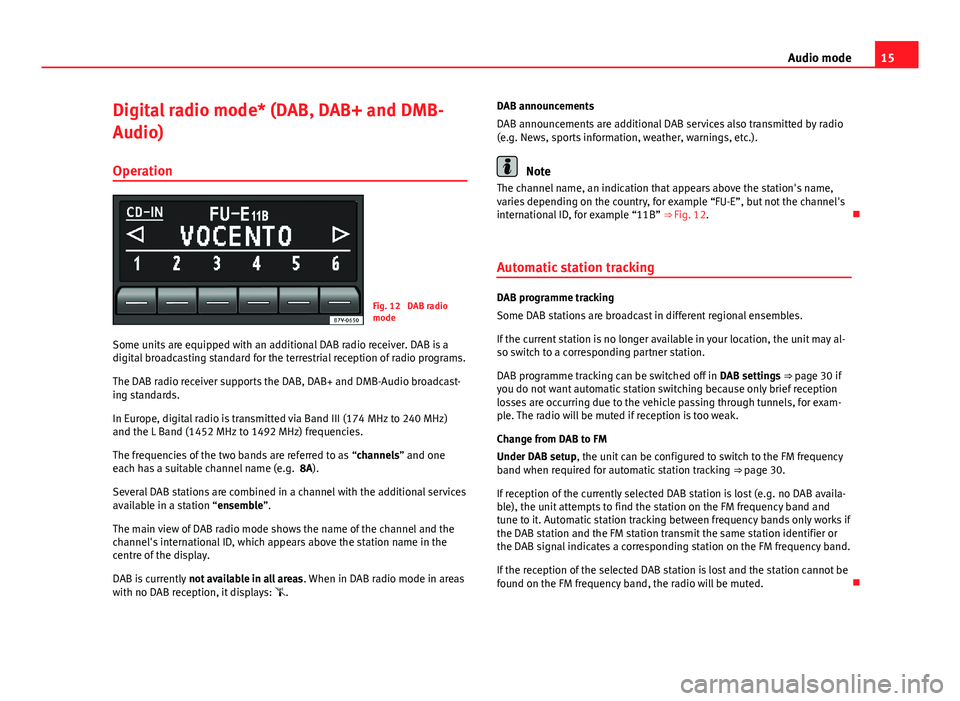
Fig. 12
DAB radiomode
Some units are equipped with an additional DAB radio receiver. DAB is adigital broadcasting standard for the terrestrial reception of radio programs.
The DAB radio receiver supports the DAB, DAB+ and DMB-Audio broadcast-ing standards.
In Europe, digital radio is transmitted via Band III (174 MHz to 240 MHz)and the L Band (1452 MHz to 1492 MHz) frequencies.
The frequencies of the two bands are referred to as “channels” and oneeach has a suitable channel name (e.g. 8A).
Several DAB stations are combined in a channel with the additional servicesavailable in a station “ensemble”.
The main view of DAB radio mode shows the name of the channel and thechannel's international ID, which appears above the station name in thecentre of the display.
DAB is currently not available in all areas. When in DAB radio mode in areaswith no DAB reception, it displays: .
DAB announcements
DAB announcements are additional DAB services also transmitted by radio(e.g. News, sports information, weather, warnings, etc.).
Note
The channel name, an indication that appears above the station's name,varies depending on the country, for example “FU-E”, but not the channel'sinternational ID, for example “11B” ⇒ Fig. 12.
Automatic station tracking
DAB programme tracking
Some DAB stations are broadcast in different regional ensembles.
If the current station is no longer available in your location, the unit may al-so switch to a corresponding partner station.
DAB programme tracking can be switched off in DAB settings ⇒ page 30 ifyou do not want automatic station switching because only brief receptionlosses are occurring due to the vehicle passing through tunnels, for exam-ple. The radio will be muted if reception is too weak.
Change from DAB to FM
Under DAB setup, the unit can be configured to switch to the FM frequencyband when required for automatic station tracking ⇒ page 30.
If reception of the currently selected DAB station is lost (e.g. no DAB availa-ble), the unit attempts to find the station on the FM frequency band andtune to it. Automatic station tracking between frequency bands only works ifthe DAB station and the FM station transmit the same station identifier orthe DAB signal indicates a corresponding station on the FM frequency band.
If the reception of the selected DAB station is lost and the station cannot befound on the FM frequency band, the radio will be muted.
Page 17 of 37
16Audio modeStarting station update (UPDATE)
During the station update, the unit scans the groups of stations currentlyavailable in the location and saves their position to make it easier to switchamong available groups using the arrow buttons or .
●
Press the MENU ⇒ Fig. 1 unit button in Radio mode.
●
Press the UPD unit button to update the stations. The top line of the dis-play will show UPDATE as the channel, whereas the international IDs areshown in the centre line (e.g. “11B”).
●
The station update ends when UPDATE is no longer shown in the top lineof the display.
The radio will be muted during station update.
Tuning to a channel/station manually in DAB mode*
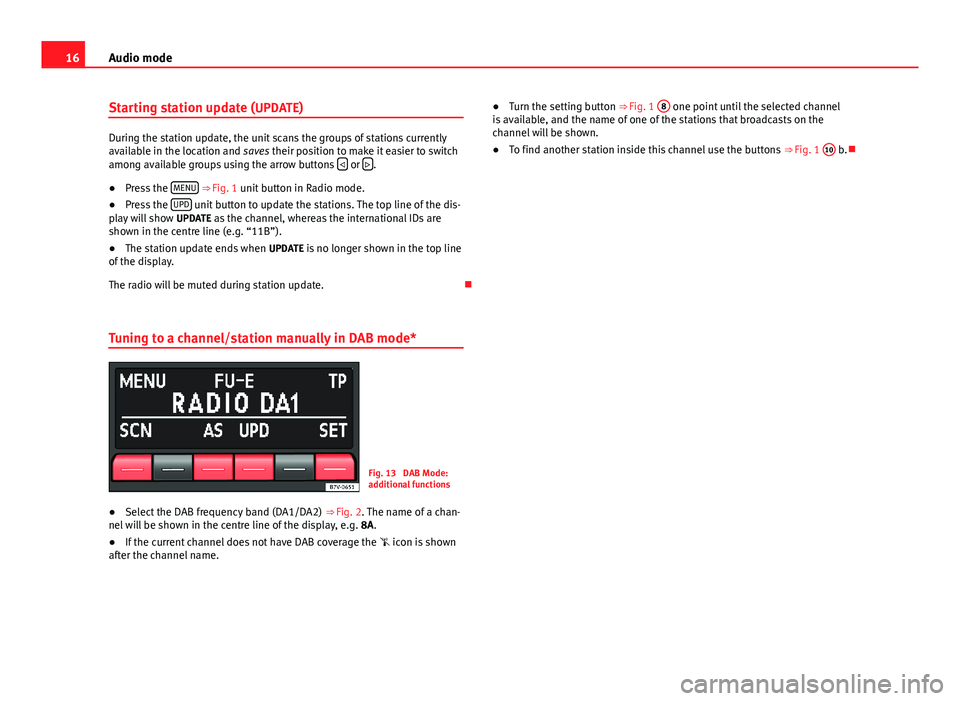
Fig. 13
DAB Mode:additional functions
●
Select the DAB frequency band (DA1/DA2) ⇒ Fig. 2. The name of a chan-nel will be shown in the centre line of the display, e.g. 8A.
●
If the current channel does not have DAB coverage the icon is shownafter the channel name.
●Turn the setting button ⇒ Fig. 1 8 one point until the selected channelis available, and the name of one of the stations that broadcasts on thechannel will be shown.
●
To find another station inside this channel use the buttons ⇒ Fig. 1
10
b.
Page 18 of 37
17Audio modeTP (Traffic Program) function
Introduction
The TP function is an RDS radio data service.
While traffic news monitoring is on (display: TP), traffic announcements willinterrupt the current Audio mode.
On the AM frequency band, traffic news monitoring is not possible.
Additional information and warnings:
●
Safety notes ⇒ page 4
●
Unit overview ⇒ page 6
●
Basic information on use ⇒ page 8
●
Radio mode ⇒ page 10
Monitoring traffic news stations using the TP function
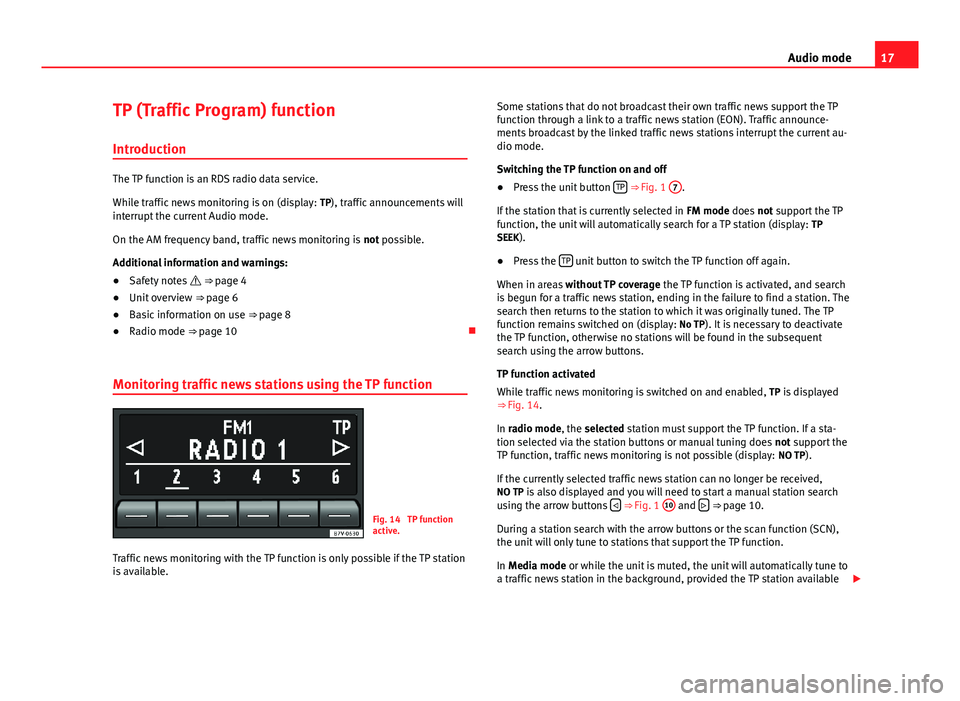
Fig. 14
TP functionactive.
Traffic news monitoring with the TP function is only possible if the TP stationis available.
Some stations that do not broadcast their own traffic news support the TPfunction through a link to a traffic news station (EON). Traffic announce-ments broadcast by the linked traffic news stations interrupt the current au-dio mode.
Switching the TP function on and off
●
Press the unit button TP ⇒ Fig. 1
7
.
If the station that is currently selected in FM mode does not support the TPfunction, the unit will automatically search for a TP station (display: TPSEEK).
●
Press the TP unit button to switch the TP function off again.
When in areas without TP coverage the TP function is activated, and searchis begun for a traffic news station, ending in the failure to find a station. Thesearch then returns to the station to which it was originally tuned. The TPfunction remains switched on (display: No TP). It is necessary to deactivatethe TP function, otherwise no stations will be found in the subsequentsearch using the arrow buttons.
TP function activated
While traffic news monitoring is switched on and enabled, TP is displayed⇒ Fig. 14.
In radio mode, the selected station must support the TP function. If a sta-tion selected via the station buttons or manual tuning does not support theTP function, traffic news monitoring is not possible (display: NO TP).
If the currently selected traffic news station can no longer be received,NO TP is also displayed and you will need to start a manual station searchusing the arrow buttons ⇒ Fig. 1
10
and ⇒ page 10.
During a station search with the arrow buttons or the scan function (SCN),the unit will only tune to stations that support the TP function.
In Media mode or while the unit is muted, the unit will automatically tune toa traffic news station in the background, provided the TP station available
Page 19 of 37
18Audio modehas a good signal. This operation may take some time depending on thesituation.
Incoming traffic announcement (INFO)
An incoming traffic announcement (display: INFO) will interrupt the activeaudio mode.
●
If required, the radio is switched to the traffic news station (EON) for theduration of the traffic announcement.
●
The Media mode will be paused and the volume will be adjusted to thepreset level.
●
During the announcement, the announcement volume can be adjustedwith the volume control ⇒ Fig. 1
1
. The adjusted setting will be appliedto subsequent announcements.
●
Interruption by a traffic announcement can be stopped by pressing theTP unit button. The TP function remains active and the next traffic an-nouncement will again interrupt the current Audio mode.
Page 20 of 37
19Audio modeMedia mode
Introduction
Media sources are audio sources containing audio files on various differentdata media (e.g. CD, external MP3 player). These audio files can be playedby the respective data media or by the radio input sockets.
Additional information and warnings:
●
Safety notes ⇒ page 4
●
Unit overview ⇒ page 6
●
Basic information on use ⇒ page 8
Requirements for media sources and audio files
Factory-fitted CD players conform to safety class 1 according toDIN IEC 76 (CO) 6/ VDE 0837.
The unit only accepts 12-cm standard CDs.
Media sourceRequirements for playing in the unit Audio CDs (up to 80 min).– CD Digital Audio specification . CD-ROM, CD-R, CD-RW upto max. 700 MB (megabyte)according to ISO 9660 or onthe Joliet data system.
MP3 files (.mp3) with bitrates of between48 and 320 kbit/s or with variable bitrates– Playlists in formats PLS and M3U– Playlists no larger than 20 KB and con-taining no more than 250 links.– Max. 32 playlists on a data medium.– File names no longer than 64 characters.– Folder structures with a maximum of tenlevels.– Max.120 folders and max. 500 files on adata medium.
AUX: External audio source.– A 3.5 mm jack plug can be used for audiooutput ⇒ page 25.
Restrictions and notes
Contamination, exposure to high temperatures and mechanical damage canrender a data medium unusable. Observe the manufacturer's instructionson the data medium.
Variations in the quality of data media produced by different manufacturersmay lead to problems during playback.
Please observe copyright laws.
CDs recorded in UDF or Direct CD format cannot be played. Under WindowsVista® ensure that the correct format is selected.
The unit may be unable to read individual tracks or the entire data mediumdue to the data medium configuration or the devices and programs used forrecording. Compatibility with all encoding/recording software, recording de-vices and recording media cannot be guaranteed. Information can be foundon the internet regarding the best ways to create audio files and data media(compression rate, ID3 tag etc.).