start stop button Seat Mii 2013 SOUND SYSTEM 1.X
[x] Cancel search | Manufacturer: SEAT, Model Year: 2013, Model line: Mii, Model: Seat Mii 2013Pages: 37, PDF Size: 1.7 MB
Page 8 of 37

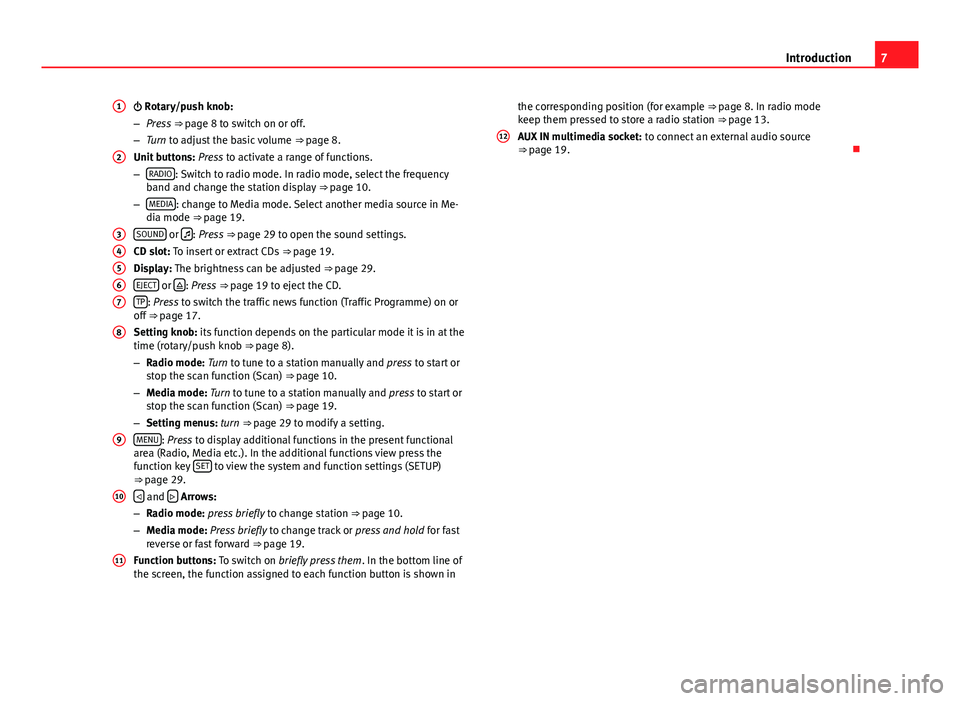
7Introduction Rotary/push knob:
–Press ⇒ page 8 to switch on or off.
–Turn to adjust the basic volume ⇒ page 8.
Unit buttons: Press to activate a range of functions.
–RADIO: Switch to radio mode. In radio mode, select the frequencyband and change the station display ⇒ page 10.
–MEDIA: change to Media mode. Select another media source in Me-dia mode ⇒ page 19.
SOUND or : Press ⇒ page 29 to open the sound settings.
CD slot: To insert or extract CDs ⇒ page 19.
Display: The brightness can be adjusted ⇒ page 29.
EJECT or : Press ⇒ page 19 to eject the CD.
TP: Press to switch the traffic news function (Traffic Programme) on oroff ⇒ page 17.
Setting knob: its function depends on the particular mode it is in at thetime (rotary/push knob ⇒ page 8).
–Radio mode: Turn to tune to a station manually and press to start orstop the scan function (Scan) ⇒ page 10.
–Media mode: Turn to tune to a station manually and press to start orstop the scan function (Scan) ⇒ page 19.
–Setting menus: turn ⇒ page 29 to modify a setting.
MENU: Press to display additional functions in the present functionalarea (Radio, Media etc.). In the additional functions view press thefunction key SET to view the system and function settings (SETUP)⇒ page 29.
and Arrows:
–Radio mode: press briefly to change station ⇒ page 10.
–Media mode: Press briefly to change track or press and hold for fastreverse or fast forward ⇒ page 19.
Function buttons: To switch on briefly press them. In the bottom line ofthe screen, the function assigned to each function button is shown in
1234567891011the corresponding position (for example ⇒ page 8. In radio modekeep them pressed to store a radio station ⇒ page 13.
AUX IN multimedia socket: to connect an external audio source⇒ page 19.
12
Page 10 of 37

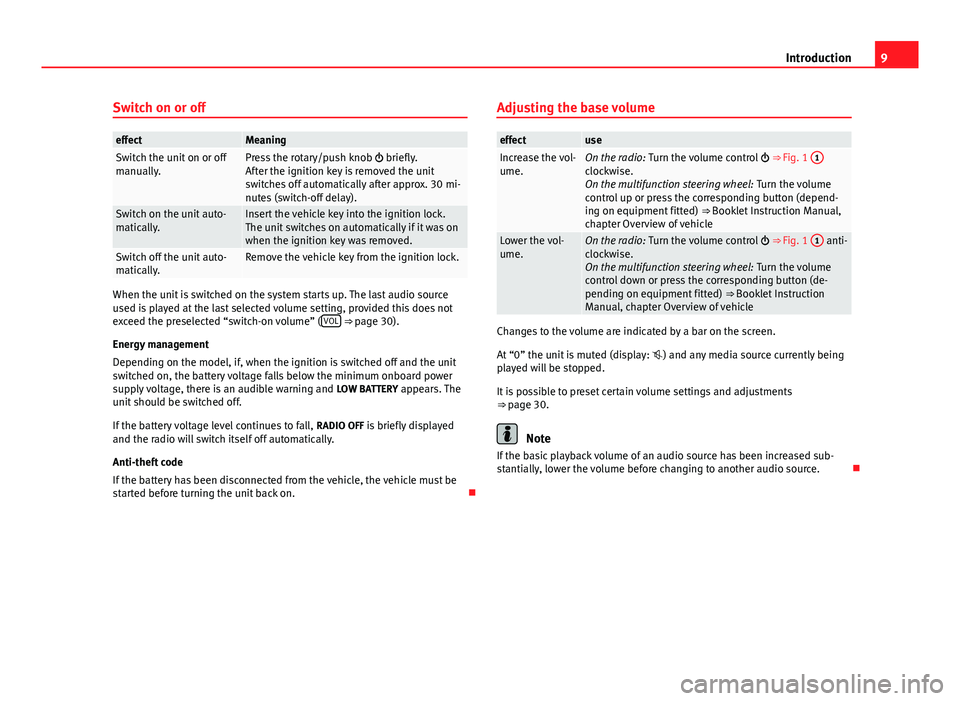
9IntroductionSwitch on or offeffectMeaningSwitch the unit on or offmanually.Press the rotary/push knob briefly.After the ignition key is removed the unitswitches off automatically after approx. 30 mi-nutes (switch-off delay).
Switch on the unit auto-matically.Insert the vehicle key into the ignition lock.The unit switches on automatically if it was onwhen the ignition key was removed.
Switch off the unit auto-matically.Remove the vehicle key from the ignition lock.
When the unit is switched on the system starts up. The last audio sourceused is played at the last selected volume setting, provided this does notexceed the preselected “switch-on volume” (VOL ⇒ page 30).
Energy management
Depending on the model, if, when the ignition is switched off and the unitswitched on, the battery voltage falls below the minimum onboard powersupply voltage, there is an audible warning and LOW BATTERY appears. Theunit should be switched off.
If the battery voltage level continues to fall, RADIO OFF is briefly displayedand the radio will switch itself off automatically.
Anti-theft code
If the battery has been disconnected from the vehicle, the vehicle must bestarted before turning the unit back on.
Adjusting the base volumeeffectuseIncrease the vol-ume.On the radio: Turn the volume control ⇒ Fig. 1 1
clockwise.On the multifunction steering wheel: Turn the volumecontrol up or press the corresponding button (depend-ing on equipment fitted) ⇒ Booklet Instruction Manual,chapter Overview of vehicle
Lower the vol-ume.On the radio: Turn the volume control ⇒ Fig. 1 1 anti-clockwise.On the multifunction steering wheel: Turn the volumecontrol down or press the corresponding button (de-pending on equipment fitted) ⇒ Booklet InstructionManual, chapter Overview of vehicle
Changes to the volume are indicated by a bar on the screen.
At “0” the unit is muted (display: ) and any media source currently beingplayed will be stopped.
It is possible to preset certain volume settings and adjustments⇒ page 30.
Note
If the basic playback volume of an audio source has been increased sub-stantially, lower the volume before changing to another audio source.
Page 13 of 37

12Audio modeStatusEffectRadio mode with ... displayed inthe centre line of the screen⇒ Fig. 4.
Switches to the next available stationon the current frequency band.Radio mode with ... displayed inthe bottom line of the screen⇒ Fig. 5.
Switches to the next stored station⇒ page 13.Radio mode with ... displayed inthe centre line of the screen and TPindication.
Switches to the next available TP traf-fic news station ⇒ page 17.
Tuning to a station frequency manually in FM and AM mode
●
Select the desired frequency band ⇒ page 10.
●
Turn the setting knob ⇒ Fig. 1
8
until the desired station frequency(e.g. 89.9 MHz) is displayed on the screen.
Scan function (SCN)
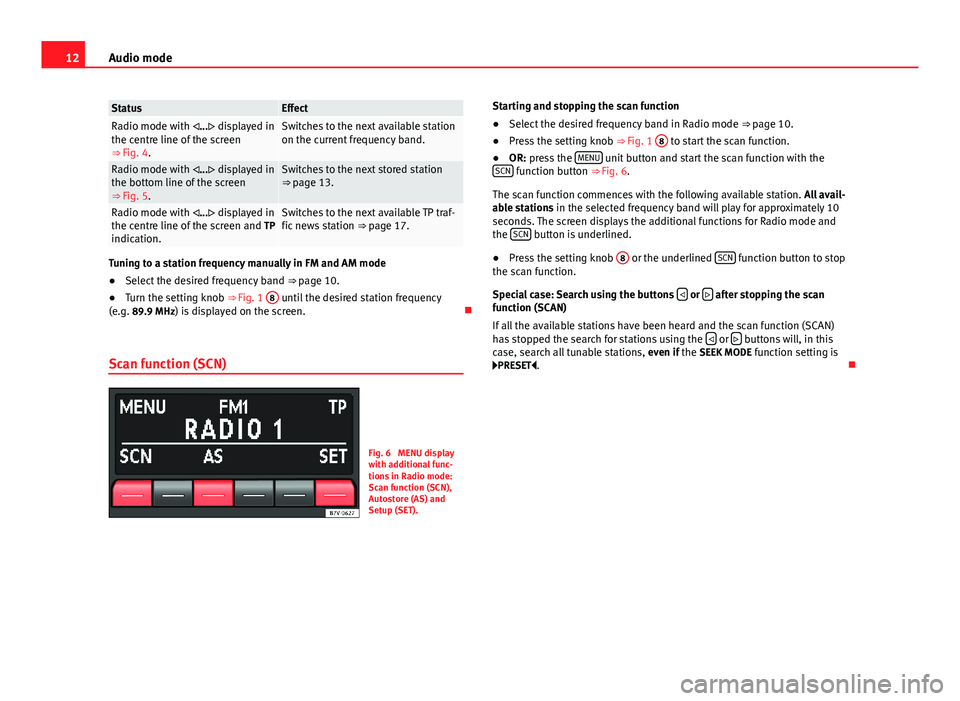
Fig. 6
MENU displaywith additional func-tions in Radio mode:Scan function (SCN),Autostore (AS) andSetup (SET).
Starting and stopping the scan function●
Select the desired frequency band in Radio mode ⇒ page 10.
●
Press the setting knob ⇒ Fig. 1
8
to start the scan function.
●
OR: press the MENU unit button and start the scan function with theSCN function button ⇒ Fig. 6.
The scan function commences with the following available station. All avail-able stations in the selected frequency band will play for approximately 10seconds. The screen displays the additional functions for Radio mode andthe SCN button is underlined.
●
Press the setting knob
8
or the underlined SCN function button to stopthe scan function.
Special case: Search using the buttons or after stopping the scanfunction (SCAN)
If all the available stations have been heard and the scan function (SCAN)has stopped the search for stations using the or buttons will, in thiscase, search all tunable stations, even if the SEEK MODE function setting isPRESET.
Page 26 of 37

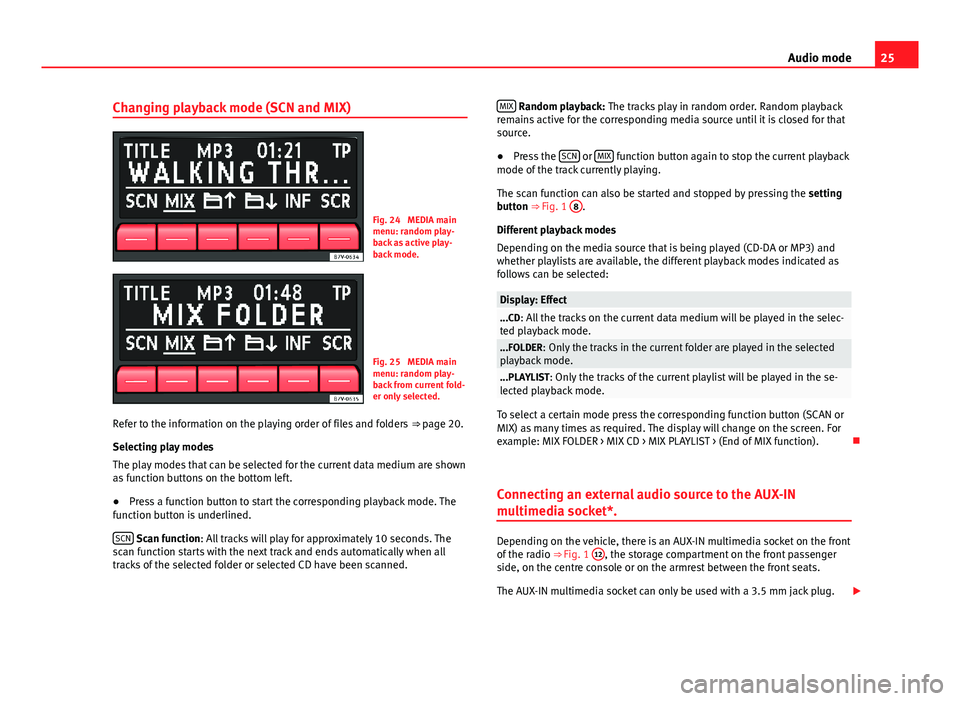
25Audio modeChanging playback mode (SCN and MIX)Fig. 24
MEDIA mainmenu: random play-back as active play-back mode.
Fig. 25
MEDIA mainmenu: random play-back from current fold-er only selected.
Refer to the information on the playing order of files and folders ⇒ page 20.
Selecting play modes
The play modes that can be selected for the current data medium are shownas function buttons on the bottom left.
●
Press a function button to start the corresponding playback mode. Thefunction button is underlined.
SCN Scan function: All tracks will play for approximately 10 seconds. Thescan function starts with the next track and ends automatically when alltracks of the selected folder or selected CD have been scanned.
MIX Random playback: The tracks play in random order. Random playbackremains active for the corresponding media source until it is closed for thatsource.
●
Press the SCN or MIX function button again to stop the current playbackmode of the track currently playing.
The scan function can also be started and stopped by pressing the settingbutton ⇒ Fig. 1
8
.
Different playback modes
Depending on the media source that is being played (CD-DA or MP3) andwhether playlists are available, the different playback modes indicated asfollows can be selected:
Display: Effect...CD: All the tracks on the current data medium will be played in the selec-ted playback mode....FOLDER: Only the tracks in the current folder are played in the selectedplayback mode....PLAYLIST: Only the tracks of the current playlist will be played in the se-lected playback mode.
To select a certain mode press the corresponding function button (SCAN orMIX) as many times as required. The display will change on the screen. Forexample: MIX FOLDER > MIX CD > MIX PLAYLIST > (End of MIX function).
Connecting an external audio source to the AUX-IN
multimedia socket*.
Depending on the vehicle, there is an AUX-IN multimedia socket on the frontof the radio ⇒ Fig. 1
12
, the storage compartment on the front passengerside, on the centre console or on the armrest between the front seats.
The AUX-IN multimedia socket can only be used with a 3.5 mm jack plug.