sat nav Seat Toledo 2016 MEDIA SYSTEM PLUS - NAVI SYSTEM - NAVI SYSTEM PLUS
[x] Cancel search | Manufacturer: SEAT, Model Year: 2016, Model line: Toledo, Model: Seat Toledo 2016Pages: 100, PDF Size: 2.72 MB
Page 18 of 100
Introduction
If you make a mistake when giving a com-
m and or giv
e an inc
omplete command, and it
has no effect, you can repeat the command.
The symbol remains active.
● Briefly press the / VOICE button t
o re-
peat the command.
Instructions for voice control
For optimum functioning of the voice control,
follow these instructions:
● Speak slowly and clearly, as far as possi-
ble.
The system will not recognise words that
are not pronounced clearly, or words and fig-
ures in which syllables are omitted.
● Telephone numbers must be given digit by
digit or in bloc
ks of numbers in ones, tens or
hundreds.
● Speak at a normal volume, without exag-
gerat
ed intonation or long pauses.
● Avoid noise from the exterior and nearby
(for ex
ample, conversations inside the vehi-
cle). Close all doors, windows and the sliding
roof.
● Do not aim the air from the diffusers at the
roof of
the passenger compartment.
● If you are driving very fast, speak a little
louder.
When y
ou activate voice control you are tak-
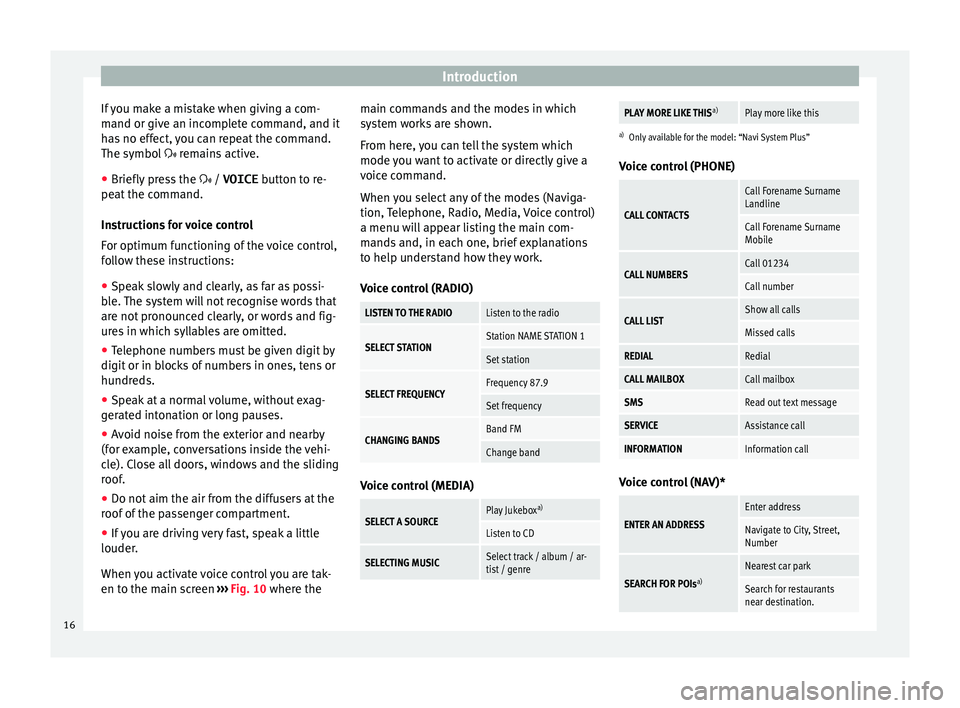
en to the main screen ››› Fig. 10 where the main commands and the modes in which
syst
em works are shown.
From here, you can tell the system which
mode you want to activate or directly give a
voice command.
When you select any of the modes (Naviga-
tion, Telephone, Radio, Media, Voice control)
a menu will appear listing the main com-
mands and, in each one, brief explanations
to help understand how they work.
Voice control (RADIO)
LISTEN TO THE RADIOListen to the radio
SELECT STATIONStation NAME STATION 1
Set station
SELECT FREQUENCYFrequency 87.9
Set frequency
CHANGING BANDSBand FM
Change band Voice control (MEDIA)
SELECT A SOURCEPlay Jukebox
a)
Listen to CD
SELECTING MUSICSelect track / album / ar-
tist / genre
PLAY MORE LIKE THIS a)Play more like this
a)
Only available for the model: “Navi System Plus”
Voice control (PHONE)
CALL CONTACTS
Call Forename Surname
Landline
Call Forename Surname
Mobile
CALL NUMBERSCall 01234
Call number
CALL LISTShow all calls
Missed calls
REDIALRedial
CALL MAILBOXCall mailbox
SMSRead out text message
SERVICEAssistance call
INFORMATIONInformation call Voice control (NAV)*
ENTER AN ADDRESS
Enter address
Navigate to City, Street,
Number
SEARCH FOR POIs
a)
Nearest car park
Search for restaurants
near destination.16
Page 45 of 100
Audio and Media Mode
Images Fig. 29
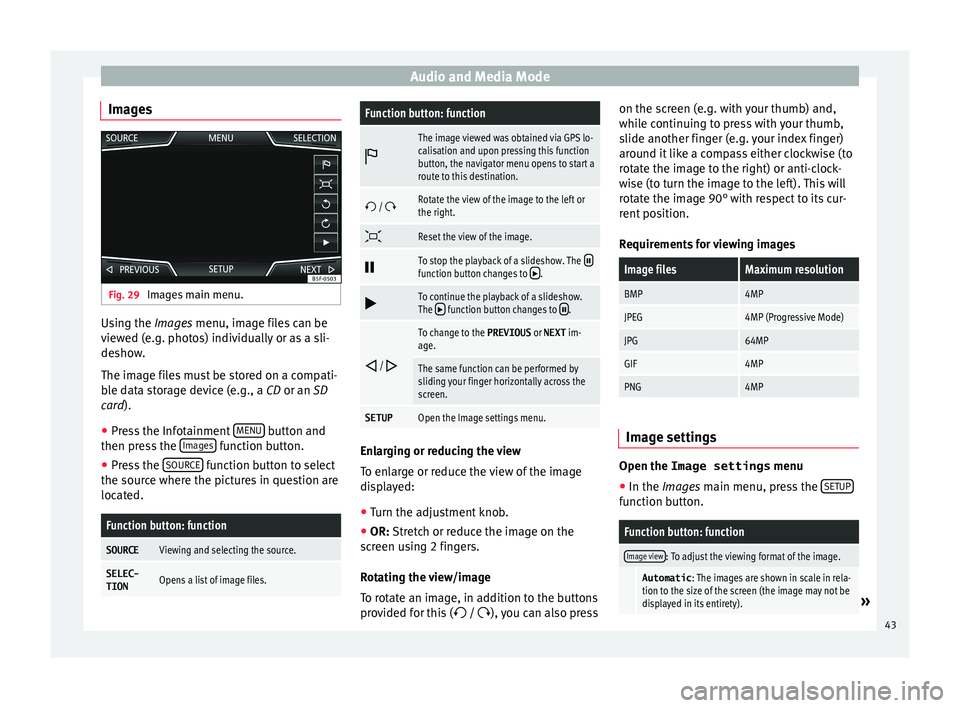
Images main menu. Using the Ima
ge
s menu, image files can be
viewed (e.g. photos) individually or as a sli-
deshow.
The image files must be stored on a compati-
ble data storage device (e.g., a CD or an SD
card).
● Press the Infotainment MENU button and
then pr e
s
s the Images function button.
● Press the SOURC
E function button to select
the sour c
e wher
e the pictures in question are
located.
Function button: function
SOURCEViewing and selecting the source.
SELEC-
TIONOpens a list of image files.
Function button: function
The image viewed was obtained via GPS lo-
calisation and upon pressing this function
button, the navigator menu opens to start a
route to this destination.
/ Rotate the view of the image to the left or
the right.
Reset the view of the image.
To stop the playback of a slideshow. The function button changes to .
To continue the playback of a slideshow.
The function button changes to .
/
To change to the PREVIOUS
or NEXT im-
age.
The same function can be performed by
sliding your finger horizontally across the
screen.
SETUPOpen the Image settings menu. Enlarging or reducing the view
T
o en
l
arge or reduce the view of the image
displayed:
● Turn the adjustment knob.
● OR: Stretch or reduce the image on the
sc
reen using 2 fingers.
Rotating the view/image
To rotate an image, in addition to the buttons
provided for this ( / ), you can also press on the screen (e.g. with your thumb) and,
while c
ontinuing to press with your thumb,
slide another finger (e.g. your index finger)
around it like a compass either clockwise (to
rotate the image to the right) or anti-clock-
wise (to turn the image to the left). This will
rotate the image 90° with respect to its cur-
rent position.
Requirements for viewing images
Image filesMaximum resolution
BMP4MP
JPEG4MP (Progressive Mode)
JPG64MP
GIF4MP
PNG4MP Image settings
Open the Image settings
menu
● In the Ima ges main menu, press the S
ETUP function button.
Function button: function
Image view: To adjust the viewing format of the image.
Automatic
: The images are shown in scale in rela-
tion to the size of the screen (the image may not be
displayed in its entirety).
» 43
Page 47 of 100
Navigation
Navigation 1)
Nav ig
ation, entr
y and control
Introduction
›› ›
table on page 2
General information
The current vehicle position is determined by
means of the GPS satellite system (Global Po-
sitioning System). Sensors in the vehicle
measure distances that have been driven.
The measurement values are compared with
the detailed map data and the road informa-
tion stored therein. Traffic reports, if any, will
also be taken into account in the route calcu-
lation (dynamic route guidance
››› page 53). Using all the data available,
the Infotainment system calculates the opti-
mum route to the destination.
The destination is defined by entering an ad-
dress or a point of interest, e.g. a petrol sta-
tion or hotel.
Spoken instructions and visual guidance on
the navigation unit and on the instrument
panel will direct you to your destination.
Depending on the country, some infotain-
ment system functions can no longer be se- lected when the vehicle is travelling above a
cer
t
ain speed. This is not a malfunction, but
simply a legal requirement.
Navigation messages When the Infotainment system is unable to
rec
eiv
e any data from GPS satellites (due to a
dense tree canopy, underground car park),
navigation can still continue using the vehi-
cle sensors.
Possible navigation limitations
In areas that are not or are only partially digi-
tised on the data storage device (e.g. insuffi-
cient definition of one-way streets and road
categories), the Infotainment system will still
attempt to provide route guidance.
If navigation data are unavailable or incom-
plete, the navigation system may be unable
to determine the exact vehicle position. As a
result, the navigation may not be as exact as
usual.
Navigation area and updating of navigation
data
Roads and streets are subject to constant
change (e.g. new roads, changes to street
names and building numbers). Therefore, if the navigation data is not updated, then er-
ror
s
or inaccuracies may occur during guid-
ance.
SEAT recommends updating navigation data
on a regular basis. Up to date navigation da-
ta can be acquired at a SEAT dealer.
Use navigation data from a memory
card. 3 On
ly available for the model: Navi System
The SD c
ard is initially to be found inserted in
SD card slot 2.
To update navigation data visit our website:
www.seat.com.
● Insert the memory card ›››
page 35 .
● Do not remove the memory card while test-
ing. W
ait for the testing icon to disappear.
If the inserted memory card contains valid
navigation data, the following message ap-
pears: “The source contains a valid naviga-
tion database”. It is now possible to navigate
with the memory card data. When the memo-
ry card is no longer needed by the hardware,
it will be prepared for removal ›››
page 35. »1)
Valid for: Navi System and Navi System Plus.
45
Page 54 of 100
NavigationFunction button: function
3D
Map display in three dimensions (bird's
eye view).
Buildings are also displayed in three di-
mensions. The places of interest and
well-known buildings are shown in detail
and in colour.
a)To display the destination on the map.
a)To display the route on the map.
Auto / Day /
NightTo change between day and night format.
Split screenPress to display the split screen
››› page 52.
POIDisplay points of interest on the map.
a)
This function button is only displayed with route guidance ac-
tivated.
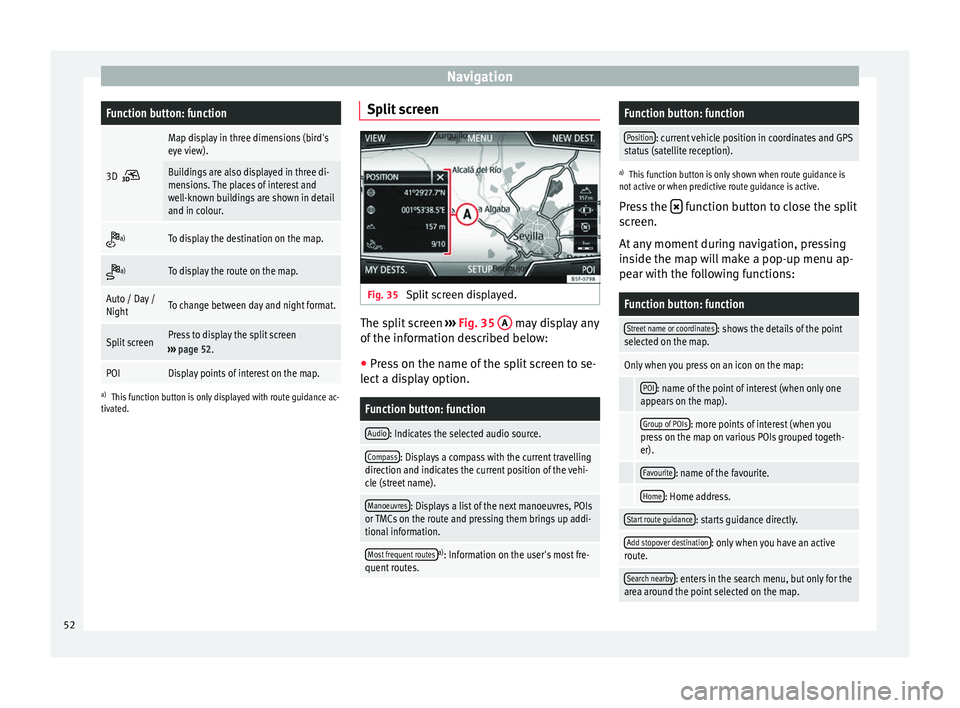
Split screen Fig. 35
Split screen displayed. The split screen
››
›
Fig. 35 A may display any
of the inf
orm
ation described below:
● Press on the name of the split screen to se-
lect a di
splay option.
Function button: function
Audio: Indicates the selected audio source.
Compass: Displays a compass with the current travelling
direction and indicates the current position of the vehi-
cle (street name).
Manoeuvres: Displays a list of the next manoeuvres, POIs
or TMCs on the route and pressing them brings up addi-
tional information.
Most frequent routesa) : Information on the user's most fre-
quent routes.
Function button: function
Position: current vehicle position in coordinates and GPS
status (satellite reception).
a) This function button is only shown when route guidance is
not active or when predictive route guidance is active.
Press the function button to close the split
sc r
een.
At any moment during navigation, pressing
inside the map will make a pop-up menu ap-
pear with the following functions:
Function button: function
Street name or coordinates: shows the details of the point
selected on the map.
Only when you press on an icon on the map:
POI: name of the point of interest (when only one
appears on the map).
Group of POIs: more points of interest (when you
press on the map on various POIs grouped togeth-
er).
Favourite: name of the favourite.
Home: Home address.
Start route guidance: starts guidance directly.
Add stopover destination: only when you have an active
route.
Search nearby: enters in the search menu, but only for the
area around the point selected on the map. 52
Page 89 of 100
SetupFunction button: function
Bluetooth: To perform Bluetooth
®
settings ››› page 75.
WLANa)
: To adjust the WLAN mobile hotspot settings
››› page 40.
System information: Viewing system information (device
number, hardware and software versions).
Update: To update navigation data ››› page 45 Do not
remove the memory card while the navigation data is
being installed.
Copyright: Copyright information.
Configuration wizard: Open the wizard to configure the ini-
tial setup of the Infotainment system.
a) Only available for the model: “Navi System Plus”. Note
For the proper functioning of the Infotain-
ment sy s
tem it is important that the date and
time set in the vehicle are correct. Sound and volume settings
M ak
in
g settings The selection of possible settings will de-
pend on the c
ou
ntr
y, the unit in question and
the vehicle equipment.
● Press the MENU button on the Infotainment
sy s
t
em. ●
Pres
s the Sound function button to open
the m ain
Sound settings menu.
● Pr
ess the function button on the main
menu corre
sponding to one where changes
are to be made. All settings are applied in-
stantaneously.
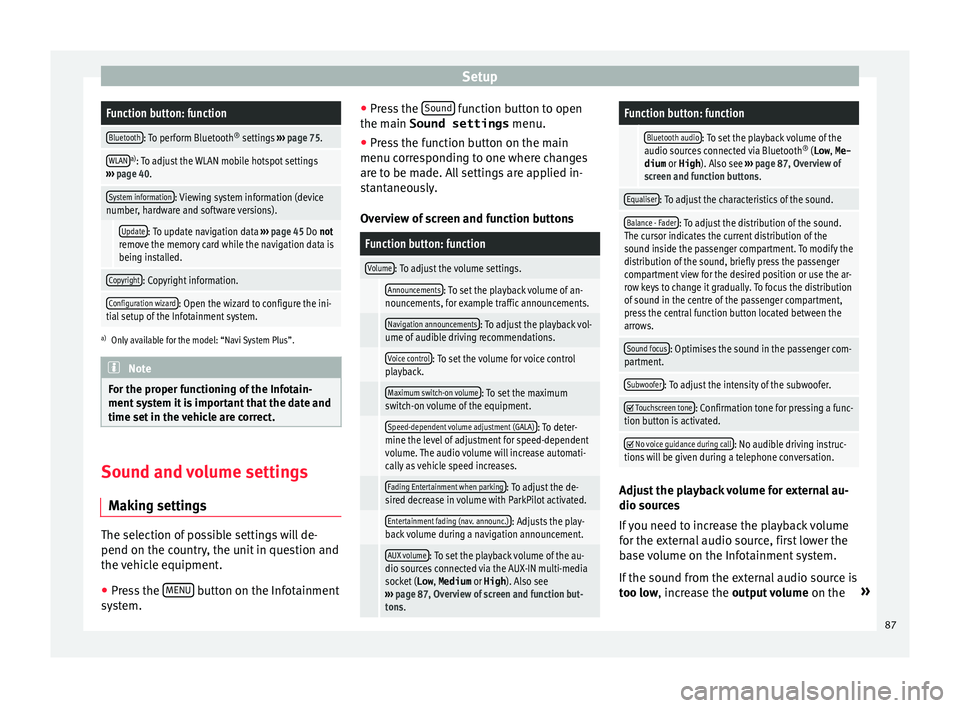
Overview of screen and function buttons
Function button: function
Volume: To adjust the volume settings.
Announcements: To set the playback volume of an-
nouncements, for example traffic announcements.
Navigation announcements: To adjust the playback vol-
ume of audible driving recommendations.
Voice control: To set the volume for voice control
playback.
Maximum switch-on volume: To set the maximum
switch-on volume of the equipment.
Speed-dependent volume adjustment (GALA): To deter-
mine the level of adjustment for speed-dependent
volume. The audio volume will increase automati-
cally as vehicle speed increases.
Fading Entertainment when parking: To adjust the de-
sired decrease in volume with ParkPilot activated.
Entertainment fading (nav. announc.): Adjusts the play-
back volume during a navigation announcement.
AUX volume: To set the playback volume of the au-
dio sources connected via the AUX-IN multi-media
socket ( Low, Medium or High). Also see
››› page 87, Overview of screen and function but-
tons.
Function button: function
Bluetooth audio: To set the playback volume of the
audio sources connected via Bluetooth ®
(Low , Me-
dium or High ). Also see ››› page 87, Overview of
screen and function buttons.
Equaliser: To adjust the characteristics of the sound.
Balance - Fader: To adjust the distribution of the sound.
The cursor indicates the current distribution of the
sound inside the passenger compartment. To modify the
distribution of the sound, briefly press the passenger
compartment view for the desired position or use the ar-
row keys to change it gradually. To focus the distribution
of sound in the centre of the passenger compartment,
press the central function button located between the
arrows.
Sound focus: Optimises the sound in the passenger com-
partment.
Subwoofer: To adjust the intensity of the subwoofer.
Touchscreen tone: Confirmation tone for pressing a func-
tion button is activated.
No voice guidance during call: No audible driving instruc-
tions will be given during a telephone conversation. Adjust the playback volume for external au-
dio sour
c
e
s
If you need to increase the playback volume
for the external audio source, first lower the
base volume on the Infotainment system.
If the sound from the external audio source is
too low, increase the output volume on the»
87