set clock Seat Toledo 2016 MEDIA SYSTEM TOUCH - COLOUR
[x] Cancel search | Manufacturer: SEAT, Model Year: 2016, Model line: Toledo, Model: Seat Toledo 2016Pages: 52, PDF Size: 1.5 MB
Page 9 of 52

Introduction
●
Lightly pr
essing the buttons or briefly
pressing the touchscreen is sufficient to op-
erate the unit.
● It is possible that not all the functions and
fu
nction buttons are available as the software
of the unit responds to the specific character-
istics of each market. A missing function but-
ton on the screen is not the result of an error
in the unit.
● Due to country-specific legislation, certain
fu
nctions cannot be selected on the screen
when the vehicle is travelling above a certain
speed.
● Using a mobile telephone inside the vehicle
can c
ause noise in the speakers.
● There may be restrictions on the use of
Bluetooth dev
ices in some countries. Infor-
mation is available from the local authorities.
● In some vehicles equipped with a parking
dis
tance warning system, the volume of the
audio source is automatically lowered when
the gear is engaged.
● If the steering wheel has a voice control
butt
on , it will not work in this radio mod-
el, so it has no function in relation to the ra-
dio. Rotary knobs and buttons
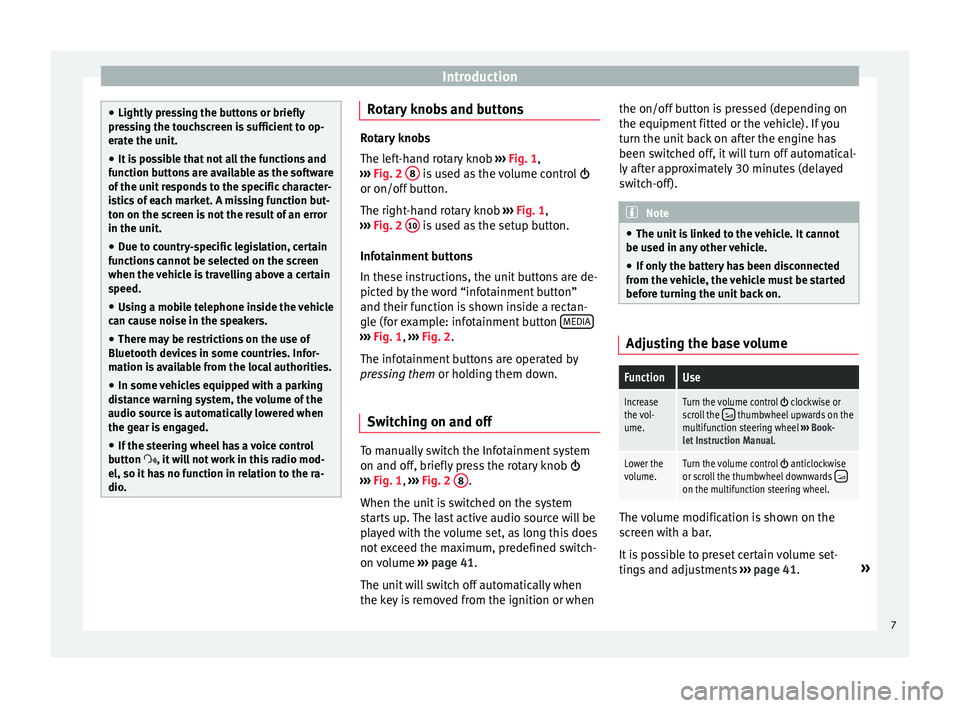
Rotary knobs
The l
ef
t-hand rotary knob ››› Fig. 1,
››› Fig. 2 8 is used as the volume control
or on/off b
utton.
The right-hand rotary knob ››› Fig. 1,
››› Fig. 2 10 is used as the setup button.
Inf ot
ainment buttons
In these instructions, the unit buttons are de-
picted by the word “infotainment button”
and their function is shown inside a rectan-
gle (for example: infotainment button MEDIA ›››
Fig. 1, ›
››
Fig. 2
.
The infotainment buttons are operated by
pressing them or holding them down.
Switching on and off To manually switch the Infotainment system
on and off
, briefly
press the rotary knob
››› Fig. 1, ›››
Fig. 2 8 .
When the u nit
is switched on the system
starts up. The last active audio source will be
played with the volume set, as long this does
not exceed the maximum, predefined switch-
on volume ›››
page 41.
The unit will switch off automatically when
the key is removed from the ignition or when the on/off button is pressed (depending on
the equipment fitt
ed or the vehicle). If you
turn the unit back on after the engine has
been switched off, it will turn off automatical-
ly after approximately 30 minutes (delayed
switch-off). Note
● The u nit
is linked to the vehicle. It cannot
be used in any other vehicle.
● If only the battery has been disconnected
from the
vehicle, the vehicle must be started
before turning the unit back on. Adjusting the base volume
FunctionUse
Increase
the vol-
ume.Turn the volume control clockwise or
scroll the thumbwheel upwards on the
multifunction steering wheel ››› Book-
let Instruction Manual.
Lower the
volume.Turn the volume control anticlockwise
or scroll the thumbwheel downwards on the multifunction steering wheel. The volume modification is shown on the
s
c
reen with a bar.
It is possible to preset certain volume set-
tings and adjustments ›››
page 41. »
7
Page 41 of 52

Setup
Setup
S y
stem setup Menu (SETUP)
Introduction Fig. 36
Main menu Activate the setup main menu (SETUP)
● Press the Infotainment button MENU to
open the System setup main menu.
● Pr
ess the function button corresponding to
the setup
you wish to carry out.
System setup main menu (SETUP) ●
Press the Infotainment button Set
up , to
open the S
ystem setup main menu.
● Press the function button corresponding to
the setup
you wish to carry out.
Function button: effect
Sound setup: adjust volume and sound setup
››› page 41.
Screen: change screen setup ››› page 39.
Date and time: adjust time and date setup ››› page 40.
Idioma/Language: adjusting the language for text.
Additional keypad languages: to select the additional key-
pad languages.
Units: adjust units of measurement ››› page 40.
Configuration wizard: Open the wizard to configure the ini-
tial setup of the Infotainment system.
Factory settings: ››› page 40.
Bluetooth*: adjust Bluetooth setup
System information: indication of the system information
(device number, hardware and software version).
Copyright: message with radio software licensing infor-
mation. Note
For all the infotainment systems to work
pr operly
, it is important to set the correct
time and date in the vehicle. Screen setup
Fig. 37
Display in Standby mode ●
Press the Infotainment button, Set
up to
open the System setup main menu.
● Pr
ess the Scr
een function button. When you
c lo
se a menu, the changes will take effect au-
tomatically.
Summary of the indications and function
buttons
Function button: effect
Brightness: select the brightness level of the screen.
Show clock in standby mode: in standby mode the current
time and date are shown on the display of the Infotain-
ment system ››› Fig. 37.
Acoustic touchscreen feedback: the feedback when you press
a function button on the screen is activated.» 39
Page 42 of 52

SetupFunction button: effect
Switch off screen (in 10 s): With this function activated, if
there is no activity in the infotainment system after this
period of time has elapsed, the screen will switch off.
When you touch the screen or press an infotainment
button, the screen will light up again. Setting the menu language
The screen language can be adjusted.
● Press the Infotainment button, Set
up to
open the System setup main menu.
● Pr
ess the function button, Idioma/Lan
guage .
● Press to select the required language from
the li s
t.
The additional keypad language and the sys-
tem language can be adjusted separately.
Date and time ●
Press the Infotainment button, Set
up to
open the System setup main menu.
● Pr
ess the function button, Time and Date.
Summ
ary of the indications and function
buttons
Function button: effect
Time: set the time by pressing the arrow buttons or.
Time format: select the time format (12 or 24 hour clock).
Automatic summer timea)
: Summer (DST) is automatically
adjusted.
Date: set the date by pressing the arrow buttons or.
Date format: select the date format.
a) Option available depending on the equipment.
Units 1) ●
Press the Infotainment button, Set
up to
open the System setup main menu.
● Pr
ess the function button, Units.
Factory settings Reset factory settings
When
y
ou reset the settings to the vehicle's
default setup, all the data entered is deleted
accordingly, in addition to the settings
made. ●
Scr
oll through the list below and press the
lower function button, Factory settings .
● Select the required setting or the option
A l
l .
● Confirm the safety question that appears
b y
pressing the function button Reset .
1)
See vehicle instruction manual, CAR System setup.
40