start stop button Seat Toledo 2016 MEDIA SYSTEM TOUCH - COLOUR
[x] Cancel search | Manufacturer: SEAT, Model Year: 2016, Model line: Toledo, Model: Seat Toledo 2016Pages: 52, PDF Size: 1.5 MB
Page 17 of 52
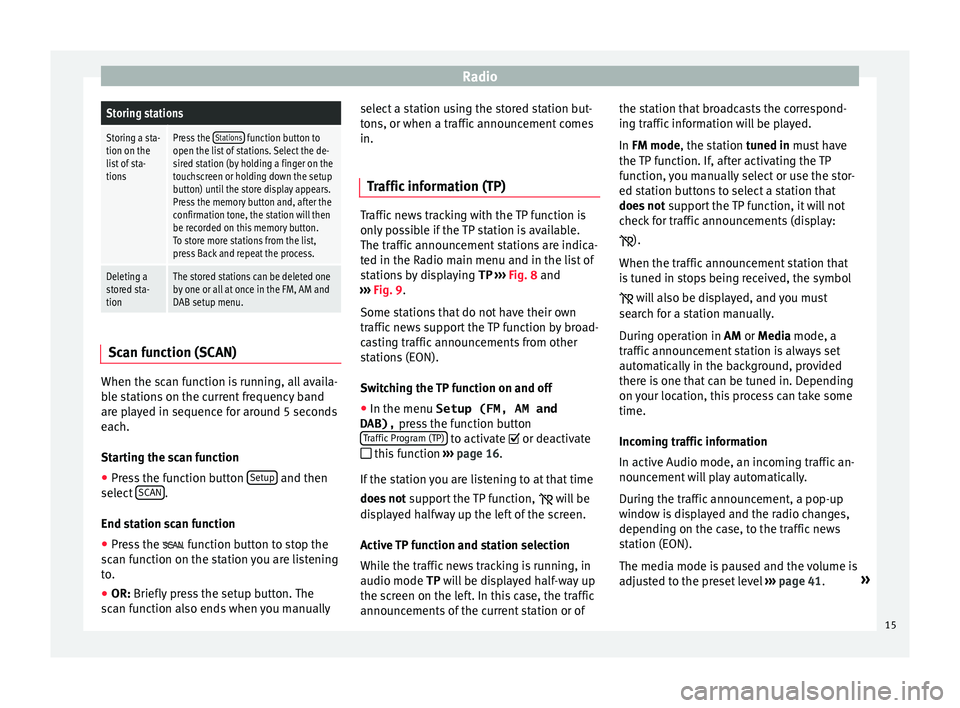
RadioStoring stations
Storing a sta-
tion on the
list of sta-
tionsPress the Stations function button to
open the list of stations. Select the de-
sired station (by holding a finger on the
touchscreen or holding down the setup
button) until the store display appears.
Press the memory button and, after the
confirmation tone, the station will then
be recorded on this memory button.
To store more stations from the list,
press Back and repeat the process.
Deleting a
stored sta-
tionThe stored stations can be deleted one
by one or all at once in the FM, AM and
DAB setup menu. Scan function (SCAN)
When the scan function is running, all availa-
b
l
e stations on the current frequency band
are played in sequence for around 5 seconds
each.
Starting the scan function
● Press the function button Setup and then
sel ect
SCAN .
End s t
ation scan function
● Press the fu
nction button to stop the
scan function on the station you are listening
to.
● OR: Briefly press the setup button. The
s
can function also ends when you manually select a station using the stored station but-
ton
s, or when a traffic announcement comes
in.
Traffic information (TP) Traffic news tracking with the TP function is
on
ly
possible if the TP station is available.
The traffic announcement stations are indica-
ted in the Radio main menu and in the list of
stations by displaying TP ››› Fig. 8 and
››› Fig. 9.
Some stations that do not have their own
traffic news support the TP function by broad-
casting traffic announcements from other
stations (EON).
Switching the TP function on and off
● In the menu Setup (FM, AM and
DAB), pre
ss the function button
Traffic Program (TP) to activate or de
activ
ate
this function ›››
page 16.
If the station you are listening to at that time
does not support the TP function,
will be
displayed halfway up the left of the screen.
Active TP function and station selection
While the traffic news tracking is running, in
audio mode TP will be displayed half-way up
the screen on the left. In this case, the traffic
announcements of the current station or of the station that broadcasts the correspond-
ing tr
affic information will be played.
In FM mode, the station tuned in must have
the TP function. If, after activating the TP
function, you manually select or use the stor-
ed station buttons to select a station that
does not support the TP function, it will not
check for traffic announcements (display:
).
When the traffic announcement station that
is tuned in stops being received, the symbol will also be displayed, and you must
search for a station manually.
During operation in AM or Media mode, a
traffic announcement station is always set
automatically in the background, provided
there is one that can be tuned in. Depending
on your location, this process can take some
time.
Incoming traffic information
In active Audio mode, an incoming traffic an-
nouncement will play automatically.
During the traffic announcement, a pop-up
window is displayed and the radio changes,
depending on the case, to the traffic news
station (EON).
The media mode is paused and the volume is
adjusted to the preset level ››› page 41. »
15
Page 22 of 52
Media
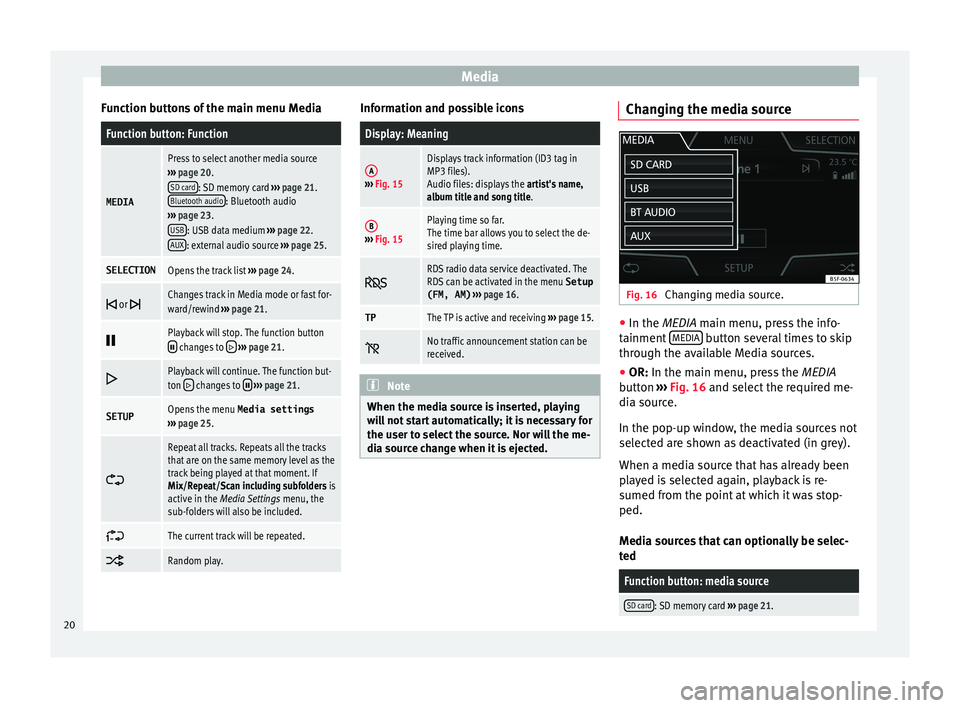
Function buttons of the main menu MediaFunction button: Function
MEDIA
Press to select another media source
››› page 20.
SD card
: SD memory card ››› page 21.
Bluetooth audio: Bluetooth audio
››› page 23.
USB
: USB data medium ››› page 22.
AUX: external audio source ››› page 25.
SELECTIONOpens the track list ››› page 24.
or Changes track in Media mode or fast for-
ward/rewind
››› page 21.
Playback will stop. The function button changes to
››› page 21.
Playback will continue. The function but-
ton changes to
››› page 21.
SETUPOpens the menu Media settings
››› page 25.
Repeat all tracks. Repeats all the tracks
that are on the same memory level as the
track being played at that moment. If
Mix/Repeat/Scan including subfolders is
active in the Media Settings menu, the
sub-folders will also be included.
The current track will be repeated.
Random play. Information and possible icons
Display: Meaning
A›››
Fig. 15
Displays track information (ID3 tag in
MP3 files).
Audio files: displays the artist's name,
album title and song title.
B››› Fig. 15
Playing time so far.
The time bar allows you to select the de-
sired playing time.
RDS radio data service deactivated. The
RDS can be activated in the menu
Setup
(FM, AM) ››› page 16.
TPThe TP is active and receiving ››› page 15.
No traffic announcement station can be
received.
Note
When the media source is inserted, playing
w i
ll not start automatically; it is necessary for
the user to select the source. Nor will the me-
dia source change when it is ejected. Changing the media source
Fig. 16
Changing media source. ●
In the MEDIA m ain menu, pr
ess the info-
tainment MEDIA button several times to skip
thr ough the av
ailable Media sources.
● OR: In the main menu, pr
ess the MEDIA
button ››› Fig. 16 and select the required me-
dia source.
In the pop-up window, the media sources not
selected are shown as deactivated (in grey).
When a media source that has already been
played is selected again, playback is re-
sumed from the point at which it was stop-
ped.
Media sources that can optionally be selec-
ted
Function button: media source
SD card: SD memory card ››› page 21. 20
Page 25 of 52
Media
● Pr e
ss the Safely remove USB device func-
tion button. After the system has closed the
USB device, a message will appear on the
screen indicating that the device can be re-
moved.
● Now the data storage device can be discon-
nected. Note
● Do not c
onnect an external media player at
the same time to play music via Bluetooth ®
and via the USB port with the Infotain-
ment system, as this could cause playback
limitations.
● If the external player is an Apple device™,
it c
annot be simultaneously connected by
USB and by Bluetooth.
● If a connected device is not recognised, dis-
connect
all the connected devices and try
connecting the device again.
● Do not use memory card adaptors, USB ex-
ten
sion cords or USB hubs! Connect external audio source via
Bluet
ooth® In Bluetooth audio mode, audio files from an
e
xt
ernal audio source that is connected via
Bluetooth ®
, for example a mobile telephone
(Bluetooth audio playback), can be played
over the vehicle speakers. Conditions
● The Bluetooth ®
audio sourc
e must support
the A2DP Bluetooth ®
profile.
● In the Bluetooth Settings menu the
Bluetooth Audio (A2DP/AVRCP)
function mus
t be on.
Starting Bluetooth ®
audio transmission
● Activate Bluetooth ®
vi
sibility on the exter-
nal Bluetooth ®
audio source (e.g., mobile tel-
ephone).
● Lower the base volume on the Infotainment
sys
tem.
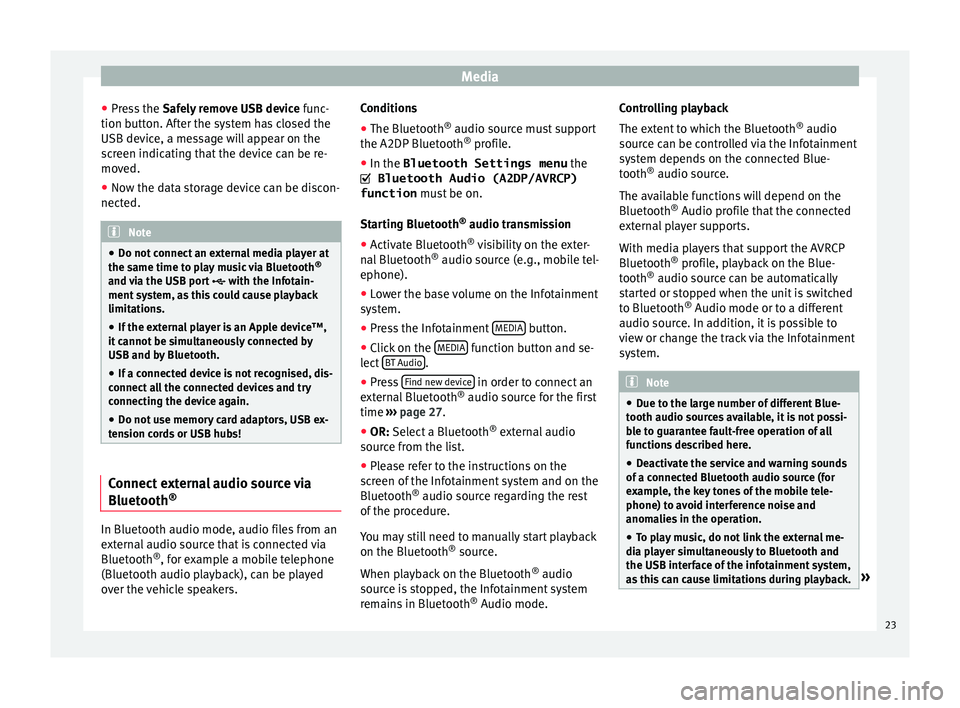
● Press the Infotainment MEDIA button.
● Click on the MEDIA function button and se-
l ect
BT Audio .
● Press Find new dev
ic
e in order to connect an
e xt
ernal Bluetooth ®
audio source for the first
time ››› page 27.
● OR: Select a Bluetooth ®
e
xternal audio
source from the list.
● Please refer to the instructions on the
sc
reen of the Infotainment system and on the
Bluetooth ®
audio source regarding the rest
of the procedure.
You may still need to manually start playback
on the Bluetooth ®
source.
When playback on the Bluetooth ®
audio
source is stopped, the Infotainment system
remains in Bluetooth ®
Audio mode. Controlling playback
The ext
ent to which the Bluetooth ®
audio
source can be controlled via the Infotainment
system depends on the connected Blue-
tooth ®
audio source.
The available functions will depend on the
Bluetooth ®
Audio profile that the connected
external player supports.
With media players that support the AVRCP
Bluetooth ®
profile, playback on the Blue-
tooth ®
audio source can be automatically
started or stopped when the unit is switched
to Bluetooth ®
Audio mode or to a different
audio source. In addition, it is possible to
view or change the track via the Infotainment
system. Note
● Due t
o the large number of different Blue-
tooth audio sources available, it is not possi-
ble to guarantee fault-free operation of all
functions described here.
● Deactivate the service and warning sounds
of a c
onnected Bluetooth audio source (for
example, the key tones of the mobile tele-
phone) to avoid interference noise and
anomalies in the operation.
● To play music, do not link the external me-
dia p
layer simultaneously to Bluetooth and
the USB interface of the infotainment system,
as this can cause limitations during playback. » 23
Page 27 of 52
Media
Note
The tracks, folders and playlists can also be
sel ect
ed by turning the right-hand setup but-
ton, and can be played or opened by pressing
it. Media settings
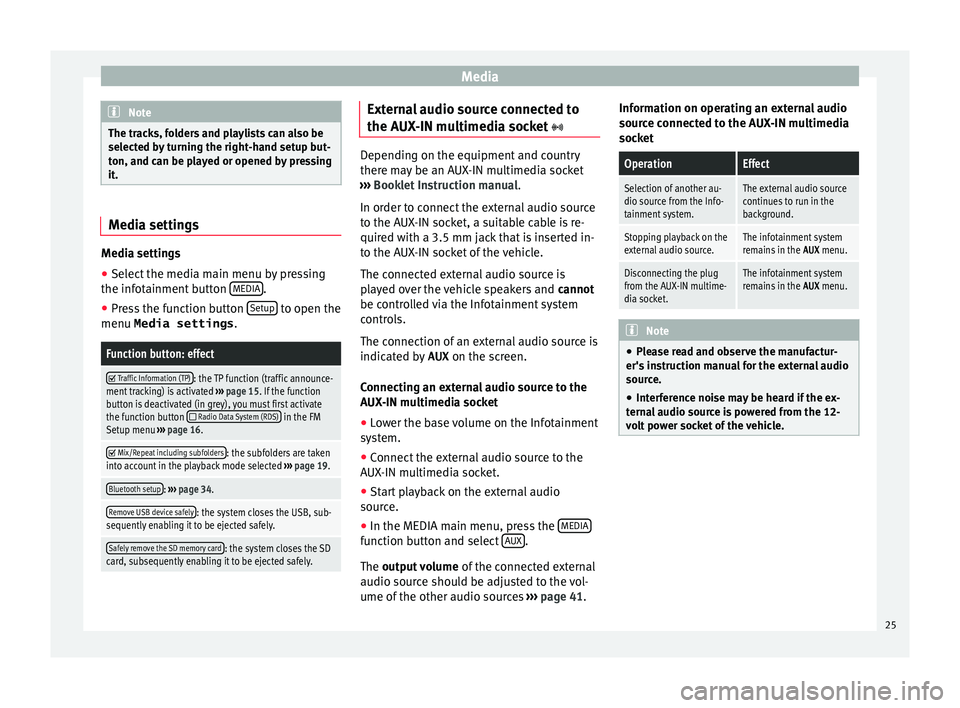
Media settings
●
Select the media main menu by pressing
the inf ot
ainment button MEDIA .
● Press the function button Set
up to open the
menu Media settings .
Function button: effect
Traffic Information (TP): the TP function (traffic announce-
ment tracking) is activated ››› page 15. If the function
button is deactivated (in grey), you must first activate
the function button
Radio Data System (RDS) in the FM
Setup menu ››› page 16.
Mix/Repeat including subfolders: the subfolders are taken
into account in the playback mode selected ››› page 19.
Bluetooth setup: ››› page 34.
Remove USB device safely: the system closes the USB, sub-
sequently enabling it to be ejected safely.
Safely remove the SD memory card: the system closes the SD
card, subsequently enabling it to be ejected safely. External audio source connected to
the A
UX
-IN multimedia socket Depending on the equipment and country
ther
e m
ay be an AUX-IN multimedia socket
››› Booklet Instruction manual.
In order to connect the external audio source
to the AUX-IN socket, a suitable cable is re-
quired with a 3.5 mm jack that is inserted in-
to the AUX-IN socket of the vehicle.
The connected external audio source is
played over the vehicle speakers and cannot
be controlled via the Infotainment system
controls.
The connection of an external audio source is
indicated by AUX on the screen.
Connecting an external audio source to the
AUX-IN multimedia socket ● Lower the base volume on the Infotainment
sy s
tem.
● Connect the external audio source to the
AUX
-IN multimedia socket.
● Start playback on the external audio
sourc
e.
● In the MEDIA main menu, press the MEDIA function button and select
A
UX .
The outp ut
volume of the connected external
audio source should be adjusted to the vol-
ume of the other audio sources ›››
page 41. Information on operating an external audio
sourc
e connected to the AUX-IN multimedia
socket
OperationEffect
Selection of another au-
dio source from the Info-
tainment system.The external audio source
continues to run in the
background.
Stopping playback on the
external audio source.The infotainment system
remains in the AUX menu.
Disconnecting the plug
from the AUX-IN multime-
dia socket.The infotainment system
remains in the AUX menu. Note
● Ple
ase read and observe the manufactur-
er's instruction manual for the external audio
source.
● Interference noise may be heard if the ex-
tern
al audio source is powered from the 12-
volt power socket of the vehicle. 25
Page 39 of 52
CAR menu
Since refuel
Di s
play and storage of the values for the jour-
ney and the consumption. By refuelling, the
memory will be erased automatically.
Long-term
The memory records the values for a specific
number of partial trips, up to a total of 19
hours and 59 minutes or 99 hours and 59 mi-
nutes, or 1999.9 km (or miles) for 9999 km
(or miles), depending on the model of instru-
ment panel.
When one of these values is reached (de-
pending on the version of the instrument
panel), the memory is automatically deleted
and it starts counting from 0 again. Note
The values that appear in the figure are indi-
c ativ
e and may vary depending on the fea-
tures. Ecotrainer*
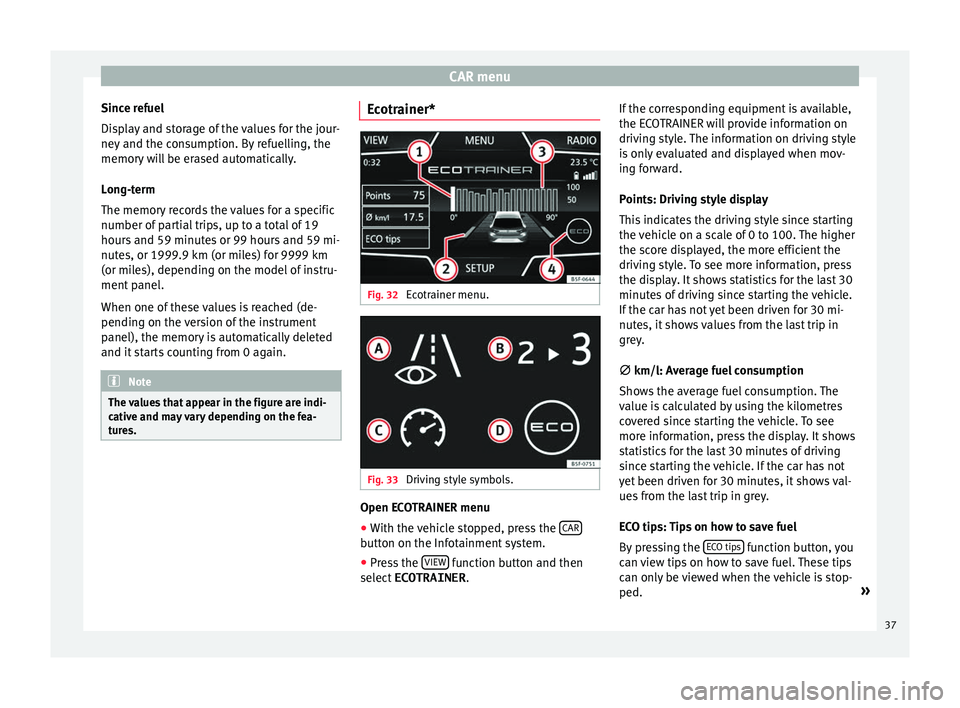
Fig. 32
Ecotrainer menu. Fig. 33
Driving style symbols. Open ECOTRAINER menu
● With the vehicle stopped, press the CAR button on the Infotainment system.
● Press the VIEW function button and then
sel ect
ECOTRAINER . If the corresponding equipment is available,
the EC
OTRAINER will provide information on
driving style. The information on driving style
is only evaluated and displayed when mov-
ing forward.
Points: Driving style display
This indicates the driving style since starting
the vehicle on a scale of 0 to 100. The higher
the score displayed, the more efficient the
driving style. To see more information, press
the display. It shows statistics for the last 30
minutes of driving since starting the vehicle.
If the car has not yet been driven for 30 mi-
nutes, it shows values from the last trip in
grey.
∅ km/l: Average fuel consumption
Shows the average fuel consumption. The
value is calculated by using the kilometres
covered since starting the vehicle. To see
more information, press the display. It shows
statistics for the last 30 minutes of driving
since starting the vehicle. If the car has not
yet been driven for 30 minutes, it shows val-
ues from the last trip in grey.
ECO tips: Tips on how to save fuel
By pressing the ECO tips function button, you
c an
view tips on how to save fuel. These tips
can only be viewed when the vehicle is stop-
ped. »
37
Page 40 of 52
CAR menu
Evaluation of efficient driving style
The effic iency
of the driving style is reflected
by different elements on the display.
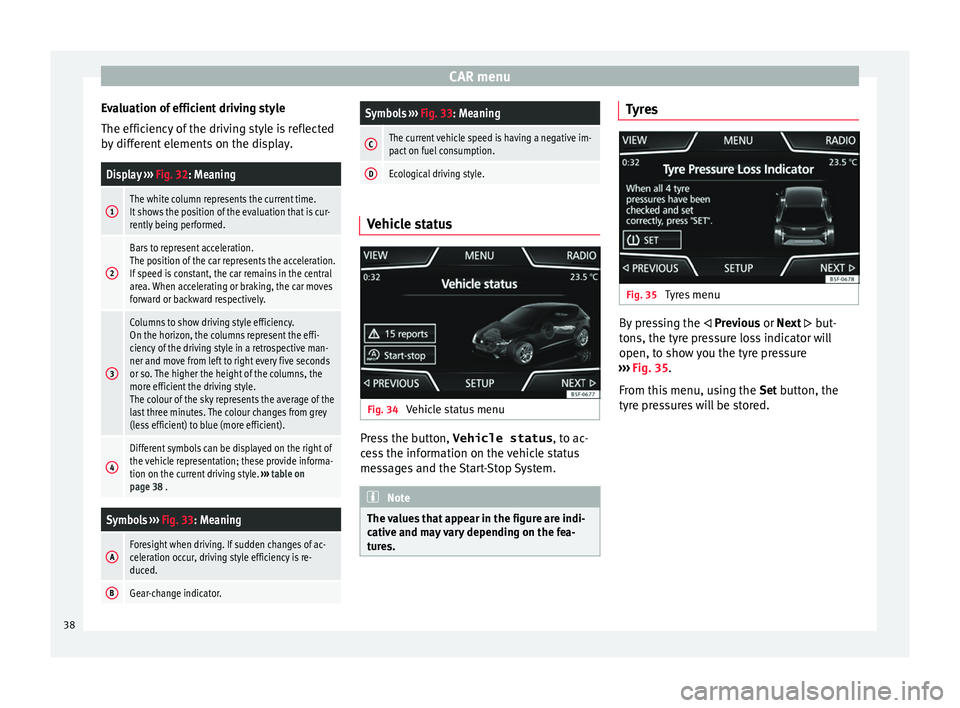
Display ››› Fig. 32: Meaning
1The white column represents the current time.
It shows the position of the evaluation that is cur-
rently being performed.
2
Bars to represent acceleration.
The position of the car represents the acceleration.
If speed is constant, the car remains in the central
area. When accelerating or braking, the car moves
forward or backward respectively.
3
Columns to show driving style efficiency.
On the horizon, the columns represent the effi-
ciency of the driving style in a retrospective man-
ner and move from left to right every five seconds
or so. The higher the height of the columns, the
more efficient the driving style.
The colour of the sky represents the average of the
last three minutes. The colour changes from grey
(less efficient) to blue (more efficient).
4
Different symbols can be displayed on the right of
the vehicle representation; these provide informa-
tion on the current driving style. ››› table on
page 38 .
Symbols ››› Fig. 33: Meaning
AForesight when driving. If sudden changes of ac-
celeration occur, driving style efficiency is re-
duced.
BGear-change indicator.
Symbols ››› Fig. 33: Meaning
CThe current vehicle speed is having a negative im-
pact on fuel consumption.
DEcological driving style. Vehicle status
Fig. 34
Vehicle status menu Press the button,
Vehicle status , to ac
-
cess the information on the vehicle status
messages and the Start-Stop System. Note
The values that appear in the figure are indi-
c ativ
e and may vary depending on the fea-
tures. Tyres
Fig. 35
Tyres menu By pressing the
Prev
ious or Next but-
tons, the tyre pressure loss indicator will
open, to show you the tyre pressure
››› Fig. 35.
From this menu, using the Set button, the
tyre pressures will be stored. 38