seat adjustment SKODA 120 LSE 1980 Workshop Manual
[x] Cancel search | Manufacturer: SKODA, Model Year: 1980, Model line: 120 LSE, Model: SKODA 120 LSE 1980Pages: 238, PDF Size: 47.09 MB
Page 14 of 238

--
!
ti
f
I
n
i
Boot lid
up to 1978 -
To open it, press
down
the release on the
right-hand side
underthe facia
oanel. Then
lift
the lid on the right-hand side and
secure it
in its raised position with
the aid of
the
articulated strut. After
lowering the
lid, lock it by
pulling the release as
far as it will go.
'
Sinie 1978
open lid by pulling
handle and
lower as described above.
To
lock press lid above
catches. I
(in
egr
WO
r,nol
pul
T
rem
fore
B
Pus
the
lugs
forn
cusl
Fig.' OT
,4
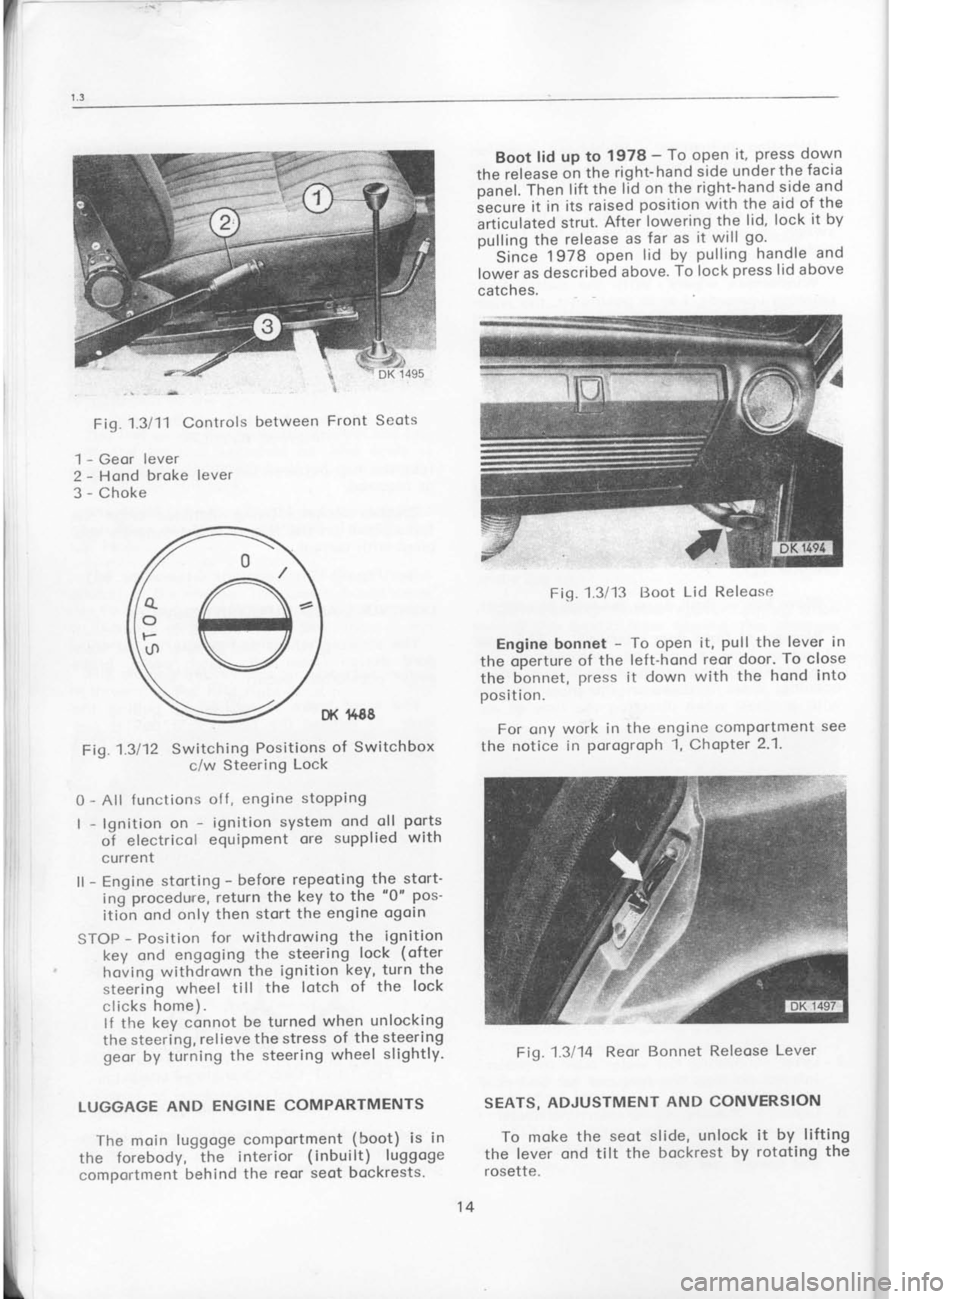
Fig.1.3111 Controls
1 -
Geor lever
2 -
Hond broke
lever
3 -
Choke n
between Front
Seots
't488
Fig.1.3112 Switching Positions
of
Switchbox
c/w Steering Lock
0 -
All functions of
f, engine stopping
| -
lgnition on -
ignition system ond
oll ports
ol electricol equipment ore
supplied
with
curre nt
ll -
Engine storting -
before repeoting the
stort-
ing procedu,re,
return the key to the "0"
pos-
ition ond only then stort the
engine ogoin
STOP -
Position for
withdrowing the
ignition
key ond engoging the
steering lock (ofter
hoving withdrown the
ignition key,
turn the
steering wheel till
the lotch of the lock
c licks home
) .
lf the key connot be turned
when unlocking
the steering, relieve the stress
of the steering
geor by tuining the
steering wheel slightly-
LUGGAGE AND ENGINE
COMPARTMENTS
The moin luggoge comportment (boot)
is in
the forebody, the interior (inbuilt)
luggoge
comportment behind the
reor seot bockrests. Fig.
1.3/13 lloot Lid Releose
Engine bonnet -
To open it, pull
the lever in
the operture of the left-hond
reor door. To close
the bonnet, press
it down with the hond into
oosition.
For ony work in the engine comportment see
the notice in porogroph 1,
Chopter 2'1.
Fig. 13lM Reor Bonnet Releose Lever
SEATS, ADJUSTMENT AND CONVERSION
To moke the seot slide, unlock it by lifting
the lever ond tilt the bockrest by
rototing the
rosette. Set
Cor
by thr
only r
is pro
The
ofter
lifting
bock,
by its
positir
Ash
tion o
open i
its cos
hold i
inworc
first it
oshtro'
1.4 C,
Jqck
iock is
held in
14
Page 203 of 238

l4.l
l-14.12
has two anchoring points.
The seat belts have
anchoring bolts
on the size 7/16-20 UNF-2A'
In f ront, the anchoring threads
are easily
accessible being provided
on the door posts
(remove only one of the pair
of pins
covering the
thread), on sills
below the posts,
and on
the sides
of the'floor tunnel
behind the front seats'
Anchoring points
for rear seat belts are shown
in the illustation. For the seat
belt of the person
sitting in the
middle, the threads are under the
seat cushions and rather removed from each other
(A3). For the seat belts of persons
occupying the
butside places
the threads are also under the
cushions, nearer to the centre (A2),
in the body
sides close to the cusions (82),
and in window
pillars (C2). These latter threads can be found by
touch in the point
of intersection of the plane
passing about 165 mm
above the
rear window
parcel tray and in parallel
with the door frame at a
distance of about 85 mm. To gain
access to
them,
it is necessary to cut through the trimming.
We must stress that for the fitting of points A2
and A3, the bolts should not protrude
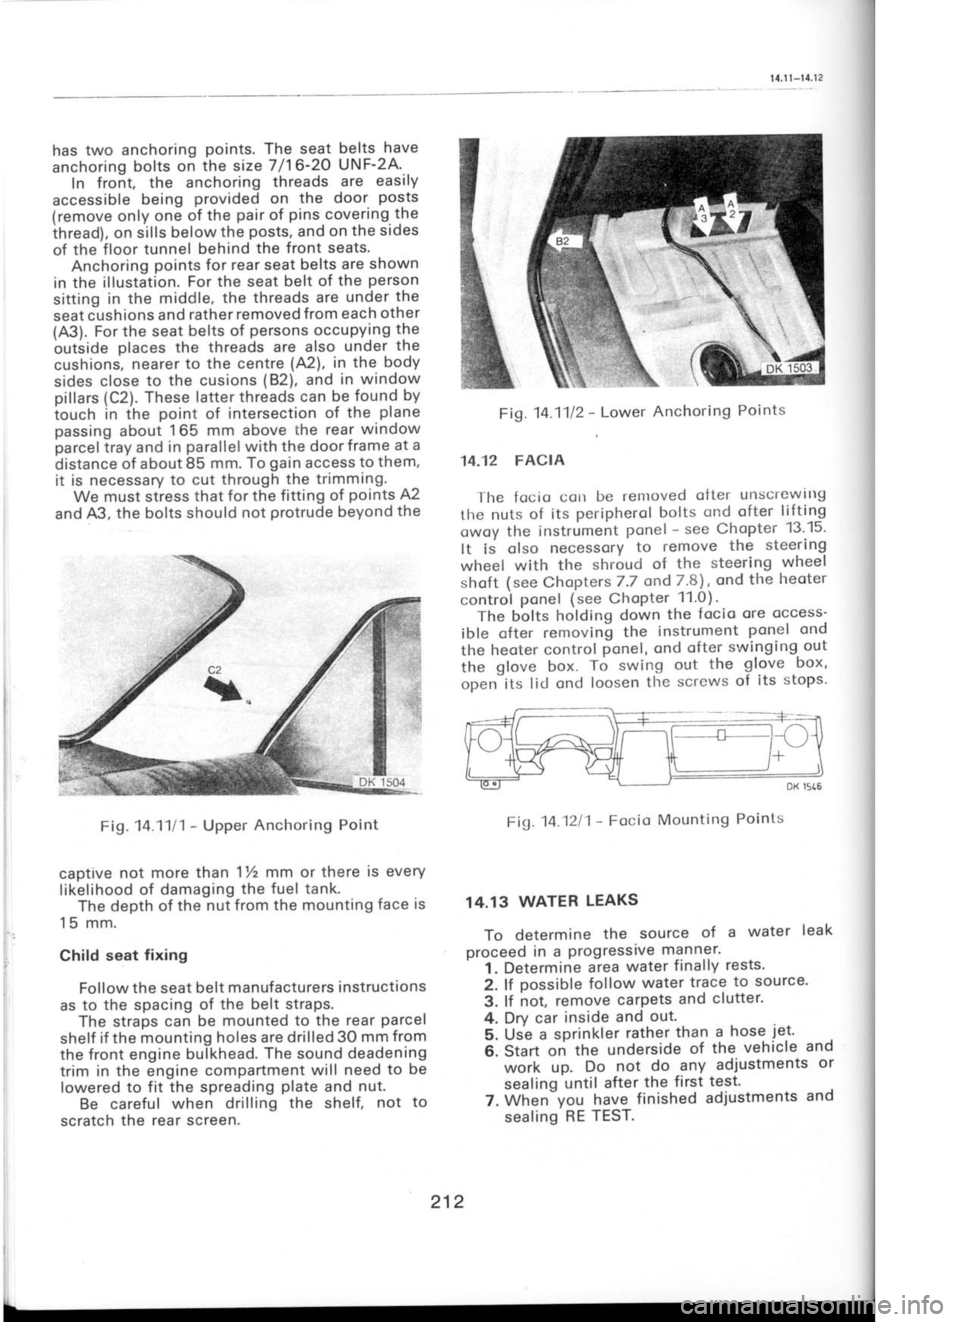
beyond the Fig.M.11l2
-
Lower Anchoring Points
14-12 FACIA
l-he focio cctl be rentoved otter unsct-ewlllg
the nuts of its peripherol bolts ond
ofter lifting
owoy the instrument ponel -
see Chopter '13'15'
It is olso necessory to
remove the steering
wheel with the shroud of
the steering wheel
shoft (see
Chopters 7.7
ond
7.8), ond the heoter
control ponel
(see ChoPter 11.0).
The bolts holding down the focio
ore occess-
ible ofter removin! the
instrument ponel
ond
the heoter control ponel, ond
ofter swinging. out
the glove
box. To swing
out the glove
box,
open its lid ond loosen tlre screws of its
stops'
Fig. 14.1111 -
Upper Anchoring Point
captive not more
than 1lz mm or there is every
likelihood of damaging the
fuel tank.
The depth of the nut from the mounting face
is
15 mm.
Child seat fixing
Follow the seat belt manufacturers instructions
as to the spacing of the belt straps.
The straps can be mounted to the rear parcel
shelf if the mounting holes are drilled 30 mm from
the front engine bulkhead. The
sound deadening
trim in the engine compartment
will need to be
lowered to fit the spreading plate
and nut.
Be careful when drilling the shelf, not to
scratch the rear screen. Fig.
14.1211 -
Focio Mounting Points
14.13 WATER LEAKS
To determine the
source of
a water leak
proceed in a progressive
manner.
1. Determine area
water finally rests'
2. lf possible follow
water trace to
source'
3. lf hot, remove carpets and clutter'
4. Dry car inside
and out'
5. Us'e a sprinkler rather
than
a hose jet'
6. Start on the
underside of
the vehicle and
work up. Do not
do any adjustments or
sealing until after the
first test.
7. When"you have
finished adjustments and
sealing RE
TEST.
212