rear SKODA CITIGO 2012 1.G Owner's Manual
[x] Cancel search | Manufacturer: SKODA, Model Year: 2012, Model line: CITIGO, Model: SKODA CITIGO 2012 1.GPages: 157, PDF Size: 3.9 MB
Page 2 of 157
Layout of this Owner's Manual
(explanations)
This Owner's Manual has been systematically designed to make it easy for you to
search for and obtain the information you require.
Chapters, table of contents and subject index
The text of the Owner's manual is divided into relatively short sections which are
combined into easy-to-read chapters. The chapter you are reading at any particular
moment is always specified on the bottom right of the page.
The Table of contents is arranged according to the chapters and the detailed Sub-
ject index at the end of the Owner's Manual helps you to rapidly find the informa-
tion you are looking for.
Direction indications
All direction indications such as
“left”, “right”, “front”, “rear” relate to the direction of
travel of the vehicle.
Units of measurement
All values are expressed in metric units.
Explanation of symbols
Denotes a reference to a section with important information and safety
advice in a chapter.
Denotes the end of a section.
Denotes the continuation of a section on the next page.
Indicates situations where the vehicle must be stopped as soon as possi-
ble.
® Denotes a registered trademark.
Notes WARNING
The most important notes are marked with the heading WARNING. These
WARNING notes draw your attention to a serious risk of accident or injury.CAUTION
A Caution note draws your attention to the possibility of damage to your vehicle
(e.g. damage to gearbox), or points out general risks of an accident. For the sake of the environment
An Environmental note draws your attention to environmental protection aspects.
This is where you will, for example, find tips aimed at reducing your fuel consump-
tion. Note
A normal Note draws your attention to important information about the operation
of your vehicle.
Page 5 of 157
Table of Contents
Abbreviations
Using the system
Cockpit 7
Overview 6
Instruments and warning lights 8
Instrument cluster 8
Multifunction display (onboard computer) 11
Warning lights 14
Unlocking and locking 20
Vehicle key 20
Central locking system 21
Remote control 23
Luggage compartment lid 25
Electrical power windows 26
Rear windows 27
Power panoramic sliding/sliding tilting roof 27
Lights and visibility 29
Lights 29
Interior light 32
Visibility 33
Windscreen wipers and washers 33
Rear window 35
Seats and Stowage 38
Front seats 38
Head restraints 40
Rear seats 40
Luggage compartment 41
Roof rack system 44
Cup holder 45
Ash tray 45Cigarette lighter, 12-volt power socket 46
Storage compartments 47
Clothes hooks 50
Parking ticket holder 50
Heating and air conditioning system 51
Heating and air conditioning system 51
Air outlet vents 52
Heating 52
Air conditioning system 53
Starting-off and Driving 56
Starting and stopping the engine 56
Brakes and brake assist systems 58
Shifting (manual gearbox) 61
pedals 62
Parking aid 62
Visual parking system 63
Cruise control system (CCS) 63
START/STOP 65
City Safe Drive 66
Automatic gearbox 69
Automatic gearbox AGB 69
Communication 72
Mobile phones and two-way radio systems 72
Multifunction device Move & Fun 72
Safety
Passive Safety 74
General information 74
Correct seated position 75
Seat belts 78
Seat belts 78
Airbag system 82
Description of the airbag system 82
Front airbags 83Side airbags Head-Thorax 84
Switching off the airbags 85
Transporting children safely 87
Child seat 87
Driving Tips
Driving and the Environment 91
The first 1 500 km 91
Catalytic converter 91
Economical and environmentally friendly
driving 92
Environmental compatibility 94
Driving abroad 95
Avoiding damage to your vehicle 95
Driving through water on the street 96
General Maintenance
Taking care of and cleaning the vehicle 97
Taking care of your vehicle 97
Inspecting and replenishing 104
Fuel 104
Vehicle running on CNG (compressed natural
gas) 106
Engine compartment 108
Vehicle battery 115
Wheels and Tyres 119
Tyres 119
Accessories, changes and replacement of parts 125
Introductory information 125
Changes and impairments of the airbag
system 125
Towing a trailer 126
3
Table of Contents
Page 16 of 157
If you wish to change the set speed limit, it is changed in 5 km/h intervals (e.g. the
accepted speed of 47
km/h increases to 50 km/h or decreases to 45 km/h).
› Confirm the speed limit that was set by pressing button B
again, or wait ap-
prox. 5 seconds until the setting is saved automatically (the value stops flash-
ing).
Change or delete speed limit
› With button A
» Fig. 7
on page 12, choose the menu point Warning against ex-
cessive speeds .
› Pressing the button B
deletes the speed limit.
› Pressing the button B
activates the ability to change the speed limit.
If the set speed limit is exceeded, an audible signal will sound as a warning. At
the same time the message Warning against excessive speeds appears on the
display with the set limit value.
The set speed limit value remains stored even after switching off the ignition. ÐWarning lights
Overview
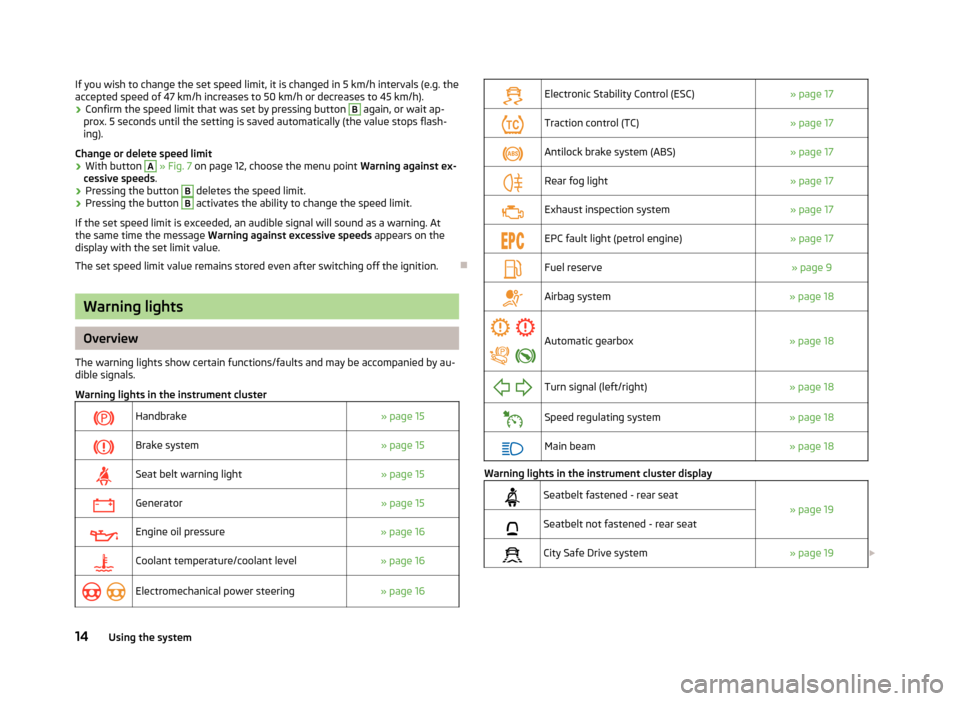
The warning lights show certain functions/faults and may be accompanied by au-
dible signals.
Warning lights in the instrument cluster
Handbrake
» page 15
Brake system
» page 15
Seat belt warning light
» page 15
Generator
» page 15
Engine oil pressure
» page 16
Coolant temperature/coolant level
» page 16
Electromechanical power steering
» page 16
Electronic Stability Control (ESC)
» page 17
Traction control (TC)
» page 17
Antilock brake system (ABS)
» page 17
Rear fog light
» page 17
Exhaust inspection system
» page 17
EPC fault light (petrol engine)
» page 17
Fuel reserve
» page 9
Airbag system
» page 18
Automatic gearbox
» page 18
Turn signal (left/right)
» page 18
Speed regulating system
» page 18
Main beam
» page 18 Warning lights in the instrument cluster display
Seatbelt fastened - rear seat
» page 19
Seatbelt not fastened - rear seat
City Safe Drive system
» page 19£14
Using the system
Page 19 of 157
Electronic Stability Control (ESC)
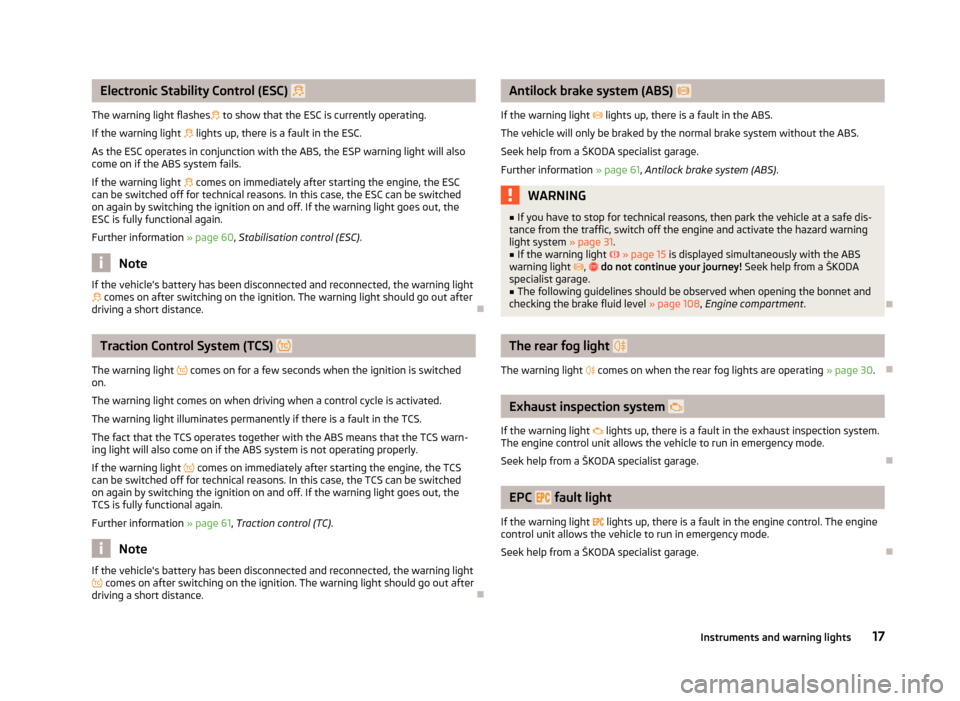
The warning light flashes to show that the ESC is currently operating.
If the warning light lights up, there is a fault in the ESC.
As the ESC operates in conjunction with the ABS, the ESP warning light will also
come on if the ABS system fails.
If the warning light comes on immediately after starting the engine, the ESC
can be switched off for technical reasons. In this case, the ESC can be switched
on again by switching the ignition on and off. If the warning light goes out, the
ESC is fully functional again.
Further information » page 60, Stabilisation control (ESC) .Note
If the vehicle's battery has been disconnected and reconnected, the warning light comes on after switching on the ignition. The warning light should go out after
driving a short distance. ÐTraction Control System (TCS)
The warning light comes on for a few seconds when the ignition is switched
on.
The warning light comes on when driving when a control cycle is activated.
The warning light illuminates permanently if there is a fault in the TCS.
The fact that the TCS operates together with the ABS means that the TCS warn-
ing light will also come on if the ABS system is not operating properly.
If the warning light
comes on immediately after starting the engine, the TCS
can be switched off for technical reasons. In this case, the TCS can be switched
on again by switching the ignition on and off. If the warning light goes out, the
TCS is fully functional again.
Further information » page 61, Traction control (TC) .Note
If the vehicle's battery has been disconnected and reconnected, the warning light comes on after switching on the ignition. The warning light should go out after
driving a short distance. Ð Antilock brake system (ABS)
If the warning light lights up, there is a fault in the ABS.
The vehicle will only be braked by the normal brake system without the ABS.
Seek help from a
ŠKODA specialist garage.
Further information » page 61, Antilock brake system (ABS) . WARNING
■ If you have to stop for technical reasons, then park the vehicle at a safe dis-
tance from the traffic, switch off the engine and activate the hazard warning
light system » page 31.
■ If the warning light » page 15 is displayed simultaneously with the ABS
warning light , do not continue your journey! Seek help from a
ŠKODA
specialist garage. ■ The following guidelines should be observed when opening the bonnet and
checking the brake fluid level » page 108, Engine compartment .Ð The rear fog light
The warning light comes on when the rear fog lights are operating » page 30.Ð Exhaust inspection system
If the warning light lights up, there is a fault in the exhaust inspection system.
The engine control unit allows the vehicle to run in emergency mode.
Seek help from a
ŠKODA specialist garage. Ð EPC
fault light
If the warning light
lights up, there is a fault in the engine control. The engine
control unit allows the vehicle to run in emergency mode.
Seek help from a ŠKODA specialist garage. Ð
17
Instruments and warning lights
Page 21 of 157
Safety belt fastened/not fastened (belt status display) - Rear
seat
/
After switching on the ignition, the belt status warning lights up for the rear
seats in the instrument panel display for 30 seconds and indicates whether any
rear seat passengers have fastened their seat belts. The belt status indicator will
then light up when the passenger on the rear seat fastens or unfastens the seat
belt (when the ignition is switched on or during the journey).
If the warning light , is switched on, the passenger on the rear seat has their
seat belt on.
If the warning light , is switched on, the passenger on the rear seat does not
have their seat belt on.
If a seat belt is unfastened on the rear seat during the journey at a speed of more
than 25
km/h, an acoustic signal will sound, and the belt status indicator for the
rear seats will flash for around 30 seconds.
Further information » page 78, Seat belts. ÐCity Safe Drive
If the City Safe Drive system is currently slowing the vehicle down automatically,
the warning light will flash quickly .
If the
City Safe Drive system is not currently available, or if there is a system fault,
the warning light will flash slowly .
When the City Safe Drive system is switched off while the vehicle is travelling at a
speed between 5–30 km/h (3-19 mph), the warning light will light up in the
instrument cluster display.
If the City Safe Drive system is switched on, the warning light in the instrument
cluster display will light up for around 5 seconds.
Further information » page 66, City Safe Drive. ÐSTART STOP
If the START STOP system is active, the warning light will light up .
If the
START STOP system is active, but automatic engine shut down is not possi-
ble, the warning light will light up . When the warning light flashes
the
START STOP system will not be available.
Further information » page 65, START/STOP . Ð 19
Instruments and warning lights
Page 23 of 157
CAUTION
■ Pay attention to the correct polarity when changing the battery.
■ The replacement battery must have the same specification as the original bat-
tery. For the sake of the environment
Dispose of the used battery in accordance with national legal provisions. Note
■ Please contact a ŠKODA Service Partner if you lose a key as they can obtain a
new one for you. ■ The system has to be synchronised, if the vehicle cannot be unlocked or locked
with the remote control key after replacing the battery » page 24.ÐChild safety lock
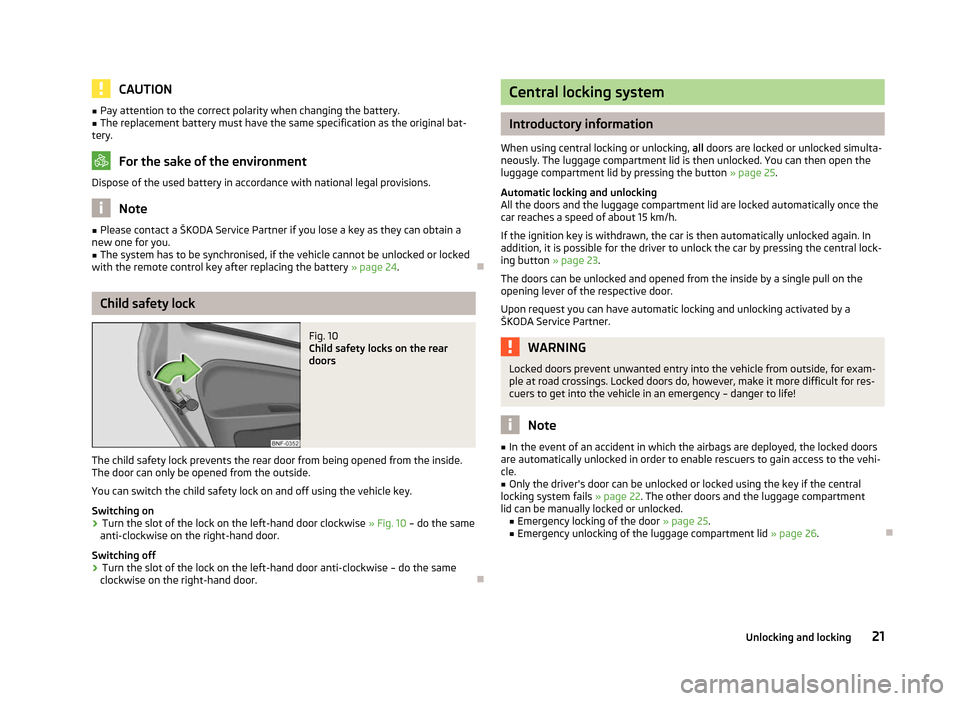
Fig. 10
Child safety locks on the rear
doors
The child safety lock prevents the rear door from being opened from the inside.
The door can only be opened from the outside.
You can switch the child safety lock on and off using the vehicle key.
Switching on › Turn the slot of the lock on the left-hand door clockwise
»
Fig. 10 – do the same
anti-clockwise on the right-hand door.
Switching off
› Turn the slot of the lock on the left-hand door anti-clockwise – do the same
clockwise on the right-hand door. Ð Central locking system
Introductory information
When using central locking or unlocking, all doors are locked or unlocked simulta-
neously. The luggage compartment lid is then unlocked. You can then open the
luggage compartment lid by pressing the button » page 25.
Automatic locking and unlocking
All the doors and the luggage compartment lid are locked automatically once the
car reaches a speed of about 15
km/h.
If the ignition key is withdrawn, the car is then automatically unlocked again. In
addition, it is possible for the driver to unlock the car by pressing the central lock-
ing button » page 23.
The doors can be unlocked and opened from the inside by a single pull on the
opening lever of the respective door.
Upon request you can have automatic locking and unlocking activated by a
ŠKODA Service Partner. WARNING
Locked doors prevent unwanted entry into the vehicle from outside, for exam-
ple at road crossings. Locked doors do, however, make it more difficult for res-
cuers to get into the vehicle in an emergency – danger to life! Note
■ In the event of an accident in which the airbags are deployed, the locked doors
are automatically unlocked in order to enable rescuers to gain access to the vehi-
cle. ■ Only the driver's door can be unlocked or locked using the key if the central
locking system fails » page 22. The other doors and the luggage compartment
lid can be manually locked or unlocked. ■ Emergency locking of the door » page 25.
■ Emergency unlocking of the luggage compartment lid » page 26.Ð
21
Unlocking and locking
Page 27 of 157
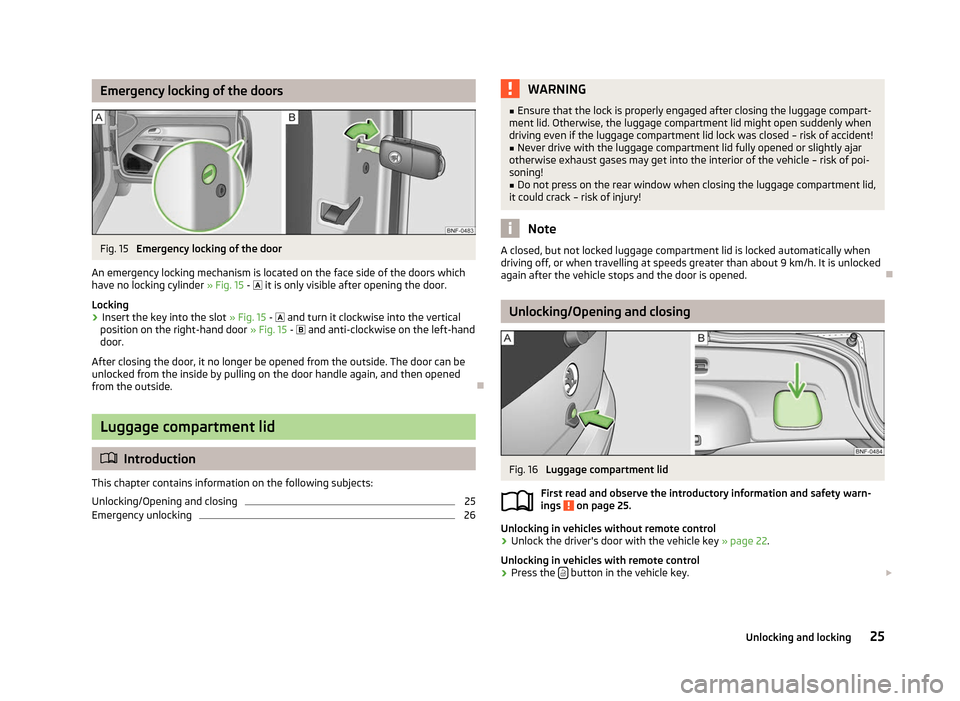
Emergency locking of the doors
Fig. 15
Emergency locking of the door
An emergency locking mechanism is located on the face side of the doors which
have no locking cylinder » Fig. 15 - it is only visible after opening the door.
Locking › Insert the key into the slot
» Fig. 15 - and turn it clockwise into the vertical
position on the right-hand door » Fig. 15 - and anti-clockwise on the left-hand
door.
After closing the door, it no longer be opened from the outside. The door can be
unlocked from the inside by pulling on the door handle again, and then opened
from the outside. ÐLuggage compartment lid
ä
Introduction
This chapter contains information on the following subjects:
Unlocking/Opening and closing 25
Emergency unlocking 26 WARNING
■ Ensure that the lock is properly engaged after closing the luggage compart-
ment lid. Otherwise, the luggage compartment lid might open suddenly when
driving even if the luggage compartment lid lock was closed – risk of accident!
■ Never drive with the luggage compartment lid fully opened or slightly ajar
otherwise exhaust gases may get into the interior of the vehicle – risk of poi-
soning! ■ Do not press on the rear window when closing the luggage compartment lid,
it could crack – risk of injury! Note
A closed, but not locked luggage compartment lid is locked automatically when
driving off, or when travelling at speeds greater than about 9 km/h. It is unlocked
again after the vehicle stops and the door is opened. Ð Unlocking/Opening and closing
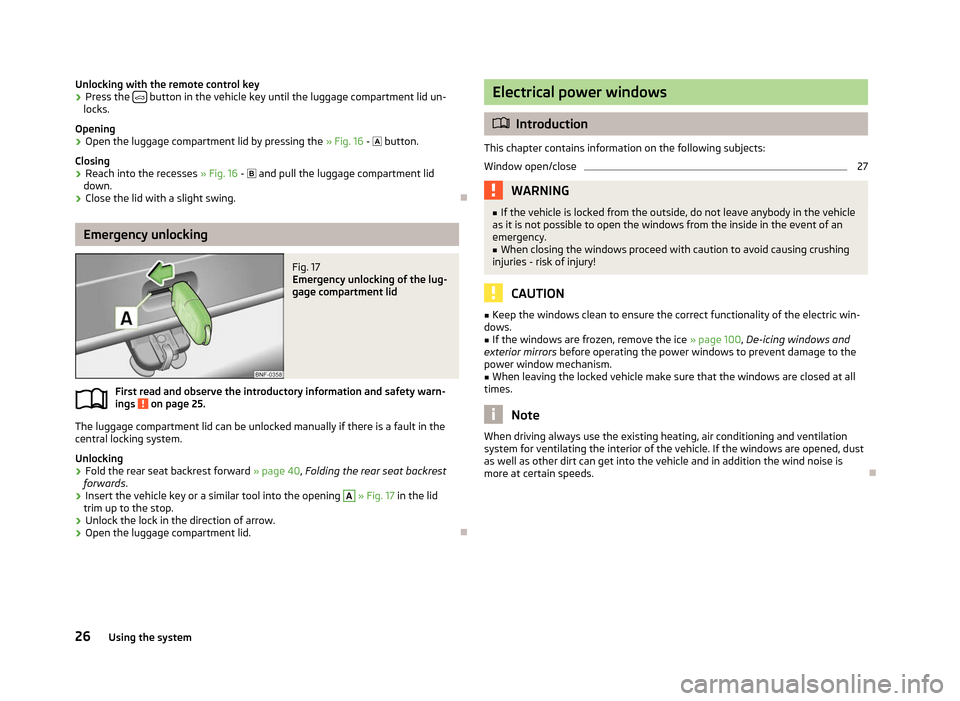
Fig. 16
Luggage compartment lid
First read and observe the introductory information and safety warn-
ings on page 25.
Unlocking in vehicles without remote control
›
Unlock the driver's door with the vehicle key
» page 22.
Unlocking in vehicles with remote control
› Press the
button in the vehicle key.
£
ä
25
Unlocking and locking
Page 28 of 157
Unlocking with the remote control key
›
Press the
button in the vehicle key until the luggage compartment lid un-
locks.
Opening
› Open the luggage compartment lid by pressing the
» Fig. 16 - button.
Closing
› Reach into the recesses
» Fig. 16 - and pull the luggage compartment lid
down.
› Close the lid with a slight swing. ÐEmergency unlocking
Fig. 17
Emergency unlocking of the lug-
gage compartment lid
First read and observe the introductory information and safety warn-
ings on page 25.
The luggage compartment lid can be unlocked manually if there is a fault in the
central locking system.
Unlocking
›
Fold the rear seat backrest forward
» page 40, Folding the rear seat backrest
forwards.
› Insert the vehicle key or a similar tool into the opening A
»
Fig. 17 in the lid
trim up to the stop.
› Unlock the lock in the direction of arrow.
› Open the luggage compartment lid. Ð
ä Electrical power windows
ä
Introduction
This chapter contains information on the following subjects:
Window open/close 27
WARNING
■ If the vehicle is locked from the outside, do not leave anybody in the vehicle
as it is not possible to open the windows from the inside in the event of an
emergency.
■ When closing the windows proceed with caution to avoid causing crushing
injuries - risk of injury! CAUTION
■ Keep the windows clean to ensure the correct functionality of the electric win-
dows. ■ If the windows are frozen, remove the ice » page 100, De-icing windows and
exterior mirrors before operating the power windows to prevent damage to the
power window mechanism.
■ When leaving the locked vehicle make sure that the windows are closed at all
times. Note
When driving always use the existing heating, air conditioning and ventilation
system for ventilating the interior of the vehicle. If the windows are opened, dust
as well as other dirt can get into the vehicle and in addition the wind noise is
more at certain speeds. Ð
26 Using the system
Page 29 of 157
Window open/close
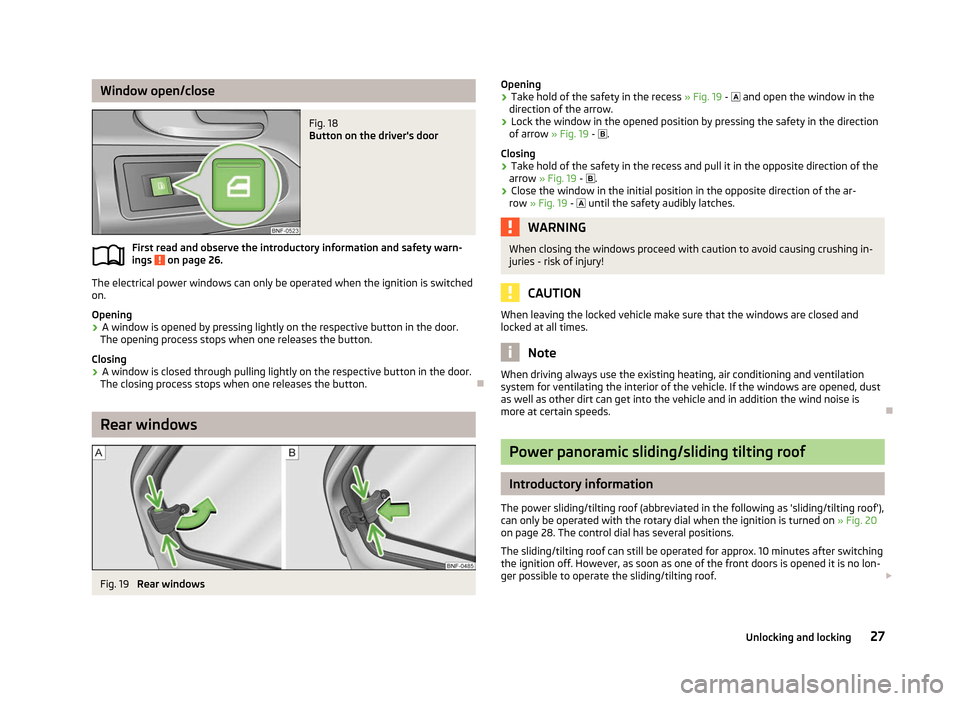
Fig. 18
Button on the driver's door
First read and observe the introductory information and safety warn-
ings on page 26.
The electrical power windows can only be operated when the ignition is switched
on.
Opening
›
A window is opened by pressing lightly on the respective button in the door.
The opening process stops when one releases the button.
Closing
› A window is closed through pulling lightly on the respective button in the door.
The closing process stops when one releases the button. ÐRear windows
Fig. 19
Rear windows
ä
Opening
› Take hold of the safety in the recess
» Fig. 19 - and open the window in the
direction of the arrow.
› Lock the window in the opened position by pressing the safety in the direction
of arrow » Fig. 19 - .
Closing
› Take hold of the safety in the recess and pull it in the opposite direction of the
arrow » Fig. 19 - .
› Close the window in the initial position in the opposite direction of the ar-
row » Fig. 19 - until the safety audibly latches. WARNING
When closing the windows proceed with caution to avoid causing crushing in-
juries - risk of injury! CAUTION
When leaving the locked vehicle make sure that the windows are closed and
locked at all times. Note
When driving always use the existing heating, air conditioning and ventilation
system for ventilating the interior of the vehicle. If the windows are opened, dust
as well as other dirt can get into the vehicle and in addition the wind noise is
more at certain speeds. Ð Power panoramic sliding/sliding tilting roof
Introductory information
The power sliding/tilting roof (abbreviated in the following as 'sliding/tilting roof'),
can only be operated with the rotary dial when the ignition is turned on »
Fig. 20
on page 28. The control dial has several positions.
The sliding/tilting roof can still be operated for approx. 10 minutes after switching
the ignition off. However, as soon as one of the front doors is opened it is no lon-
ger possible to operate the sliding/tilting roof. £
27
Unlocking and locking
Page 31 of 157
Lights and visibility
Lights
ä
Introduction
This chapter contains information on the following subjects:
Switching lights on and off 29
DAY LIGHT function (Daytime running light) 30
Fog lights 30
Rear fog light 30
Parking light 30
Headlight beam adjustment 30
Switches for the hazard warning light system 31
Turn signal and main beam lever 31
On models fitted with right-hand steering the position of certain switches differs
from that shown in » Fig. 21 on page
29. The symbols which mark the switch po-
sitions are identical, however. WARNING
Never drive with only the side lights on! The side lights are not bright enough
to light up the road sufficiently in front of you or to be seen by other oncom-
ing traffic. Therefore always switch on the low beam when it is dark or if visi-
bility is poor. CAUTION
■ The activation of the lights should only be undertaken in accordance with na-
tional legal requirements.
■ The driver is always responsible for the correct settings and use of the lights. Note
■ If the light switch is in the position , the ignition key is removed and the driv-
er's door is open, an audible warning signal will sound. The audible warning signal
is switched off by means of the door contact when the driver's door is closed (ig-
nition off), however, the side lights remain on to illuminate the parked vehicle if
necessary. ■ The instruments are also illuminated when the side light or low beam light is
switched on. ■ In the event of cool or humid weather conditions, the headlights can be misted
up from inside. The temperature difference between interior and external area of
the headlight lenses is decisive. When the driving lights are switched on, the light
outlet surfaces are free from mist after a short period, although the headlight
lenses may still be misted up in the peripheral areas. It also concerns reverse light
and turn signal lights. This mist has no influence on the life of the lighting system. Ð Switching lights on and off
Fig. 21
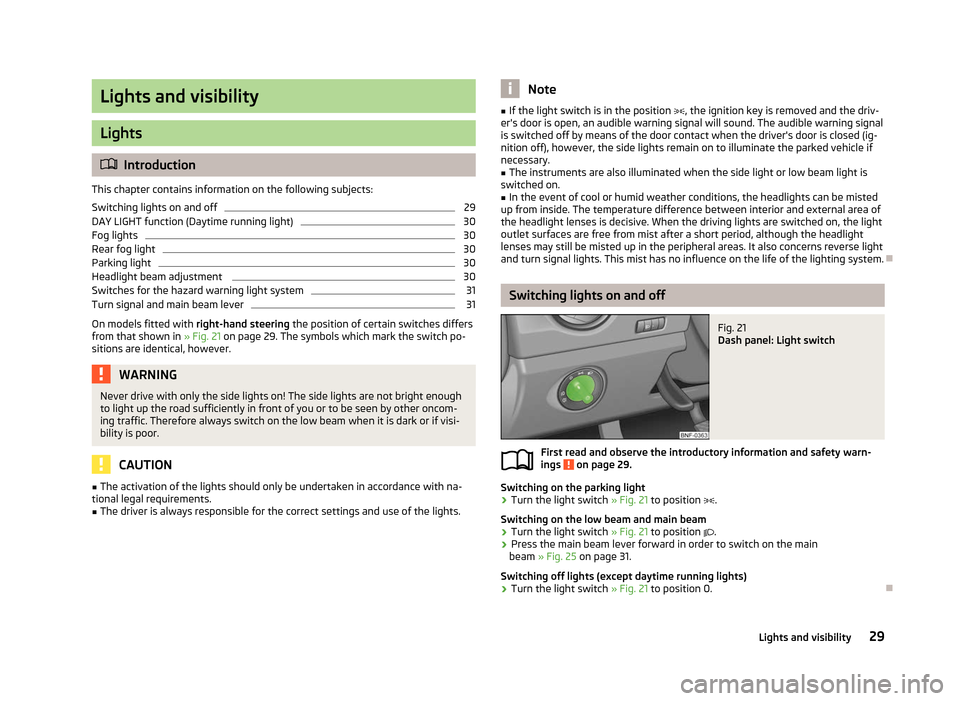
Dash panel: Light switch
First read and observe the introductory information and safety warn-
ings on page 29.
Switching on the parking light
›
Turn the light switch
» Fig. 21 to position .
Switching on the low beam and main beam
› Turn the light switch
» Fig. 21 to position .
› Press the main beam lever forward in order to switch on the main
beam » Fig. 25 on page 31
.
Switching off lights (except daytime running lights)
› Turn the light switch
» Fig. 21 to position 0. Ð
ä
29
Lights and visibility