glove box SKODA FABIA 2016 3.G / NJ Columbus Amundsen Bolero Infotainment System Navigation Manual
[x] Cancel search | Manufacturer: SKODA, Model Year: 2016, Model line: FABIA, Model: SKODA FABIA 2016 3.G / NJPages: 100, PDF Size: 12.8 MB
Page 29 of 100

CAUTION■Do not save any important data or that which has not been backed up on the
connected audio sources. ŠKODA assumes no responsibility for lost or dam-
aged files or connected audio sources.■
When changing or connecting an audio source, this may cause sudden
changes in volume. Reduce the volume before changing or connecting an au-
dio source.
■
When connecting an external audio source, the external source information
messages can be displayed. These messages must be observed and if neces-
sary confirmed (e.g. enabling data transfer etc).
Note
The national copyright laws that apply in your country must be observed.
Jukebox
Applies to Columbus.
In the Jukebox (in the unit's internal memory), supported audio / video files can
be imported from the connected audio sources.
Import files
›
Tap on the function
Tap →
Manage jukebox
→
Import
.
›
Select the desired source.
›
Select the desired folders or files.
›
Tap on the function
surface.
Delete files
›
Tap on the function
Tap →
Manage jukebox
→
Delete
.
›
Select the desired folder or files in the selected category.
›
Tap on the function
Tap →
Delete
.
Show level of the device memory
›
Tap on the function
Tap
Manage jukebox
.
It displays information about the occupied and free space on the device mem-
ory and the number of files that can not be imported.
Note
■ Files that have already been copied are recognized and cannot be copied
again (shown in grey).■
It is not possible to copy files while simultaneously playing back audio or vid-
eo files in the CD/DVD drive.
CD / DVD
Applies to Columbus.Fig. 27
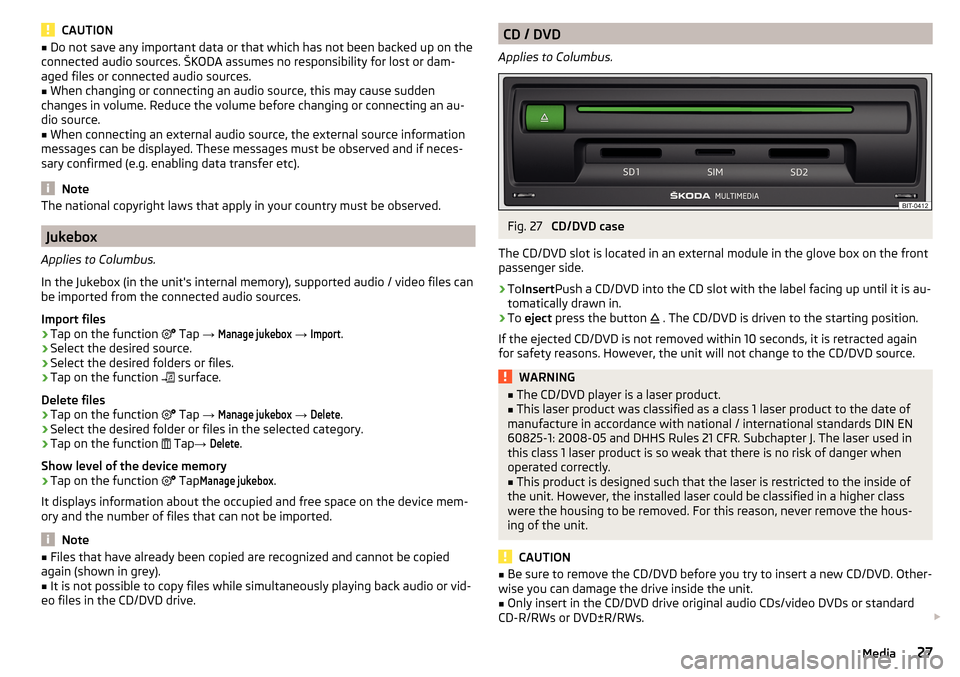
CD/DVD case
The CD/DVD slot is located in an external module in the glove box on the front
passenger side.
›
To Insert Push a CD/DVD into the CD slot with the label facing up until it is au-
tomatically drawn in.
›
To eject press the button
. The CD/DVD is driven to the starting position.
If the ejected CD/DVD is not removed within 10 seconds, it is retracted again
for safety reasons. However, the unit will not change to the CD/DVD source.
WARNING■ The CD/DVD player is a laser product.■This laser product was classified as a class 1 laser product to the date of
manufacture in accordance with national / international standards DIN EN 60825-1: 2008-05 and DHHS Rules 21 CFR. Subchapter J. The laser used in
this class 1 laser product is so weak that there is no risk of danger when
operated correctly.■
This product is designed such that the laser is restricted to the inside of
the unit. However, the installed laser could be classified in a higher class
were the housing to be removed. For this reason, never remove the hous-
ing of the unit.
CAUTION
■ Be sure to remove the CD/DVD before you try to insert a new CD/DVD. Other-
wise you can damage the drive inside the unit.■
Only insert in the CD/DVD drive original audio CDs/video DVDs or standard
CD-R/RWs or DVD±R/RWs.
27Media
Page 47 of 100

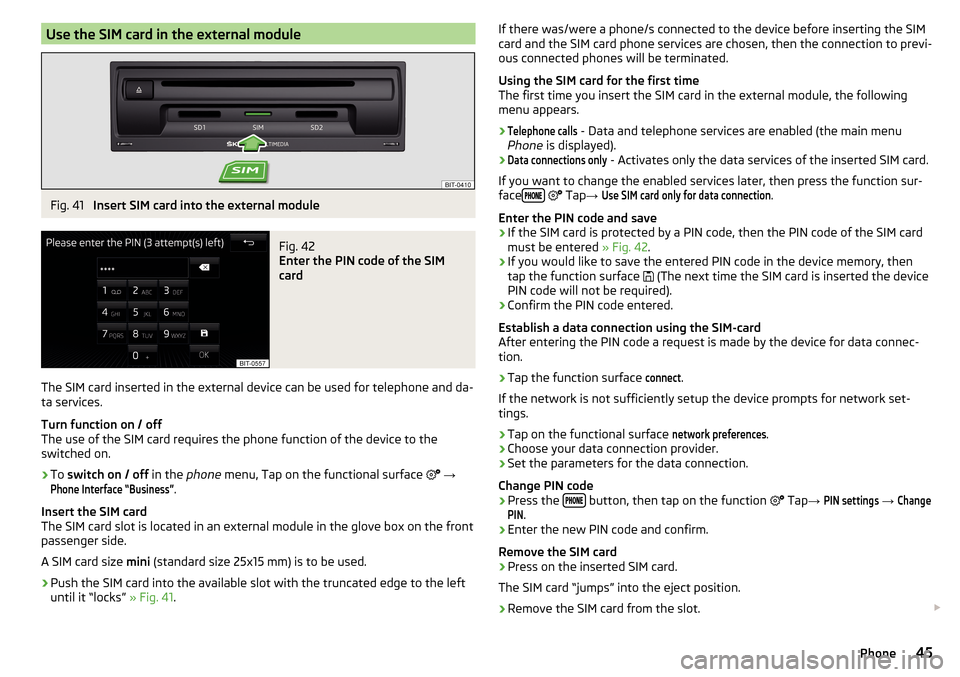
Use the SIM card in the external moduleFig. 41
Insert SIM card into the external module
Fig. 42
Enter the PIN code of the SIM
card
The SIM card inserted in the external device can be used for telephone and da-
ta services.
Turn function on / off
The use of the SIM card requires the phone function of the device to the
switched on.
›
To switch on / off in the phone menu, Tap on the functional surface
→
Phone Interface “Business”
.
Insert the SIM card
The SIM card slot is located in an external module in the glove box on the front
passenger side.
A SIM card size mini (standard size 25x15 mm) is to be used.
›
Push the SIM card into the available slot with the truncated edge to the left
until it “locks” » Fig. 41.
If there was/were a phone/s connected to the device before inserting the SIM
card and the SIM card phone services are chosen, then the connection to previ-
ous connected phones will be terminated.
Using the SIM card for the first time
The first time you insert the SIM card in the external module, the following
menu appears.›Telephone calls
- Data and telephone services are enabled (the main menu
Phone is displayed).
›Data connections only
- Activates only the data services of the inserted SIM card.
If you want to change the enabled services later, then press the function sur-
face
Tap
→
Use SIM card only for data connection
.
Enter the PIN code and save
›
If the SIM card is protected by a PIN code, then the PIN code of the SIM card
must be entered » Fig. 42.
›
If you would like to save the entered PIN code in the device memory, then
tap the function surface (The next time the SIM card is inserted the device
PIN code will not be required).
›
Confirm the PIN code entered.
Establish a data connection using the SIM-card
After entering the PIN code a request is made by the device for data connec-
tion.
›
Tap the function surface
connect
.
If the network is not sufficiently setup the device prompts for network set-
tings.
›
Tap on the functional surface
network preferences
.
›
Choose your data connection provider.
›
Set the parameters for the data connection.
Change PIN code
›
Press the button, then tap on the function
Tap
→
PIN settings
→
ChangePIN
.
›
Enter the new PIN code and confirm.
Remove the SIM card
›
Press on the inserted SIM card.
The SIM card “jumps” into the eject position.
›
Remove the SIM card from the slot.
45Phone