sensor SKODA OCTAVIA 2009 2.G / (1Z) Columbus Navigation System Manual
[x] Cancel search | Manufacturer: SKODA, Model Year: 2009, Model line: OCTAVIA, Model: SKODA OCTAVIA 2009 2.G / (1Z)Pages: 71, PDF Size: 3.65 MB
Page 15 of 71

Range selector key SETUP
13
– To change the assignment of a particular shortcut key, select the respective
shortcut key by pressing the key in the following menu.Note
The selection possibilities of the phone se
t-up depend on the relevant telephone
preinstallation.Setup SystemCall up the
Setup System
menu by pressing the range se
lector key and the func-
tion key .Change the system language manually– Press the button and select the de
sired language in the opening pop-up
window. When selecting the menu point “
automatic
”, the system language is the
language which is set in th
e menu of the information disp
lay. If desired, another
language can be selected for the unit.
Changing system set-ups– You can change the set-up of the distance unit. – You can change the set-up of the time format. – You can change the set-up of the date format.Time display– If you press the function key , while in the menu
Setup System
, the
automatic time display is set in the touch-screen.
– Time display in the operating modes radio, media and map. – The current time is taken over by
the instrument cluster in the vehicle.
– After switching off the unit, the time continues to show.Reset the factory settings on the unit– Press on the function key in the menu
Setup System
.
– Now find the settings you wish to reset. – If you press the function key and confirm the following safety interrogation
the selected settings will be reset to the factory settings and all the stored data will be erased.
“ Time
” and “
Date
” settings need only be carried
out manually under
certain circum-
stances. Time and date will normally be a
ccepted automatically from the vehicle into
the unit.Setup DisplayCall up the menu
Setup Display
by pressing the range selector key and the
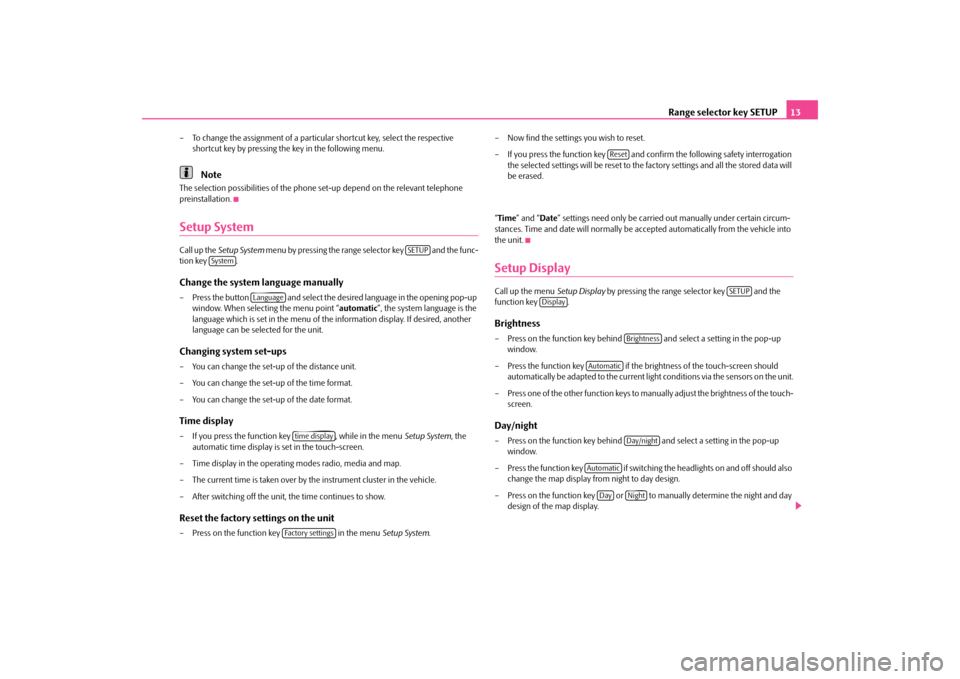
function key .Brightness– Press on the function
key behind and select a setting in the pop-up
window.
– Press the function key if the brightness of the touch-screen should
automatically be adapted to the current ligh
t conditions via the sensors on the unit.
– Press one of the other function keys to
manually adjust the brig
htness of the touch-
screen.
Day/night– Press on the function key behind and select a setting in the pop-up
window.
– Press the function key if switching
the headlights on and off should also
change the map display from night to day design.
– Press on the function key or to manually determine the night and day
design of the map display.
SETUP
System
Language
time displayFactory settings
Reset
SETUP
Display
Brightness
Automatic
Day/night
Automatic
Day
Night
s32k.a.book Page 13 Friday, September 18, 2009 1:54 PM
Page 36 of 71

Range selector key NAV (Navigation)
34Range selector key NAV (Navigation)OverviewSafety information regarding the use of the navigation systemThe route is recalculated each time if yo
u ignore driving recommendations or change
the route. This process takes only a few
seconds. Driving recommendations can only
then be re-transmitted. Incomplete navigation data The navigation system cannot receive any data from GPS satellites if you drive for longer periods under thick forest canopy or
when your vehicle is
in a garage, under-
pass or tunnel. In this case, the navigation system orientates itself solely with the help of the vehicle sensors. In regions not at all or only partially digitalised and stored as such on the navigation DVD, the navigation system will try to provide guidance to the destination. Please note that under these circumstances the guidance
to the destination may not be completely
correct if, for example, one-way streets and
road categories (motorway, country road
etc.) are not at all or only partially
included in the navi
gation data used.
WARNING
Always concentrate fully on your driving. Inattention by the driver can lead to accidents and injuries.•
Do not allow yourself to be distracted or loose your concentration, pay
attention to the traffic situation and do not carry out settings or use the radio navigation system.•
Only use the radio navigation system if road, weather and traffic situations
permit this and you are not distracted.•
The various volume settings must be selected in such a way that audible
signals from the outside, such as e.g. a
Martins horn from police cars and fire
brigade, can be heard at all times.
WARNING
Please observe the legal requirements for road traffic when following the driving recommendations provided by your radio navigation system.•
The driving recommendations provided may vary from current situations,
e.g. due to road works or out of date
navigation data. In such a case, always
observe the traffic regulations and
ignore the driving recommendations.
•
Traffic signs and traffice regulations always have priority over the driving
recommendations provided by the navigation system.•
Route guidance is subject to constant
changes, particularly to information
relating to one-way streets, pedestrian
zones etc. stored on the navigation
DVD. Information on traffic lights, stop and right of way signs, parking and stopping restrictions as well as lane constrictions and speed restrictions is not included in the radi
o navigation system.
•
Adjust your speed to suit weather, road and traffic conditions. Do not allow,
for example, the radio navigation system
to make you drive faster in fog - risk
of accident!Navigation data and the navigation DVDStore navigation data in the unit– Push the navigation DVD with
the written side facing up as far as possible into the
CD/DVD case until it is automatically dr
awn in. The unit will compare the data on
the navigation DVD with the data in th
e navigation system memory. No message
will appear if the data in the navigation
system memory of the unit is identical to
the data on the navigation DVD.
– Press the function key , to find ou
t that the storing process has been
completed.
– If the corresponding messag
e appears, press the button or press on the func-
tion key and take out the navigation DVD. Active route guidance is inter- rupted and must be restarted.
Notify
�š
Eject
s32k.a.book Page 34 Friday, September 18, 2009 1:54 PM
Page 49 of 71

Range selector key NAV (Navigation)
47
- opens a list with the waypoints of the tour currently displayed in
the menu
Waypoint navigation
. The waypoints in the list can be displayed, deleted,
moved or renamed in the map. Further wayp
oints can be added vi
a the selection from
the map or the input of the GPS position. If yo
u wish to edit a waypoint tour other than
the one displayed, you must first of all press the function key and then the button .Display a waypoint tour– Press on the function key in the menu
Waypoint navigation
.
– Press on the function key in the pop-up window.– If a tour is already being displayed in the menu
Waypoint navigation
you must
select by pressing in the following menu whether you wish to display the indicated
or a .
– Give a short and clear name to the waypoi
nt tour. Confirm the displayed name by
pressing .
– Select an acceptance mode by pressing the respective key.– Press the function key to allow the system to automatically set the
waypoints (recommended) during the display.
– Press the function key if you wish to
set all waypoints yo
urself during the
display.
– After starting the display, the number of
used and still available waypoints as well
as the set display mode will be indicated in the menu
Waypoint navigation
.
– Press the range selector key to ch
ange into the map display. Repeated
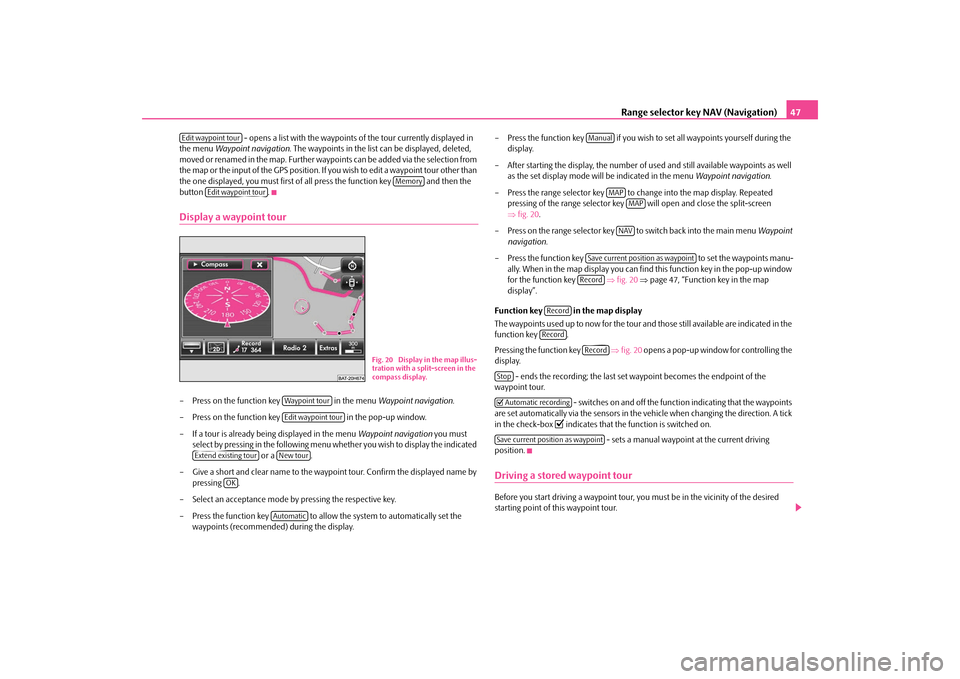
pressing of the range selector key will open and close the split-screen ⇒ fig. 20
.
– Press on the range selector key
to switch back into the main menu
Waypoint
navigation
.
– Press the function key to set the waypoints manu-
ally. When in the map display you can find this function key in the pop-up window for the function key
⇒fig. 20
⇒page 47, “Function key in the map
display”.
Function key in the map display The waypoints used up to now for the tour an
d those still available are indicated in the
function key . Pressing the function key
⇒fig. 20
opens a pop-up window for controlling the
display.
- ends the recording; the last set
waypoint becomes the endpoint of the
waypoint tour.
- switches on and off the functi
on indicating that the waypoints
are set automatically via the sensors in the ve
hicle when changing th
e direction. A tick
in the check-box
�= indicates that the function is switched on.
- sets a manual waypoint at the current driving
position.Driving a stored waypoint tourBefore you start driving a waypoint tour, you must be in the vicinity of the desired starting point of this waypoint tour.
Edit waypoint tour
Memory
Edit waypoint tour
Fig. 20 Display in the map illus- tration with a split-screen in the compass display.
Waypoint tourEdit waypoint tour
Extend existing tour
New tour
OK
Automatic
Manual
MAP
MAPNAV
Save current position as waypointRecord
RecordRecord
Record
Stop�= Automatic recordingSave current position as waypoint
s32k.a.book Page 47 Friday, September 18, 2009 1:54 PM