service SKODA OCTAVIA 2010 2.G / (1Z) Amundsen Infotainment Navigation System Manual
[x] Cancel search | Manufacturer: SKODA, Model Year: 2010, Model line: OCTAVIA, Model: SKODA OCTAVIA 2010 2.G / (1Z)Pages: 40, PDF Size: 1.71 MB
Page 3 of 40
IntroductionYou have chosen a Škoda vehicle, which is fitted with a dynamic radio navigation system Amundsen (here-
after called the radio navigation system) - we thank you for your confidence in us.
We recommend that you read these operating instructions carefully so that you can quickly become familiar with
your radio navigation system.
Should you have any questions or problems with your radi o navigation system, please do not hesitate to contact
your authorised Škoda Service Partner or importer.
National legal provisions, which deviate from the information contained in these operating instructions, take prec-
edence over the information contai ned in the operating instructions.
We hope you enjoy using your radio navigati on system and wish you pleasant motoring.
Yo u r Škoda Auto
s34g.6.book Page 1 Thursday, January 14, 2010 8:48 AM
Page 7 of 40
General information5
Anti-theft protectionThe anti-theft coding of your radio naviga tion system prevents an operation of the
system after a voltage interruption, e.g. duri ng a vehicle repair or after theft. After
disconnecting the battery, disconnecting th e radio navigation system from the on-
board voltage of the vehicle and after a fuse failure, the code must be entered before
the vehicle can be used again.Enter code– If a keypad appears after switching on with the command to enter the code, the unit can be unlocked by entering the corr ect four-digit code number. The number
of the possible attempts is shown in the bottom screen line.
– Press a digit from to on the digit block displayed on the screen. The digit is accepted in the entry line.
– After a four-digit order has been entered, the group of digits will turn grey (inactive) and no further digits can be accepted in the entry line.
– Press on the screen in order to delete the digits in the entry line from right to left and thereby correct your input, if necessary.
– If the correct code number is displayed in the entry line, press .
Code number
The code number can only be called up “onl ine” via the Škoda system, as this guaran-
tees even more effective anti-theft protection. Please contact your authorized Škoda
Service Partner, if necessary.
Incorrect code number
If an incorrect code is confirmed after entr y of the code, the procedure can be repeated
twice . The number of possible attempts is shown in the bottom screen line.
If the code number is entered incorrectly for the third time, the unit will be blocked for
approx. one hour. It is possible to enter again the safety code after one hour has
expired, when the unit and the ig nition have been switched on.
If three invalid attempts are then made ag ain, the radio navigation system will be
blocked again for an hour.
The cycle - three attempts, blocked fo r an hour - will continue to apply.
Note
The code is normally stored in the instrument cluster. This ensures that it is automati-
cally decoded (convenience coding). Ma nual input of the code is normally not
necessary.
0
9
Delete
OK
s34g.6.book Page 5 Thursday, January 14, 2010 8:48 AM
Page 16 of 40
Range selector key RADIO
14
– Press on the function key to end th e automatic play of the currently heard
radio station.Save radio stationSave radio station– Press the function key and then the function key in order to
open the preset list.
– If you wish to store the displayed radio station in a memory space, press one of the displayed station keys to and hold it pressed for so long until a signal
sounds. The currently heard radio station is then stored on this station key.Deleting a radio station from the memory list– Press the button in the RADIO mode and then the function key
.
– Select the radio station you wish to de lete and confirm by pressing the menu
control button .
– If you wish to delete all the stored radio stations, press on the function key .
Note
It is alternatively possible to store radio st ations by pressing the menu control button
.Calling up a radio station
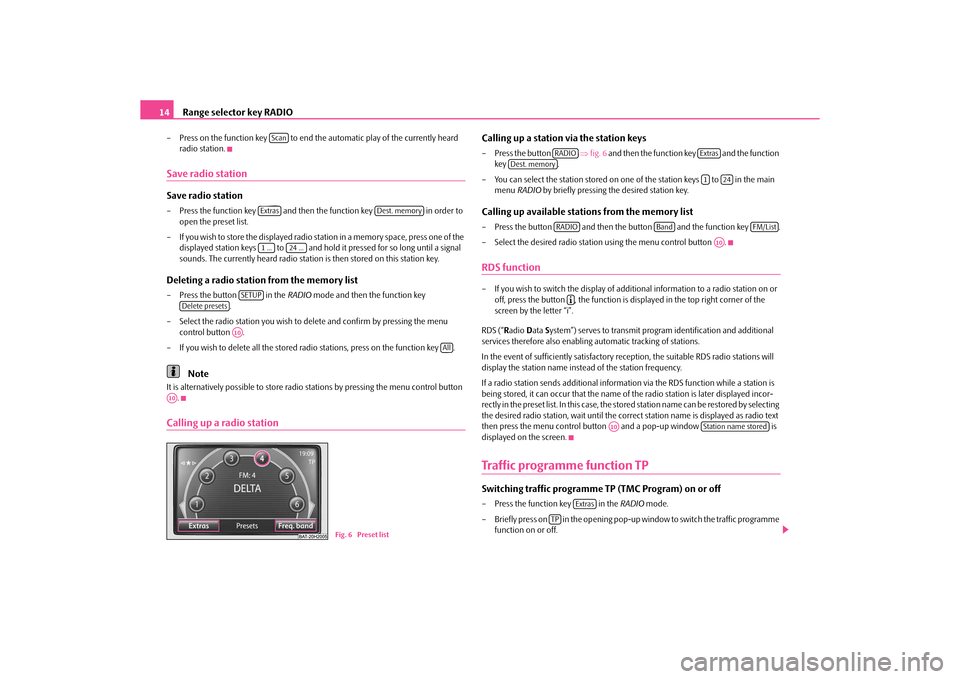
Calling up a station via the station keys– Press the button ⇒fig. 6 and then the function key and the function
key .
– You can select the station stored on one of the station keys to in the main
menu RADIO by briefly pressing the desired station key.Calling up available stations from the memory list– Press the button and then th e button and the function key .
– Select the desired radio statio n using the menu control button .RDS function– If you wish to switch the display of additional information to a radio station on or
off, press the button , the function is displayed in the top right corner of the
screen by the letter “i”.
RDS (“ Radio Data System”) serves to transmit program identification and additional
services therefore also enabling automatic tracking of stations.
In the event of sufficiently satisfactory reception, the suitable RDS radio stations will
display the station name instead of the station frequency.
If a radio station sends addi tional information via the RDS function while a station is
being stored, it can occur that the name of the radio station is later displayed incor-
rectly in the preset list. In this case, the stored station name can be restored by selecting
the desired radio station, wait until the correct station name is displayed as radio text
then press the menu control button and a pop-up window is
displayed on the screen.Traffic programme function TPSwitching traffic programme TP (TMC Program) on or off– Press the function key in the RADIO mode.
– Briefly press on in the opening pop-up window to switch the traffic programme
function on or off.
ScanExtras
Dest. memory
1 ...
24 ...
SETUP
Delete presets
A10
All
A10
Fig. 6 Preset list
RADIO
Extras
Dest. memory
1
24
RADIO
Band
FM/List
A10
�º
A10
Station name stored
Extras
TP
s34g.6.book Page 14 Thursday, January 14, 2010 8:48 AM
Page 19 of 40
Range selector key MEDIA17
Range selector key MEDIAGeneral information for CD operation Audio-CDs (CD-A) and MP3-CDs can be played in the internal drive.
CD not legible
If you insert a CD which cannot be read by the unit, a pop-up window is displayed with
a note. Press on the function key , the CD is driven to the initial position.
If the CD is not taken out within 10 seconds, it is drawn in again for safety reasons.
WARNING
The CD player is a 1st class laser product. There is a definite risk of injury from
invisible laser beams if it is opened.
Caution
•
Inserting a second CD while a CD is being ejected can destroy the CD drive in the
unit. Please note that the CD ejection lasts a few seconds after pressing the Eject
button . During this time the lock in front of the CD case is open. It is essential that
you wait until the CD has been fully ejected before you try to insert a new CD.
•
If the CD drive becomes mechanically defective or a CD has been inserted incor-
rectly or not fully, “ Error:°CD” will be displayed on the screen. Please check the CD and
place it again correctly and fully into the drive. If “ Error:°CD” is indicated again, please
contact your Škoda Service Partner.
•
If the inside temperature of the unit is t oo high, no CDs will be accepted. The unit
switches into the last active operating mode.Note
•
If the function key is inactive, no new Audio CD has been inserted or an
inserted Audio CD is not readable.
•
It is possible that CDs protected by copyright and self-made CD-R and CD-RW are
not returned at all or only in certain circumstances.
•
Please observe the following information for the MP3 operation ⇒page 20.
•
Please comply with the national legal copyright requirements in your country.
•
The CD player contains no parts that have to be serviced or repaired. If the CD
player is defective, contact a specialist garage.
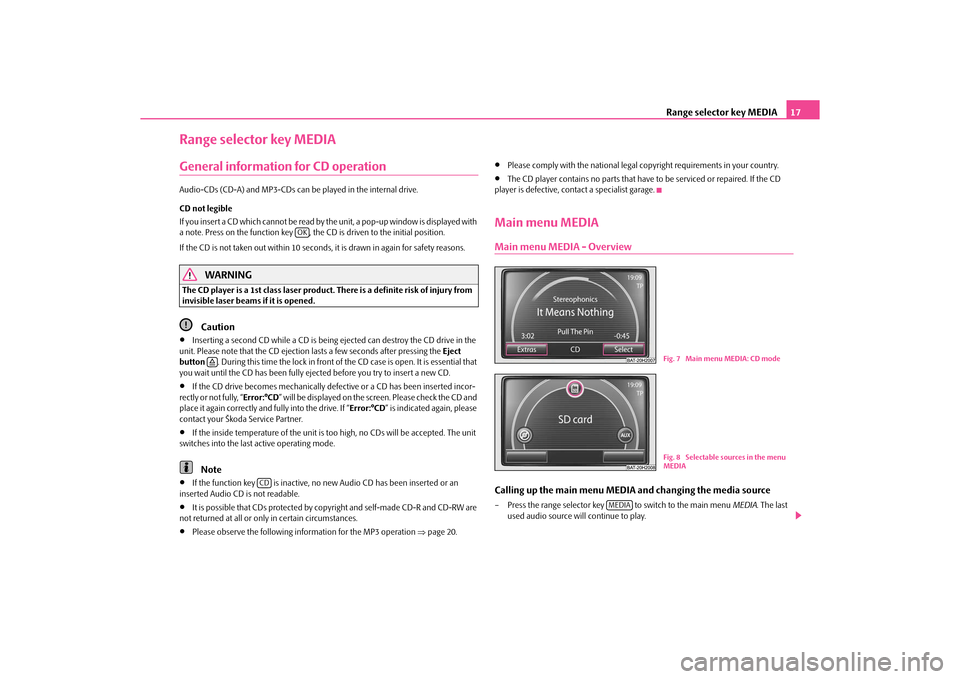
Main menu MEDIAMain menu MEDIA - OverviewCalling up the main menu MEDI A and changing the media source– Press the range selector key to switch to the main menu MEDIA. The last
used audio source will continue to play.
OK
�š
CD
Fig. 7 Main menu MEDIA: CD modeFig. 8 Selectable sources in the menu
MEDIA
MEDIA
s34g.6.book Page 17 Thursday, January 14, 2010 8:48 AM
Page 32 of 40
Range selector key NAV (Navigation)
30
Inserting route listThe route list for the trip can only be displayed during a route guidance.Split-screen in the map display– An additional window opens if you pres s the button during route guidance.
– Select the function key in the a dditional window. The route list is
displayed. The list of the points (street names, street descriptions and stretches of
the road) still to be driven, is displayed in the Route list.
– In addition, the distance still to be driven on the driven road and the estimated time
to the following turning point are displayed.Manually excluding a stretch of the road– You can select the beginning of the stretch of the road to be excluded by using the
control button .
– Press on the function key , this changes to the function key .
– Select the end of the stretch of the road to be excluded and select the function key .
– The route is newly calculated.
– If you wish to cancel the exclusion of the stretch of the road, press the function key
.Dynamic route guidance with TMC use Switching the dynamic navigation on or off– Press the button and then select the function key while in the
main menu Navigation.
– In the menu Route options, activate the check box and select the
desired set-up by pressing your choice in the pop-up window.
Requirements for a dynamic route guidance
TMC (Traffic Message Channel) is a digital radio data service for continuous transmis-
sion of traffic information. The unit has a continuous background of
TMC traffic reports providing a TMC station
at the current locati on can be received.
The quality of the transmitted traffic report s depends on the broadcast editing carried
out by the radio station. The reception of the TMC traffic reports cannot be switched
on or off.
The station you are listening to does not have to be a TMC station.
TMC traffic reports can only be evaluated an d displayed by the unit if the navigation
data for the currently driven area is stored in the unit memory or can be called up via
an inserted navigation CD.
The current TMC traffic reports can be disp layed by pressing the range selector key
.
Note
•
There may not be any advantage in avoiding the traffic jam if, as a result of the TMC
traffic reports, the diversion is also heavily congested.
•
You can manually block the information for th e route in front of you if traffic prob-
lems ahead have not yet been included in the TMC traffic reports ⇒page 30.
�º
Route list
A1
Exclude
Exclude to
Exclude toCancel
SETUP
Route options
�˜°Dynamic°route
TMC
s34g.6.book Page 30 Thursday, January 14, 2010 8:48 AM
Page 39 of 40
Škoda Auto pursues a policy of constant product and model development. We trust
that you will understand that changes to models in terms of shape, equipment and
engineering, may be introduced at any time . The information about scope of delivery,
appearance, performances, di mensions, weight, fuel consumption, standards and
functions of the vehicle is only correct at the time of publication. Certain items of
equipment are only supplied later on (information given by authorised Škoda Service
Partners) or are only envisaged for particular markets. It is therefore not possible for
legal claims to be made based on the data, illustrations and descriptions contained in
this Owner's Manual. Reprint, reproduction or translation, either
in whole or in part, is not permitted without
the written consent from Škoda Auto.
Škoda Auto expressly reserves all rights relating to copyright laws.
We reserve the right to make changes to this document.
Issued by: ŠKODA AUTO a.s.
© ŠKODA AUTO a.s. 2010s34g.6.book Page 36 Thursday, January 14, 2010 8:48 AM