manual radio set SKODA OCTAVIA 2015 3.G / (5E) Blues Infotinment Syst
[x] Cancel search | Manufacturer: SKODA, Model Year: 2015, Model line: OCTAVIA, Model: SKODA OCTAVIA 2015 3.G / (5E)Pages: 31, PDF Size: 1.51 MB
Page 4 of 31
Table of Contents
Important information about this manual3
Notes
4
Abbreviations
Introductory information
Important notes
6
Equipment overview
6
Operating the device
7
Device settings
8
Audio
Radio
11
Media
13
Vehicle systems
CAR - vehicle settings
18
Index
2Table of Contents
Page 11 of 31
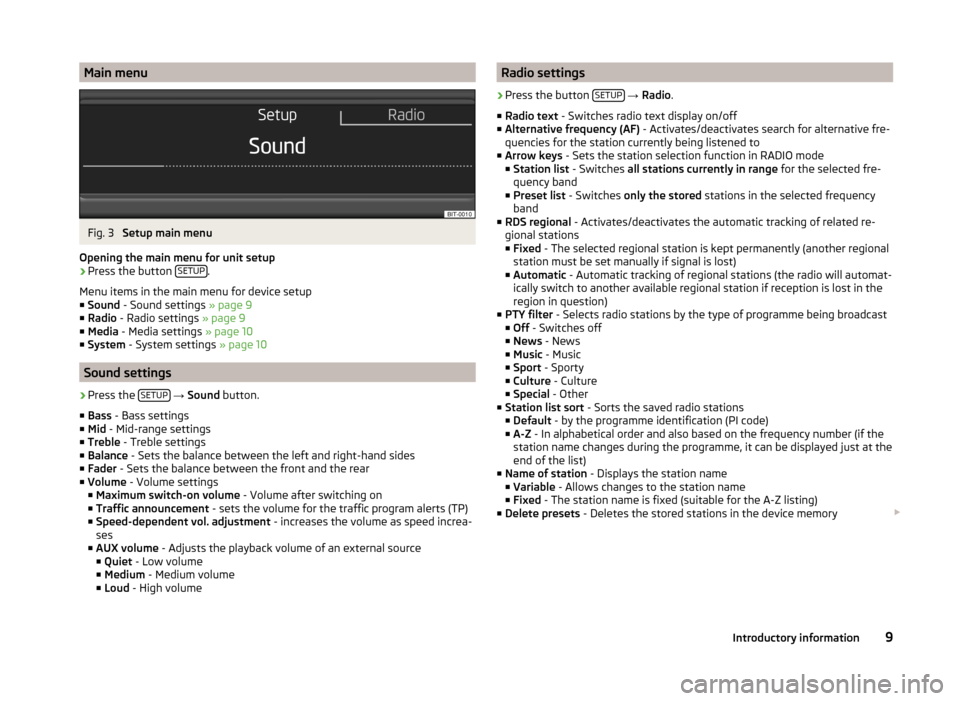
Main menuFig. 3
Setup main menu
Opening the main menu for unit setup
›
Press the button SETUP.
Menu items in the main menu for device setup
■ Sound - Sound settings » page 9
■ Radio - Radio settings » page 9
■ Media - Media settings » page 10
■ System - System settings » page 10
Sound settings
›
Press the SETUP
→ Sound button.
■ Bass - Bass settings
■ Mid - Mid-range settings
■ Treble - Treble settings
■ Balance - Sets the balance between the left and right-hand sides
■ Fader - Sets the balance between the front and the rear
■ Volume - Volume settings
■ Maximum switch-on volume - Volume after switching on
■ Traffic announcement - sets the volume for the traffic program alerts (TP)
■ Speed-dependent vol. adjustment - increases the volume as speed increa-
ses
■ AUX volume - Adjusts the playback volume of an external source
■ Quiet - Low volume
■ Medium - Medium volume
■ Loud - High volume
Radio settings›
Press the button SETUP
→ Radio .
■ Radio text - Switches radio text display on/off
■ Alternative frequency (AF) - Activates/deactivates search for alternative fre-
quencies for the station currently being listened to
■ Arrow keys - Sets the station selection function in RADIO mode
■ Station list - Switches all stations currently in range for the selected fre-
quency band
■ Preset list - Switches only the stored stations in the selected frequency
band
■ RDS regional - Activates/deactivates the automatic tracking of related re-
gional stations
■ Fixed - The selected regional station is kept permanently (another regional
station must be set manually if signal is lost)
■ Automatic - Automatic tracking of regional stations (the radio will automat-
ically switch to another available regional station if reception is lost in the
region in question)
■ PTY filter - Selects radio stations by the type of programme being broadcast
■ Off - Switches off
■ News - News
■ Music - Music
■ Sport - Sporty
■ Culture - Culture
■ Special - Other
■ Station list sort - Sorts the saved radio stations
■ Default - by the programme identification (PI code)
■ A-Z - In alphabetical order and also based on the frequency number (if the
station name changes during the programme, it can be displayed just at the
end of the list)
■ Name of station - Displays the station name
■ Variable - Allows changes to the station name
■ Fixed - The station name is fixed (suitable for the A-Z listing)
■ Delete presets - Deletes the stored stations in the device memory
9Introductory information
Page 14 of 31
›press the
RADIO button
→ press menu button 2 » Fig. 1 on page 7 .
The station search is influenced by selecting the PTY filter function » page 9
and by switching the TP function on or off.
Search options
■ TP - Switches traffic programme reception on/off » page 13
■ Manual - Manual station search
■ Scan - Successive play of all available stations in the current frequency band
or the current station buttons for five seconds each
■ OK - Stops auto-play function at the current radio station
■ Skip - Selects another radio station
■ Auto store - Automatic station search
Manual station search
Pressing the Manual button starts a manual station search.
The manual station search is initiated by turning the menu button 2
» Fig. 1
on page 7 or using the buttons .
Pressing the OK button ends the manual station search at the currently tuned
radio station.
Automatic station search
Pressing the Auto store button starts an automatic station search.
Auto store... is displayed on the device display screen when searching and
storing.
At the end of the automatic station search, the five radio stations with the
strongest signal are stored in the memory group for the current frequency
band.
If radio stations have already been stored under the preset buttons, then the
station keys will be overwritten with newly located stations after the automat-
ic station search.
Storing stations
Set the desired radio station and press and hold the corresponding button
3
» Fig. 1 on page 7 until a beep is heard. The station is stored in the device
memory and its name appears above the corresponding button
3
.
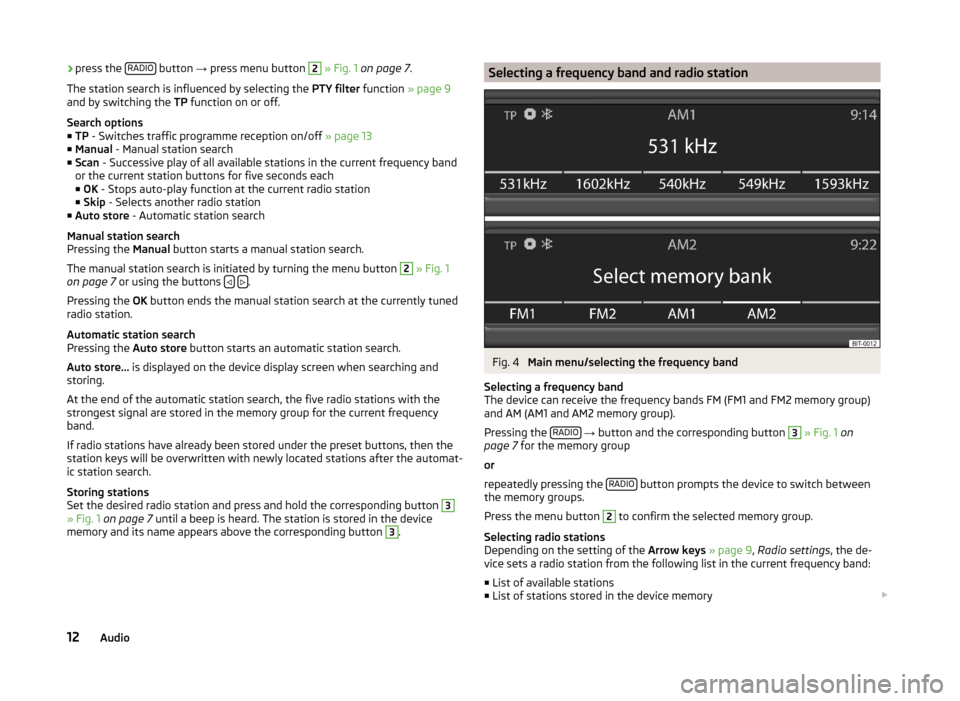
Selecting a frequency band and radio stationFig. 4
Main menu/selecting the frequency band
Selecting a frequency band
The device can receive the frequency bands FM (FM1 and FM2 memory group)
and AM (AM1 and AM2 memory group).
Pressing the RADIO
→ button and the corresponding button
3
» Fig. 1 on
page 7 for the memory group
or
repeatedly pressing the RADIO
button prompts the device to switch between
the memory groups.
Press the menu button
2
to confirm the selected memory group.
Selecting radio stations
Depending on the setting of the Arrow keys » page 9 , Radio settings , the de-
vice sets a radio station from the following list in the current frequency band:
■ List of available stations
■ List of stations stored in the device memory
12Audio
Page 21 of 31
■Driving programme - Sets the vehicle acceleration when adaptive cruise
control is active 1)
■ Normal - Normal
■ Sport - Sporty
■ Eco - Economical
■ Park Assist - Sets the parking aid
■ Front volume - Adjust the volume of the beeps for obstacle detection in
front
■ Front tone setting - Setting the pitch of the beeps for obstacle detection in
front
■ Rear volume - Set the volume level of the beeps for the rear obstacle de-
tection
■ Rear tone setting - Setting the pitch of the beeps for the rear obstacle de-
tection
■ Audio lowering - Lowers the audio volume (e.g. radio volume) with activa-
ted parking aid
■ Off - No lowering of the volume
■ Light - Slight lowering of the volume
■ Medium - Medium lowering of the volume
■ Strong - Strong lowering of the volume
■ ProActive passenger protection - Activates/deactivates ProActive passenger
protection
■ Fatigue detection - Activates/deactivates the fatigue detection function
Deactivating traction control (ASR)
›
Press the CAR button
→ Deactivate traction control (ASR) - Switches deacti-
vation of traction control (ASR) on/off.
Speed limit for winter tyres
›
Press the button CAR
→ Winter tyres limit .
■ Winter tyres warning - Activates/deactivates the winter tyres warning func-
tion
■ Warning at: --- km/h - Sets the speed for the warning
NoteThis function is, for example, used for winter tyres where the maximum per-
missible speed is lower than the maximum speed of the vehicle.
Light
›
Press the button CAR
→ Lights .
■ Light Assist - Sets the external lighting
■ Switch-on time - Sensitivity adjustment of the sensor for the automatic
headlight control
■ Early - High sensitivity
■ Medium - Medium sensitivity
■ Late - Low sensitivity
■ Head Light Assist - Activation / deactivation of the Light Assist function
■ Automatic headlight control (rain) - Activates/deactivates automatic head-
light control in rain
■ Daytime running lights - Activates/deactivates daytime running lights
■ Lane change flash - Activates/deactivates lane change flashing
■ Travel mode - Light setting for the right/left-hand traffic
■ Left-hand traffic - For left-hand traffic
■ Right-hand traffic - For right-hand traffic
■ Interior lighting - Sets the interior lighting
■ Instrument lighting - Sets the brightness of the instrument/switch lighting
■ Footwell light - Sets the brightness of the footwell light
■ Coming home - Activates/deactivates the function and sets the illumination
period after leaving the vehicle (5-30 seconds)
■ Leaving home - Activates/deactivates the function and sets the illumination
period after unlocking the vehicle (5-30 seconds)
Visibility
›
Press the button CAR
→ Vision .
1)
On vehicles with the choice of travel mode, this setting is done
» Vehicle Owner's Manual , chapter Selec-
tion of travel mode (MODE button) .
19Vehicle systems
Page 23 of 31
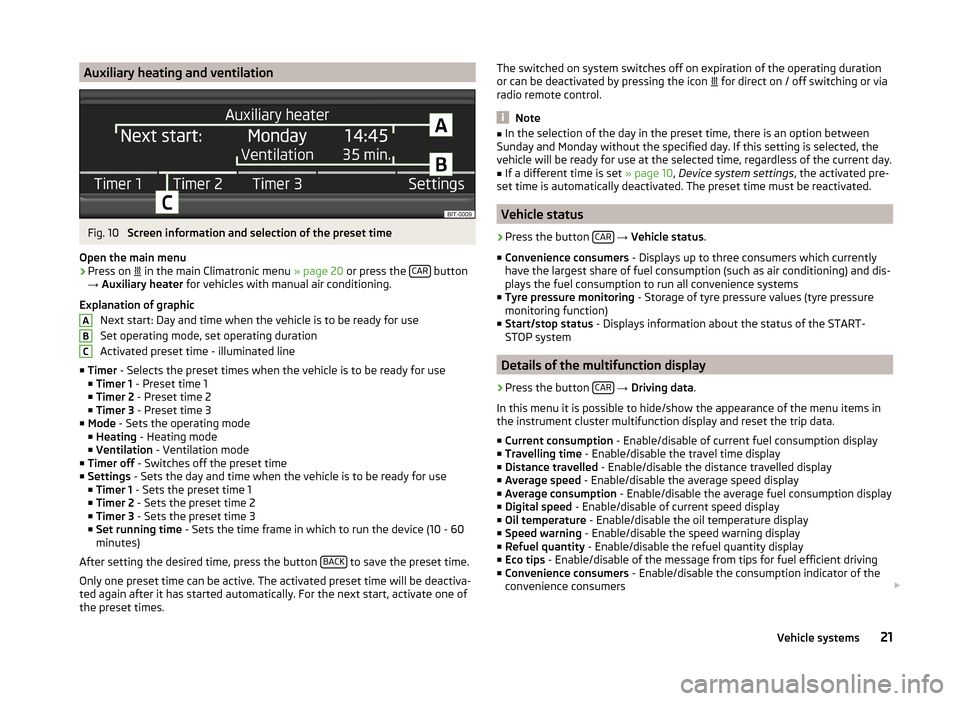
Auxiliary heating and ventilationFig. 10
Screen information and selection of the preset time
Open the main menu
›
Press on in the main Climatronic menu
» page 20 or press the CAR button
→ Auxiliary heater for vehicles with manual air conditioning.
Explanation of graphic Next start: Day and time when the vehicle is to be ready for use
Set operating mode, set operating duration
Activated preset time - illuminated line
■ Timer - Selects the preset times when the vehicle is to be ready for use
■ Timer 1 - Preset time 1
■ Timer 2 - Preset time 2
■ Timer 3 - Preset time 3
■ Mode - Sets the operating mode
■ Heating - Heating mode
■ Ventilation - Ventilation mode
■ Timer off - Switches off the preset time
■ Settings - Sets the day and time when the vehicle is to be ready for use
■ Timer 1 - Sets the preset time 1
■ Timer 2 - Sets the preset time 2
■ Timer 3 - Sets the preset time 3
■ Set running time - Sets the time frame in which to run the device (10 - 60
minutes)
After setting the desired time, press the button BACK
to save the preset time.
Only one preset time can be active. The activated preset time will be deactiva-
ted again after it has started automatically. For the next start, activate one of
the preset times.
ABCThe switched on system switches off on expiration of the operating duration
or can be deactivated by pressing the icon for direct on / off switching or via
radio remote control.
Note
■ In the selection of the day in the preset time, there is an option between
Sunday and Monday without the specified day. If this setting is selected, the
vehicle will be ready for use at the selected time, regardless of the current day.■
If a different time is set » page 10, Device system settings , the activated pre-
set time is automatically deactivated. The preset time must be reactivated.
Vehicle status
›
Press the button CAR
→ Vehicle status .
■ Convenience consumers - Displays up to three consumers which currently
have the largest share of fuel consumption (such as air conditioning) and dis-
plays the fuel consumption to run all convenience systems
■ Tyre pressure monitoring - Storage of tyre pressure values (tyre pressure
monitoring function)
■ Start/stop status - Displays information about the status of the START-
STOP system
Details of the multifunction display
›
Press the button CAR
→ Driving data .
In this menu it is possible to hide/show the appearance of the menu items in
the instrument cluster multifunction display and reset the trip data.
■ Current consumption - Enable/disable of current fuel consumption display
■ Travelling time - Enable/disable the travel time display
■ Distance travelled - Enable/disable the distance travelled display
■ Average speed - Enable/disable the average speed display
■ Average consumption - Enable/disable the average fuel consumption display
■ Digital speed - Enable/disable of current speed display
■ Oil temperature - Enable/disable the oil temperature display
■ Speed warning - Enable/disable the speed warning display
■ Refuel quantity - Enable/disable the refuel quantity display
■ Eco tips - Enable/disable of the message from tips for fuel efficient driving
■ Convenience consumers - Enable/disable the consumption indicator of the
convenience consumers
21Vehicle systems