cruise control SKODA OCTAVIA 2015 3.G / (5E) Owner's Manual
[x] Cancel search | Manufacturer: SKODA, Model Year: 2015, Model line: OCTAVIA, Model: SKODA OCTAVIA 2015 3.G / (5E)Pages: 268, PDF Size: 37.54 MB
Page 4 of 268
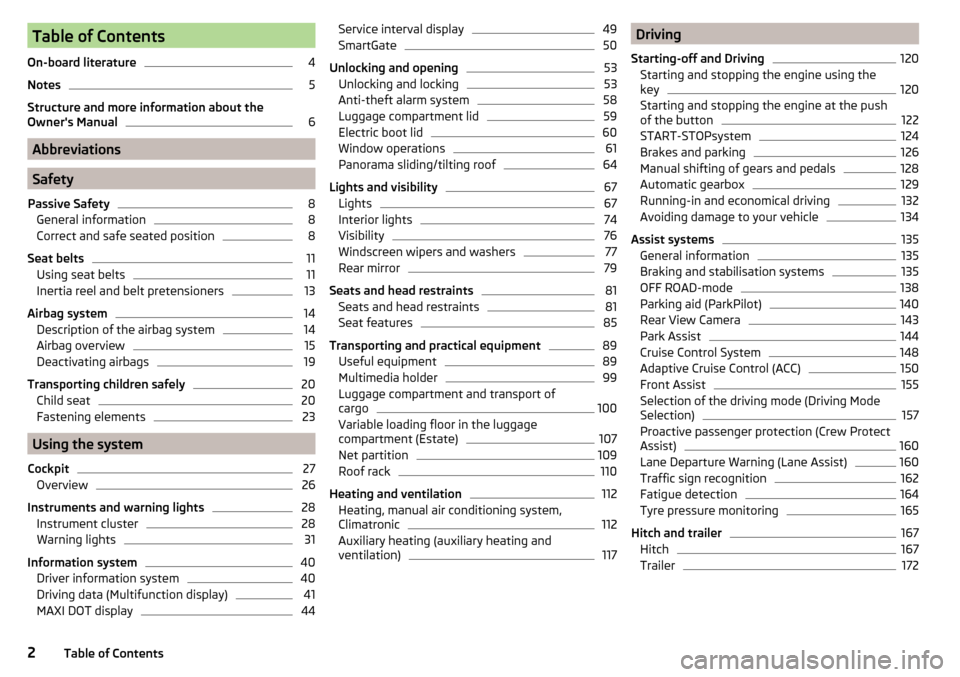
Table of Contents
On-board literature4
Notes
5
Structure and more information about the
Owner's Manual
6
Abbreviations
Safety
Passive Safety
8
General information
8
Correct and safe seated position
8
Seat belts
11
Using seat belts
11
Inertia reel and belt pretensioners
13
Airbag system
14
Description of the airbag system
14
Airbag overview
15
Deactivating airbags
19
Transporting children safely
20
Child seat
20
Fastening elements
23
Using the system
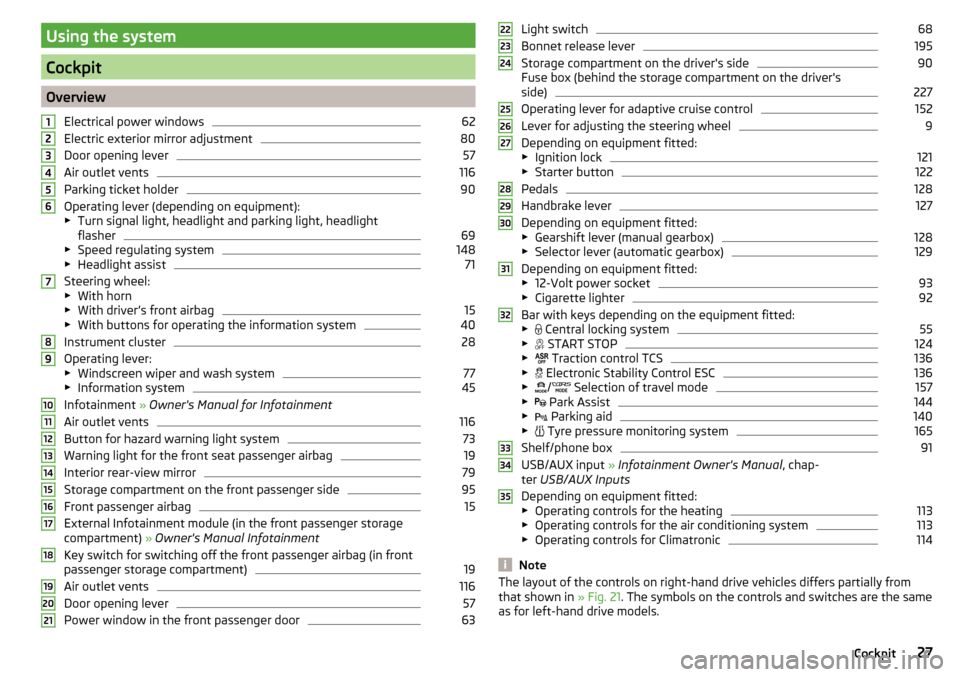
Cockpit
27
Overview
26
Instruments and warning lights
28
Instrument cluster
28
Warning lights
31
Information system
40
Driver information system
40
Driving data (Multifunction display)
41
MAXI DOT display
44Service interval display49SmartGate50
Unlocking and opening
53
Unlocking and locking
53
Anti-theft alarm system
58
Luggage compartment lid
59
Electric boot lid
60
Window operations
61
Panorama sliding/tilting roof
64
Lights and visibility
67
Lights
67
Interior lights
74
Visibility
76
Windscreen wipers and washers
77
Rear mirror
79
Seats and head restraints
81
Seats and head restraints
81
Seat features
85
Transporting and practical equipment
89
Useful equipment
89
Multimedia holder
99
Luggage compartment and transport of
cargo
100
Variable loading floor in the luggage
compartment (Estate)
107
Net partition
109
Roof rack
110
Heating and ventilation
112
Heating, manual air conditioning system,
Climatronic
112
Auxiliary heating (auxiliary heating and
ventilation)
117Driving
Starting-off and Driving120
Starting and stopping the engine using the
key
120
Starting and stopping the engine at the push
of the button
122
START-STOPsystem
124
Brakes and parking
126
Manual shifting of gears and pedals
128
Automatic gearbox
129
Running-in and economical driving
132
Avoiding damage to your vehicle
134
Assist systems
135
General information
135
Braking and stabilisation systems
135
OFF ROAD-mode
138
Parking aid (ParkPilot)
140
Rear View Camera
143
Park Assist
144
Cruise Control System
148
Adaptive Cruise Control (ACC)
150
Front Assist
155
Selection of the driving mode (Driving Mode
Selection)
157
Proactive passenger protection (Crew Protect
Assist)
160
Lane Departure Warning (Lane Assist)
160
Traffic sign recognition
162
Fatigue detection
164
Tyre pressure monitoring
165
Hitch and trailer
167
Hitch
167
Trailer
1722Table of Contents
Page 9 of 268
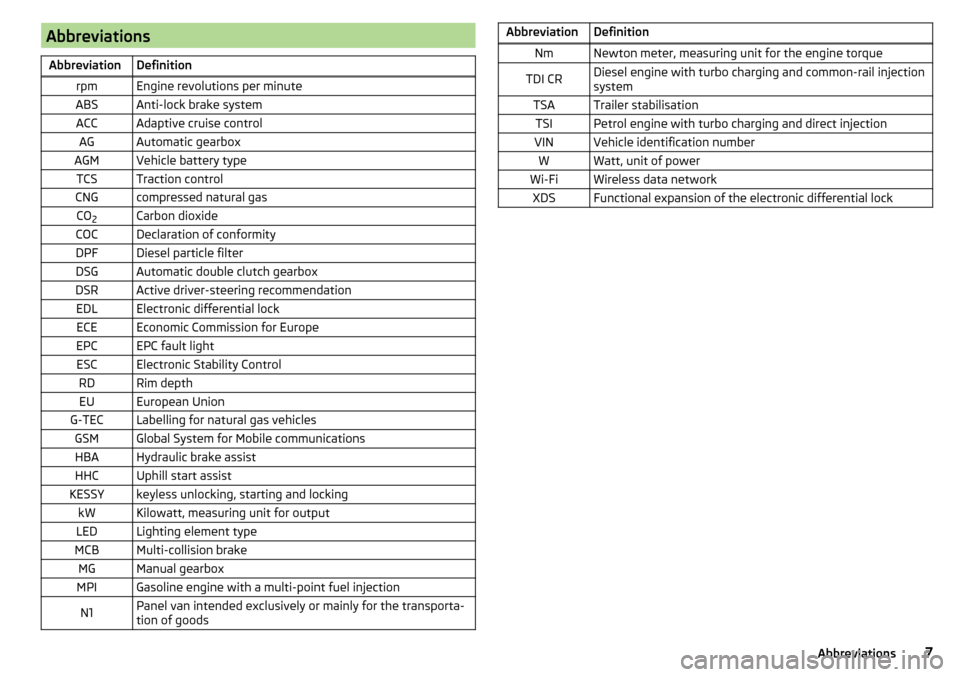
AbbreviationsAbbreviationDefinitionrpmEngine revolutions per minuteABSAnti-lock brake systemACCAdaptive cruise controlAGAutomatic gearboxAGMVehicle battery typeTCSTraction controlCNGcompressed natural gasCO2Carbon dioxideCOCDeclaration of conformityDPFDiesel particle filterDSGAutomatic double clutch gearboxDSRActive driver-steering recommendationEDLElectronic differential lockECEEconomic Commission for EuropeEPCEPC fault lightESCElectronic Stability ControlRDRim depthEUEuropean UnionG-TECLabelling for natural gas vehiclesGSMGlobal System for Mobile communicationsHBAHydraulic brake assistHHCUphill start assistKESSYkeyless unlocking, starting and lockingkWKilowatt, measuring unit for outputLEDLighting element typeMCBMulti-collision brakeMGManual gearboxMPIGasoline engine with a multi-point fuel injectionN1Panel van intended exclusively or mainly for the transporta-
tion of goodsAbbreviationDefinitionNmNewton meter, measuring unit for the engine torqueTDI CRDiesel engine with turbo charging and common-rail injection
systemTSATrailer stabilisationTSIPetrol engine with turbo charging and direct injectionVINVehicle identification numberWWatt, unit of powerWi-FiWireless data networkXDSFunctional expansion of the electronic differential lock7Abbreviations
Page 29 of 268
Using the system
Cockpit
OverviewElectrical power windows
62
Electric exterior mirror adjustment
80
Door opening lever
57
Air outlet vents
116
Parking ticket holder
90
Operating lever (depending on equipment):
▶ Turn signal light, headlight and parking light, headlight
flasher
69
▶ Speed regulating system
148
▶Headlight assist
71
Steering wheel:
▶ With horn
▶ With driver’s front airbag
15
▶With buttons for operating the information system
40
Instrument cluster
28
Operating lever:
▶ Windscreen wiper and wash system
77
▶Information system
45
Infotainment » Owner's Manual for Infotainment
Air outlet vents
116
Button for hazard warning light system
73
Warning light for the front seat passenger airbag
19
Interior rear-view mirror
79
Storage compartment on the front passenger side
95
Front passenger airbag
15
External Infotainment module (in the front passenger storage
compartment) » Owner's Manual Infotainment
Key switch for switching off the front passenger airbag (in front
passenger storage compartment)
19
Air outlet vents
116
Door opening lever
57
Power window in the front passenger door
63123456789101112131415161718192021Light switch68
Bonnet release lever
195
Storage compartment on the driver's side
90
Fuse box (behind the storage compartment on the driver's
side)
227
Operating lever for adaptive cruise control
152
Lever for adjusting the steering wheel
9
Depending on equipment fitted:
▶ Ignition lock
121
▶Starter button
122
Pedals
128
Handbrake lever
127
Depending on equipment fitted:
▶ Gearshift lever (manual gearbox)
128
▶Selector lever (automatic gearbox)
129
Depending on equipment fitted:
▶ 12-Volt power socket
93
▶Cigarette lighter
92
Bar with keys depending on the equipment fitted:
▶ Central locking system
55
▶
START STOP
124
▶
Traction control TCS
136
▶
Electronic Stability Control ESC
136
▶
/
Selection of travel mode
157
▶
Park Assist
144
▶
Parking aid
140
▶
Tyre pressure monitoring system
165
Shelf/phone box
91
USB/AUX input
» Infotainment Owner's Manual , chap-
ter USB/AUX Inputs
Depending on equipment fitted:
▶ Operating controls for the heating
113
▶Operating controls for the air conditioning system
113
▶Operating controls for Climatronic
114
Note
The layout of the controls on right-hand drive vehicles differs partially from
that shown in » Fig. 21. The symbols on the controls and switches are the same
as for left-hand drive models.222324252627282930313233343527Cockpit
Page 33 of 268
Reset counter for distance travelled (trip)›Press button A » Fig. 28 on page 31 .
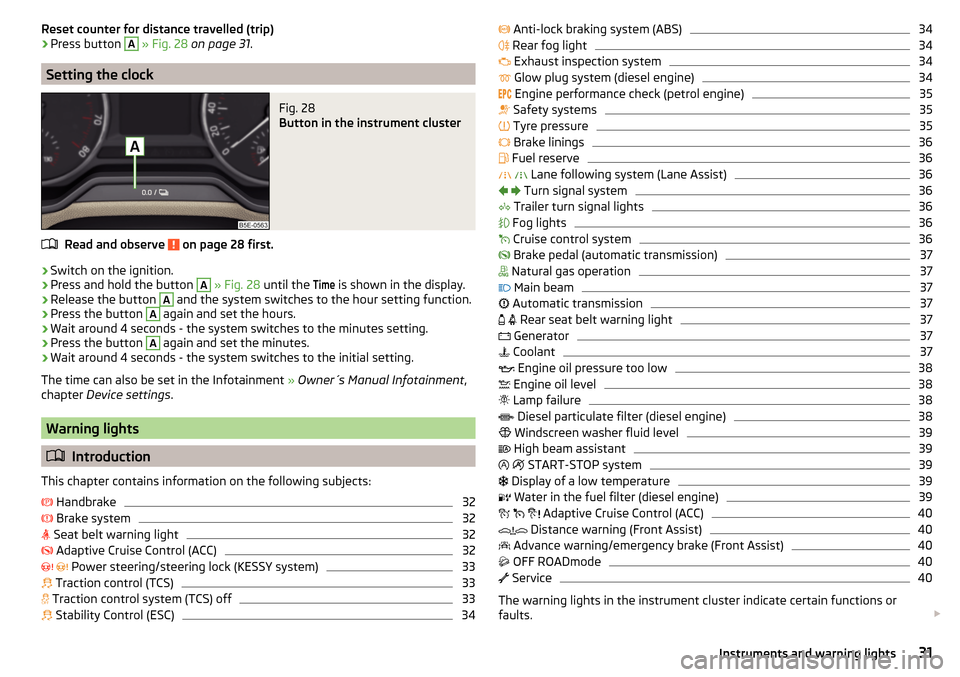
Setting the clock
Fig. 28
Button in the instrument cluster
Read and observe on page 28 first.
›
Switch on the ignition.
›
Press and hold the button
A
» Fig. 28 until the
Time
is shown in the display.
›
Release the button
A
and the system switches to the hour setting function.
›
Press the button
A
again and set the hours.
›
Wait around 4 seconds - the system switches to the minutes setting.
›
Press the button
A
again and set the minutes.
›
Wait around 4 seconds - the system switches to the initial setting.
The time can also be set in the Infotainment » Owner´s Manual Infotainment ,
chapter Device settings .
Warning lights
Introduction
This chapter contains information on the following subjects:
Handbrake
32
Brake system
32
Seat belt warning light
32
Adaptive Cruise Control (ACC)
32
Power steering/steering lock (KESSY system)
33
Traction control (TCS)
33
Traction control system (TCS) off
33
Stability Control (ESC)
34
Anti-lock braking system (ABS)34 Rear fog light34
Exhaust inspection system
34
Glow plug system (diesel engine)
34
Engine performance check (petrol engine)
35
Safety systems
35
Tyre pressure
35
Brake linings
36
Fuel reserve
36
Lane following system (Lane Assist)
36
Turn signal system
36
Trailer turn signal lights
36
Fog lights
36
Cruise control system
36
Brake pedal (automatic transmission)
37
Natural gas operation
37
Main beam
37
Automatic transmission
37
Rear seat belt warning light
37
Generator
37
Coolant
37
Engine oil pressure too low
38
Engine oil level
38
Lamp failure
38
Diesel particulate filter (diesel engine)
38
Windscreen washer fluid level
39
High beam assistant
39
START-STOP system
39
Display of a low temperature
39
Water in the fuel filter (diesel engine)
39
Adaptive Cruise Control (ACC)
40
Distance warning (Front Assist)
40
Advance warning/emergency brake (Front Assist)
40
OFF ROADmode
40
Service
40
The warning lights in the instrument cluster indicate certain functions or
faults.
31Instruments and warning lights
Page 34 of 268
Some warning lights can be accompanied by acoustic signals and messages in
the display of the instrument cluster.
After switching on the ignition, some warning lights light up briefly as a func-
tion test.
If the tested systems are OK, the corresponding warning lights go out a few
seconds after switching on the ignition or after starting the engine.
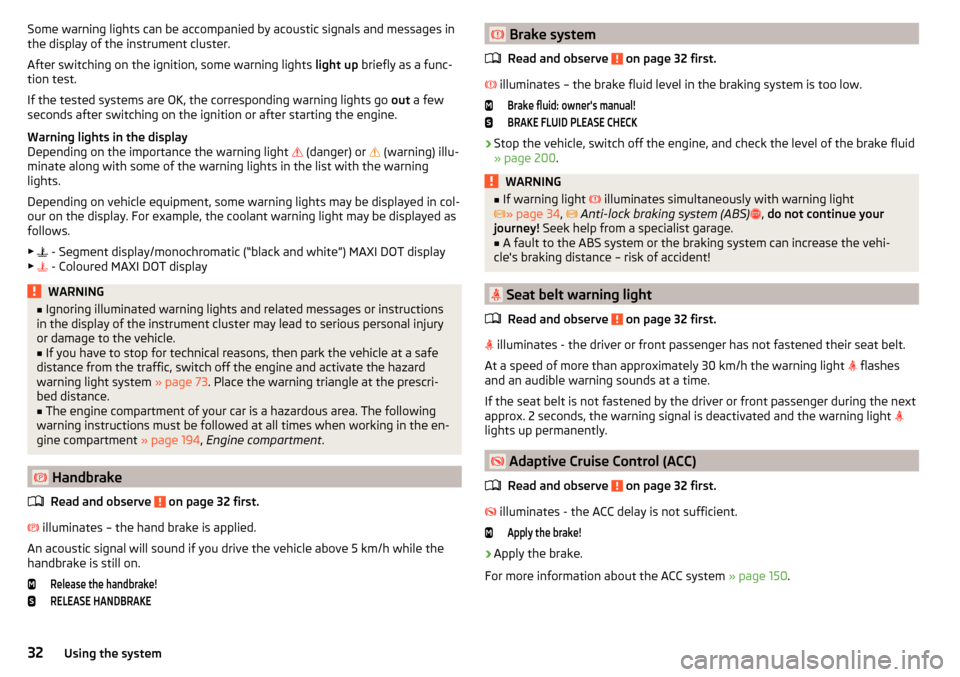
Warning lights in the display
Depending on the importance the warning light
(danger) or
(warning) illu-
minate along with some of the warning lights in the list with the warning
lights.
Depending on vehicle equipment, some warning lights may be displayed in col-
our on the display. For example, the coolant warning light may be displayed as
follows.
▶ - Segment display/monochromatic (“black and white”) MAXI DOT display
▶ - Coloured MAXI DOT displayWARNING■
Ignoring illuminated warning lights and related messages or instructions
in the display of the instrument cluster may lead to serious personal injury
or damage to the vehicle.■
If you have to stop for technical reasons, then park the vehicle at a safe
distance from the traffic, switch off the engine and activate the hazard
warning light system » page 73. Place the warning triangle at the prescri-
bed distance.
■
The engine compartment of your car is a hazardous area. The following
warning instructions must be followed at all times when working in the en-
gine compartment » page 194, Engine compartment .
Handbrake
Read and observe
on page 32 first.
illuminates – the hand brake is applied.
An acoustic signal will sound if you drive the vehicle above 5 km/h while the
handbrake is still on.
Release the handbrake!RELEASE HANDBRAKE Brake system
Read and observe
on page 32 first.
illuminates – the brake fluid level in the braking system is too low.
Brake fluid: owner's manual!BRAKE FLUID PLEASE CHECK›
Stop the vehicle, switch off the engine, and check the level of the brake fluid
» page 200 .
WARNING■
If warning light illuminates simultaneously with warning light
» page 34 , Anti-lock braking system (ABS) , do not continue your
journey! Seek help from a specialist garage.■
A fault to the ABS system or the braking system can increase the vehi-
cle's braking distance – risk of accident!
Seat belt warning light
Read and observe
on page 32 first.
illuminates - the driver or front passenger has not fastened their seat belt.
At a speed of more than approximately 30 km/h the warning light flashes
and an audible warning sounds at a time.
If the seat belt is not fastened by the driver or front passenger during the next
approx. 2 seconds, the warning signal is deactivated and the warning light
lights up permanently.
Adaptive Cruise Control (ACC)
Read and observe
on page 32 first.
illuminates - the ACC delay is not sufficient.
Apply the brake!›
Apply the brake.
For more information about the ACC system » page 150.
32Using the system
Page 38 of 268
Other incidents
The illumination of the warning light can have the following reasons.
▶ The vehicle is loaded on one side. Distribute loads as evenly as possible.
▶ The wheels of one axle are loaded more heavily (e.g. when towing a trailer or
when driving uphill or downhill).
▶ Snow chains are mounted.
▶ A wheel has been changed.
CAUTION
Under certain circumstances (e.g. sporty style of driving, wintry or unpaved
roads) the warning light in the instrument cluster can be delayed or does
not light up at all.
Brake linings
Read and observe
on page 32 first.
illuminates - the brake pads are worn.
Check brake pad!BRAKE PADS PLEASE CHECK
Seek help from a specialist garage.
Fuel reserve
Read and observe
on page 32 first.
illuminates – the fuel level in the fuel tank is at the reserve level (approxi-
mately 6 litres).
Please refuel. Range: ...
kmPLEASE REFUEL RANGE …
km
An audible signal sounds as a warning.
Note
The text in the display goes out after refuelling and driving a short distance.
Lane following system (Lane Assist)
Read and observe
on page 32 first.
The warning lights
indicates the state of the Lane Assist system.
More information about the Lane Assist System » page 160.
Turn signal system
Read and observe
on page 32 first.
flashes – the left turn signal is turned on.
flashes – the right turn signal is turned on.
If there is a fault in the turn signal system, the warning light flashes at twice
its normal rate. This does not apply when towing a trailer.
Switching off the hazard warning light system is switched on will cause all of
the turn signal lights as well as both warning lights to flash.
Trailer turn signal lights
Read and observe
on page 32 first.
flashes – the trailer lights are switched on.
If a trailer is hitched and the warning light is not flashing, one of the trailer
turn signal lights has failed.
An example message in the display of the instrument cluster
Trailer: check left turn signal!TRAILER TURN SIG_ CHECK LEFT
Check the trailer bulbs.
Fog lights
Read and observe
on page 32 first.
illuminates – the fog lights are switched on.
Cruise control system
Read and observe
on page 32 first.
illuminates - the vehicle speed is limited by the speed regulator system
and/or the automatic distance control.
36Using the system
Page 42 of 268
Adaptive Cruise Control (ACC)
Read and observe
on page 32 first.
Conditions of the ACC system
The warning lights
indicate the condition of the ACC system
» page 150 .
Distance warning (Front Assist)
Read and observe
on page 32 first.
illuminates – the safe distance to the vehicle in front is below the mini-
mum.
Information on the Front Assist system » page 155.
Advance warning/emergency brake (Front Assist)
Read and observe
on page 32 first.
illuminates – the system has recognized the risk of a collision or automati-
cally triggered an emergency braking manoeuvre.
Information on the Front Assist system » page 155.
OFF ROADmode
Read and observe
on page 32 first.
illuminates – the conditions for the engagement of OFF ROADmode are met.
flashes – the hill descent assistant is engaged at the moment.
For more information about OFF ROAD mode » page 138, OFF ROAD-mode .
Service
Read and observe
on page 32 first.
illuminates – note regarding a due service appointment
» page 49, Service
interval display .
Information system
Driver information system
Introduction
This chapter contains information on the following subjects:
Door, luggage compartment or bonnet warning
40
Auto-check control
40
Overspeed warning at 120 km/h
41
Gear recommendation
41
Depending on the vehicle's equipment, the information system vie the display
of the instrument cluster provides the following information.
▶ Driving data (multifunction display) » page 41.
▶ Data relating to the Maxi DOT display » page 45.
▶ Service interval display » page 49.
▶ Selector lever positions for an automatic gearbox » page 129.
▶ Information and alerts in the Assist systems » page 135.
WARNINGConcentrate fully at all times on your driving! As the driver, you are fully re-
sponsible for the operation of your vehicle.
Door, luggage compartment or bonnet warning
Read and observe
on page 40 first.
If at least one door is open, or the boot or bonnet is open, the display indicates
the relevant open door or boot/bonnet.
An acoustic signal will also sound if you drive the vehicle above 6 km/h when a
door is open.
Auto-check control
Read and observe
on page 40 first.
Certain functions and conditions of individual vehicle systems are checked
continuously when the ignition is switched on.
40Using the system
Page 150 of 268
The parking process cannot be performed with a trailer or when another ac-
cessory is connected to the trailer socket.Time limit exceeded. Take over steering!
The parking procedure was ended because the time limit of 6 minutes was
passed.
Park Assist currently not available.
The system cannot be activated because a fault exists on the vehicle. Seek
help from a specialist garage.
Park Assist stopped. Currently not available.
The parking procedure was ended because a fault exists on the vehicle. Seek
help from a specialist garage.
Park Assist faulty. Workshop!
The parking procedure is not possible because a fault exists in the system.
Seek help from a specialist garage.
ASR intervention. Take over steering!
The parking procedure is terminated by a TCS intervention.
Aut. parking space exit not possible. Space too small.
The manoeuvring procedure using the system is not possible. The parking gap
is too small.
Braking intervention. Speed too high.
The speed was too high during the parking and was automatically reduced.
Cruise Control System
Introduction
This chapter contains information on the following subjects:
Functioning
148
Operating Description
149
The Cruise Control System (CCS) maintains a set speed without you having to
actuate the accelerator pedal.
The state where the CCS maintains the speed is referred to hereinafter as the
control .
WARNING■
The general information relating to the use of assistance systems must
be observed » page 135, in section Introduction .■
After pressing the clutch pedal, no interrupted control occurs! For exam-
ple, if a different gear is engaged and the clutch pedal is released, control is
continued.
Functioning
Fig. 166
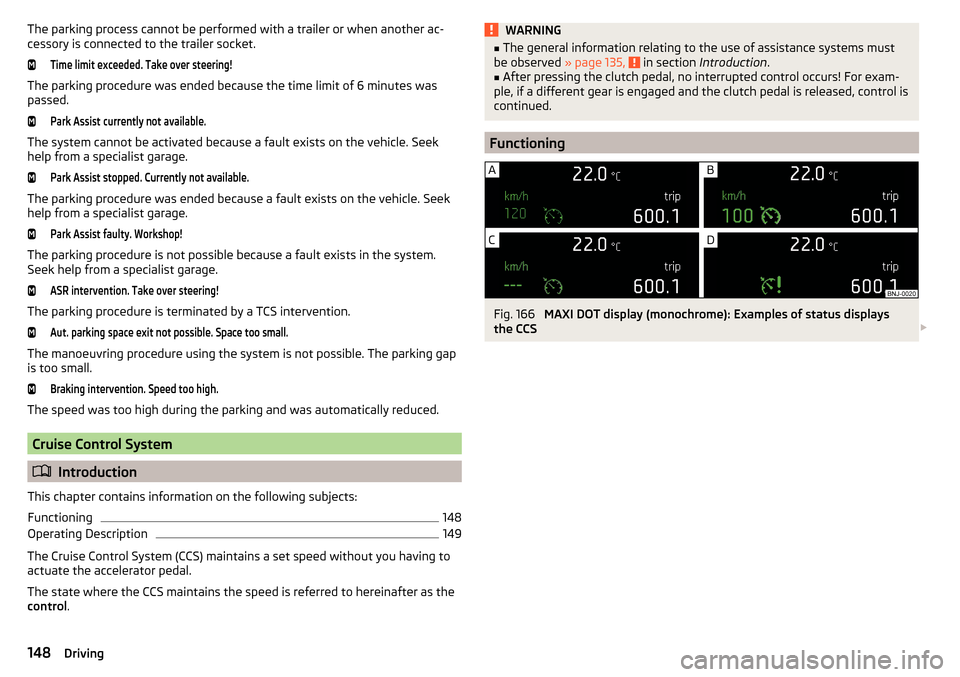
MAXI DOT display (monochrome): Examples of status displays
the CCS
148Driving
Page 151 of 268
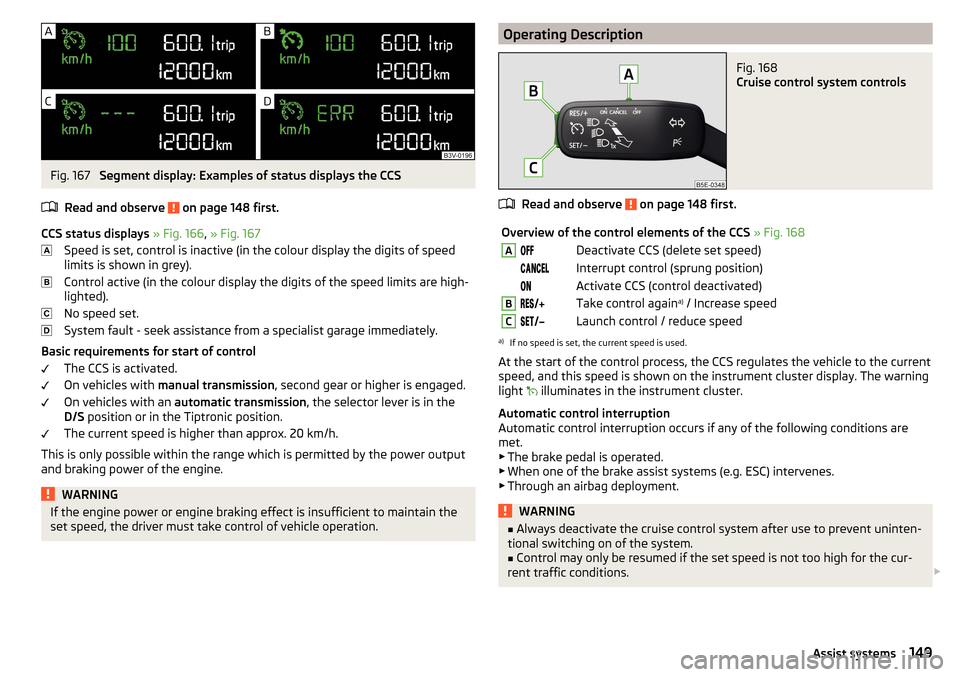
Fig. 167
Segment display: Examples of status displays the CCS
Read and observe
on page 148 first.
CCS status displays » Fig. 166 , » Fig. 167
Speed is set, control is inactive (in the colour display the digits of speed
limits is shown in grey).
Control active (in the colour display the digits of the speed limits are high-
lighted).
No speed set.
System fault - seek assistance from a specialist garage immediately.
Basic requirements for start of control The CCS is activated.
On vehicles with manual transmission , second gear or higher is engaged.
On vehicles with an automatic transmission , the selector lever is in the
D/S position or in the Tiptronic position.
The current speed is higher than approx. 20 km/h.
This is only possible within the range which is permitted by the power output
and braking power of the engine.
WARNINGIf the engine power or engine braking effect is insufficient to maintain the
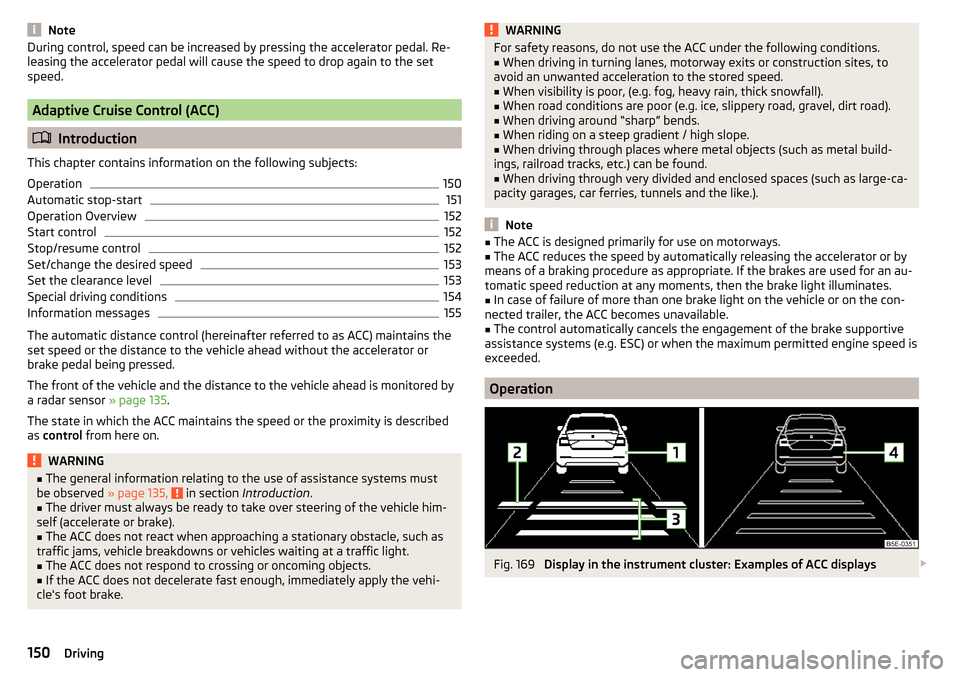
set speed, the driver must take control of vehicle operation.Operating DescriptionFig. 168
Cruise control system controls
Read and observe on page 148 first.
Overview of the control elements of the CCS » Fig. 168ADeactivate CCS (delete set speed) Interrupt control (sprung position) Activate CCS (control deactivated)BTake control again a)
/ Increase speedCLaunch control / reduce speeda)
If no speed is set, the current speed is used.
At the start of the control process, the CCS regulates the vehicle to the current
speed, and this speed is shown on the instrument cluster display. The warning
light illuminates in the instrument cluster.
Automatic control interruption
Automatic control interruption occurs if any of the following conditions are met. ▶ The brake pedal is operated.
▶ When one of the brake assist systems (e.g. ESC) intervenes.
▶ Through an airbag deployment.
WARNING■ Always deactivate the cruise control system after use to prevent uninten-
tional switching on of the system.■
Control may only be resumed if the set speed is not too high for the cur-
rent traffic conditions.
149Assist systems
Page 152 of 268
NoteDuring control, speed can be increased by pressing the accelerator pedal. Re-
leasing the accelerator pedal will cause the speed to drop again to the set
speed.
Adaptive Cruise Control (ACC)
Introduction
This chapter contains information on the following subjects:
Operation
150
Automatic stop-start
151
Operation Overview
152
Start control
152
Stop/resume control
152
Set/change the desired speed
153
Set the clearance level
153
Special driving conditions
154
Information messages
155
The automatic distance control (hereinafter referred to as ACC) maintains the
set speed or the distance to the vehicle ahead without the accelerator or
brake pedal being pressed.
The front of the vehicle and the distance to the vehicle ahead is monitored by
a radar sensor » page 135.
The state in which the ACC maintains the speed or the proximity is described
as control from here on.
WARNING■
The general information relating to the use of assistance systems must
be observed » page 135, in section Introduction .■
The driver must always be ready to take over steering of the vehicle him-
self (accelerate or brake).
■
The ACC does not react when approaching a stationary obstacle, such as
traffic jams, vehicle breakdowns or vehicles waiting at a traffic light.
■
The ACC does not respond to crossing or oncoming objects.
■
If the ACC does not decelerate fast enough, immediately apply the vehi-
cle's foot brake.
WARNINGFor safety reasons, do not use the ACC under the following conditions.■When driving in turning lanes, motorway exits or construction sites, to
avoid an unwanted acceleration to the stored speed.■
When visibility is poor, (e.g. fog, heavy rain, thick snowfall).
■
When road conditions are poor (e.g. ice, slippery road, gravel, dirt road).
■
When driving around “sharp” bends.
■
When riding on a steep gradient / high slope.
■
When driving through places where metal objects (such as metal build-
ings, railroad tracks, etc.) can be found.
■
When driving through very divided and enclosed spaces (such as large-ca-
pacity garages, car ferries, tunnels and the like.).
Note
■ The ACC is designed primarily for use on motorways.■The ACC reduces the speed by automatically releasing the accelerator or by
means of a braking procedure as appropriate. If the brakes are used for an au-
tomatic speed reduction at any moments, then the brake light illuminates.■
In case of failure of more than one brake light on the vehicle or on the con-
nected trailer, the ACC becomes unavailable.
■
The control automatically cancels the engagement of the brake supportive
assistance systems (e.g. ESC) or when the maximum permitted engine speed is
exceeded.
Operation
Fig. 169
Display in the instrument cluster: Examples of ACC displays
150Driving