lights SKODA OCTAVIA 2016 3.G / (5E) Owner's Manual
[x] Cancel search | Manufacturer: SKODA, Model Year: 2016, Model line: OCTAVIA, Model: SKODA OCTAVIA 2016 3.G / (5E)Pages: 324, PDF Size: 48.85 MB
Page 4 of 324
Table of Contents
Liability for defects and ŠKODA Warranty for
new cars5
Printed Owner's Manual
7
Online Owner's Manual
8
Notes
9
Structure of the Owner's Manual and further
information
10
Abbreviations
Safety
Passive Safety
12
General information
12
Correct and safe seated position
12
Seat belts
15
Using seat belts
15
Inertia reel and belt pretensioners
17
Airbag system
18
Description of the airbag system
18
Airbag deactivation
21
Transporting children safely
22
Child seat
22
Fastening elements
25
Using the system
cockpit
29
Overview
28
Instruments and warning lights
30
Instrument cluster
30
Warning lights
32Information system41Driver information system41
Operation of the information system
43
Driving data (Multifunction display)
44
MAXI DOT display
46
Service interval display
48
SmartGate
48
Unlocking and opening
51
Unlocking and locking
51
Anti-theft alarm system
55
Manually operated tailgate
56
Electric boot lid
57
Window operation
59
Panoramic tilt / slide sunroof
61
Lights and visibility
64
Light
64
Interior lighting
69
Viisibility
70
Windscreen wipers and washers
72
Rear view mirror
73
Seats and head restraints
76
Front seats
76
Rear seats
79
Headrests
80
Seat heaters
81
Useful features
82
Interior fittings
82
Electrical sockets
90
Ashtray and cigarette lighter
91
Tablet holder
92
Transport of cargo
93
Luggage compartment and transporting
objects
93
Variable loading floor in the luggage
compartment (Estate)
100Net partition102Transport on the roof rack103
Heating and ventilation
104
Heating, manual air conditioning system,
Climatronic
104
Auxiliary heating (auxiliary heating and
ventilation)
108
Infotainment
Introductory information
112
Important information
112
Infotainment overview
113
Infotainment operation
116
Infotainment operation
116
Voice control
119
Software update
122
Infotainment settings - Columbus, Amundsen,
Bolero
122
Infotainment system settings
122
Radio menu settings
125
Media menu settings
126
Image menu settings
126
Video DVD menu settings
126
Telephone menu settings
126
SmartLink menu settings
128
Navigation menu settings
128
Infotainment settings - Swing
130
Infotainment system settings
130
Radio menu settings
131
Media menu settings
132
Telephone menu settings
132
Radio
133
Operation
1332Table of Contents
Page 14 of 324
Safety
Passive Safety
General information
Introduction
This chapter contains information on the following subjects:
Before setting off
12
Driving safety
12
In this section of the instructions you will find important information on the
subject of passive safety. We have combined everything here which you
should be familiar with, for example, regarding seat belts, airbags, safety of children and anything similar.
Other important safety information can also be found in the subsequent sec-
tions of this Owner's Manual. Therefore, the Owner's Manual should always be
kept in the vehicle.
Before setting off
For your own safety and the safety of the people travelling with you, please
pay attention to the following points before setting off.
▶ Check the lights and turn signal lights are functioning correctly.
▶ Check the wiper function and the wiper blades for wear. Check the wind-
screen washer fluid level.
▶ Ensure that all of the windows offer good visibility to the outside.
▶ Adjust the rear-view mirror so that vision to the rear is guaranteed. Ensure
that the mirrors are not covered.
▶ Check the tyre inflation pressure.
▶ Check the engine oil, brake fluid and coolant level.
▶ Secure all items of luggage.
▶ Do not exceed the permissible axle loads and permissible gross weight of the
vehicle.
▶ Close all doors as well as the bonnet and boot lid.
▶ Ensure that no objects can obstruct the pedals.
▶
Protect children using a suitable child seat » page 22, Transporting children
safely .
▶ Adopt the correct seated position. Tell your passengers to assume the cor-
rect seated position » page 12, Correct and safe seated position .
Driving safety
For safety in traffic, the following precautions must be observed. ▶ Do not become distracted from concentrating on the traffic situation, (e.g. by
your passengers or mobile phone calls).
▶ Never drive when your driving ability is impaired, (e.g. due to medication, al-
cohol, drugs or similar).
▶ Keep to the traffic regulations and the permissible speed limit.
▶ Always adjust the driving speed to the road, traffic and weather conditions.
▶ Take regular breaks on long journeys (at least every two hours).
Correct and safe seated position
Introduction
This chapter contains information on the following subjects:
Driver’s correct seated position
13
Adjusting the steering wheel position
13
Passenger’s correct seating position
14
Passengers’ correct seating position on the rear seats
14
Always assume the correct seated position before setting off and do not
change this position while driving. Also advise your passengers to adopt the
correct seated position and not to change this position while the car is moving.
The following list contains instructions for the Passenger which, if not ob-
served, may cause serious injuries or death. ▶ Do not lean against the dash panel.
▶ Do not put your feet on the dash panel.
The following list contains instructions for all Passengers which, if not ob-
served, may cause serious injuries or death.
▶ Do not sit only on the front area of the seat.
▶ Do not sit facing to one side.
▶ Do not lean out of the window.
▶ Do not put your limbs out of the window.
▶ Do not put your feet on the seat upholstery.
12Safety
Page 21 of 324
Airbag deploymentFig. 8
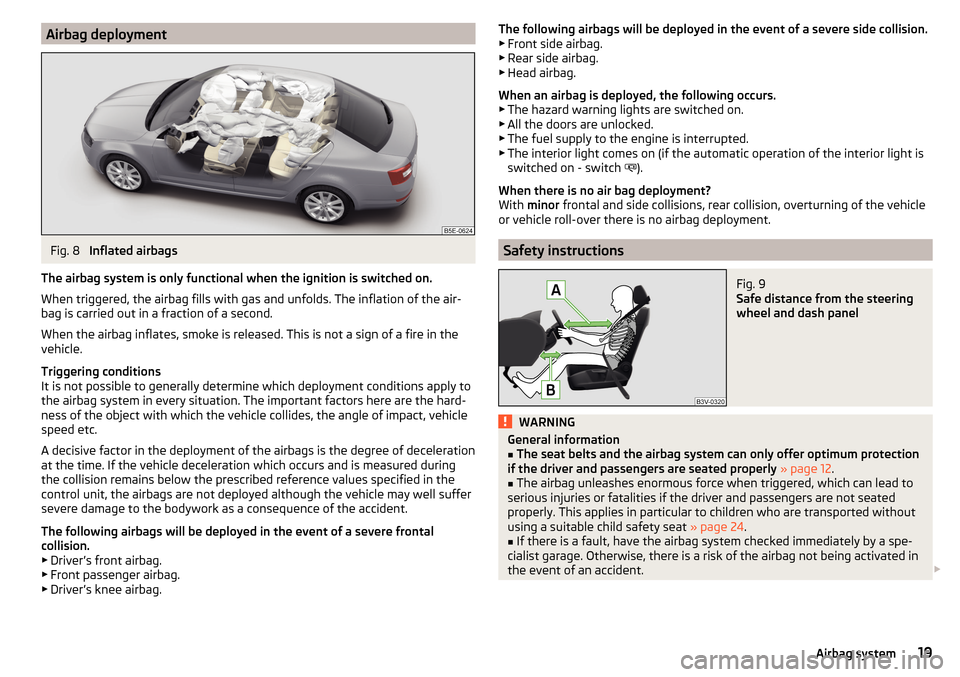
Inflated airbags
The airbag system is only functional when the ignition is switched on.
When triggered, the airbag fills with gas and unfolds. The inflation of the air- bag is carried out in a fraction of a second.
When the airbag inflates, smoke is released. This is not a sign of a fire in the
vehicle.
Triggering conditions
It is not possible to generally determine which deployment conditions apply to
the airbag system in every situation. The important factors here are the hard-
ness of the object with which the vehicle collides, the angle of impact, vehicle
speed etc.
A decisive factor in the deployment of the airbags is the degree of deceleration
at the time. If the vehicle deceleration which occurs and is measured during
the collision remains below the prescribed reference values specified in the
control unit, the airbags are not deployed although the vehicle may well suffer
severe damage to the bodywork as a consequence of the accident.
The following airbags will be deployed in the event of a severe frontal
collision.
▶ Driver’s front airbag.
▶ Front passenger airbag.
▶ Driver’s knee airbag.
The following airbags will be deployed in the event of a severe side collision.
▶ Front side airbag.
▶ Rear side airbag.
▶ Head airbag.
When an airbag is deployed, the following occurs.
▶ The hazard warning lights are switched on.
▶ All the doors are unlocked.
▶ The fuel supply to the engine is interrupted.
▶ The interior light comes on (if the automatic operation of the interior light is
switched on - switch
).
When there is no air bag deployment?
With minor frontal and side collisions, rear collision, overturning of the vehicle
or vehicle roll-over there is no airbag deployment.
Safety instructions
Fig. 9
Safe distance from the steering
wheel and dash panel
WARNINGGeneral information■The seat belts and the airbag system can only offer optimum protection
if the driver and passengers are seated properly » page 12 .■
The airbag unleashes enormous force when triggered, which can lead to
serious injuries or fatalities if the driver and passengers are not seated
properly. This applies in particular to children who are transported without
using a suitable child safety seat » page 24.
■
If there is a fault, have the airbag system checked immediately by a spe-
cialist garage. Otherwise, there is a risk of the airbag not being activated in
the event of an accident.
19Airbag system
Page 23 of 324
Airbag deactivation
Introduction
This chapter contains information on the following subjects:
Deactivating airbags
21
Deactivating the front passenger airbag
21
Deactivating airbags
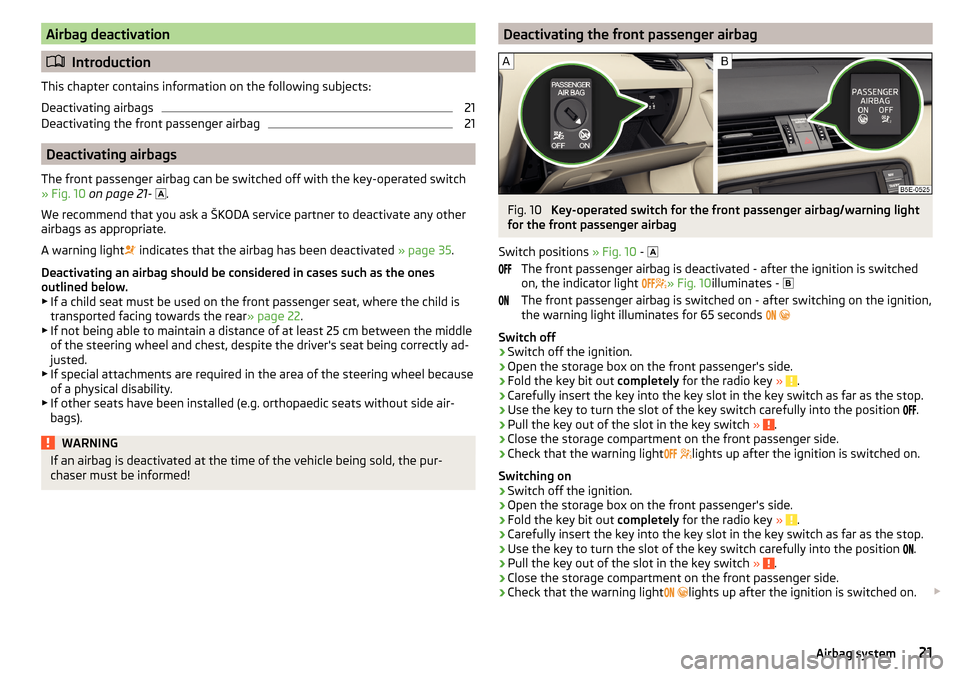
The front passenger airbag can be switched off with the key-operated switch
» Fig. 10 on page 21 -
.
We recommend that you ask a ŠKODA service partner to deactivate any other
airbags as appropriate.
A warning light indicates that the airbag has been deactivated
» page 35.
Deactivating an airbag should be considered in cases such as the ones
outlined below. ▶ If a child seat must be used on the front passenger seat, where the child is
transported facing towards the rear » page 22.
▶ If not being able to maintain a distance of at least 25 cm between the middle
of the steering wheel and chest, despite the driver's seat being correctly ad-
justed.
▶ If special attachments are required in the area of the steering wheel because
of a physical disability.
▶ If other seats have been installed (e.g. orthopaedic seats without side air-
bags).
WARNINGIf an airbag is deactivated at the time of the vehicle being sold, the pur-
chaser must be informed!Deactivating the front passenger airbagFig. 10
Key-operated switch for the front passenger airbag/warning light
for the front passenger airbag
Switch positions » Fig. 10 -
The front passenger airbag is deactivated - after the ignition is switched
on, the indicator light » Fig. 10
illuminates -
The front passenger airbag is switched on - after switching on the ignition,
the warning light illuminates for 65 seconds
Switch off
›
Switch off the ignition.
›
Open the storage box on the front passenger's side.
›
Fold the key bit out completely for the radio key » .
›
Carefully insert the key into the key slot in the key switch as far as the stop.
›
Use the key to turn the slot of the key switch carefully into the position
.
›
Pull the key out of the slot in the key switch
» .
›
Close the storage compartment on the front passenger side.
›
Check that the warning light
lights up after the ignition is switched on.
Switching on
›
Switch off the ignition.
›
Open the storage box on the front passenger's side.
›
Fold the key bit out completely for the radio key » .
›
Carefully insert the key into the key slot in the key switch as far as the stop.
›
Use the key to turn the slot of the key switch carefully into the position
.
›
Pull the key out of the slot in the key switch
» .
›
Close the storage compartment on the front passenger side.
›
Check that the warning light
lights up after the ignition is switched on.
21Airbag system
Page 24 of 324
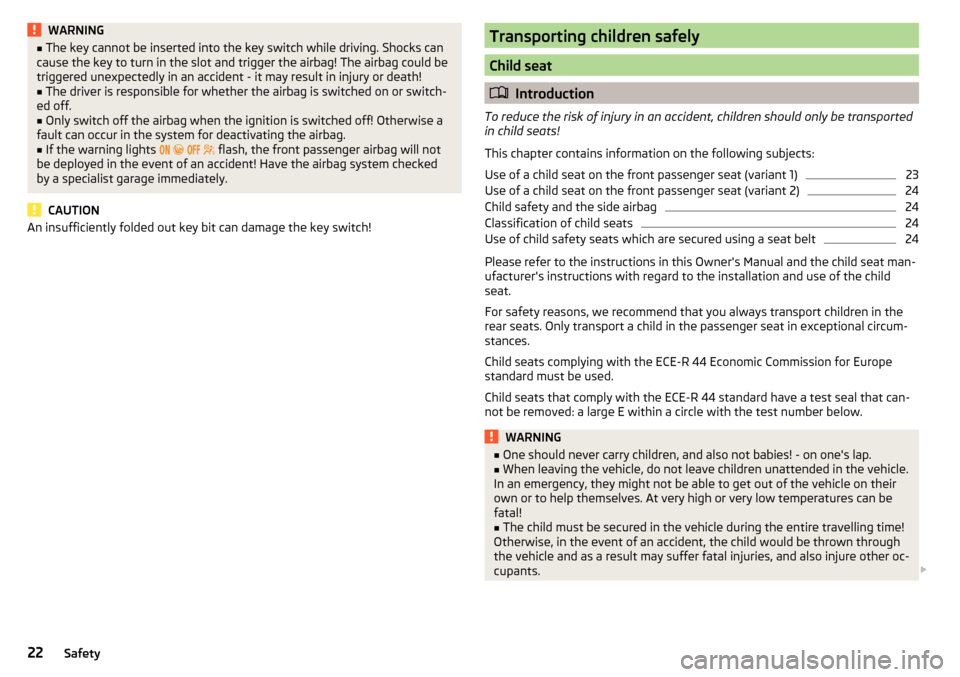
WARNING■The key cannot be inserted into the key switch while driving. Shocks can
cause the key to turn in the slot and trigger the airbag! The airbag could be
triggered unexpectedly in an accident - it may result in injury or death!■
The driver is responsible for whether the airbag is switched on or switch-
ed off.
■
Only switch off the airbag when the ignition is switched off! Otherwise a
fault can occur in the system for deactivating the airbag.
■
If the warning lights
flash, the front passenger airbag will not
be deployed in the event of an accident! Have the airbag system checked
by a specialist garage immediately.
CAUTION
An insufficiently folded out key bit can damage the key switch!Transporting children safely
Child seat
Introduction
To reduce the risk of injury in an accident, children should only be transported
in child seats!
This chapter contains information on the following subjects:
Use of a child seat on the front passenger seat (variant 1)
23
Use of a child seat on the front passenger seat (variant 2)
24
Child safety and the side airbag
24
Classification of child seats
24
Use of child safety seats which are secured using a seat belt
24
Please refer to the instructions in this Owner's Manual and the child seat man-
ufacturer's instructions with regard to the installation and use of the child
seat.
For safety reasons, we recommend that you always transport children in the
rear seats. Only transport a child in the passenger seat in exceptional circum-
stances.
Child seats complying with the ECE-R 44 Economic Commission for Europe
standard must be used.
Child seats that comply with the ECE-R 44 standard have a test seal that can-
not be removed: a large E within a circle with the test number below.
WARNING■ One should never carry children, and also not babies! - on one's lap.■When leaving the vehicle, do not leave children unattended in the vehicle.
In an emergency, they might not be able to get out of the vehicle on their
own or to help themselves. At very high or very low temperatures can be
fatal!■
The child must be secured in the vehicle during the entire travelling time!
Otherwise, in the event of an accident, the child would be thrown through
the vehicle and as a result may suffer fatal injuries, and also injure other oc-
cupants.
22Safety
Page 32 of 324
Instruments and warning lights
Instrument cluster
Introduction
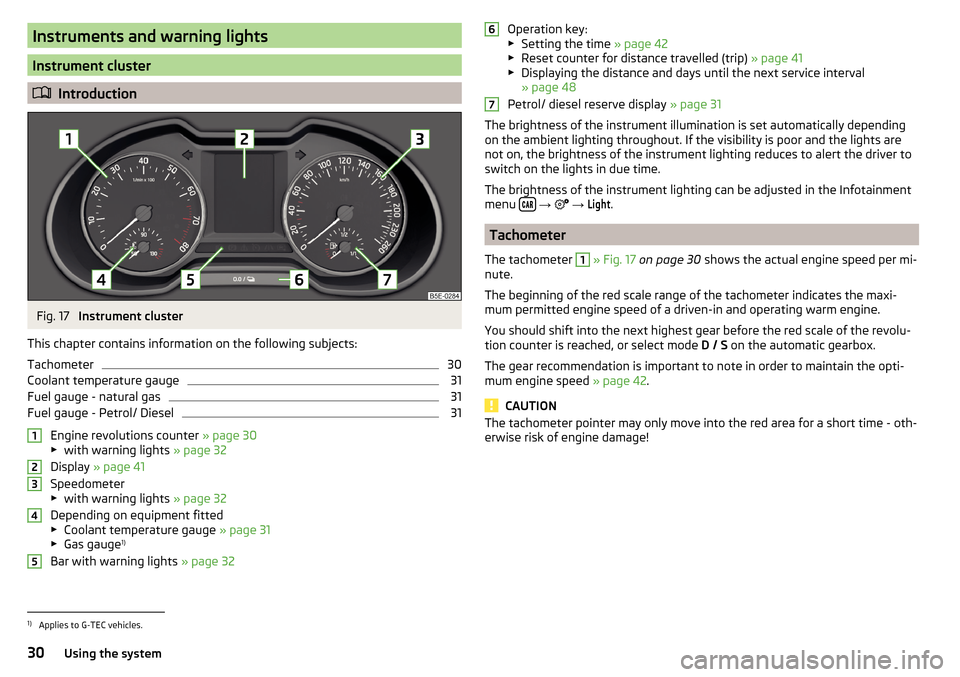
Fig. 17
Instrument cluster
This chapter contains information on the following subjects:
Tachometer
30
Coolant temperature gauge
31
Fuel gauge - natural gas
31
Fuel gauge - Petrol/ Diesel
31
Engine revolutions counter » page 30
▶ with warning lights » page 32
Display » page 41
Speedometer
▶ with warning lights » page 32
Depending on equipment fitted ▶ Coolant temperature gauge » page 31
▶ Gas gauge 1)
Bar with warning lights » page 32
12345Operation key:
▶ Setting the time » page 42
▶ Reset counter for distance travelled (trip) » page 41
▶ Displaying the distance and days until the next service interval
» page 48
Petrol/ diesel reserve display » page 31
The brightness of the instrument illumination is set automatically depending on the ambient lighting throughout. If the visibility is poor and the lights are
not on, the brightness of the instrument lighting reduces to alert the driver to
switch on the lights in due time.
The brightness of the instrument lighting can be adjusted in the Infotainment
menu
→
→
Light
.
Tachometer
The tachometer
1
» Fig. 17 on page 30 shows the actual engine speed per mi-
nute.
The beginning of the red scale range of the tachometer indicates the maxi-
mum permitted engine speed of a driven-in and operating warm engine.
You should shift into the next highest gear before the red scale of the revolu- tion counter is reached, or select mode D / S on the automatic gearbox.
The gear recommendation is important to note in order to maintain the opti-
mum engine speed » page 42.
CAUTION
The tachometer pointer may only move into the red area for a short time - oth-
erwise risk of engine damage!671)
Applies to G-TEC vehicles.
30Using the system
Page 33 of 324
Coolant temperature gaugeFig. 18
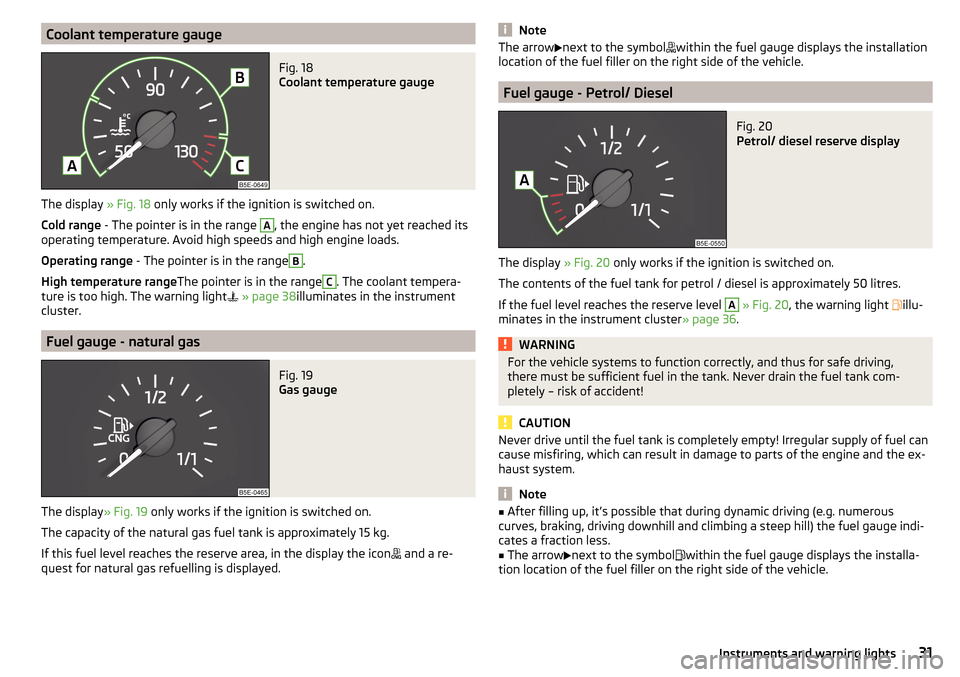
Coolant temperature gauge
The display » Fig. 18 only works if the ignition is switched on.
Cold range - The pointer is in the range
A
, the engine has not yet reached its
operating temperature. Avoid high speeds and high engine loads.
Operating range - The pointer is in the range
B
.
High temperature range The pointer is in the range
C
. The coolant tempera-
ture is too high. The warning light
» page 38 illuminates in the instrument
cluster.
Fuel gauge - natural gas
Fig. 19
Gas gauge
The display » Fig. 19 only works if the ignition is switched on.
The capacity of the natural gas fuel tank is approximately 15 kg.
If this fuel level reaches the reserve area, in the display the icon and a re-
quest for natural gas refuelling is displayed.
NoteThe arrow next to the symbol within the fuel gauge displays the installation
location of the fuel filler on the right side of the vehicle.
Fuel gauge - Petrol/ Diesel
Fig. 20
Petrol/ diesel reserve display
The display » Fig. 20 only works if the ignition is switched on.
The contents of the fuel tank for petrol / diesel is approximately 50 litres.
If the fuel level reaches the reserve level
A
» Fig. 20 , the warning light
illu-
minates in the instrument cluster » page 36.
WARNINGFor the vehicle systems to function correctly, and thus for safe driving,
there must be sufficient fuel in the tank. Never drain the fuel tank com-
pletely – risk of accident!
CAUTION
Never drive until the fuel tank is completely empty! Irregular supply of fuel can
cause misfiring, which can result in damage to parts of the engine and the ex-
haust system.
Note
■ After filling up, it’s possible that during dynamic driving (e.g. numerous
curves, braking, driving downhill and climbing a steep hill) the fuel gauge indi-
cates a fraction less.■
The arrow
next to the symbol
within the fuel gauge displays the installa-
tion location of the fuel filler on the right side of the vehicle.
31Instruments and warning lights
Page 34 of 324
Warning lights
Introduction
This chapter contains information on the following subjects:
Handbrake
33
Braking system
33
Front seat belt warning light
33
Adaptive cruise control (ACC)
33
Power steering / steering lock (KESSY system)
33
Stability control (ESC) / Traction control (TCS)
34
Traction control (TCS) disabled
34
Anti-lock braking system (ABS)
34
Rear fog light
34
Emission control system
35
Preheating unit (diesel)
35
EPC warning light (petrol)
35
Safety systems
35
Tyre pressure
35
Brake linings
36
Low fuel - petrol / diesel
36
Lane assist (Lane Assist)
36
Turn signal system
36
Trailer turn signal lights
36
Fog lights
37
Cruise control
37
Brake pedal (automatic gearbox)
37
Natural gas operation
37
Main beam
37
Automatic gearbox
37
Rear seat belt warning light
37
Generator
37
Coolant
38
Engine oil pressure
38
Engine oil level
38
Lamp failure
39
Diesel particle filter (diesel)
39
Windscreen washer fluid level39High beam assistant39
START-STOPsystem
39
Display a low temperature
39
Water in the fuel filter (diesel)
40
Adaptive cruise control (ACC)
40
Distance warning (Front Assist)
40
Front assist
40
OFF ROAD mode
40
Adaptive Chassis Control (DCC)
40
Service
40
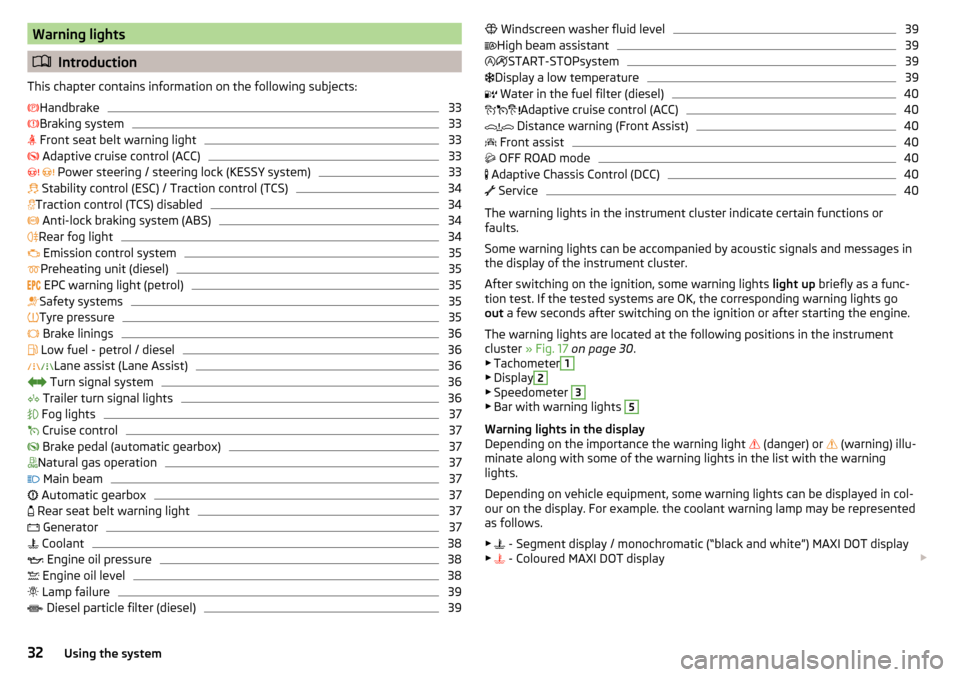
The warning lights in the instrument cluster indicate certain functions or
faults.
Some warning lights can be accompanied by acoustic signals and messages in
the display of the instrument cluster.
After switching on the ignition, some warning lights light up briefly as a func-
tion test. If the tested systems are OK, the corresponding warning lights go
out a few seconds after switching on the ignition or after starting the engine.
The warning lights are located at the following positions in the instrument
cluster » Fig. 17 on page 30 .
▶ Tachometer
1
▶Display
2
▶Speedometer
3
▶Bar with warning lights
5
Warning lights in the display
Depending on the importance the warning light (danger) or
(warning) illu-
minate along with some of the warning lights in the list with the warning
lights.
Depending on vehicle equipment, some warning lights can be displayed in col-
our on the display. For example. the coolant warning lamp may be represented
as follows.
▶ - Segment display / monochromatic (“black and white”) MAXI DOT display
▶ - Coloured MAXI DOT display
32Using the system
Page 35 of 324
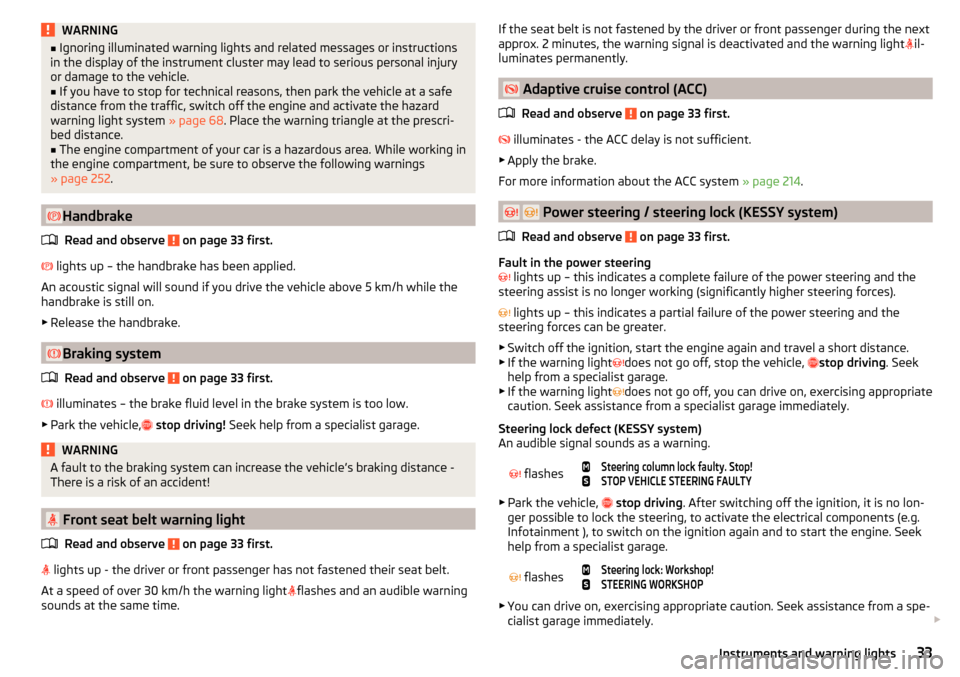
WARNING■Ignoring illuminated warning lights and related messages or instructions
in the display of the instrument cluster may lead to serious personal injury
or damage to the vehicle.■
If you have to stop for technical reasons, then park the vehicle at a safe
distance from the traffic, switch off the engine and activate the hazard
warning light system » page 68. Place the warning triangle at the prescri-
bed distance.
■
The engine compartment of your car is a hazardous area. While working in
the engine compartment, be sure to observe the following warnings
» page 252 .
Handbrake
Read and observe
on page 33 first.
lights up – the handbrake has been applied.
An acoustic signal will sound if you drive the vehicle above 5 km/h while the
handbrake is still on.
▶ Release the handbrake.
Braking system
Read and observe
on page 33 first.
illuminates – the brake fluid level in the brake system is too low.
▶ Park the vehicle,
stop driving! Seek help from a specialist garage.
WARNINGA fault to the braking system can increase the vehicle’s braking distance -
There is a risk of an accident!
Front seat belt warning light
Read and observe
on page 33 first.
lights up - the driver or front passenger has not fastened their seat belt.
At a speed of over 30 km/h the warning light
flashes and an audible warning
sounds at the same time.
If the seat belt is not fastened by the driver or front passenger during the next
approx. 2 minutes, the warning signal is deactivated and the warning light il-
luminates permanently.
Adaptive cruise control (ACC)
Read and observe
on page 33 first.
illuminates - the ACC delay is not sufficient.
▶ Apply the brake.
For more information about the ACC system » page 214.
Power steering / steering lock (KESSY system)
Read and observe
on page 33 first.
Fault in the power steering
lights up – this indicates a complete failure of the power steering and the
steering assist is no longer working (significantly higher steering forces).
lights up – this indicates a partial failure of the power steering and the
steering forces can be greater.
▶ Switch off the ignition, start the engine again and travel a short distance.
▶ If the warning light does not go off, stop the vehicle,
stop driving
. Seek
help from a specialist garage.
▶ If the warning light does not go off, you can drive on, exercising appropriate
caution. Seek assistance from a specialist garage immediately.
Steering lock defect (KESSY system)
An audible signal sounds as a warning.
flashes
Steering column lock faulty. Stop!STOP VEHICLE STEERING FAULTY
▶ Park the vehicle,
stop driving . After switching off the ignition, it is no lon-
ger possible to lock the steering, to activate the electrical components (e.g.
Infotainment ), to switch on the ignition again and to start the engine. Seek
help from a specialist garage.
flashes
Steering lock: Workshop!STEERING WORKSHOP
▶ You can drive on, exercising appropriate caution. Seek assistance from a spe-
cialist garage immediately.
33Instruments and warning lights
Page 36 of 324
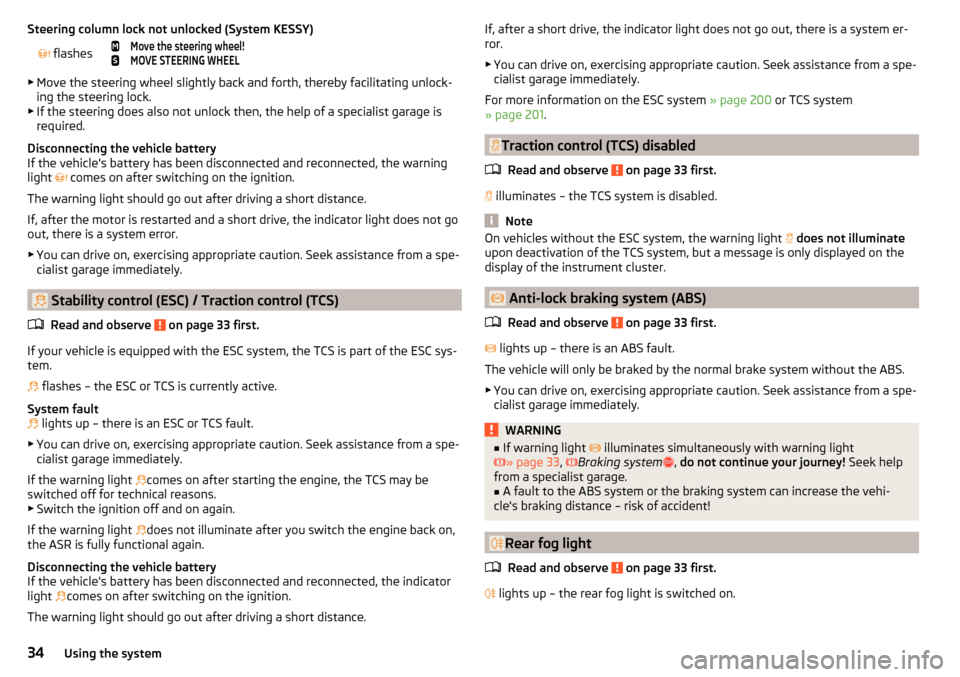
Steering column lock not unlocked (System KESSY) flashes
Move the steering wheel!MOVE STEERING WHEEL
▶ Move the steering wheel slightly back and forth, thereby facilitating unlock-
ing the steering lock.
▶ If the steering does also not unlock then, the help of a specialist garage is
required.
Disconnecting the vehicle battery
If the vehicle's battery has been disconnected and reconnected, the warning
light
comes on after switching on the ignition.
The warning light should go out after driving a short distance.
If, after the motor is restarted and a short drive, the indicator light does not go
out, there is a system error.
▶ You can drive on, exercising appropriate caution. Seek assistance from a spe-
cialist garage immediately.
Stability control (ESC) / Traction control (TCS)
Read and observe
on page 33 first.
If your vehicle is equipped with the ESC system, the TCS is part of the ESC sys-
tem.
flashes – the ESC or TCS is currently active.
System fault
lights up – there is an ESC or TCS fault.
▶ You can drive on, exercising appropriate caution. Seek assistance from a spe-
cialist garage immediately.
If the warning light comes on after starting the engine, the TCS may be
switched off for technical reasons. ▶ Switch the ignition off and on again.
If the warning light does not illuminate after you switch the engine back on,
the ASR is fully functional again.
Disconnecting the vehicle battery
If the vehicle's battery has been disconnected and reconnected, the indicator
light comes on after switching on the ignition.
The warning light should go out after driving a short distance.
If, after a short drive, the indicator light does not go out, there is a system er-
ror.
▶ You can drive on, exercising appropriate caution. Seek assistance from a spe-
cialist garage immediately.
For more information on the ESC system » page 200 or TCS system
» page 201 .
Traction control (TCS) disabled
Read and observe
on page 33 first.
illuminates – the TCS system is disabled.
Note
On vehicles without the ESC system, the warning light
does not illuminate
upon deactivation of the TCS system, but a message is only displayed on the
display of the instrument cluster.
Anti-lock braking system (ABS)
Read and observe
on page 33 first.
lights up – there is an ABS fault.
The vehicle will only be braked by the normal brake system without the ABS.
▶ You can drive on, exercising appropriate caution. Seek assistance from a spe-
cialist garage immediately.
WARNING■ If warning light illuminates simultaneously with warning light
» page 33 , Braking system , do not continue your journey! Seek help
from a specialist garage.■
A fault to the ABS system or the braking system can increase the vehi-
cle's braking distance – risk of accident!
Rear fog light
Read and observe
on page 33 first.
lights up – the rear fog light is switched on.
34Using the system