ignition SKODA RAPID 2016 1.G Blues Infotainment System Navigation Manual
[x] Cancel search | Manufacturer: SKODA, Model Year: 2016, Model line: RAPID, Model: SKODA RAPID 2016 1.GPages: 24, PDF Size: 1.71 MB
Page 9 of 24

Switching the unit on/off
Manual Power On/Off›
Press to switch the device on or off.
Automatic Power On of the device
If the device was not turned switched off using the
button before the igni-
tion was turned off, this will automatically switch on after the ignition has
been switched on.
Automatic Power Off of the device
If the vehicle key is pulled out of the ignition lock while the unit is switched on,
the device will switch off automatically.
If the vehicle is fitted with the starter button, the device will switch off auto-
matically after the engine is switched off and the door is opened.
With the ignition off, the device will automatically turn off after about 30 mi-
nutes.
The device can turn off automatically (under certain circumstances, in order to
protect it against the vehicle battery being discharged or for the protection of
the device).
The unit will inform you by one of the following messages on the display. ▶
Low batt.
- Vehicle battery almost empty
▶
Temp high
, - Device temperature is too high
▶
Temp low
- Device temperature is too low
Setting volume
Every change in volume is shown on the display.
Increase volume
›
Turn rotary switch
1
to the right.
Decrease volume
›
Turn rotary switch
1
to the left.
Muting
›
Adjust the volume using rotary switch
1
to the left to 0.
The symbol appears in the display when the sound is muted .
If at the time of muting a sound is made in the menu Media, then the playback
is interrupted (pause) 1)
.
CAUTION
If the volume is too high sound resonance can occur in the vehicle which can
lead to damaged speakers.
Settings
Introduction
This chapter contains information on the following subjects: Display
8
Set the desired value
8
Sound settings
8
Device settings
8
This chapter deals with the manner of operation and the settings options of
the device.
Individual menu items for setting the unit can be accessed by pressing one of
the buttons below.
Tone settings » page 8
Unit set-up » page 8
Mode settings Radio » page 10 or Media » page 14
Note
Depending on the equipment, the device can be operated with the operating
lever or via the buttons on the multifunction steering wheel. Additional infor-
mation » Operating Instructions .1)
Does not apply to AUX.
7Introductory information
Page 10 of 24

DisplayFig. 3
Settings - Display
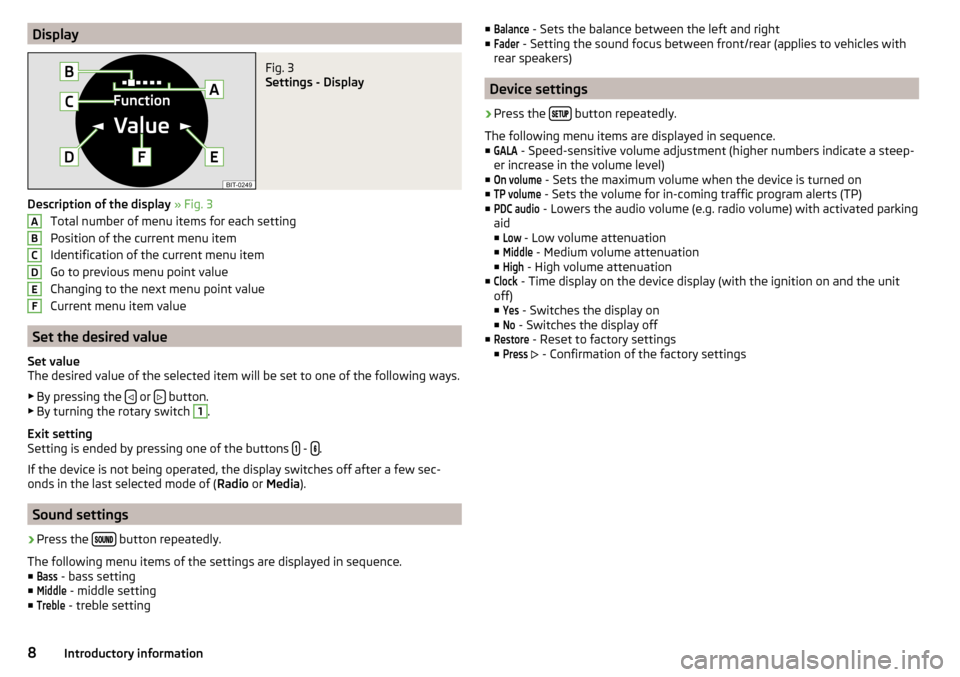
Description of the display » Fig. 3
Total number of menu items for each setting
Position of the current menu item
Identification of the current menu item
Go to previous menu point value
Changing to the next menu point value
Current menu item value
Set the desired value
Set value
The desired value of the selected item will be set to one of the following ways.
▶ By pressing the
or button.
▶ By turning the rotary switch
1
.
Exit setting
Setting is ended by pressing one of the buttons
- .
If the device is not being operated, the display switches off after a few sec-
onds in the last selected mode of ( Radio or Media ).
Sound settings
›
Press the button repeatedly.
The following menu items of the settings are displayed in sequence. ■
Bass
- bass setting
■
Middle
- middle setting
■
Treble
- treble setting
ABCDEF■Balance - Sets the balance between the left and right
■Fader
- Setting the sound focus between front/rear (applies to vehicles with
rear speakers)
Device settings
›
Press the button repeatedly.
The following menu items are displayed in sequence.
■
GALA
- Speed-sensitive volume adjustment (higher numbers indicate a steep-
er increase in the volume level)
■
On volume
- Sets the maximum volume when the device is turned on
■
TP volume
- Sets the volume for in-coming traffic program alerts (TP)
■
PDC audio
- Lowers the audio volume (e.g. radio volume) with activated parking
aid
■
Low
- Low volume attenuation
■
Middle
- Medium volume attenuation
■
High
- High volume attenuation
■
Clock
- Time display on the device display (with the ignition on and the unit
off)
■
Yes
- Switches the display on
■
No
- Switches the display off
■
Restore
- Reset to factory settings
■
Press
- Confirmation of the factory settings
8Introductory information
Page 15 of 24

The device can be connected to the audio sources connected to recognise
max. 1024 directories and play max. 6500 files. The device can play a max 1024
files from a directory.
SD-card
Fig. 6
Blues - Insert the SD card
Read and observe and on page 12 first.
The SD card slot is located on the front of the device » page 6.
Insert the SD card
›
Push the SD card into the available slot with the cut edge to the front right
until it “locks into place”.
Playback starts automatically.
Remove the SD card
›
Press on the inserted SD memory card.
The SD card “jumps” into the eject position.
CAUTION
When using an SD card with an adapter, vehicle vibrations might cause the
card to fall out of the adapter.USB inputFig. 7
Blues - USB input
Read and observe and on page 12 first.
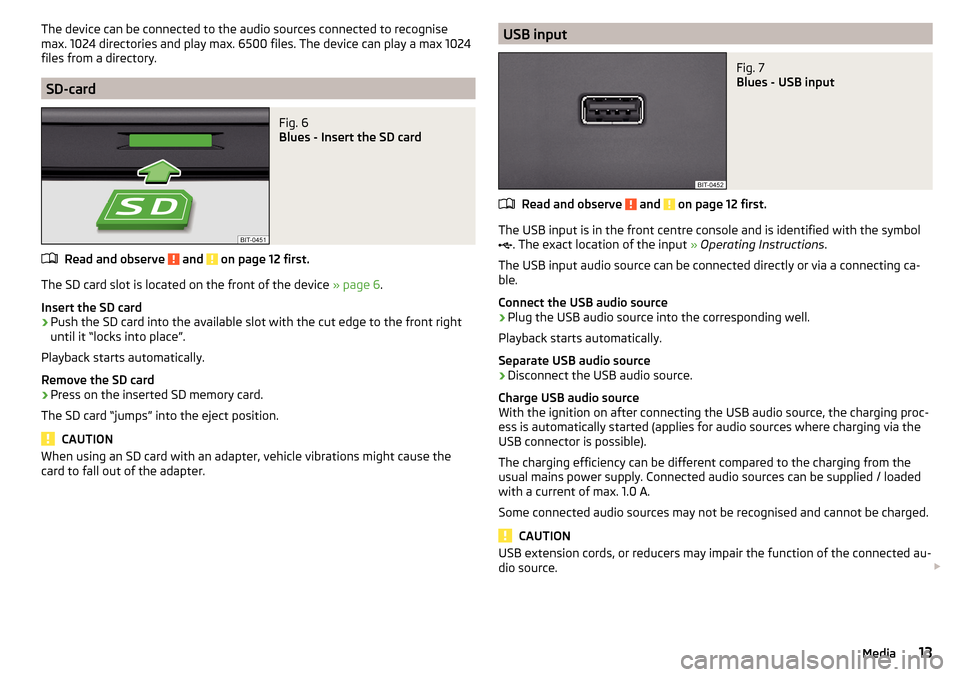
The USB input is in the front centre console and is identified with the symbol
. The exact location of the input
» Operating Instructions .
The USB input audio source can be connected directly or via a connecting ca-
ble.
Connect the USB audio source
›
Plug the USB audio source into the corresponding well.
Playback starts automatically.
Separate USB audio source
›
Disconnect the USB audio source.
Charge USB audio source
With the ignition on after connecting the USB audio source, the charging proc-
ess is automatically started (applies for audio sources where charging via the
USB connector is possible).
The charging efficiency can be different compared to the charging from the
usual mains power supply. Connected audio sources can be supplied / loaded
with a current of max. 1.0 A.
Some connected audio sources may not be recognised and cannot be charged.
CAUTION
USB extension cords, or reducers may impair the function of the connected au-
dio source. 13Media