radio SKODA RAPID SPACEBACK 2016 1.G Blues Infotainment System Navigation Manual
[x] Cancel search | Manufacturer: SKODA, Model Year: 2016, Model line: RAPID SPACEBACK, Model: SKODA RAPID SPACEBACK 2016 1.GPages: 24, PDF Size: 1.71 MB
Page 4 of 24
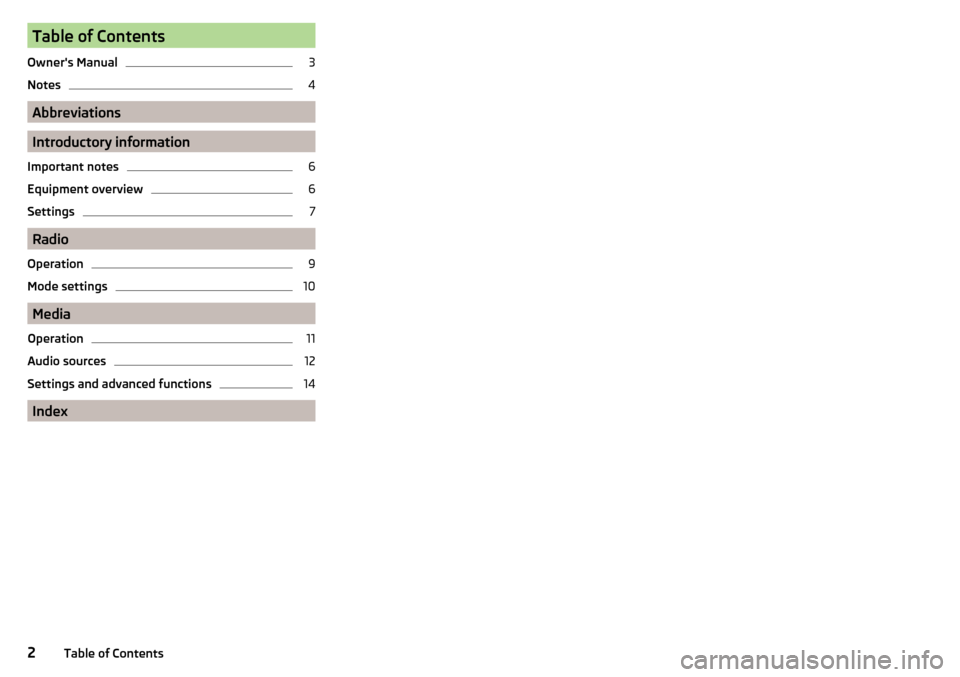
Table of Contents
Owner's Manual3
Notes
4
Abbreviations
Introductory information
Important notes
6
Equipment overview
6
Settings
7
Radio
Operation
9
Mode settings
10
Media
Operation
11
Audio sources
12
Settings and advanced functions
14
Index
2Table of Contents
Page 5 of 24
Owner's Manual
The availability of some features described in this manual depends on the type of external devices (for example, phone, music player, etc..).
The Images in these Operating Instructions are for illustrative purposes only.
The illustrations can differ in minor details from your vehicle; they are only in-
tended to provide general information.
ŠKODA AUTO a.s. pursues a policy of ongoing product and model development
with all vehicles. Changes in terms of supply scope are possible at any time
with regard to design, equipment and technology. The information listed in
these Operating Instructions corresponds to the information available at the
time of going to press.
It is therefore not possible for legal claims to be made based on the technical
data, illustrations and information contained in these Operating Instructions.
Declaration of conformity
ŠKODA AUTO a.s. hereby declares that the ŠKODA Infotainment systems meet
the basic requirements and additional provisions of Directive 1999/5/EC with
reference to radio equipment and telecommunications devices.3Owner's Manual
Page 6 of 24
Notes
Structure of these Operating Instructions
The Operating Instructions are hierarchically divided into the following areas.
■ Main chapters (e.g. Radio) - the title of the main chapter is always indicated
at the lower right side ■ Chapter (e.g. Operation)
■ Introduction to the topic - Module overview within the chapter, intro-
ductory information about the chapter content, if necessary, applies to all
chapter notes
■ Module (e.g. Select frequency range)
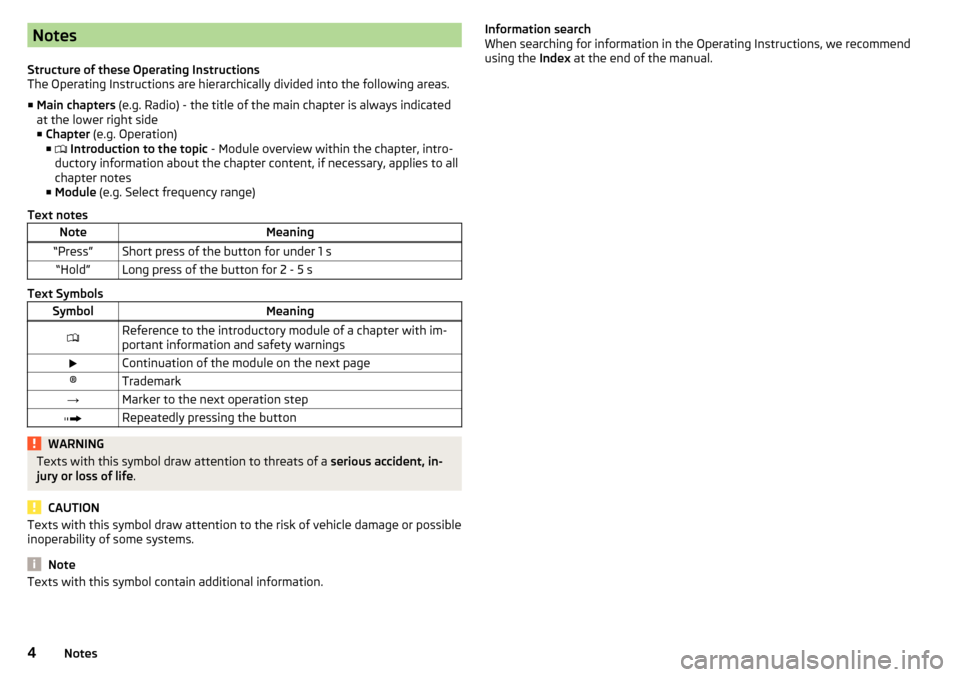
Text notesNoteMeaning“Press”Short press of the button for under 1 s“Hold”Long press of the button for 2 - 5 s
Text Symbols
SymbolMeaningReference to the introductory module of a chapter with im-
portant information and safety warningsContinuation of the module on the next page®Trademark→Marker to the next operation stepRepeatedly pressing the buttonWARNINGTexts with this symbol draw attention to threats of a serious accident, in-
jury or loss of life .
CAUTION
Texts with this symbol draw attention to the risk of vehicle damage or possible
inoperability of some systems.
Note
Texts with this symbol contain additional information.Information search
When searching for information in the Operating Instructions, we recommend
using the Index at the end of the manual.4Notes
Page 7 of 24
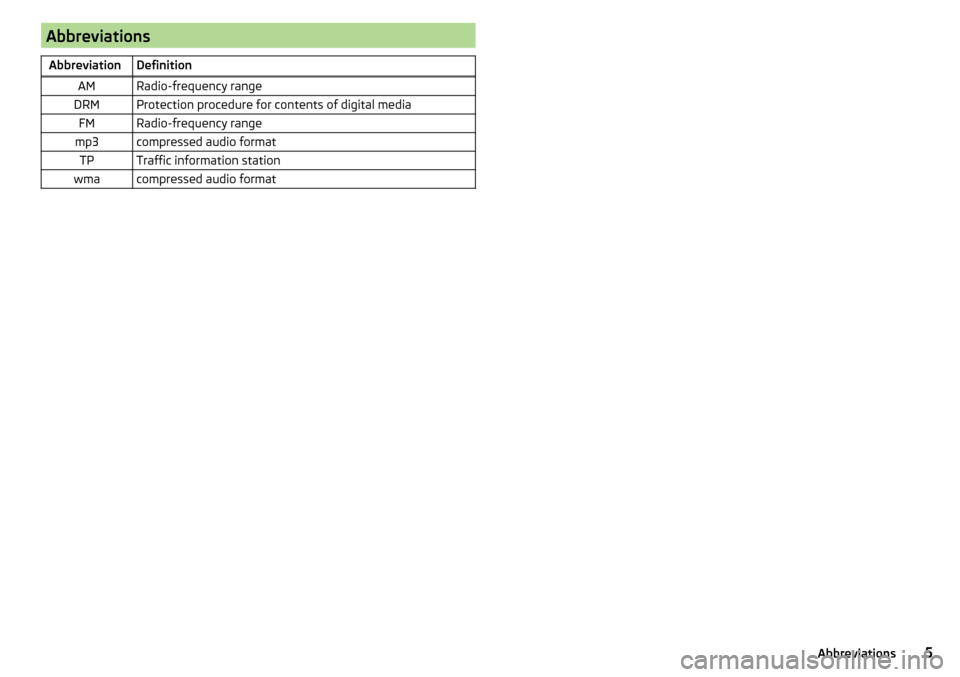
AbbreviationsAbbreviationDefinitionAMRadio-frequency rangeDRMProtection procedure for contents of digital mediaFMRadio-frequency rangemp3compressed audio formatTPTraffic information stationwmacompressed audio format5Abbreviations
Page 8 of 24
Introductory information
Important notes
Introduction
WARNING■
Concentrate fully at all times on your driving! As the driver you are fully
responsible for the operation of your vehicle.■
Only use the unit in a way that leaves you in full control of your vehicle in
every traffic situation – there is the risk of an accident!
■
Adjust the volume to ensure that acoustic signals from outside the vehi-
cle, e.g. sirens from emerging vehicles instructing you to give way to, such
as the police, ambulance and fire brigade, can be heard at all times.
■
High volumes can cause hearing damage!
Equipment overview
Introduction
This chapter contains information on the following subjects: Description of device
6
Switching the unit on/off
7
Setting volume
7
This chapter covers the device, the switching on and off and volume control of
the device.
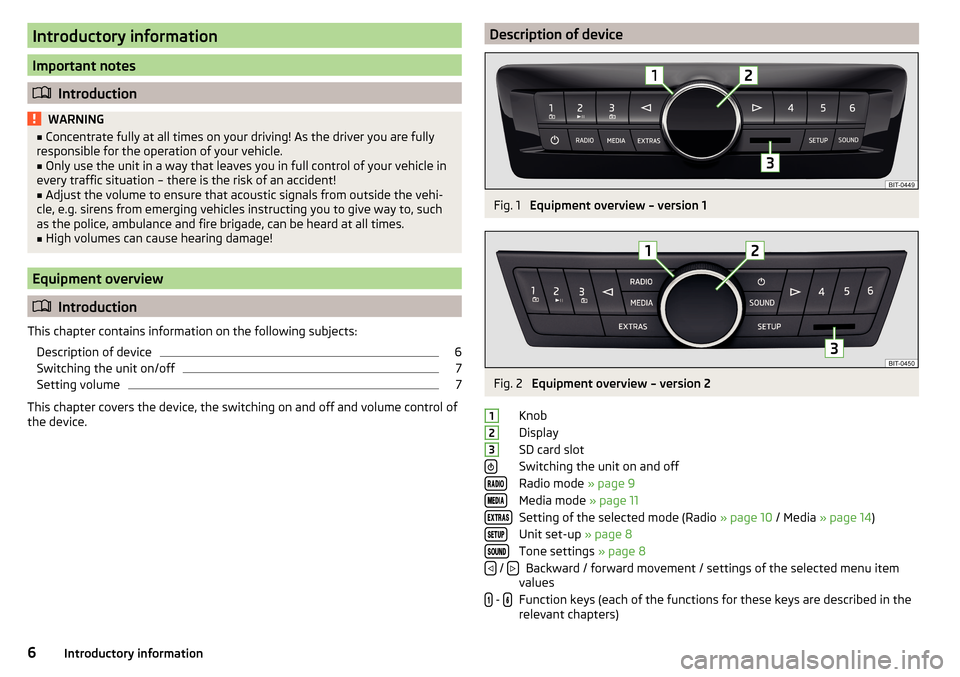
Description of deviceFig. 1
Equipment overview – version 1
Fig. 2
Equipment overview – version 2
Knob
Display
SD card slot
Switching the unit on and off
Radio mode » page 9
Media mode » page 11
Setting of the selected mode (Radio » page 10 / Media » page 14 )
Unit set-up » page 8
Tone settings » page 8
Backward / forward movement / settings of the selected menu item
values
Function keys (each of the functions for these keys are described in the relevant chapters)
123 / - 6Introductory information
Page 9 of 24
Switching the unit on/off
Manual Power On/Off›
Press to switch the device on or off.
Automatic Power On of the device
If the device was not turned switched off using the
button before the igni-
tion was turned off, this will automatically switch on after the ignition has
been switched on.
Automatic Power Off of the device
If the vehicle key is pulled out of the ignition lock while the unit is switched on,
the device will switch off automatically.
If the vehicle is fitted with the starter button, the device will switch off auto-
matically after the engine is switched off and the door is opened.
With the ignition off, the device will automatically turn off after about 30 mi-
nutes.
The device can turn off automatically (under certain circumstances, in order to
protect it against the vehicle battery being discharged or for the protection of
the device).
The unit will inform you by one of the following messages on the display. ▶
Low batt.
- Vehicle battery almost empty
▶
Temp high
, - Device temperature is too high
▶
Temp low
- Device temperature is too low
Setting volume
Every change in volume is shown on the display.
Increase volume
›
Turn rotary switch
1
to the right.
Decrease volume
›
Turn rotary switch
1
to the left.
Muting
›
Adjust the volume using rotary switch
1
to the left to 0.
The symbol appears in the display when the sound is muted .
If at the time of muting a sound is made in the menu Media, then the playback
is interrupted (pause) 1)
.
CAUTION
If the volume is too high sound resonance can occur in the vehicle which can
lead to damaged speakers.
Settings
Introduction
This chapter contains information on the following subjects: Display
8
Set the desired value
8
Sound settings
8
Device settings
8
This chapter deals with the manner of operation and the settings options of
the device.
Individual menu items for setting the unit can be accessed by pressing one of
the buttons below.
Tone settings » page 8
Unit set-up » page 8
Mode settings Radio » page 10 or Media » page 14
Note
Depending on the equipment, the device can be operated with the operating
lever or via the buttons on the multifunction steering wheel. Additional infor-
mation » Operating Instructions .1)
Does not apply to AUX.
7Introductory information
Page 10 of 24
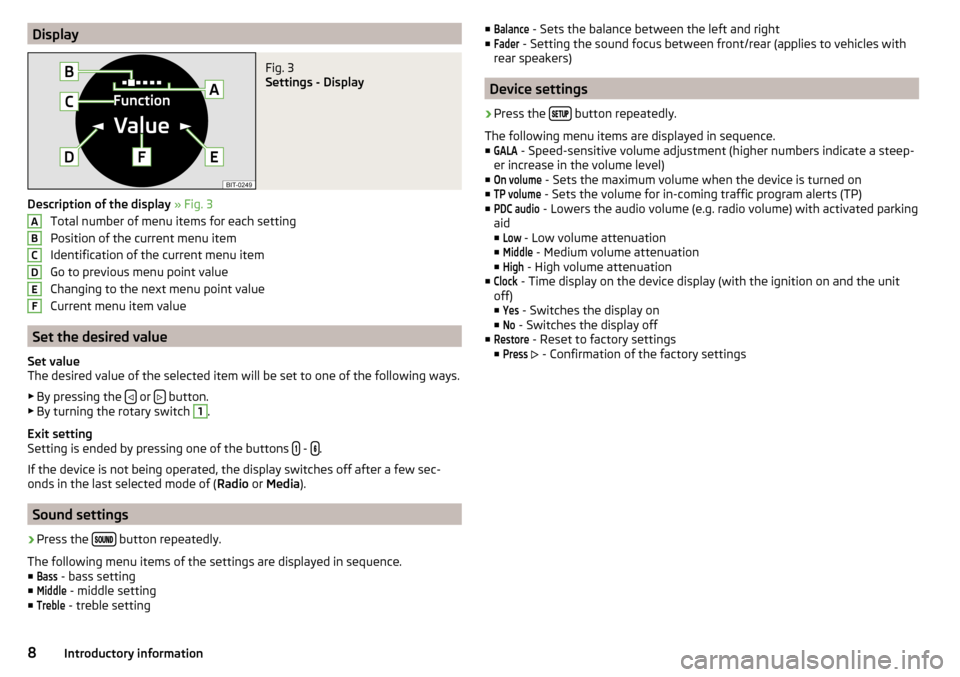
DisplayFig. 3
Settings - Display
Description of the display » Fig. 3
Total number of menu items for each setting
Position of the current menu item
Identification of the current menu item
Go to previous menu point value
Changing to the next menu point value
Current menu item value
Set the desired value
Set value
The desired value of the selected item will be set to one of the following ways.
▶ By pressing the
or button.
▶ By turning the rotary switch
1
.
Exit setting
Setting is ended by pressing one of the buttons
- .
If the device is not being operated, the display switches off after a few sec-
onds in the last selected mode of ( Radio or Media ).
Sound settings
›
Press the button repeatedly.
The following menu items of the settings are displayed in sequence. ■
Bass
- bass setting
■
Middle
- middle setting
■
Treble
- treble setting
ABCDEF■Balance - Sets the balance between the left and right
■Fader
- Setting the sound focus between front/rear (applies to vehicles with
rear speakers)
Device settings
›
Press the button repeatedly.
The following menu items are displayed in sequence.
■
GALA
- Speed-sensitive volume adjustment (higher numbers indicate a steep-
er increase in the volume level)
■
On volume
- Sets the maximum volume when the device is turned on
■
TP volume
- Sets the volume for in-coming traffic program alerts (TP)
■
PDC audio
- Lowers the audio volume (e.g. radio volume) with activated parking
aid
■
Low
- Low volume attenuation
■
Middle
- Medium volume attenuation
■
High
- High volume attenuation
■
Clock
- Time display on the device display (with the ignition on and the unit
off)
■
Yes
- Switches the display on
■
No
- Switches the display off
■
Restore
- Reset to factory settings
■
Press
- Confirmation of the factory settings
8Introductory information
Page 11 of 24
Radio
Operation
Introduction
This chapter contains information on the following subjects: Display
9
Select the frequency range
9
Save radio stations
9
Select radio stations and search
10
The unit allows analogue radio reception of FM and AM frequencies.
CAUTION
■
Car parks, tunnels, tall buildings or mountains can disrupt the radio signal
even causing it to fail completely.■
For vehicles with window antennas do not stick foil or metal coated stickers
to the window as this can lead to interference.
Display
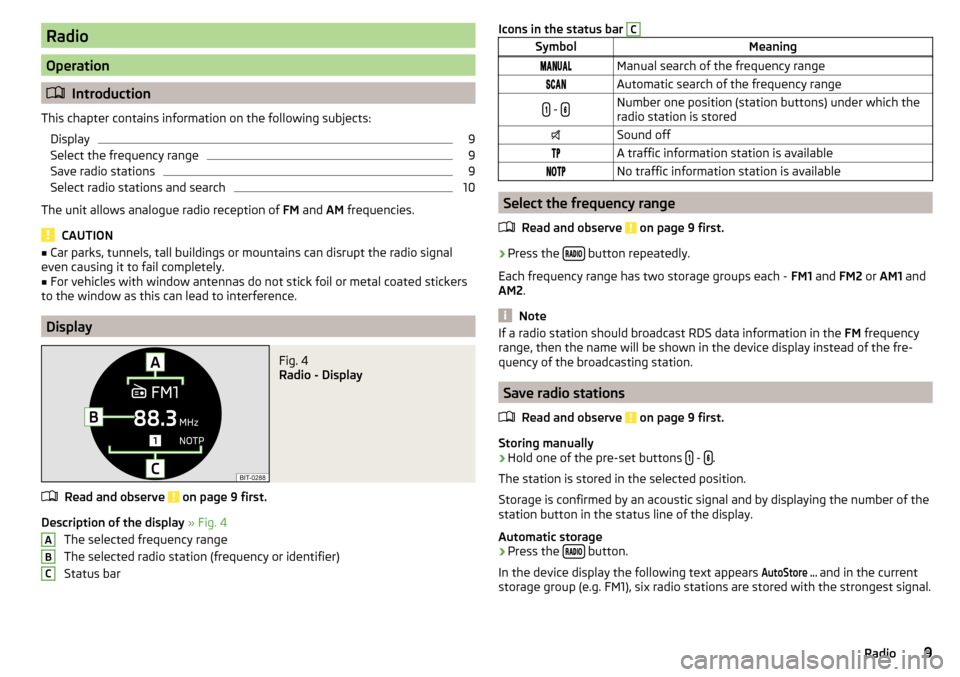
Fig. 4
Radio - Display
Read and observe on page 9 first.
Description of the display » Fig. 4
The selected frequency range
The selected radio station (frequency or identifier)
Status bar
ABCIcons in the status bar CSymbolMeaningManual search of the frequency rangeAutomatic search of the frequency range - Number one position (station buttons) under which the
radio station is storedSound offA traffic information station is availableNo traffic information station is available
Select the frequency range
Read and observe
on page 9 first.
›
Press the button repeatedly.
Each frequency range has two storage groups each - FM1 and FM2 or AM1 and
AM2 .
Note
If a radio station should broadcast RDS data information in the FM frequency
range, then the name will be shown in the device display instead of the fre-
quency of the broadcasting station.
Save radio stations
Read and observe
on page 9 first.
Storing manually
›
Hold one of the pre-set buttons - .
The station is stored in the selected position.
Storage is confirmed by an acoustic signal and by displaying the number of the
station button in the status line of the display.
Automatic storage
›
Press the button.
In the device display the following text appears
AutoStore ...
and in the current
storage group (e.g. FM1), six radio stations are stored with the strongest signal.
9Radio
Page 12 of 24
Select radio stations and searchRead and observe
on page 9 first.
Select radio stations from the list of available stations
The device will automatically search for available radio stations in the back-
ground, which can be selected immediately after turning on the power.
›
Press the or button.
There will be a change to the previous or next channel.
Select radio stations from station buttons
By pressing the respective button
- it changes to the station stored under
the given position in the current storage group (e.g. as FM1).
Semi-automatic station search
›
Press the or button.
A search commences in the selected direction and stops at the next station
with sufficient signal strength.
Manual station search
›
Press the
Manual
button.
›
Press the or button repeatedly and set the desired value of the fre-
quency range.
The value of the frequency range changes by 0.1 MHz on the FM band and 9
kHz in the AM band.
Search available stations (Scan)
›
Press the
Scan
→ button.
The search is started.
This function plays all the available stations in succession for a few seconds
each.
Pressing the
button again ends the search and the current station remains
set.
Mode settings
Introduction
This chapter contains information on the following subjects: Settings
10
TP traffic
10
This chapter describes the settings of the Radio mode and contains informa-
tion about the function of the traffic program (TP).
Settings
›
Press the button repeatedly.
The following menu items are displayed in sequence.
■
TP
- Sets the traffic news reception
■
Yes
- Traffic news is being received
■
No
- Traffic news is not being received
■
Scan
- Browse available radio stations
■
Press
- Start the scan
■
Manual
- Manual selection of a radio station
■
Press
- Start the manual selection
■
Arrow
- Sets station selection (operation of or button)
■
Stations
- Select from the list of available stations
■
Pre-sets
- Choice from the station buttons
TP traffic
The function allows the reception of traffic information.
Switching the traffic information station on and off manually
›
Press the
TP
Yes
/
No
button.
FM frequency range
If the radio station currently selected broadcasts traffic reports, then this will
be shown in the display. If this does
not transmit any Traffic Information ,
this is then displayed.
AM frequency range
No traffic reports are broadcast in the AM frequency.
10Radio
Page 13 of 24
Note■If traffic information is just being broadcast, then Traffic is shown in the de-
vice display.■
Should this radio station not transmit traffic reports or the signal is not avail-
able, then the device automatically searches in the background for another TP
station.
■
During playback in Media mode or a radio station in the AM range, traffic
news is received from the previously selected FM radio station.
Media
Operation
Introduction
This chapter contains information on the following subjects: Display
11
Playback
12
The device allows you to play audio files from different media and connected
devices (hereinafter referred to only as “audio sources”).
Display
Fig. 5
Media - Display
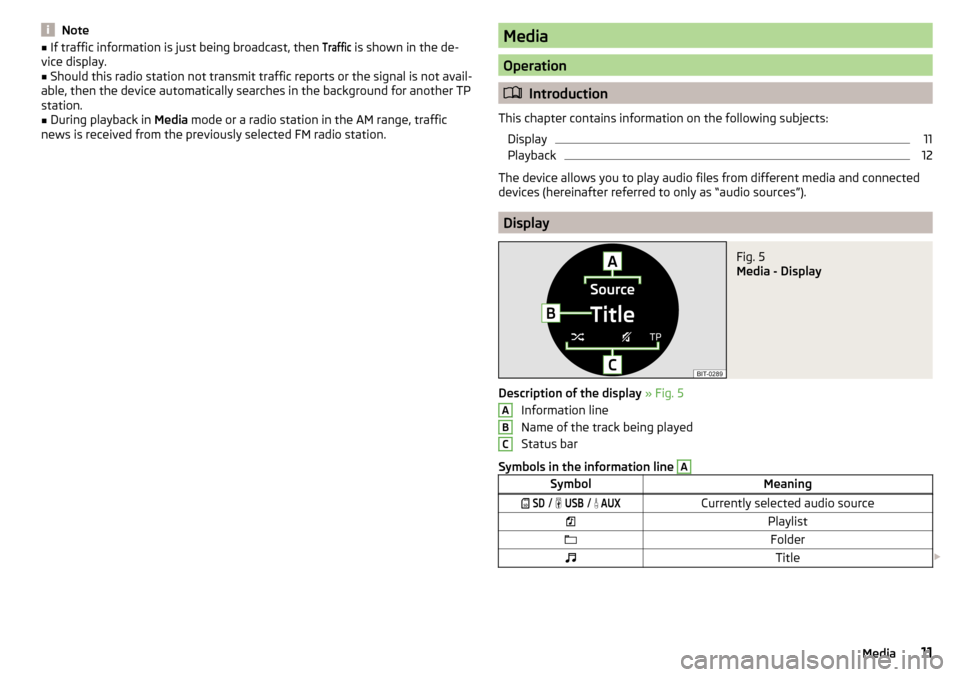
Description of the display » Fig. 5
Information line
Name of the track being played
Status bar
Symbols in the information line
ASymbolMeaning SD / USB / AUXCurrently selected audio sourcePlaylistFolderTitle ABC11Media