engine SKODA RAPID SPACEBACK 2016 1.G User Guide
[x] Cancel search | Manufacturer: SKODA, Model Year: 2016, Model line: RAPID SPACEBACK, Model: SKODA RAPID SPACEBACK 2016 1.GPages: 184, PDF Size: 28.1 MB
Page 34 of 184
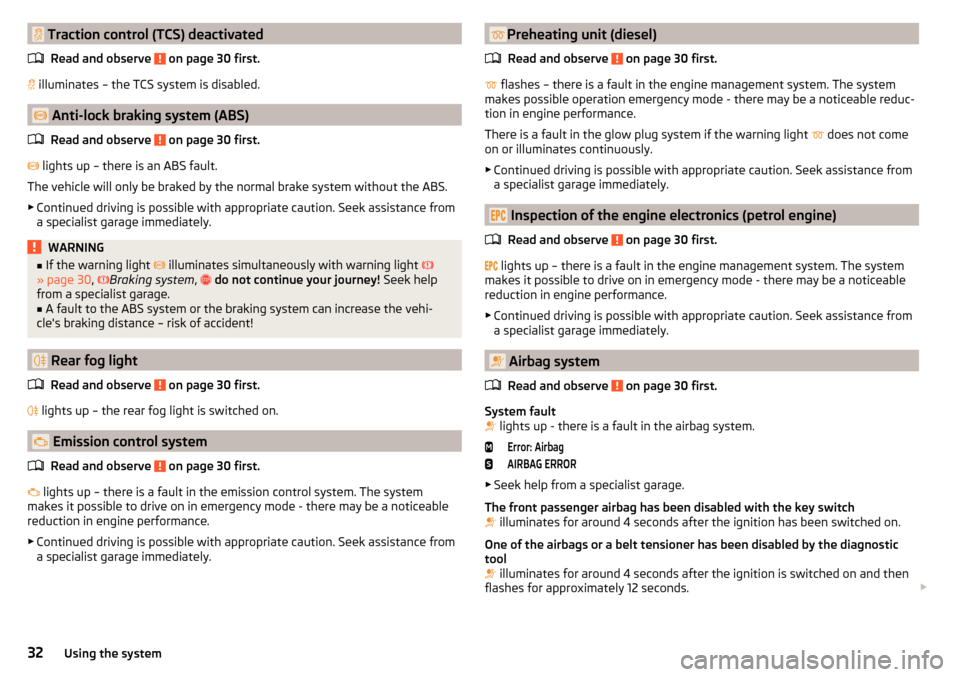
Traction control (TCS) deactivatedRead and observe
on page 30 first.
illuminates – the TCS system is disabled.
Anti-lock braking system (ABS)
Read and observe
on page 30 first.
lights up – there is an ABS fault.
The vehicle will only be braked by the normal brake system without the ABS.
▶ Continued driving is possible with appropriate caution. Seek assistance from
a specialist garage immediately.
WARNING■ If the warning light illuminates simultaneously with warning light
» page 30 , Braking system , do not continue your journey! Seek help
from a specialist garage.■
A fault to the ABS system or the braking system can increase the vehi-
cle's braking distance – risk of accident!
Rear fog light
Read and observe
on page 30 first.
lights up – the rear fog light is switched on.
Emission control system
Read and observe
on page 30 first.
lights up – there is a fault in the emission control system. The system
makes it possible to drive on in emergency mode - there may be a noticeable
reduction in engine performance.
▶ Continued driving is possible with appropriate caution. Seek assistance from
a specialist garage immediately.
Preheating unit (diesel)
Read and observe
on page 30 first.
flashes – there is a fault in the engine management system. The system
makes possible operation emergency mode - there may be a noticeable reduc-
tion in engine performance.
There is a fault in the glow plug system if the warning light
does not come
on or illuminates continuously.
▶ Continued driving is possible with appropriate caution. Seek assistance from
a specialist garage immediately.
Inspection of the engine electronics (petrol engine)
Read and observe
on page 30 first.
lights up – there is a fault in the engine management system. The system
makes it possible to drive on in emergency mode - there may be a noticeable
reduction in engine performance.
▶ Continued driving is possible with appropriate caution. Seek assistance from
a specialist garage immediately.
Airbag system
Read and observe
on page 30 first.
System fault
lights up - there is a fault in the airbag system.
Error: AirbagAIRBAG ERROR
▶
Seek help from a specialist garage.
The front passenger airbag has been disabled with the key switch
illuminates for around 4 seconds after the ignition has been switched on.
One of the airbags or a belt tensioner has been disabled by the diagnostic
tool
illuminates for around 4 seconds after the ignition is switched on and then
flashes for approximately 12 seconds.
32Using the system
Page 35 of 184
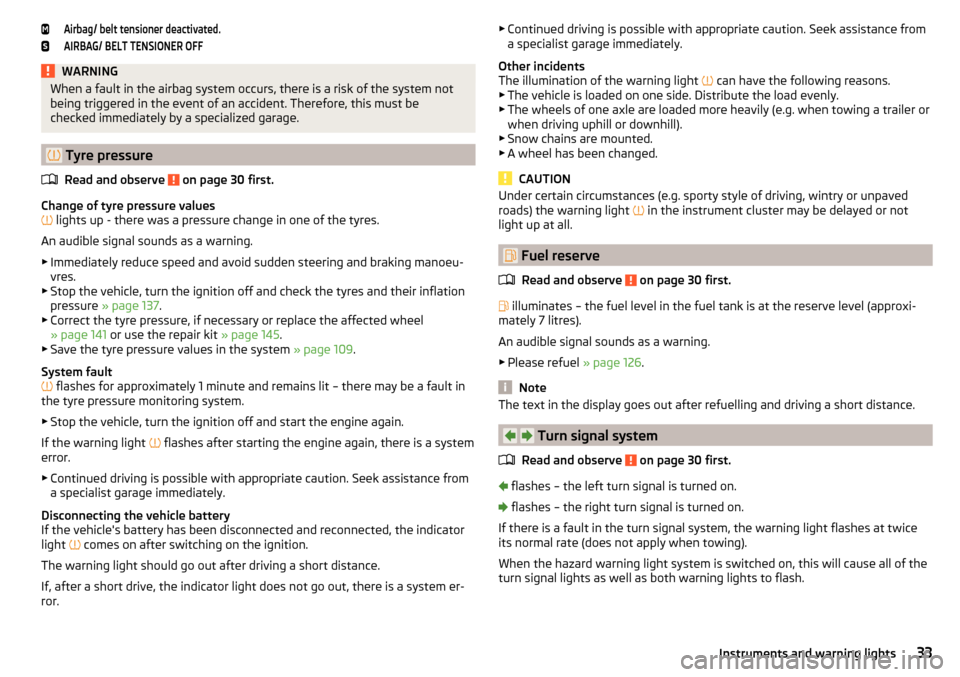
Airbag/ belt tensioner deactivated.AIRBAG/ BELT TENSIONER OFFWARNINGWhen a fault in the airbag system occurs, there is a risk of the system not
being triggered in the event of an accident. Therefore, this must be
checked immediately by a specialized garage.
Tyre pressure
Read and observe
on page 30 first.
Change of tyre pressure values
lights up - there was a pressure change in one of the tyres.
An audible signal sounds as a warning. ▶ Immediately reduce speed and avoid sudden steering and braking manoeu-
vres.
▶ Stop the vehicle, turn the ignition off and check the tyres and their inflation
pressure » page 137 .
▶ Correct the tyre pressure, if necessary or replace the affected wheel
» page 141 or use the repair kit » page 145.
▶ Save the tyre pressure values in the system » page 109.
System fault
flashes for approximately 1 minute and remains lit – there may be a fault in
the tyre pressure monitoring system.
▶ Stop the vehicle, turn the ignition off and start the engine again.
If the warning light flashes after starting the engine again, there is a system
error.
▶ Continued driving is possible with appropriate caution. Seek assistance from
a specialist garage immediately.
Disconnecting the vehicle battery
If the vehicle's battery has been disconnected and reconnected, the indicator
light comes on after switching on the ignition.
The warning light should go out after driving a short distance.
If, after a short drive, the indicator light does not go out, there is a system er-
ror.
▶
Continued driving is possible with appropriate caution. Seek assistance from
a specialist garage immediately.
Other incidents
The illumination of the warning light
can have the following reasons.
▶ The vehicle is loaded on one side. Distribute the load evenly.
▶ The wheels of one axle are loaded more heavily (e.g. when towing a trailer or
when driving uphill or downhill).
▶ Snow chains are mounted.
▶ A wheel has been changed.
CAUTION
Under certain circumstances (e.g. sporty style of driving, wintry or unpaved
roads) the warning light in the instrument cluster may be delayed or not
light up at all.
Fuel reserve
Read and observe
on page 30 first.
illuminates – the fuel level in the fuel tank is at the reserve level (approxi-
mately 7 litres).
An audible signal sounds as a warning. ▶ Please refuel » page 126.
Note
The text in the display goes out after refuelling and driving a short distance.
Turn signal system
Read and observe
on page 30 first.
flashes – the left turn signal is turned on.
flashes – the right turn signal is turned on.
If there is a fault in the turn signal system, the warning light flashes at twice
its normal rate (does not apply when towing).
When the hazard warning light system is switched on, this will cause all of the turn signal lights as well as both warning lights to flash.
33Instruments and warning lights
Page 36 of 184
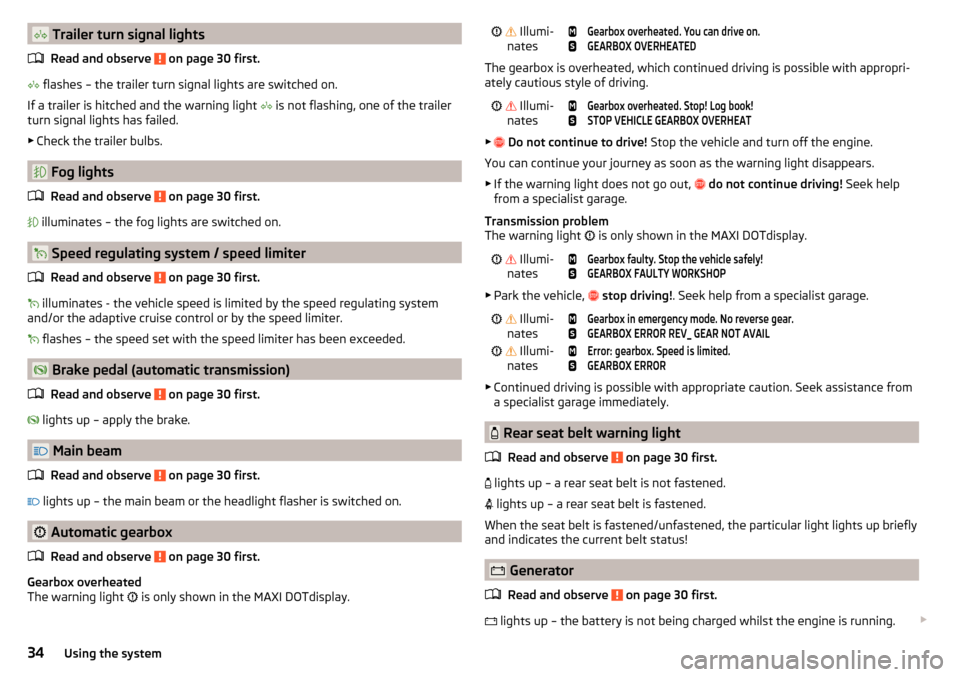
Trailer turn signal lightsRead and observe
on page 30 first.
flashes – the trailer turn signal lights are switched on.
If a trailer is hitched and the warning light
is not flashing, one of the trailer
turn signal lights has failed.
▶ Check the trailer bulbs.
Fog lights
Read and observe
on page 30 first.
illuminates – the fog lights are switched on.
Speed regulating system / speed limiter
Read and observe
on page 30 first.
illuminates - the vehicle speed is limited by the speed regulating system
and/or the adaptive cruise control or by the speed limiter.
flashes – the speed set with the speed limiter has been exceeded.
Brake pedal (automatic transmission)
Read and observe
on page 30 first.
lights up – apply the brake.
Main beam
Read and observe
on page 30 first.
lights up – the main beam or the headlight flasher is switched on.
Automatic gearbox
Read and observe
on page 30 first.
Gearbox overheated
The warning light is only shown in the MAXI DOTdisplay.
Illumi-
nates
Gearbox overheated. You can drive on.GEARBOX OVERHEATED
The gearbox is overheated, which continued driving is possible with appropri-
ately cautious style of driving.
Illumi-
nates
Gearbox overheated. Stop! Log book!STOP VEHICLE GEARBOX OVERHEAT
▶ Do not continue to drive! Stop the vehicle and turn off the engine.
You can continue your journey as soon as the warning light disappears.
▶ If the warning light does not go out,
do not continue driving! Seek help
from a specialist garage.
Transmission problem
The warning light is only shown in the MAXI DOTdisplay.
Illumi-
nates
Gearbox faulty. Stop the vehicle safely!GEARBOX FAULTY WORKSHOP
▶ Park the vehicle,
stop driving! . Seek help from a specialist garage.
Illumi-
nates
Gearbox in emergency mode. No reverse gear.GEARBOX ERROR REV_ GEAR NOT AVAIL Illumi-
nates
Error: gearbox. Speed is limited.GEARBOX ERROR
▶ Continued driving is possible with appropriate caution. Seek assistance from
a specialist garage immediately.
Rear seat belt warning light
Read and observe
on page 30 first.
lights up – a rear seat belt is not fastened.
lights up – a rear seat belt is fastened.
When the seat belt is fastened/unfastened, the particular light lights up briefly
and indicates the current belt status!
Generator
Read and observe
on page 30 first.
lights up – the battery is not being charged whilst the engine is running.
34Using the system
Page 37 of 184
▶As the battery discharges while driving, all non-essential electrical loads (e.g.
Infotainment) should be switched off.
▶ Continued driving is possible with appropriate caution. Seek assistance from
a specialist garage immediately.
CAUTION
If in addition to the light the light lights up while driving, stop driving -
risk of engine damage! Switch off the engine and seek assistance from a spe-
cialist garage.
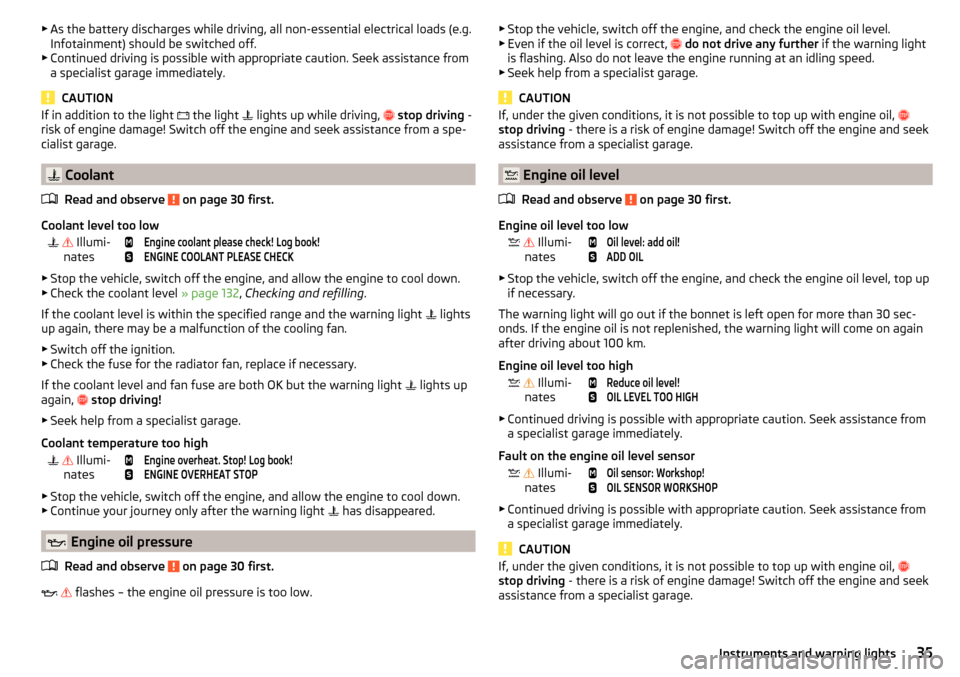
Coolant
Read and observe
on page 30 first.
Coolant level too low
Illumi-
nates
Engine coolant please check! Log book!ENGINE COOLANT PLEASE CHECK
▶ Stop the vehicle, switch off the engine, and allow the engine to cool down.
▶ Check the coolant level » page 132, Checking and refilling .
If the coolant level is within the specified range and the warning light lights
up again, there may be a malfunction of the cooling fan.
▶ Switch off the ignition.
▶ Check the fuse for the radiator fan, replace if necessary.
If the coolant level and fan fuse are both OK but the warning light lights up
again,
stop driving!
▶ Seek help from a specialist garage.
Coolant temperature too high
Illumi-
nates
Engine overheat. Stop! Log book!ENGINE OVERHEAT STOP
▶ Stop the vehicle, switch off the engine, and allow the engine to cool down.
▶ Continue your journey only after the warning light has disappeared.
Engine oil pressure
Read and observe
on page 30 first.
flashes – the engine oil pressure is too low.
▶
Stop the vehicle, switch off the engine, and check the engine oil level.
▶ Even if the oil level is correct, do not drive any further if the warning light
is flashing. Also do not leave the engine running at an idling speed.
▶ Seek help from a specialist garage.
CAUTION
If, under the given conditions, it is not possible to top up with engine oil,
stop driving - there is a risk of engine damage! Switch off the engine and seek
assistance from a specialist garage.
Engine oil level
Read and observe
on page 30 first.
Engine oil level too low
Illumi-
nates
Oil level: add oil!ADD OIL
▶ Stop the vehicle, switch off the engine, and check the engine oil level, top up
if necessary.
The warning light will go out if the bonnet is left open for more than 30 sec-
onds. If the engine oil is not replenished, the warning light will come on again
after driving about 100 km.
Engine oil level too high
Illumi-
nates
Reduce oil level!OIL LEVEL TOO HIGH
▶ Continued driving is possible with appropriate caution. Seek assistance from
a specialist garage immediately.
Fault on the engine oil level sensor
Illumi-
nates
Oil sensor: Workshop!OIL SENSOR WORKSHOP
▶ Continued driving is possible with appropriate caution. Seek assistance from
a specialist garage immediately.
CAUTION
If, under the given conditions, it is not possible to top up with engine oil,
stop driving - there is a risk of engine damage! Switch off the engine and seek
assistance from a specialist garage.35Instruments and warning lights
Page 38 of 184
Lamp failureRead and observe
on page 30 first.
illuminates – one of the lamps is faulty.
A message will appear in the display about the affected lamp.
Diesel particle filter (diesel)
Read and observe
on page 30 first.
The diesel particulate filter separates the soot particles from the exhaust. The soot particles collect in the diesel particulate filter where they are burnt on a
regular basis.
illuminates – the filter is clogged with soot.
To clean the filter, and where traffic conditions permit »
, drive as follows for
at least 15 minutes or until the indicator light goes out.
4. or 5. Gear engaged (automatic gearbox: position D / S).
Vehicle speed at least 70 km/h.
Engine speed between 1,800-2,500 rpm.
If the filter is properly cleaned, the warning light extinguishes.
If the filter is not properly cleaned, the warning light does not go out and
the warning light begins to flash.
▶ Continued driving is possible with appropriate caution. Seek assistance from
a specialist garage immediately.
WARNING■ Always adjust the speed and driving style to the actual weather, road, ter-
rain and traffic conditions.■
The diesel particulate filter reaches very high temperatures - there is a
fire hazard and serious injury could be caused. Therefore, never stop the
vehicle at places where the underside of your vehicle can come into contact
with flammable materials, such as dry grass, undergrowth, leaves, spilled
fuel or the like.
CAUTION■ As long as the warning light illuminates, one must take into account an
increased fuel consumption and a power reduction of the engine.■
Using diesel fuel with increased sulphur content can significantly reduce the
service life of the diesel particle filter. A ŠKODA Partner will be able to tell you
which countries use diesel fuel with increased sulphur content.
Note
We encourage you to avoid constant short journeys. This will improve the com-
bustion process of the soot particles in the diesel particulate filter.
Windscreen washer fluid level
Read and observe
on page 30 first.
illuminates – the windscreen washer fluid level is too low.
▶ Top up the windscreen washer fluid » page 130.
START-STOP system
Read and observe
on page 30 first.
The warning lights
indicates the state of the START STOP system
» page 88 , START-STOPsystem .
Display of a low temperature
Read and observe
on page 30 first.
illuminates – the outside temperature is below +4 °C.
WARNINGEven at temperatures of around +4 °C, black ice may still be on the road
surface! You should therefore not only rely on the outside temperature dis- play for accurate information as to whether there is ice on the road.
Distance warning (Front Assist)
Read and observe
on page 30 first.
The warning light is only shown in the MAXI DOTdisplay.
36Using the system
Page 40 of 184
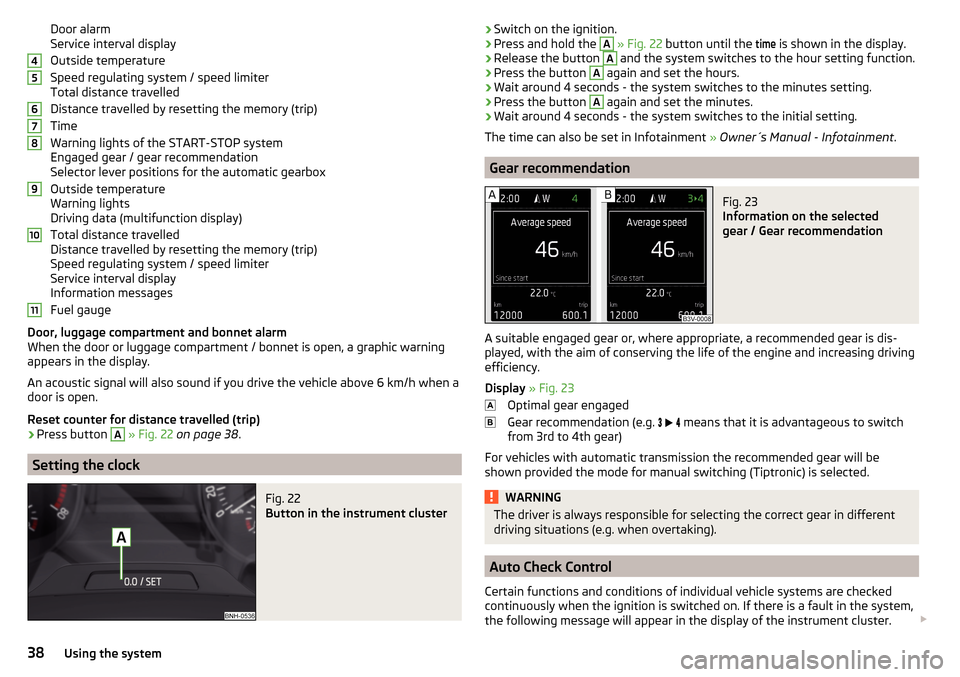
Door alarm
Service interval display
Outside temperature
Speed regulating system / speed limiter
Total distance travelled
Distance travelled by resetting the memory (trip)
Time
Warning lights of the START-STOP system
Engaged gear / gear recommendation
Selector lever positions for the automatic gearbox
Outside temperature
Warning lights
Driving data (multifunction display)
Total distance travelled
Distance travelled by resetting the memory (trip)
Speed regulating system / speed limiter
Service interval display
Information messages
Fuel gauge
Door, luggage compartment and bonnet alarm
When the door or luggage compartment / bonnet is open, a graphic warning
appears in the display.
An acoustic signal will also sound if you drive the vehicle above 6 km/h when a
door is open.
Reset counter for distance travelled (trip)›
Press button
A
» Fig. 22 on page 38 .
Setting the clock
Fig. 22
Button in the instrument cluster
4567891011›Switch on the ignition.›Press and hold the A
» Fig. 22 button until the
time
is shown in the display.›
Release the button
A
and the system switches to the hour setting function.
›
Press the button
A
again and set the hours.
›
Wait around 4 seconds - the system switches to the minutes setting.
›
Press the button
A
again and set the minutes.
›
Wait around 4 seconds - the system switches to the initial setting.
The time can also be set in Infotainment » Owner´s Manual - Infotainment .
Gear recommendation
Fig. 23
Information on the selected
gear / Gear recommendation
A suitable engaged gear or, where appropriate, a recommended gear is dis-
played, with the aim of conserving the life of the engine and increasing driving
efficiency.
Display » Fig. 23
Optimal gear engaged
Gear recommendation (e.g.
means that it is advantageous to switch
from 3rd to 4th gear)
For vehicles with automatic transmission the recommended gear will be
shown provided the mode for manual switching (Tiptronic) is selected.
WARNINGThe driver is always responsible for selecting the correct gear in different
driving situations (e.g. when overtaking).
Auto Check Control
Certain functions and conditions of individual vehicle systems are checked
continuously when the ignition is switched on. If there is a fault in the system,
the following message will appear in the display of the instrument cluster.
38Using the system
Page 42 of 184
The units and the display of some information can be set in Infotainment
» Owner´s Manual - Infotainment .
Information overview
Overview of driving data (depending on the vehicle equipment).
Range - drive distance in km which can be covered with the existing tank ca-
pacity and with the same driving style. If you drive more efficiently this value
can increase.
Average fuel consumption - is calculated continuously since the last clearing
of the memory. After erasing the memory, no data will appear for the first 100
m driven.
Current fuel consumption - when the vehicle is stationary or moving slowly,
the fuel consumption is displayed in l/h (in models in some countries the fol-
lowing appears --,- km/l).
Oil temperature - if the temperature is lower than 50 °C or if there is a fault in
the system for checking the oil temperature, the symbols are displayed.
Warning when the preset speed is exceeded - allows the setting of a speed
limit where, if exceeded, an acoustic warning signal and a warning message
appears on the display of the instrument cluster.
Current Speed - digital speedometer.
Average speed - value constantly recalculated, for distance since last clearing
the memory. After erasing the memory, no data will appear for the first 300 m
driven.
Distance driven - distance driven since the memory was last cleared.
Driving time - driving time since last clearing the memory.
Coolant temperature - if the coolant temperature is in the range 70-120 °C, the
engine operating temperature has been reached. If the temperature is below
70 ° C, high engine speeds and straining the engine should be avoided. If the
temperature is above 120 ° C, the warning light lights up the instrument
cluster » page 35 .
Warning when exceeding the set speed
The system offers the possibility to set a speed limit beyond which an acoustic
warning signal will sound and the following warning message appears in the
display of the instrument cluster.
Adjust the speed limit while the vehicle is stationary›Select the menu item
Warning at
at ( ) or ( ) and confirm.›
Set the desired speed limit is 5 km/h steps.
›
Confirm the set value, or wait several seconds; your settings will be saved
automatically.
Adjusting the speed limit while the vehicle is moving
›
Select the menu item
Warning at
at (
) or
(
) and confirm.
›
Drive at the desired speed.
›
Confirm the current speed as the speed limit.
The set speed limit can be manually adjusted later if needed.
Reset speed limit
›
Select the menu item
Warning at
at ( ) or
(
) and confirm.
›
By confirming the speed stored in the memory, the speed limit is reset.
The set driving mode remains stored even after switching the ignition on and
off. After a gap between driving exceeding 2 hours, the pre-set speed limit is
deactivated.
Memory
Fig. 26
Memory display: MAXI DOT dis-
play (
) / Segment display (
)
The system saves the data in the three memories described below which are
displayed at the position
A
» Fig. 26 .
Since start
(
) or “1” (
)
Drive data is stored from when the ignition is switched on to when it is switch-
ed off. If the trip is continued within 2 hours after switching off the ignition,
new data will also flow into the calculation of the current driving information.
If the trip is interrupted for more than 2 hours, the memory is automatically
erased.
40Using the system
Page 46 of 184
›Enter the password (vehicle identification number using uppercase let-
ters » page 44 ).
With SmartGate, a maximum of four external devices can be connected simul-
taneously using Wi-Fi. In these external devices, up to four ŠKODA applications
can be started simultaneously.
Disconnection
The connection can be switched off in one of the following ways.›
Switch off the ignition for longer than 5 seconds (for vehicles with a starter
button, switch off the engine and open the driver's door).
›
End the connection in the SmartGate application.
›
Switch off Wi-Fi in the connected external device.
Automatic connection
If the communication device has already had a connection with SmartGate,
then the connection is automatically restored under the following conditions.
The ignition is switched on.
Wi-Fi is switched on in the external device that is to be connected to.
The external device that is to be connected to stores the password re-
quired for the connection check.
Connection to SmartGate using Wi-Fi direct
This type of connection is intended for external devices running the Android
operating system.
Connection set-up
›
Switch on the ignition.
›
In the external device that is to be connected to, start the SmartGate appli- cation.
›
In the application, change the connection type to Wi-Fi direct.
›
Then follow the instructions in the manual, which is included in the
SmartGate application.
The password for the connection to SmartGate _... 1)
includes the last six digits
of the vehicle identification number » page 44.
With SmartGate, a maximum of two external devices can be connected simul-
taneously using Wi-Fi direct, with as many launched ŠKODA applications as re-
quired.
If you want to connect to SmartGate in a different vehicle, you must make a
new connection in the SmartGate application.
Disconnection
The connection can be switched off in one of the following ways.›
Switch off the ignition for longer than 5 seconds (for vehicles with a starter
button, switch off the engine and open the driver's door).
›
End the connection in the SmartGate application.
›
Switch off Wi-Fi in the connected external device.
Automatic connection
If the external device once had a connection with SmartGate, then the connec-
tion is automatically restored after the ignition is started.
SmartGate web interface
SmartGate parameters can be set in the SmartGate web interface.
The following address must be entered in the web browser of the external de-
vice that is connected with SmartGate.
HTTP://192.168.123.1
The setting changes are only effective after tapping the buttons “Save” →
“Reboot”.
Password/PIN code
The password for the Wi-Fi connection preset by the factory is the complete
vehicle identification number (entered in upper case); the PIN code for the Wi-
Fi direct connection is the last 6 digits of the vehicle identification number.
After changing the password/PIN, the connection to SmartGate must be re-es-
tablished on the external device to be connected using the new password or
new PIN code.
Changing the password for the Wi-Fi connection
›
Open the SmartGate web interface » page 44, SmartGate web interface .
›
In the “WPA / WPA2 key:”menu item, enter the new password (8 to 63 alpha-
numeric characters and special characters, small and capital letters).
›
Confirm the password change by tapping on the “Save” button.
1)
The last 6 characters of the vehicle identification number of your vehicle are displayed at position
....
44Using the system
Page 48 of 184
WARNING■Never leave the key in the vehicle when you exit the vehicle. Unauthor-
ised persons (e.g. children) could lock the car, turn on the ignition or start
the engine - danger of injury and accidents!■
When leaving the vehicle, never leave persons who are not completely in-
dependent, such as children, unattended in the vehicle. These individuals
might not be able to leave the vehicle on their own or to help themselves.
Can be fatal at very high or very low temperatures!
CAUTION
■ Each key contains electronic components; therefore it must be protected
against moisture and severe shocks.■
Keep the key grooves clean. Impurities (textile fibres, dust etc.) have a nega-
tive effect on the functionality of the locking cylinder and ignition lock.
With the key on the lock cylinder unlock / lock
Fig. 29
Left side of the vehicle: Turning
the key for unlocking and locking
the vehicle
Read and observe and on page 46 first.
Unlocking/locking the vehicle with the key » Fig. 29
Unlocking the vehicle
Locking the vehicle
CAUTION
On vehicles with the KESSY system, to lock / unlock the vehicle using the key
on the lock cylinder, first of all remove the cap of the lock cylinder » page 150.Unlocking/locking with the remote control keyFig. 30
Key with pop-out key bit
Read and observe and on page 46 first.
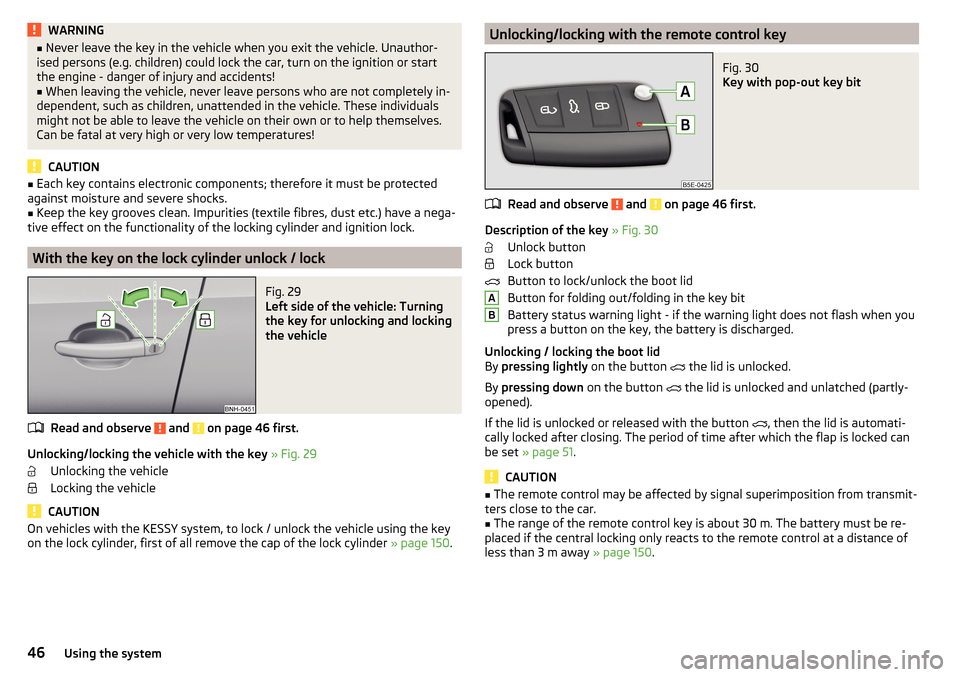
Description of the key » Fig. 30
Unlock button
Lock button
Button to lock/unlock the boot lid
Button for folding out/folding in the key bit
Battery status warning light - if the warning light does not flash when you
press a button on the key, the battery is discharged.
Unlocking / locking the boot lid
By pressing lightly on the button
the lid is unlocked.
By pressing down on the button
the lid is unlocked and unlatched (partly-
opened).
If the lid is unlocked or released with the button , then the lid is automati-
cally locked after closing. The period of time after which the flap is locked can
be set » page 51 .
CAUTION
■
The remote control may be affected by signal superimposition from transmit-
ters close to the car.■
The range of the remote control key is about 30 m. The battery must be re-
placed if the central locking only reacts to the remote control at a distance of
less than 3 m away » page 150.
AB46Using the system
Page 61 of 184
The rear light - variant 1 is operated together with the automatic operation of
the light at the front 1)
.
▶ When the front lighting is switched on, the rear lighting also turns on auto-
matically.
▶ When the front lighting is switched off, the rear lighting can be switched
on/off as required.
Visibility
Introduction
This chapter contains information on the following subjects:
Windscreen and rear window heater
59
Sun visors
59
Sun screen of the panoramic roof
60WARNINGNo objects should be attached to the sun visor that could restrict the view
or endanger the vehicle occupants during sudden braking or in a collision.
Windscreen and rear window heater
Fig. 47
Buttons for the windscreen and
rear window heater
Read and observe on page 59 first.
The heating for quick defrosting and ventilation of the windscreen and rear window.
The heating only works when the engine is running.
Buttons for the heating (depending on vehicle equipment) » Fig. 47
Switching on/off the windscreen heater
Switch on/off the rear window heater
When the heater is switched on, a lamp illuminates inside the button.
The heating automatically switches off after ten minutes.
Note
■ If the on-board voltage decreases, the heating switches off automatically
» page 133 , Automatic shutdown of consumers - vehicle battery discharge
protection .■
If the light is flashing inside the button, the heater will not function due to
low battery.
Sun visors
Fig. 48
Fold down the cover / swivel cover to the door and slide the mir-
ror cover
Read and observe
on page 59 first.
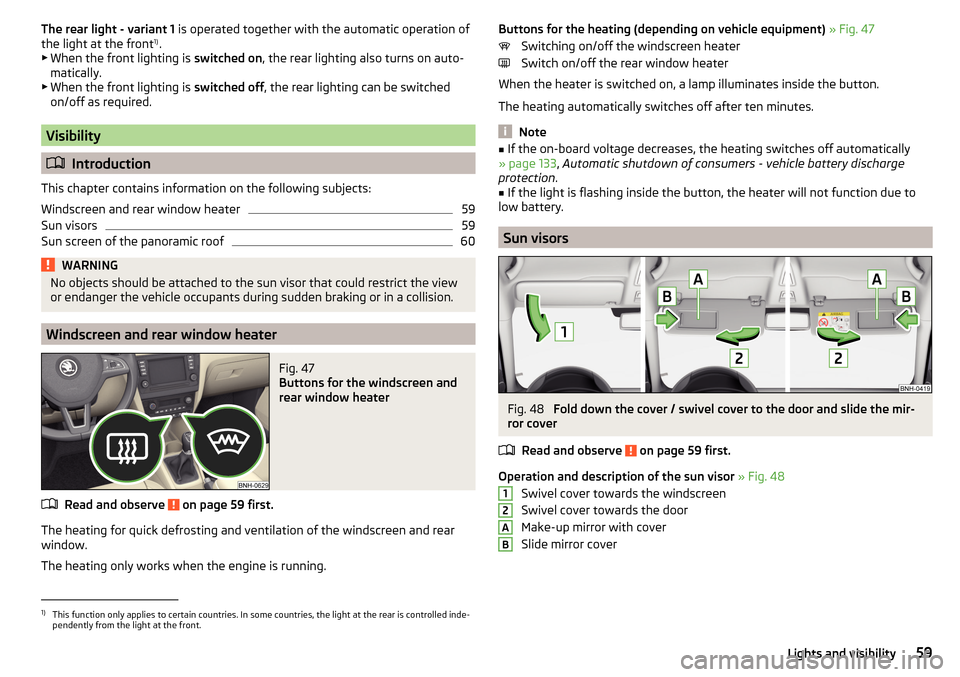
Operation and description of the sun visor » Fig. 48
Swivel cover towards the windscreen
Swivel cover towards the door
Make-up mirror with cover
Slide mirror cover
12AB1)
This function only applies to certain countries. In some countries, the light at the rear is controlled inde-
pendently from the light at the front.
59Lights and visibility