buttons SKODA ROOMSTER 2009 1.G User Guide
[x] Cancel search | Manufacturer: SKODA, Model Year: 2009, Model line: ROOMSTER, Model: SKODA ROOMSTER 2009 1.GPages: 263, PDF Size: 32.25 MB
Page 98 of 263
Heating and air conditioning system97
Using the system
Safety
Driving Tips
General Maintenance
Breakdown assistance
Praktik
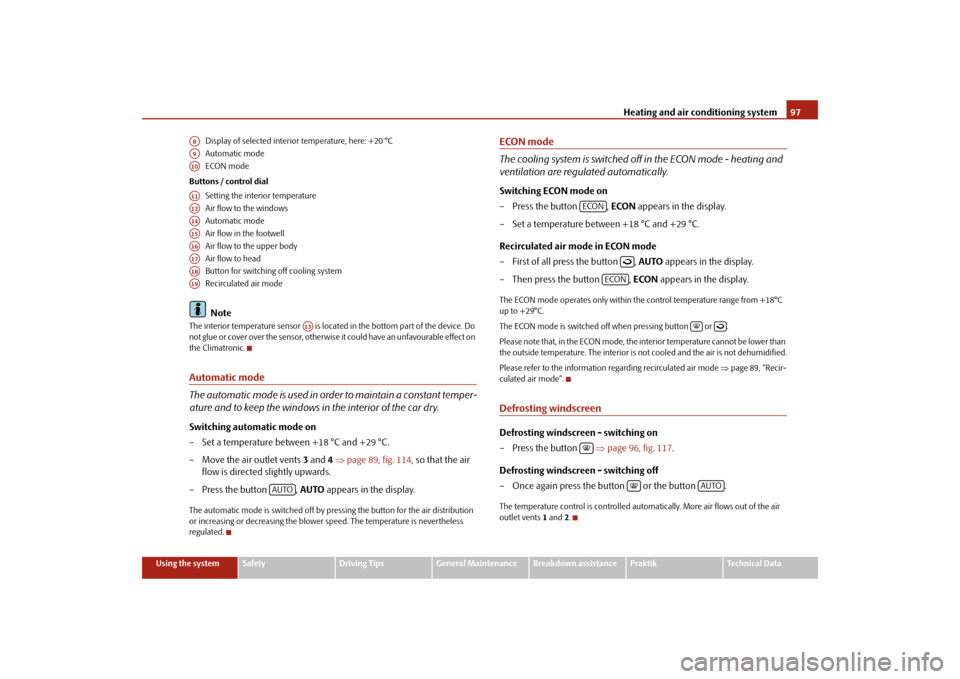
Technical Data Display of selected interior temperature, here: +20 °C
Automatic mode
ECON mode
Buttons / control dial
Setting the interior temperature
Air flow to the windows
Automatic mode
Air flow in the footwell
Air flow to the upper body
Air flow to head
Button for switching off cooling system
Recirculated air mode
Note
The interior temperature sensor is located in the bottom part of the device. Do
not glue or cover over the sensor, otherwise it could have an unfavourable effect on
the Climatronic.Automatic mode
The automatic mode is used in order to maintain a constant temper-
ature and to keep the windows in the interior of the car dry.Switching automatic mode on
– Set a temperature between +18 °C and +29 °C.
– Move the air outlet vents 3 and 4 ⇒page 89, fig. 114, so that the air
flow is directed slightly upwards.
– Press the button , AUTO appears in the display.The automatic mode is switched off by pressing the button for the air distribution
or increasing or decreasing the blower speed. The temperature is nevertheless
regulated.
ECON mode
The cooling system is switched off in the ECON mode - heating and
ventilation are regulated automatically.Switching ECON mode on
–Press the button , ECON appears in the display.
– Set a temperature between +18 °C and +29 °C.
Recirculated air mode in ECON mode
– First of all press the button , AUTO appears in the display.
– Then press the button , ECON appears in the display.The ECON mode operates only within the control temperature range from +18°C
up to +29°C.
The ECON mode is switched off when pressing button or .
Please note that, in the ECON mode, the interior temperature cannot be lower than
the outside temperature. The interior is not cooled and the air is not dehumidified.
Please refer to the information regarding recirculated air mode ⇒page 89, “Recir-
culated air mode”.Defrosting windscreenDefrosting windscreen - switching on
–Press the button ⇒page 96, fig. 117.
Defrosting windscreen - switching off
– Once again press the button or the button .The temperature control is controlled automatically. More air flows out of the air
outlet vents 1 and2.
A8A9A10A11A12A14A15A16A17A18A19
A13
AUTO
ECON
ECON
AUTO
s29g.4.book Page 97 Wednesday, June 17, 2009 9:54 AM
Page 113 of 263
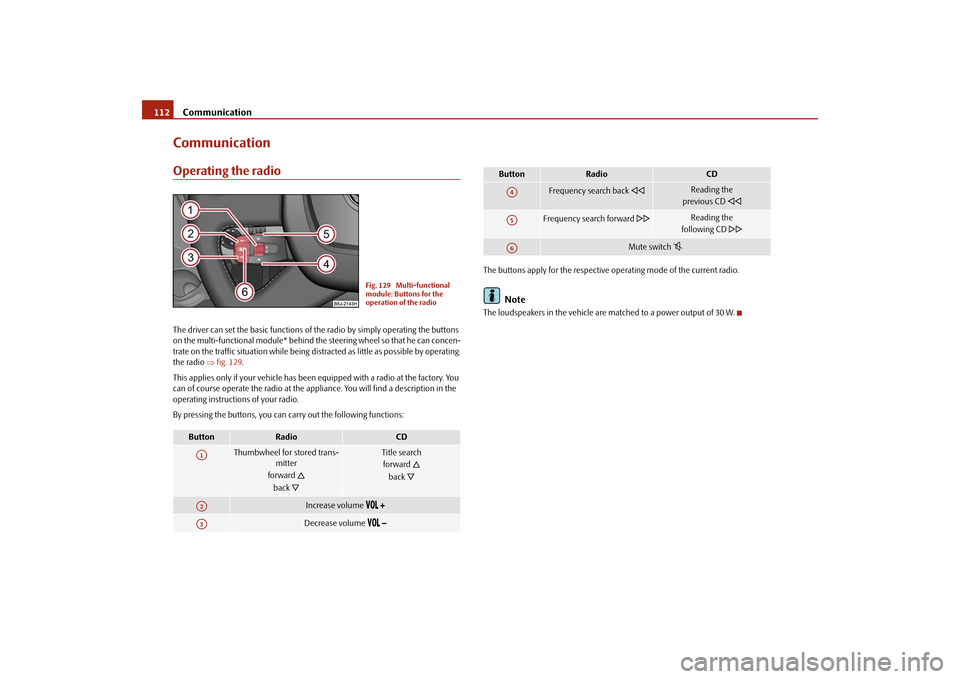
Communication 112CommunicationOperating the radioThe driver can set the basic functions of the radio by simply operating the buttons
on the multi-functional module* behind the steering wheel so that he can concen-
trate on the traffic situation while being distracted as little as possible by operating
the radio ⇒fig. 129.
This applies only if your vehicle has been equipped with a radio at the factory. You
can of course operate the radio at the appliance. You will find a description in the
operating instructions of your radio.
By pressing the buttons, you can carry out the following functions:The buttons apply for the respective operating mode of the current radio.
Note
The loudspeakers in the vehicle are matched to a power output of 30 W.
Button
Radio
CD
Thumbwheel for stored trans-
mitter
forward
back
Title search
forward
back
Increase volume
Decrease volume
Fig. 129 Multi-functional
module: Buttons for the
operation of the radio
A1A2A3
Frequency search back
Reading the
previous CD
Frequency search forward
Reading the
following CD
Mute switch
Button
Radio
CD
A4A5A6
s29g.4.book Page 112 Wednesday, June 17, 2009 9:54 AM
Page 114 of 263
Communication113
Using the system
Safety
Driving Tips
General Maintenance
Breakdown assistance
Praktik
Technical Data
Radio and mobile phone operation
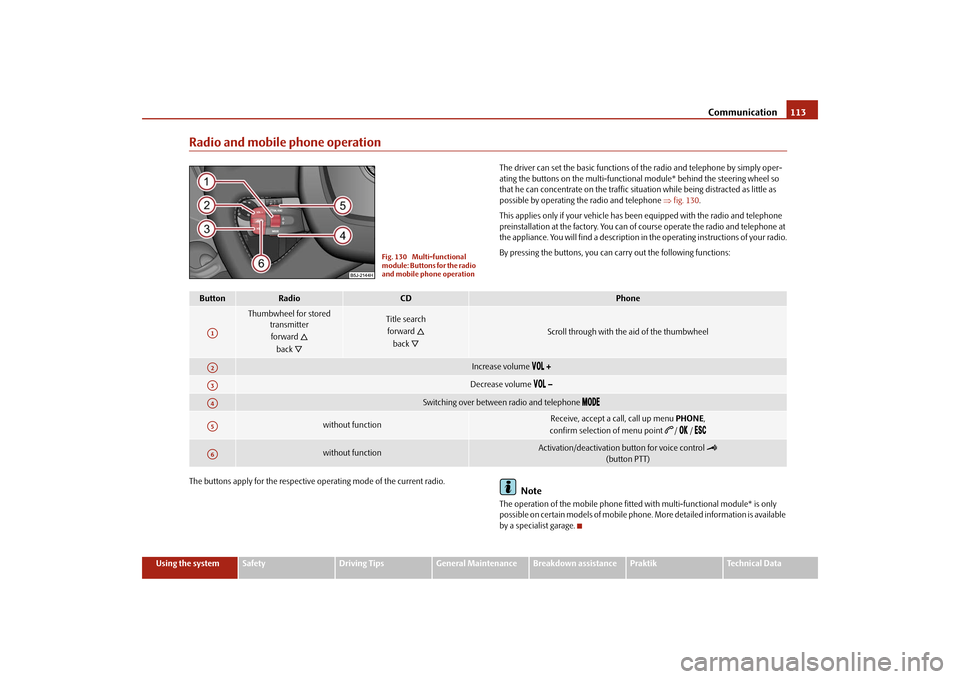
The driver can set the basic functions of the radio and telephone by simply oper-
ating the buttons on the multi-functional module* behind the steering wheel so
that he can concentrate on the traffic situation while being distracted as little as
possible by operating the radio and telephone ⇒fig. 130.
This applies only if your vehicle has been equipped with the radio and telephone
preinstallation at the factory. You can of course operate the radio and telephone at
the appliance. You will find a description in the operating instructions of your radio.
By pressing the buttons, you can carry out the following functions:
The buttons apply for the respective operating mode of the current radio.
Note
The operation of the mobile phone fitted with multi-functional module* is only
possible on certain models of mobile phone. More detailed information is available
by a specialist garage.
Fig. 130 Multi-functional
module: Buttons for the radio
and mobile phone operation
Button
Radio
CD
Phone
Thumbwheel for stored
transmitter
forward
back
Title search
forward
back
Scroll through with the aid of the thumbwheel
Increase volume
Decrease volume
Switching over between radio and telephone
without function
Receive, accept a call, call up menu PHONE,
confirm selection of menu point
/ /
without function
Activation/deactivation button for voice control
(button PTT)
A1A2A3A4A5A6
s29g.4.book Page 113 Wednesday, June 17, 2009 9:54 AM
Page 115 of 263
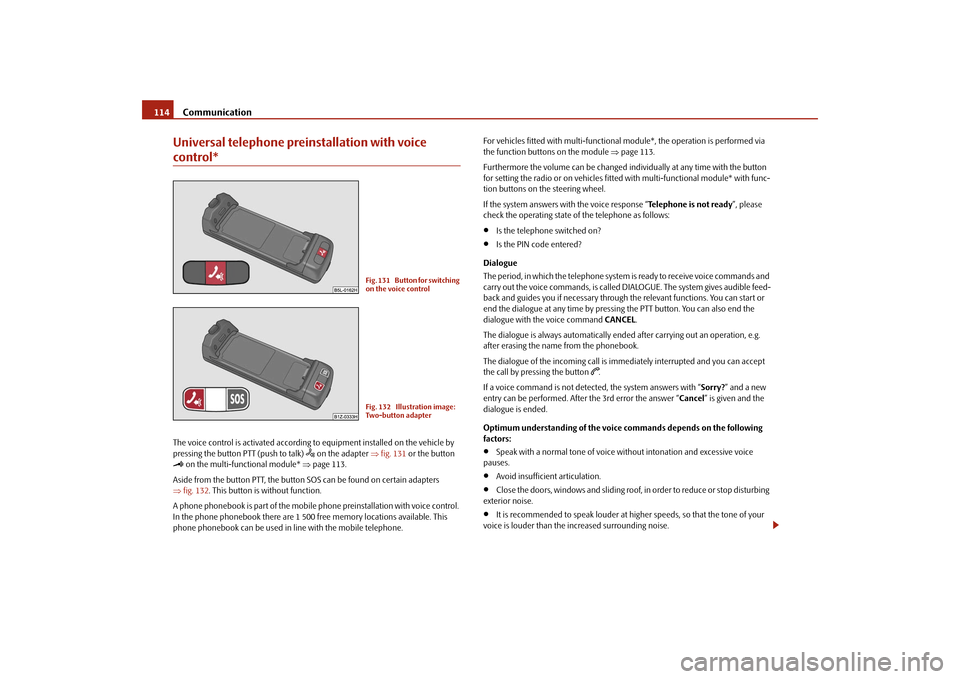
Communication 114Universal telephone preinstallation with voice control*The voice control is activated according to equipment installed on the vehicle by
pressing the button PTT (push to talk)
on the adapter ⇒fig. 131 or the button
on the multi-functional module* ⇒page 113.
Aside from the button PTT, the button SOS can be found on certain adapters
⇒fig. 132. This button is without function.
A phone phonebook is part of the mobile phone preinstallation with voice control.
In the phone phonebook there are 1 500 free memory locations available. This
phone phonebook can be used in line with the mobile telephone.For vehicles fitted with multi-functional module*, the operation is performed via
the function buttons on the module ⇒page 113.
Furthermore the volume can be changed individually at any time with the button
for setting the radio or on vehicles fitted with multi-functional module* with func-
tion buttons on the steering wheel.
If the system answers with the voice response “Telephone is not ready”, please
check the operating state of the telephone as follows:
•
Is the telephone switched on?
•
Is the PIN code entered?
Dialogue
The period, in which the telephone system is ready to receive voice commands and
carry out the voice commands, is called DIALOGUE. The system gives audible feed-
back and guides you if necessary through the relevant functions. You can start or
end the dialogue at any time by pressing the PTT button. You can also end the
dialogue with the voice command CANCEL.
The dialogue is always automatically ended after carrying out an operation, e.g.
after erasing the name from the phonebook.
The dialogue of the incoming call is immediately interrupted and you can accept
the call by pressing the button
.
If a voice command is not detected, the system answers with “Sorry?” and a new
entry can be performed. After the 3rd error the answer “Cancel” is given and the
dialogue is ended.
Optimum understanding of the voice commands depends on the following
factors:
•
Speak with a normal tone of voice without intonation and excessive voice
pauses.
•
Avoid insufficient articulation.
•
Close the doors, windows and sliding roof, in order to reduce or stop disturbing
exterior noise.
•
It is recommended to speak louder at higher speeds, so that the tone of your
voice is louder than the increased surrounding noise.
Fig. 131 Button for switching
on the voice controlFig. 132 Illustration image:
Two-button adapter
s29g.4.book Page 114 Wednesday, June 17, 2009 9:54 AM
Page 117 of 263
Communication 116Mobile phone operationIf you select the menu point PHONE in the information display and the phone is not
inserted in the adapter, INSERT PHONE is shown in the display.
After inserting the phone in the adapter, the system begins to load the phone book
from the phone and the SIM card into the information display.
When inserting the mobile phone the next time only perform an update of the rele-
vant phone book. The updating takes a few minutes, first of all the last read phone-
book appears in the information display. Newly stored telephone numbers are only
shown after the updating has ended.
The telephone numbers are loaded from the mobile phone depending on the
memory date, beginning with the oldest entry. If the number of telephone numbers
exceed 1 500, the newly stored telephone numbers are not loaded from the mobile
phone. If several telephone numbers in the phonebook are under one name, all the
telephone numbers with the same name are loaded separately.
If a telephone event (e.g. incoming or outgoing call, dialogue of the voice control)
occurs during the updating procedure, the updating is interrupted. After the tele-
phone event has ended, the updating starts anew.The following is shown one after the other on the display:
PLEASE WAIT
LOADING... LAST CALLS
LOADING... ACCEPTED CALLS
LOADING... MISSED CALLS
LOADING... PHONE BOOK
After loading is completed, phone book, last calls, accepted calls, missed calls and
memory appear in the display.
Using the system
•
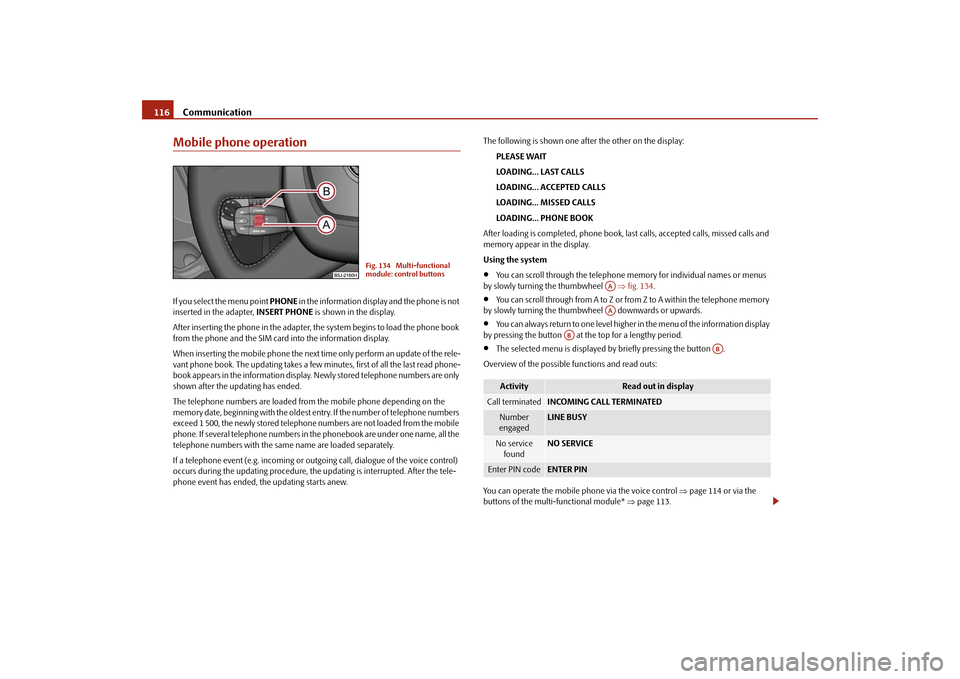
You can scroll through the telephone memory for individual names or menus
by slowly turning the thumbwheel ⇒fig. 134.
•
You can scroll through from A to Z or from Z to A within the telephone memory
by slowly turning the thumbwheel downwards or upwards.
•
You can always return to one level higher in the menu of the information display
by pressing the button at the top for a lengthy period.
•
The selected menu is displayed by briefly pressing the button .
Overview of the possible functions and read outs:
You can operate the mobile phone via the voice control ⇒page 114 or via the
buttons of the multi-functional module* ⇒page 113.
Fig. 134 Multi-functional
module: control buttons
Activity
Read out in display
Call terminated
INCOMING CALL TERMINATED
Number
engaged
LINE BUSY
No service
found
NO SERVICE
Enter PIN code
ENTER PIN
AAAA
AB
AB
s29g.4.book Page 116 Wednesday, June 17, 2009 9:54 AM
Page 124 of 263
Communication123
Using the system
Safety
Driving Tips
General Maintenance
Breakdown assistance
Praktik
Technical Data
WARNING
•
If a mobile phone or a two-way radio system is operated in the vehicle
without using a special external aerial or an external aerial which has been
incorrectly installed, this can increase the strength of the electromagnetic
field in the interior of the vehicle.
•
Please concentrate fully at all times on your driving!
•
You must not install two-way radio systems, mobile phones or mounts
on the covers of the airbags or within the immediate deployment range of
airbags. This might result in injuries to the occupants in the event of an acci-
dent.Note
Please also refer to the operating instructions of the mobile phones and two-way
radio systems.Input AUX-IN*The input for external audio sources AUX-IN is located on the right next to the hand-
brake and is marked with
.
The input AUX-IN transmits audio signals from connected external audio sources
(e. g. iPod or mp3 player) and record music from these devices via your radio*
installed in the factory. The input AUX-IN* is only available in combination with a
radio installed in the factory. The description on how to operate AUX-IN* can be
found in the relevant operating instructions of the radio*.
Note
If an external audio source is connected via AUX-IN*, which has a separate power
supply, this can lead to an interference of the audio signals.
CD changer*Operating the CD changer*Loading a CD
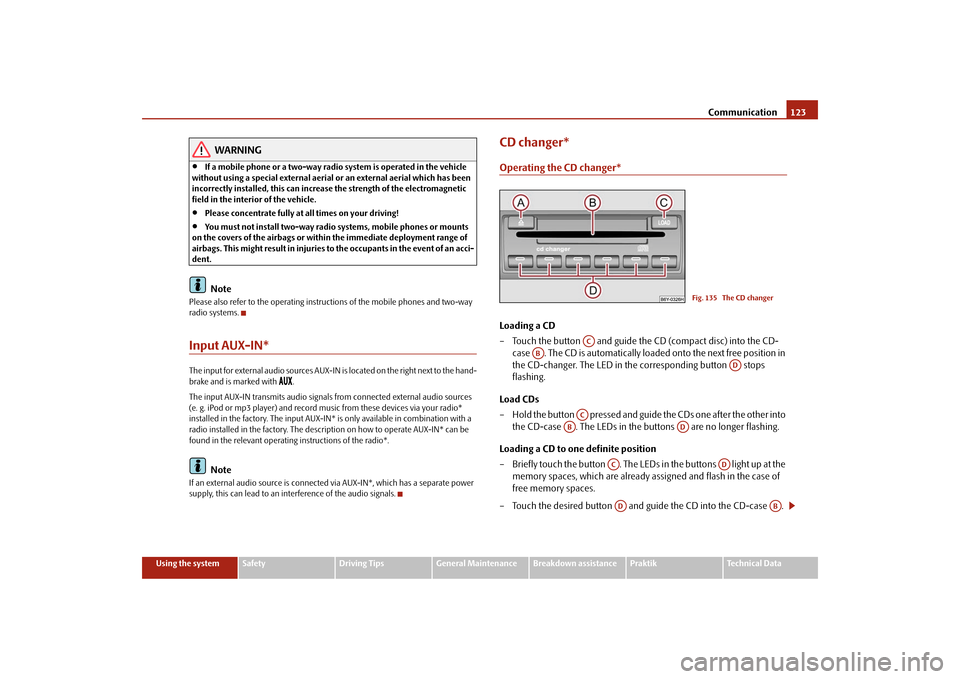
– Touch the button and guide the CD (compact disc) into the CD-
case . The CD is automatically loaded onto the next free position in
the CD-changer. The LED in the corresponding button stops
flashing.
Load CDs
– Hold the button pressed and guide the CDs one after the other into
the CD-case . The LEDs in the buttons are no longer flashing.
Loading a CD to one definite position
– Briefly touch the button . The LEDs in the buttons light up at the
memory spaces, which are already assigned and flash in the case of
free memory spaces.
– Touch the desired button and guide the CD into the CD-case .
Fig. 135 The CD changer
AC
AB
AD
AC
AB
AD
AC
AD
AD
AB
s29g.4.book Page 123 Wednesday, June 17, 2009 9:54 AM
Page 125 of 263
Communication 124
Ejecting a CD
– Briefly touch the button , in order to eject a CD. For assigned
memory spaces, now the LEDs light up in the buttons .
– Touch the corresponding button . The CD is ejected.
Ejecting all CDs
– Hold the button pressed for more than 2 seconds, in order to eject
the CDs. All CDs in the CD-changer are ejected consecutively.
Note•
Always guide the CD into the CD-case with the printed side pointing
upwards.
•
Never push the CD with force into the CD-case as the insertion is performed
automatically.
•
After loading a CD into the CD-changer, you must wait until the LED of the
corresponding button lights up. Then the CD-case is free to load the next
CD.
•
If you have selected a position, on which a CD is already located, this CD will be
ejected. Take out the ejected CD and load the desired CD.
•
The magazine can take up to six standard CDs (diameter 12 cm). Please do not
use 8 cm “single CDs”!
•
In order to avoid malfunctions of the changer, please never use a CD protective
foil or stabilizer (obtainable on the market as CD-accessory).
•
Described in this Owner's Manual are only the steps required for the operation
of the CD-changer.
•
You will find further information for this setting menu in the Radio Owner's
Manual.
Tips for operating the CD-changerPlease pay attention to the following notes for operating the CD-changer.
•
Only clean CDs without scratches and damages should be used, in order to
guarantee a proper, high-quality CD-playback.
•
Affix no labels to the CDs.
•
Always store non-used CDs in the original folding box.
•
Never expose CDs to direct sun rays.
•
Use a soft, non-fluffy cloth to clean the CDs. Wipe the CD straight-lined from
the middle to the outside. Strong dirt must be eliminated with usual CD-cleaner.
•
Please never use liquids such as gasoline, paint thinner or disk cleaner, other-
wise the surface of the CD could get damaged.
Precaution measures for laser equipmentLaser equipment is classified according to DIN IEC 76 (CO) 6/VDE 0837 in the
safety categories 1 - 4.
The Škoda CD-changer corresponds to the safety category 1.
The laser used for equipment of category 1 is to such an extent energy-poor and/or
shielded that there is no risk of danger when used in accordance with the regula-
tion.
WARNING
Please concentrate fully at all times on your driving!
Note
Do not remove the equipment cover. The equipment does not contain any parts,
which can be serviced by the user.WarrantyThe same warranty conditions apply for our factory-fitted radio as for new vehicles.
AA
AD
AD
AA
AB
AD
AB
s29g.4.book Page 124 Wednesday, June 17, 2009 9:54 AM