tire pressure SKODA ROOMSTER 2010 1.G Owner's Manual
[x] Cancel search | Manufacturer: SKODA, Model Year: 2010, Model line: ROOMSTER, Model: SKODA ROOMSTER 2010 1.GPages: 231, PDF Size: 12.91 MB
Page 32 of 231

Instruments and warning lights31
Using the system
Safety
Driving Tips
General Maintenance
Breakdown assistance
Praktik
Technical Data
Note
If the battery has been disconnected and reconnected, the warning light
comes on
after switching on the ignition. The warning light must go out after driving a short
distance.
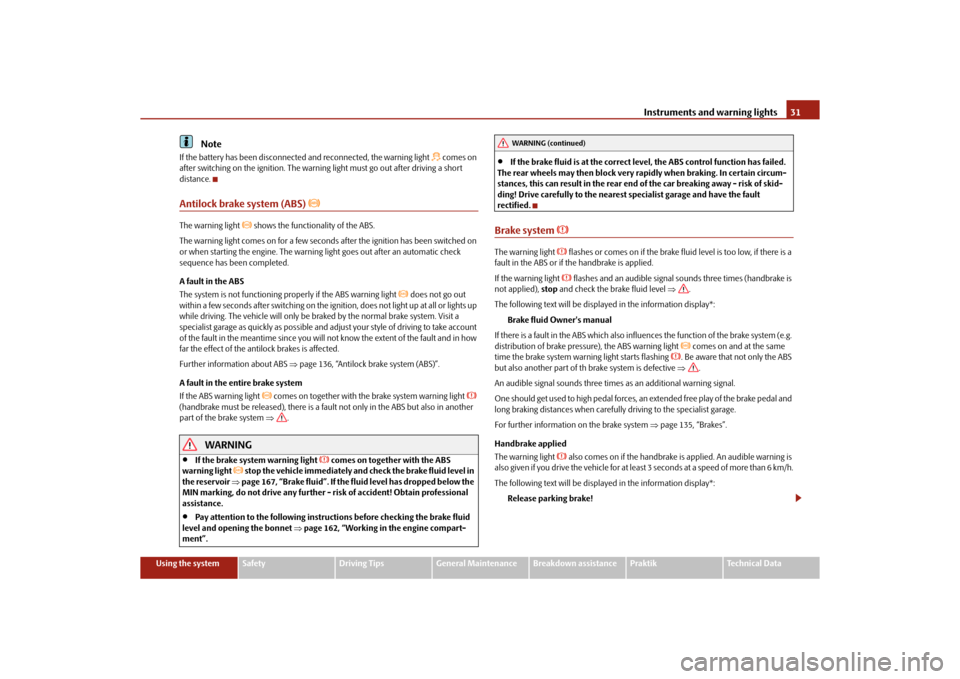
Antilock brake system (ABS)
The warning light
shows the functionality of the ABS.
The warning light comes on for a few seconds after the ignition has been switched on
or when starting the engine. The warning light goes out after an automatic check
sequence has been completed.
A fault in the ABS
The system is not functioning properly if the ABS warning light
does not go out
within a few seconds after switching on the ignition, does not light up at all or lights up
while driving. The vehicle will only be br aked by the normal brake system. Visit a
specialist garage as quickly as possible and adjust your style of driving to take account
of the fault in the meantime since you will not know the extent of the fault and in how
far the effect of the antilock brakes is affected.
Further information about ABS page 136, “Antilock brake system (ABS)”.
A fault in the entire brake system
If the ABS warning light
comes on together with the brake system warning light
(handbrake must be released), there is a fa ult not only in the ABS but also in another
part of the brake system .
WARNING
If the brake system warning light
comes on together with the ABS
warning light
stop the vehicle immediately and check the brake fluid level in
the reservoir page 167, “Brake fluid”. If the fluid level has dropped below the
MIN marking, do not drive any further - risk of accident! Obtain professional
assistance.
Pay attention to the following instruct ions before checking the brake fluid
level and opening the bonnet page 162, “Working in the engine compart-
ment”.
If the brake fluid is at the correct leve l, the ABS control function has failed.
The rear wheels may then block very rapi dly when braking. In certain circum-
stances, this can result in the rear end of the car breaking away - risk of skid-
ding! Drive carefully to the nearest specialist garage and have the fault
rectified.
Brake system
The warning light
flashes or comes on if the brake fluid level is too low, if there is a
fault in the ABS or if the handbrake is applied.
If the warning light flashes and an audible signal so unds three times (handbrake is
not applied), stop and check the brake fluid level .
The following text will be displayed in the information display*: Brake fluid Owner's manual
If there is a fault in the ABS which also infl uences the function of the brake system (e.g.
distribution of brake pressure), the ABS warning light
comes on and at the same
time the brake system warn ing light starts flashing
. Be aware that not only the ABS
but also another part of th brake system is defective .
An audible signal sounds three times as an additional warning signal.
One should get used to high pedal forces, an extended free play of the brake pedal and
long braking distances when carefully driving to the specialist garage.
For further information on the brake system page 135, “Brakes”.
Handbrake applied
The warning light
also comes on if the handbrake is applied. An audible warning is
also given if you drive the vehicle for at least 3 seconds at a speed of more than 6 km/h.
The following text will be displayed in the information display*:
Release parking brake!
WARNING (continued)
s16g.4.book Page 31 Wednesda y, February 10, 2010 3:53 PM
Page 185 of 231

Breakdown assistance
184
– Change the damaged wheel or consult a specialist garage about possibilities for
getting repairs done.
WARNING
It is necessary to observe the guidelines given on page 175, “New tyres and
wheels” if the vehicle is subsequently fitted with tyres which are different to
those it was fitted with at the works.
Note
If you find, when changing the wheel, that the wheel bolts are corroded and diffi-
cult to turn, the bolts must be replaced before checking the tightening torque.
Drive cautiously and only at a moderate speed to a workshop where the tightening
torque can be checked.
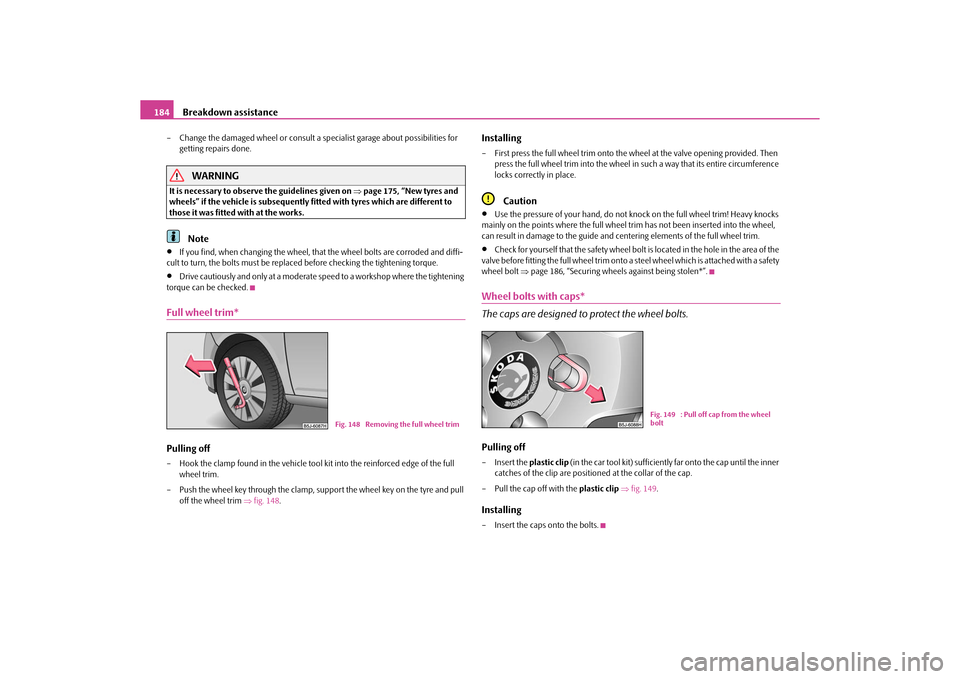
Full wheel trim*Pulling off– Hook the clamp found in the vehicle tool kit into the reinforced edge of the full
wheel trim.
– Push the wheel key through the clamp, support the wheel key on the tyre and pull off the wheel trim fig. 148 .
Installing– First press the full wheel trim onto the wheel at the valve opening provided. Then
press the full wheel trim into the wheel in such a way that its entire circumference
locks correctly in place.
Caution
Use the pressure of your hand, do not knock on the full wheel trim! Heavy knocks
mainly on the points where the full wheel trim has not been inserted into the wheel,
can result in damage to the guide and centering elements of the full wheel trim.
Check for yourself that the safety wheel bolt is located in the hole in the area of the
valve before fitting the full wheel trim onto a steel wheel which is attached with a safety
wheel bolt page 186, “Securing wheels against being stolen*”.
Wheel bolts with caps*
The caps are designed to protect the wheel bolts.Pulling off– Insert the plastic clip (in the car tool kit) sufficiently far onto the cap until the inner
catches of the clip are positioned at the collar of the cap.
– Pull the cap off with the plastic clip fig. 149.Installing– Insert the caps onto the bolts.
Fig. 148 Removing the full wheel trim
Fig. 149 : Pull off cap from the wheel
bolt
s16g.4.book Page 184 Wednesda y, February 10, 2010 3:53 PM