stop start SKODA SUPERB 2007 1.G / (B5/3U) Owner's Manual
[x] Cancel search | Manufacturer: SKODA, Model Year: 2007, Model line: SUPERB, Model: SKODA SUPERB 2007 1.G / (B5/3U)Pages: 259, PDF Size: 14.71 MB
Page 27 of 259
Instruments and Indicator/Warning Lights
26
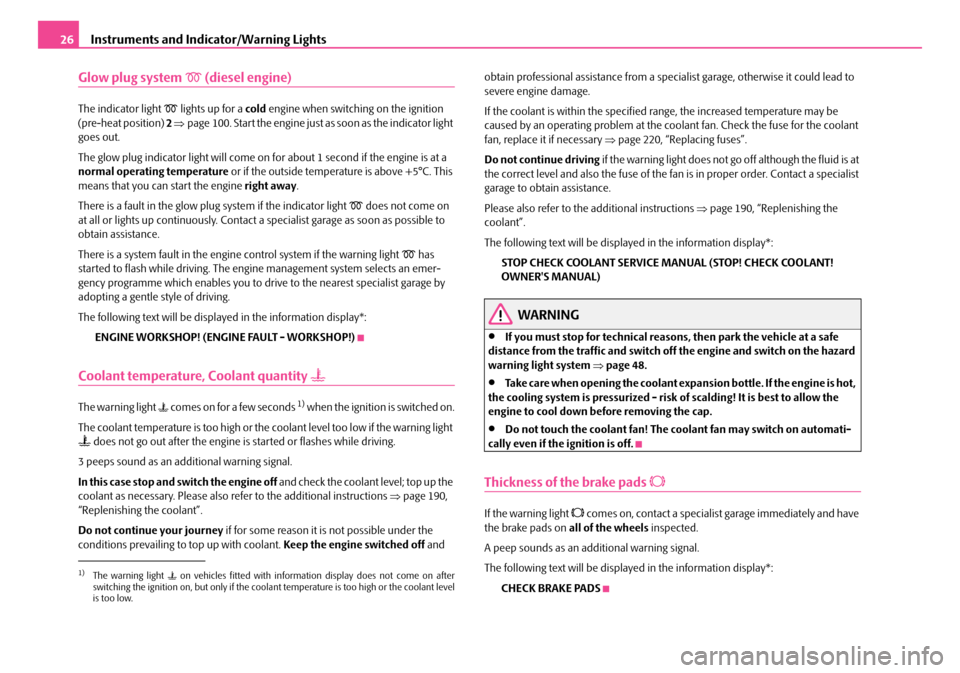
Glow plug system (diesel engine)
The indicator light lights up for a cold engine when switching on the ignition
(pre-heat position) 2 ⇒ page 100. Start the engine just as soon as the indicator light
goes out.
The glow plug indicator light will come on for about 1 second if the engine is at a
normal operating temperature or if the outside temperature is above +5°C. This
means that you can start the engine right away.
There is a fault in the glow plug system if the indicator light
does not come on
at all or lights up continuously. Contact a specialist garage as soon as possible to
obtain assistance.
There is a system fault in the engine control system if the warning light
has
started to flash while driving. The engi ne management system selects an emer-
gency programme which enables you to drive to the nearest specialist garage by
adopting a gentle style of driving.
The following text will be displayed in the information display*:
ENGINE WORKSHOP! (ENG INE FAULT - WORKSHOP!)
Coolant temperature, Coolant quantity
The warning light comes on for a few seconds 1) when the ignition is switched on.
The coolant temperature is too high or the coolant level too low if the warning light
does not go out after the engine is started or flashes while driving.
3 peeps sound as an additional warning signal.
In this case stop and switch the engine off and check the coolant level; top up the
coolant as necessary. Please also re fer to the additional instructions ⇒page 190,
“Replenishing the coolant”.
Do not continue your journey if for some reason it is not possible under the
conditions prevailing to top up with coolant. Keep the engine switched off and obtain professional assistance from a specialist garage, otherwise it could lead to
severe engine damage.
If the coolant is within the specified range, the increased temperature may be
caused by an operating problem at the coolant fan. Check the fuse for the coolant
fan, replace it if necessary
⇒page 220, “Replacing fuses”.
Do not continue driving if the warning light does not go off although the fluid is at
the correct level and also the fuse of the fan is in proper order. Contact a specialist
garage to obtain assistance.
Please also refer to the additional instructions ⇒page 190, “Replenishing the
coolant”.
The following text will be displayed in the information display*:
STOP CHECK COOLANT SERVICE MANUAL (STOP! CHECK COOLANT!
OWNER'S MANUAL)
WARNING
•If you must stop for technical reasons, then park the vehicle at a safe
distance from the traffic and switch off the engine and switch on the hazard
warning light system ⇒page 48.
•Take care when opening the coolant expa nsion bottle. If the engine is hot,
the cooling system is pressurized - risk of scalding! It is best to allow the
engine to cool down before removing the cap.
•Do not touch the coolant fan! The coolant fan may switch on automati-
cally even if the ignition is off.
Thickness of the brake pads
If the warning light comes on, contact a specialist garage immediately and have
the brake pads on all of the wheels inspected.
A peep sounds as an additional warning signal.
The following text will be displayed in the information display*: CHECK BRAKE PADS
1)The warning light on vehicles fitted with information display does not come on after
switching the ignition on, but only if the coolant temperature is too high or the coolant level
is too low.
NKO B5 20.book Page 26 Friday, March 2, 2007 1:46 PM
Page 28 of 259
Instruments and Indicator/Warning Lights27
Using the systemSafetyDriving TipsGeneral MaintenanceBreakdown assistanceTechnical Data
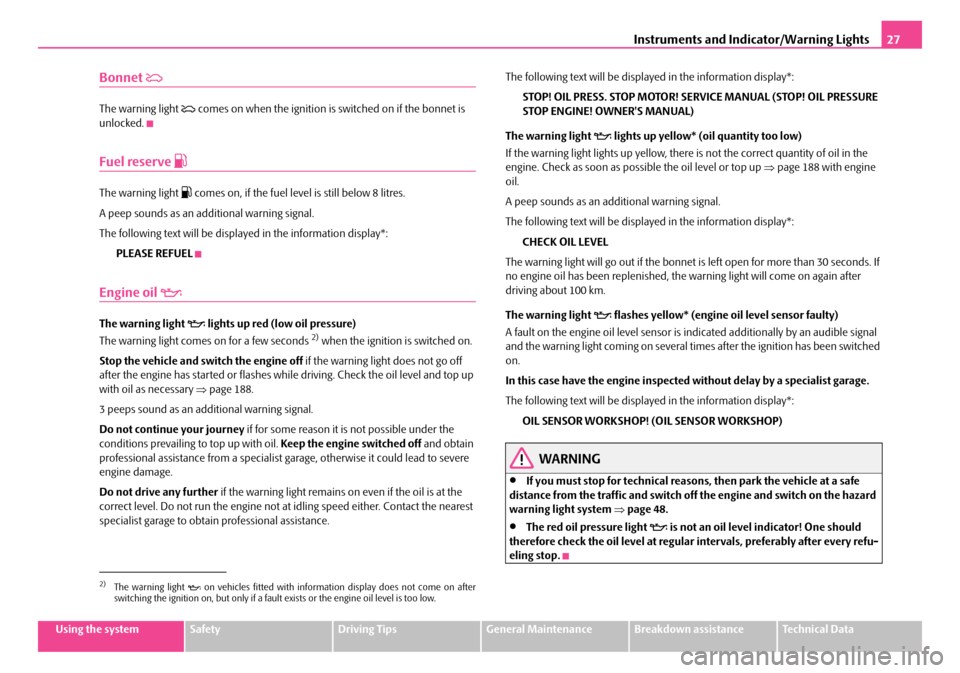
Bonnet
The warning light comes on when the ignition is switched on if the bonnet is
unlocked.
Fuel reserve
The warning light comes on, if the fuel level is still below 8 litres.
A peep sounds as an addi tional warning signal.
The following text will be displayed in the information display*: PLEASE REFUEL
Engine oil
The warning light lights up red (low oil pressure)
The warning light comes on for a few seconds 2) when the ignition is switched on.
Stop the vehicle and switch the engine off if the warning light does not go off
after the engine has started or flashes while driving. Check the oil level and top up
with oil as necessary ⇒page 188.
3 peeps sound as an additional warning signal.
Do not continue your journey if for some reason it is not possible under the
conditions prevailing to top up with oil. Keep the engine switched off and obtain
professional assistance from a specialist garage, otherwise it could lead to severe
engine damage.
Do not drive any further if the warning light remains on even if the oil is at the
correct level. Do not run the engine not at idling speed either. Contact the nearest
specialist garage to obtain professional assistance. The following text will be displayed in the information display*:
STOP! OIL PRESS. STOP MOTOR! SERVICE MANUAL (STOP! OIL PRESSURE
STOP ENGINE! OWNER'S MANUAL)
The warning light
lights up yellow* (oil quantity too low)
If the warning light lights up yellow, there is not the correct quantity of oil in the
engine. Check as soon as possible the oil level or top up ⇒ page 188 with engine
oil.
A peep sounds as an ad ditional warning signal.
The following text will be displayed in the information display*: CHECK OIL LEVEL
The warning light will go out if the bonnet is left open for more than 30 seconds. If
no engine oil has been replenished, the warning light will come on again after
driving about 100 km.
The warning light
flashes yellow* (engine oil level sensor faulty)
A fault on the engine oil level sensor is in dicated additionally by an audible signal
and the warning light coming on several ti mes after the ignition has been switched
on.
In this case have the engine inspecte d without delay by a specialist garage.
The following text will be displayed in the information display*: OIL SENSOR WORKSHOP! (OIL SENSOR WORKSHOP)
WARNING
•If you must stop for technical reasons, then park the vehicle at a safe
distance from the traffic and switch off the engine and switch on the hazard
warning light system ⇒ page 48.
•The red oil pressure light is not an oil level indicator! One should
therefore check the oil level at regular intervals, preferably after every refu-
eling stop.
2)The warning light on vehicles fitted with information display does not come on after
switching the ignition on, but only if a fault exists or the engine oil level is too low.
NKO B5 20.book Page 27 Friday, March 2, 2007 1:46 PM
Page 30 of 259
Instruments and Indicator/Warning Lights29
Using the systemSafetyDriving TipsGeneral MaintenanceBreakdown assistanceTechnical Data
The fact that the TCS system operates together with the ABS means that the TCS
warning light will also come on if the
ABS system is not operating properly.
Further information about the TCS ⇒page 156, “Traction control system (TCS)*”.
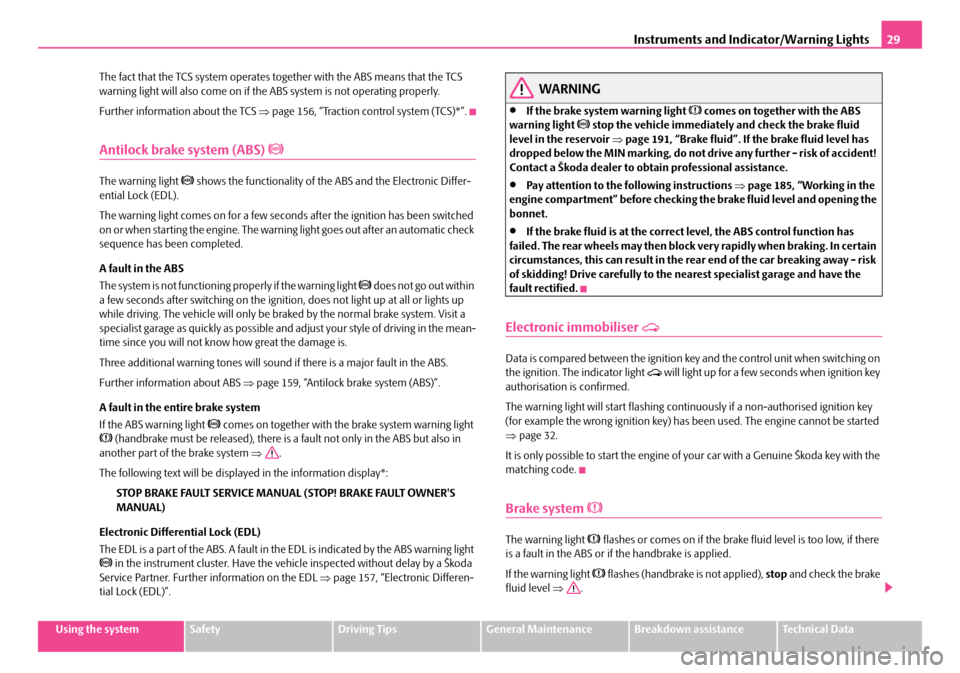
Antilock brake system (ABS)
The warning light shows the functionality of the ABS and the Electronic Differ-
ential Lock (EDL).
The warning light comes on for a few seconds after the ignition has been switched
on or when starting the engine. The warning light goes out after an automatic check
sequence has been completed.
A fault in the ABS
The system is not functioning properly if the warning light
does not go out within
a few seconds after switching on the ignition , does not light up at all or lights up
while driving. The vehicle will only be br aked by the normal brake system. Visit a
specialist garage as quickly as possible and adjust your style of driving in the mean-
time since you will not know how great the damage is.
Three additional warning tones will sound if there is a major fault in the ABS.
Further information about ABS ⇒page 159, “Antilock brake system (ABS)”.
A fault in the entire brake system
If the ABS warning light
comes on together with the brake system warning light (handbrake must be released), there is a fault not only in the ABS but also in
another part of the brake system ⇒.
The following text will be displayed in the information display*: STOP BRAKE FAULT SERVICE MANUAL (STOP! BRAKE FAULT OWNER'S
MANUAL)
Electronic Differential Lock (EDL)
The EDL is a part of the ABS. A fault in the EDL is indicated by the ABS warning light
in the instrument cluster. Have the ve hicle inspected without delay by a Škoda
Service Partner. Further information on the EDL ⇒page 157, “Electronic Differen-
tial Lock (EDL)”.
WARNING
•If the brake system warning light comes on together with the ABS
warning light stop the vehicle immediately and check the brake fluid
level in the reservoir ⇒page 191, “Brake fluid”. If the brake fluid level has
dropped below the MIN marking, do not drive any further - risk of accident!
Contact a Škoda dealer to obta in professional assistance.
•Pay attention to the following instructions ⇒ page 185, “Working in the
engine compartment” before checking the brake fluid level and opening the
bonnet.
•If the brake fluid is at the correct level, the ABS control function has
failed. The rear wheels may then block very rapidly when braking. In certain
circumstances, this can result in the rear end of the car breaking away - risk
of skidding! Drive carefully to the nearest specialist garage and have the
fault rectified.
Electronic immobiliser
Data is compared between the ignition ke y and the control unit when switching on
the ignition. The indicator light will light up for a few seconds when ignition key
authorisation is confirmed.
The warning light will start flashing conti nuously if a non-authorised ignition key
(for example the wrong ignition key) has been used. The engine cannot be started
⇒ page 32.
It is only possible to start the engine of your car with a Genuine Škoda key with the
matching code.
Brake system
The warning light flashes or comes on if the brake fluid level is too low, if there
is a fault in the ABS or if the handbrake is applied.
If the warning light
flashes (handbrake is not applied), stop and check the brake
fluid level ⇒ .
NKO B5 20.book Page 29 Friday, March 2, 2007 1:46 PM
Page 31 of 259
Instruments and Indicator/Warning Lights
30
The following text will be displayed in the information display*:
STOP BRAKE FLUID SERVICE MANUAL
If there is a fault in the ABS which also influences the function of the normal brake
system (e.g. distribution of brake pressure), the ABS warning light
comes on
together with the brake system warning light . Be aware that not only the ABS but
also another part of th brake system is defective ⇒.
3 peeps sound as an additional warning signal.
One should get used to high pedal forces, long braking distances and long free play
of the brake pedal when driving to the next specialist garage.
The following text will be displayed in the information display*: STOP BRAKE FAULT SERVICE MANUAL (STOP! BRAKE FAULT OWNER'S
MANUAL)
For further information on the brake system ⇒page 158, “Brakes”.
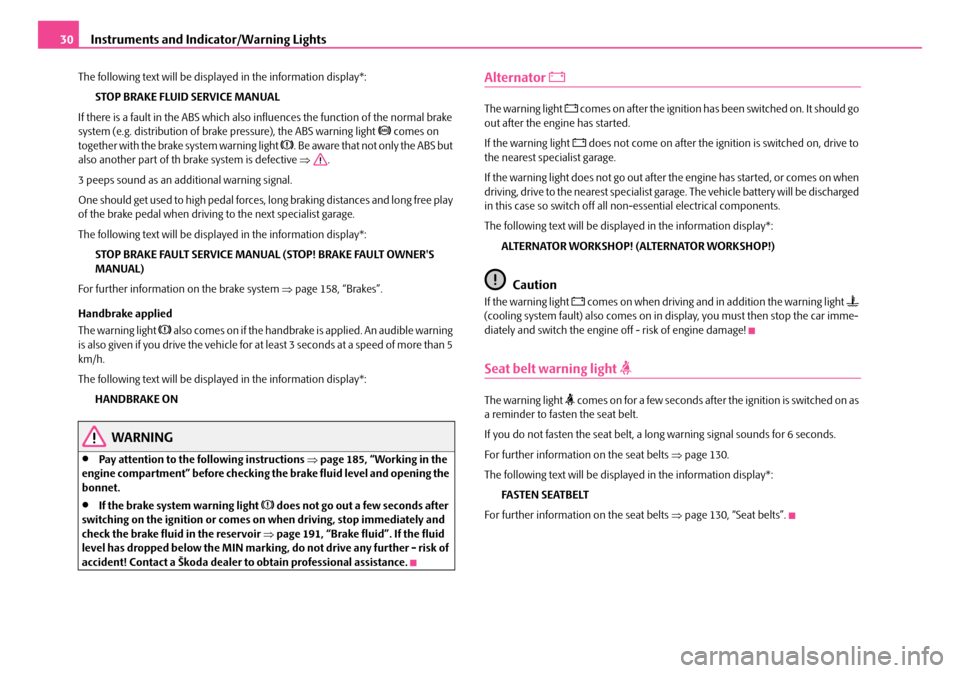
Handbrake applied
The warning light
also comes on if the handbrake is applied. An audible warning
is also given if you drive the vehicle for at least 3 seconds at a speed of more than 5
km/h.
The following text will be displayed in the information display*:
HANDBRAKE ON
WARNING
•Pay attention to the following instructions ⇒page 185, “Working in the
engine compartment” before checking the brake fluid level and opening the
bonnet.
•If the brake system warning light does not go out a few seconds after
switching on the ignition or comes on when driving, stop immediately and
check the brake fluid in the reservoir ⇒page 191, “Brake fluid”. If the fluid
level has dropped below the MIN marking, do not drive any further - risk of
accident! Contact a Škoda dealer to obtain professional assistance.
Alternator
The warning light comes on after the ignition has been switched on. It should go
out after the engine has started.
If the warning light
does not come on after the ignition is switched on, drive to
the nearest specialist garage.
If the warning light does not go out after the engine has started, or comes on when
driving, drive to the nearest specialist garage. The vehicle battery will be discharged
in this case so switch off all non-essential electrical components.
The following text will be displayed in the information display*:
ALTERNATOR WORKSHOP! (ALTERNATOR WORKSHOP!)
Caution
If the warning light comes on when driving and in addition the warning light
(cooling system fault) also comes on in display, you must then stop the car imme-
diately and switch the engine off - risk of engine damage!
Seat belt warning light
The warning light comes on for a few seconds after the ignition is switched on as
a reminder to fasten the seat belt.
If you do not fasten the seat belt, a long warning signal sounds for 6 seconds.
For further information on the seat belts ⇒page 130.
The following text will be displayed in the information display*: FASTEN SEATBELT
For further information on the seat belts ⇒page 130, “Seat belts”.
NKO B5 20.book Page 30 Friday, March 2, 2007 1:46 PM
Page 32 of 259
Unlocking and locking31
Using the systemSafetyDriving TipsGeneral MaintenanceBreakdown assistanceTechnical Data
Unlocking and locking
Key
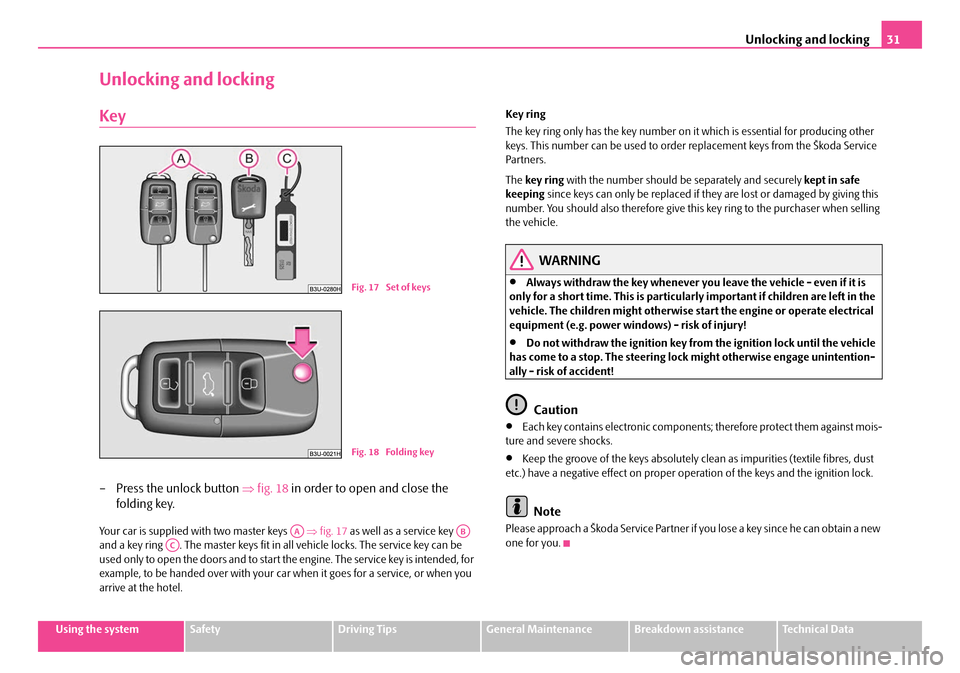
– Press the unlock button ⇒fig. 18 in order to open and close the
folding key.
Your car is supplied with two master keys ⇒fig. 17 as well as a service key
and a key ring . The master keys fit in all vehicle locks. The service key can be
used only to open the doors and to start the engine. The service key is intended, for
example, to be handed over with your car when it goes for a service, or when you
arrive at the hotel. Key ring
The key ring only has the key number on it
which is essential for producing other
keys. This number can be us ed to order replacement keys from the Škoda Service
Par tners.
The key ring with the number should be separately and securely kept in safe
keeping since keys can only be replaced if th ey are lost or damaged by giving this
number. You should also therefore give this key ring to the purchaser when selling
the vehicle.
WARNING
•Always withdraw the key whenever you leave the ve hicle - even if it is
only for a short time. This is particularly important if children are left in the
vehicle. The children migh t otherwise start the engine or operate electrical
equipment (e.g. power windows) - risk of injury!
•Do not withdraw the ignition key from the ignition lock until the vehicle
has come to a stop. The steering lock might otherwise engage unintention-
ally - risk of accident!
Caution
•Each key contains electronic components ; therefore protect them against mois-
ture and severe shocks.
•Keep the groove of the keys absolutely clean as impurities (textile fibres, dust
etc.) have a negative effect on proper op eration of the keys and the ignition lock.
Note
Please approach a Škoda Service Partner if you lose a key since he can obtain a new
one for you.
Fig. 17 Set of keys
Fig. 18 Folding key
AAABAC
NKO B5 20.book Page 31 Friday, March 2, 2007 1:46 PM
Page 103 of 259
Starting-off and Driving
102
You should not switch on any major elec trical components during the heating
period otherwise the vehicle battery will be drained unnecessarily.
•You should start the engine immediately after the glow plug warning light
has gone out.
•The glow plug warning light will come on for about one second if the engine is
at a normal operating temperature or if the outside temperature is above +5°C. This
means that you can start the engine right away.
•Interrupt the attempt at starting after 10 seconds if the engine does not start
right awayand wait for about 30 seconds before repeating the attempt.
•It is possible that the fuse on the diesel preglow system is defect if the engine
still does not start. Check the fuse and replace it if necessary ⇒page 220.
•If the engine does not start, contact th e nearest specialist garage to obtain
professional assistance.
Starting the engine after fuel tank has run dry
It may take longer than normal to start the engine after refuelling if the fuel tank has
run completely dry - up to one minute. This is because the fuel system must first of
all be filled while the attempting to start the engine.
Switching the engine off
– Turn the ignition key into position ⇒page 100, fig. 114 .
WARNING
•Never switch off the engine before the vehicle is stationary - risk of acci-
dent!
•The brake booster only operates when the engine is running. Greater
physical effort for braking is required when engine is switched off. Because
if you do not stop as normal, this can cause an accident and severe injuries.
Caution
you should not switch the engine off right away at the end of your journey after the
engine has been operated for a lengthy peri od at high loads but should be allowed
it to run at idling speed for about 2 minut es. This prevents any accumulation of heat
when the engine is switched off.
Note
•The radiator fan may continue running for a further 10 minutes or so after the
engine and the ignition have been switched off. The coolant fan may, however, also
switch on again after some time if the coolant temperature rises because of an
accumulation of heat in the engine or if the engine is warm and the engine
compartment is additionally heated by strong sunlight.
•This is why particular care is required when carrying out any work in the engine
compartment ⇒ page 185, “Working in the engine compartment”.
A1
NKO B5 20.book Page 102 Friday, March 2, 2007 1:46 PM
Page 105 of 259
Starting-off and Driving
104
A warning signal sounds and the following text appears in the display* if you have
inadvertently driven off with the handbrake applied:
"Handbrake on"
The handbrake warning is activated if you drive at a speed of more than 5 km/h for
more than 3 seconds.
WARNING
•Please note that the handbrake mu st be fully released. A handbrake
which is only partially released can re sult in the rear brakes overheating
which will have a negative effect on th e operation of the brake system - risk
of accident! In addition this can result in premature wear of the rear brake
pads.
•Never leave children unattended in th e vehicle. The children might, for
example, release the handbrake or take the vehicle out of gear. The vehicle
might then move off - risk of accident!
Caution
After the car has come to a stop, always firs t of all apply the handbrake firmly before
then additionally engaging a gear (manual gearbox) or moving the selector lever
into position P (automatic gearbox).
Parking aid*
The parking aid provides a warning of obstacles behind the vehicle.
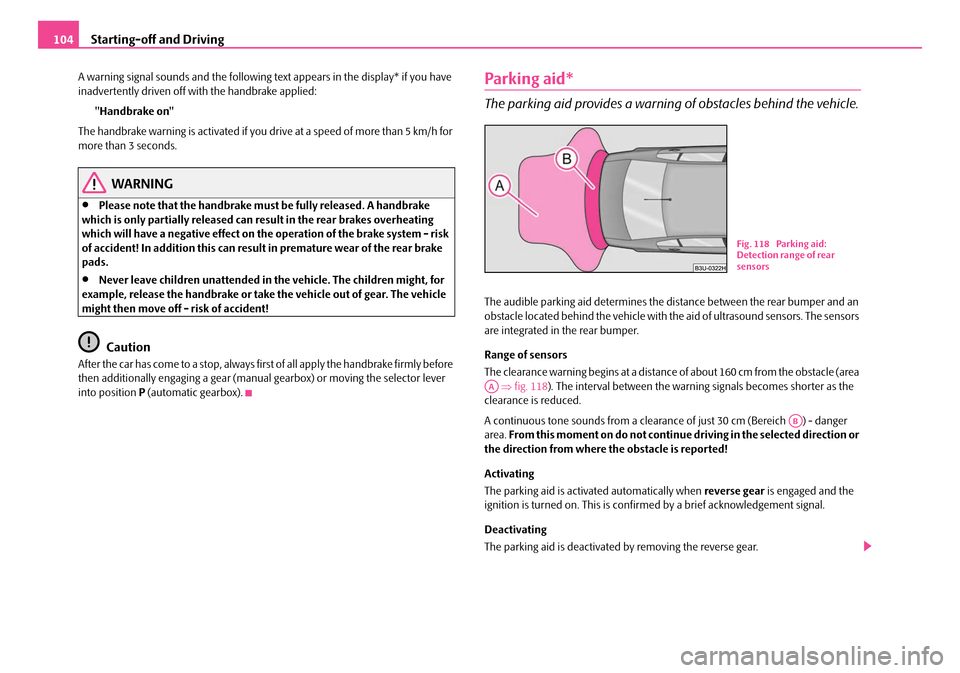
The audible parking aid determines the di stance between the rear bumper and an
obstacle located behind the vehicle with the aid of ultrasound sensors. The sensors
are integrated in the rear bumper.
Range of sensors
The clearance warning begins at a distance of about 160 cm from the obstacle (area ⇒ fig. 118 ). The interval between the warning signals becomes shorter as the
clearance is reduced.
A continuous tone sounds from a clearanc e of just 30 cm (Bereich ) - danger
area. From this moment on do not continue driving in the selected direction or
the direction from where the obstacle is reported!
Activating
The parking aid is activated automatically when reverse gear is engaged and the
ignition is turned on. This is confir med by a brief acknowledgement signal.
Deactivating
The parking aid is deactivated by removing the reverse gear.
B1Z-0042HB1Z-0042H
Fig. 118 Parking aid:
Detection range of rear
sensors
AA
AB
NKO B5 20.book Page 104 Friday, March 2, 2007 1:46 PM
Page 109 of 259

Starting-off and Driving
108
WARNING
First ensure that it is not too high for the traffic conditions which exist at that
moment before resuming the stored speed.
Switching off the cruise control system completely
– Move the slide switch ⇒page 106, fig. 121 up to the stop into the
OFF position.AA
NKO B5 20.book Page 108 Friday, March 2, 2007 1:46 PM
Page 110 of 259

Automatic gearbox*109
Using the systemSafetyDriving TipsGeneral MaintenanceBreakdown assistanceTechnical Data
Automatic gearbox*
5-speed automatic gearbox
Information for driving with an automatic gearbox
Shifting up and down through the gears is performed automatically.
You can also, however, switch the gearbox over into the Tiptronic mode.
This mode makes it possible for you to also shift gears manually
⇒ page 113.
Starting-off and Driving
– Depress the brake pedal and hold it depressed.
– Press the Shiftlock button (button in handle of the selector lever),
move the selector lever into the desired position, e.g. D ⇒ page 110,
and then release the Shiftlock button.
– Wait a moment until the gearbox ha s shifted (a slight engagement
nudge can be felt).
– Release the brake pedal and depress the accelerator ⇒.
Stopping for a short time
– The selector lever position N does not have to be selected when stop-
p i n g j u s t fo r a s h o r t t im e, s u c h a s a t a cross roads. It is sufficient to hold
the vehicle stationary using the foot brake. The engine can, however,
be allowed just to idle.
Parking
– Depress the brake pedal and hold it depressed.
– Apply the handbrake firmly. – Press and Shiftlock button in the
selector lever, move the selector
lever to P and then release the Shiftlock button.
The engine can only be started when the selector lever is in position P or N
⇒ page 101.
It is sufficient to engage selector lever position P when parking on a flat surface.
When parking on a slope you should first apply the handbrake firmly and then
move the selector lever into position P. This is to ensure that there is no excessive
pressure acting on the lock mechanism and that it is easier to subsequently move
the selector lever out of position P.
If the selector lever position N is selected by accident while driving it is first neces-
sary to release pressure on the accelerato r pedal and wait for idling speed of the
engine to be reached before engaging a drive position in the selector lever.
WARNING
•Do not depress the accelerator when changing the position of the
selector lever if the car is stationary an d the engine is running - risk of acci-
dent!
•Never move the selector lever into position R or P when driving - risk of
an accident!
•When the engine is running and the ve hicle is stationary, it is necessary
to hold the car with the brake pedal in all the positions of the selector lever
(except P and N) since the power transmission is never completely inter-
rupted, also not when the engine is idling - the vehicle "creeps".
NKO B5 20.book Page 109 Friday, March 2, 2007 1:46 PM
Page 171 of 259

Towing a trailer
170
should be attached to folding arms. Adjust the mirrors so that they provide you with
an adequate field of view to the rear.
Headlights
Before starting off with a hitched trailer, also check the setting of the headlights.
Alter the setting as necessary with the aid of the headlight beam adjuster
⇒ page 48.
Detachable ball head
The ball rod is detachable on vehicles wh ich feature a factory-fitted towing device.
It is stowed together with separate fitting instructions in the spare wheel well in the
luggage compartment of the vehicle.
Further information on the towing device ⇒page 171.
Note
•We recommend that you also have yo ur vehicle inspected between service
intervals if you tow a trailer frequently.
•The handbrake on the towing vehicle must be put on when coupling and
decoupling the trailer.
Driving Tips
Particular caution is required when towing a trailer.
– Do not, as far as possible, drive with your vehicle unladen and the
trailer laden.
– Do not make full use of the legal maximum speeds. This applies in
particular to downhill sections.
– Apply the brakes in good time.
– Keep a check on the coolant temper ature gauge if the outside temper-
ature is high.
Distribution of weight
The distribution of the weight is very poor if your vehicle is unladen and the trailer
is laden. Maintain a particularly low speed if you cannot avoid driving with this
combination.
Driving speed
Do not drive faster than 80 km/h for safety reasons. This also applies for countries
in which higher speeds are allowed.
The fact that the driving stability of the vehicle + trailer combination reduces with
increasing speed means that the legally allowed speed should not be used when
there are unfavourable road, weather or wind conditions, particularly near accident
black spots.
You must always reduce your speed immedi ately as soon as you detect even just
the slightest swaying of the trailer. On no account attempt to stop the trailer from
“swaying” by accelerating.
Apply the brakes in good time! If the trailer is fitted with a trailer brake, apply the
brakes gently at first and then brake firmly. This will avoid brake jolts resulting from
the trailer wheels locking. Shift down gears in good time before negotiating a down-
hill section to allow the engine to also act as a brake.
Engine overheating
Please keep a check on the coolant temperature gauge if you have to negotiate a
lengthy slope in a low gear at a high engi ne speed when the outside temperature is
very high ⇒page 12.
If the needle of the coolant temperature gauge moves into the right-hand area or
even the red area of the scale, reduce yo ur speed immediately. Stop and switch off
the engine if the warning light
in the instrument cluste r begins flashing. Wait a
few minutes and check the level of coolant in the coolant expansion bottle
⇒ page 190, “Inspecting the coolant level”.
Please refer to the following guidelines ⇒page 26, “Coolant temperature, Coolant
quantity ”.
The coolant temperature can be reduced by switching on the heating.
Any increase in the cooling effect of the coolant fan through shifting down a gear
and increasing the engine speed is not possible since the fan speed is independent
NKO B5 20.book Page 170 Friday, March 2, 2007 1:46 PM