ignition SKODA SUPERB 2009 Owner´s Manual
[x] Cancel search | Manufacturer: SKODA, Model Year: 2009, Model line: SUPERB, Model: SKODA SUPERB 2009Pages: 252, PDF Size: 16.33 MB
Page 149 of 252
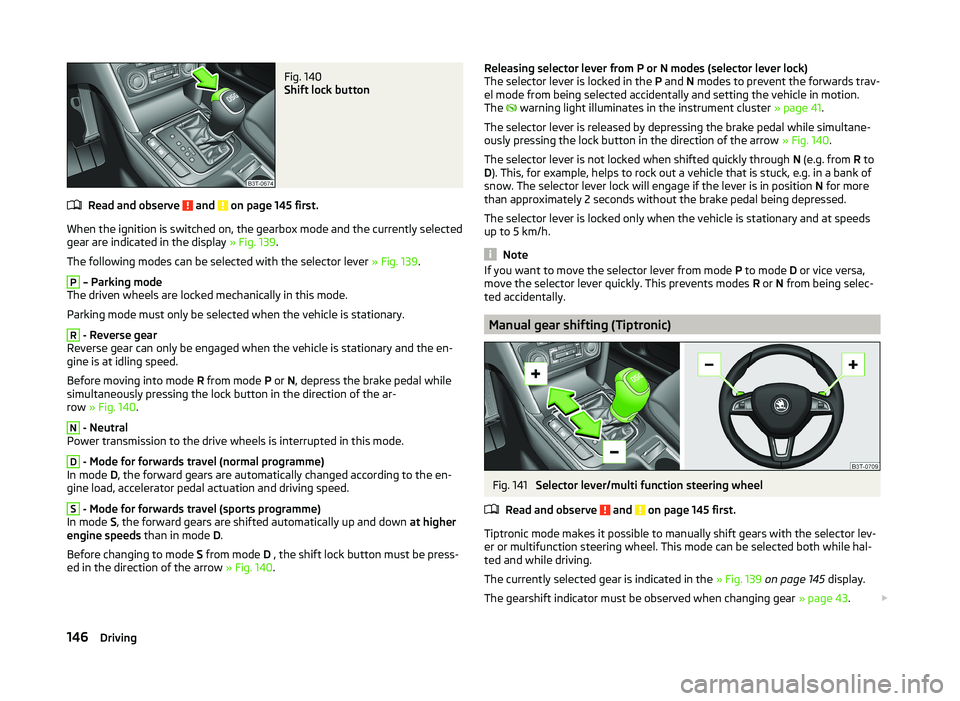
Fig. 140
Shift lock button
Read and observe and on page 145 first.
When the ignition is switched on, the gearbox mode and the currently selectedgear are indicated in the display » Fig. 139.
The following modes can be selected with the selector lever » Fig. 139.
P
– Parking mode
The driven wheels are locked mechanically in this mode.
Parking mode must only be selected when the vehicle is stationary.
R
- Reverse gear
Reverse gear can only be engaged when the vehicle is stationary and the en-
gine is at idling speed.
Before moving into mode R from mode P or N, depress the brake pedal while
simultaneously pressing the lock button in the direction of the ar-
row » Fig. 140 .
N
- Neutral
Power transmission to the drive wheels is interrupted in this mode.
D
- Mode for forwards travel (normal programme)
In mode D, the forward gears are automatically changed according to the en-
gine load, accelerator pedal actuation and driving speed.
S
- Mode for forwards travel (sports programme)
In mode S, the forward gears are shifted automatically up and down at higher
engine speeds than in mode D.
Before changing to mode S from mode D , the shift lock button must be press-
ed in the direction of the arrow » Fig. 140.
Releasing selector lever from P or N modes (selector lever lock)
The selector lever is locked in the P and N modes to prevent the forwards trav-
el mode from being selected accidentally and setting the vehicle in motion.
The
warning light illuminates in the instrument cluster » page 41.
The selector lever is released by depressing the brake pedal while simultane-
ously pressing the lock button in the direction of the arrow » Fig. 140.
The selector lever is not locked when shifted quickly through N (e.g. from R to
D ). This, for example, helps to rock out a vehicle that is stuck, e.g. in a bank of
snow. The selector lever lock will engage if the lever is in position N for more
than approximately 2 seconds without the brake pedal being depressed.
The selector lever is locked only when the vehicle is stationary and at speeds
up to 5 km/h.
Note
If you want to move the selector lever from mode P to mode D or vice versa,
move the selector lever quickly. This prevents modes R or N from being selec-
ted accidentally.
Manual gear shifting (Tiptronic)
Fig. 141
Selector lever/multi function steering wheel
Read and observe
and on page 145 first.
Tiptronic mode makes it possible to manually shift gears with the selector lev-
er or multifunction steering wheel. This mode can be selected both while hal-
ted and while driving.
The currently selected gear is indicated in the » Fig. 139 on page 145 display.
The gearshift indicator must be observed when changing gear » page 43.
146Driving
Page 157 of 252
Assist systems
Brake assist systems
Introduction
This chapter contains information on the following subjects:
Electronic Stability Control (ESC)
154
Antilock brake system (ABS)
155
Traction Control System (ASR)
155
Electronic Differential Lock (EDL)
155
Driver Steering Recommendation (DSR)
155
Hydraulic Brake Assist (HBA)
155
Hill Hold Control (HHC)
156WARNING■ A lack of fuel can cause irregular engine running or cause the engine to
shut down. The brake assist systems would then fail to function – risk of
accident!■
Adjust the speed and driving style to the current visibility, weather, road
and traffic conditions. The increased safety provided by the brake assist
systems must not tempt you to take safety risks – risk of accident!
■
In the event of an ABS fault, visit a specialist garage immediately. Adjust
your style of driving according to the damage to the ABS, as you will not
know the exact extent of the damage or the extent to which this is limiting the braking efficiency.
CAUTION
■ All four wheels must be fitted with the same tyres approved by the manufac-
turer to ensure the brake assist systems operate correctly.■
Changes to the vehicle (e.g. to the engine, brakes, chassis) can influence the
functionality of the brake assist systems » page 173, Services, modifications
and technical alterations .
■
If a fault occurs in the ABS system, the ESC, ASR and EDL will also not work.
An ABS fault is indicated with the warning light
» page 38 .
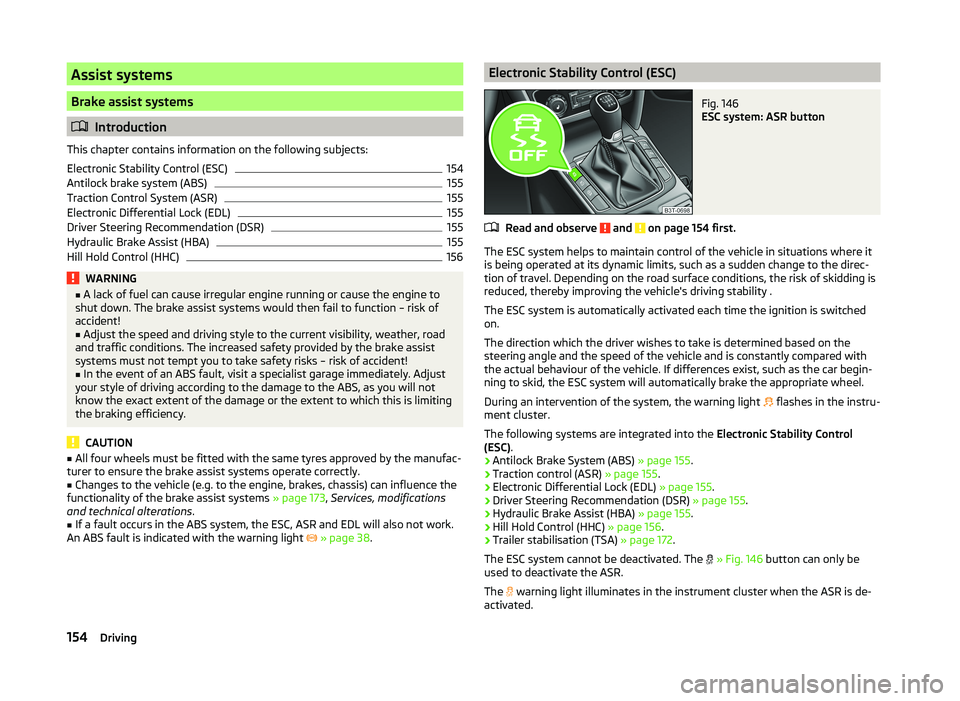
Electronic Stability Control (ESC)Fig. 146
ESC system: ASR button
Read and observe and on page 154 first.
The ESC system helps to maintain control of the vehicle in situations where it
is being operated at its dynamic limits, such as a sudden change to the direc-
tion of travel. Depending on the road surface conditions, the risk of skidding is
reduced, thereby improving the vehicle's driving stability .
The ESC system is automatically activated each time the ignition is switched on.
The direction which the driver wishes to take is determined based on the
steering angle and the speed of the vehicle and is constantly compared with
the actual behaviour of the vehicle. If differences exist, such as the car begin-
ning to skid, the ESC system will automatically brake the appropriate wheel.
During an intervention of the system, the warning light flashes in the instru-
ment cluster.
The following systems are integrated into the Electronic Stability Control
(ESC) .
› Antilock Brake System (ABS)
» page 155.
› Traction control (ASR)
» page 155.
› Electronic Differential Lock (EDL)
» page 155.
› Driver Steering Recommendation (DSR)
» page 155.
› Hydraulic Brake Assist (HBA)
» page 155.
› Hill Hold Control (HHC)
» page 156.
› Trailer stabilisation (TSA)
» page 172.
The ESC system cannot be deactivated. The
» Fig. 146 button can only be
used to deactivate the ASR.
The warning light illuminates in the instrument cluster when the ASR is de-
activated.
154Driving
Page 158 of 252
Antilock brake system (ABS)Read and observe
and on page 154 first.
ABS prevents the wheels locking when braking. Thereby, it helps the driver to
maintain control of the vehicle.
The intervention of the ABS is noticeable from the pulsating movements of
the brake pedal which is accompanied by noises.
When the ABS system is active, do not brake periodically or reduce the pres-
sure on the brake pedal.
Traction Control System (ASR)
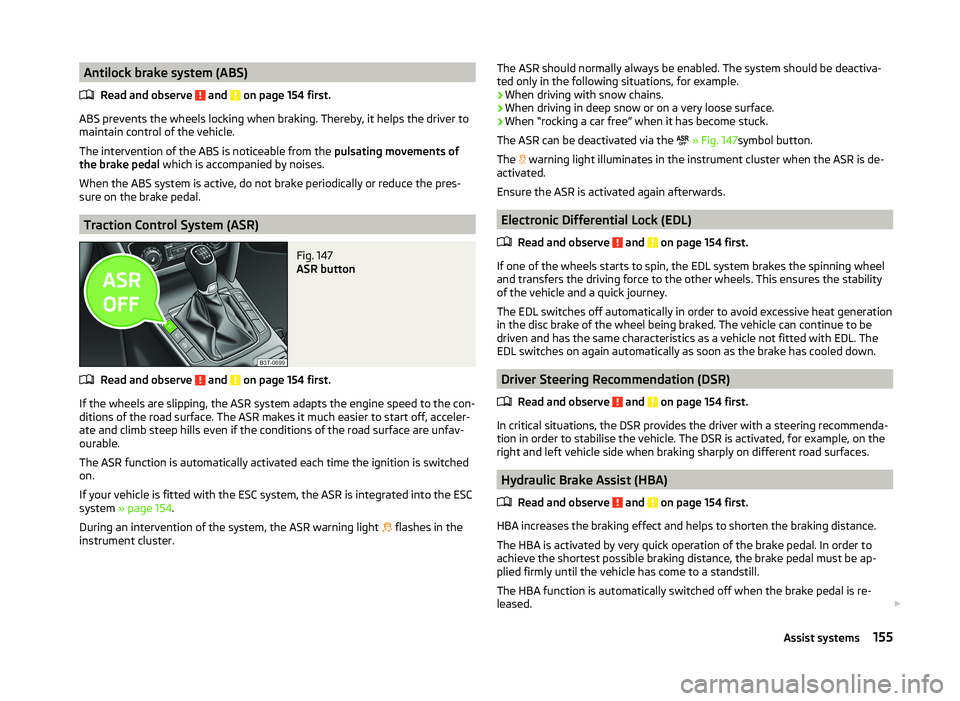
Fig. 147
ASR button
Read and observe and on page 154 first.
If the wheels are slipping, the ASR system adapts the engine speed to the con- ditions of the road surface. The ASR makes it much easier to start off, acceler-
ate and climb steep hills even if the conditions of the road surface are unfav-
ourable.
The ASR function is automatically activated each time the ignition is switched
on.
If your vehicle is fitted with the ESC system, the ASR is integrated into the ESC
system » page 154 .
During an intervention of the system, the ASR warning light flashes in the
instrument cluster.
The ASR should normally always be enabled. The system should be deactiva-
ted only in the following situations, for example.
› When driving with snow chains.
› When driving in deep snow or on a very loose surface.
› When “rocking a car free” when it has become stuck.
The ASR can be deactivated via the
» Fig. 147 symbol button.
The
warning light illuminates in the instrument cluster when the ASR is de-
activated.
Ensure the ASR is activated again afterwards.
Electronic Differential Lock (EDL)
Read and observe
and on page 154 first.
If one of the wheels starts to spin, the EDL system brakes the spinning wheel
and transfers the driving force to the other wheels. This ensures the stability
of the vehicle and a quick journey.
The EDL switches off automatically in order to avoid excessive heat generation
in the disc brake of the wheel being braked. The vehicle can continue to be
driven and has the same characteristics as a vehicle not fitted with EDL. The
EDL switches on again automatically as soon as the brake has cooled down.
Driver Steering Recommendation (DSR)
Read and observe
and on page 154 first.
In critical situations, the DSR provides the driver with a steering recommenda-tion in order to stabilise the vehicle. The DSR is activated, for example, on the
right and left vehicle side when braking sharply on different road surfaces.
Hydraulic Brake Assist (HBA)
Read and observe
and on page 154 first.
HBA increases the braking effect and helps to shorten the braking distance.The HBA is activated by very quick operation of the brake pedal. In order to
achieve the shortest possible braking distance, the brake pedal must be ap-
plied firmly until the vehicle has come to a standstill.
The HBA function is automatically switched off when the brake pedal is re-
leased.
155Assist systems
Page 167 of 252
Automatic engine shutdown takes place, segment display shows START STOP
ACTIVE or a check mark appears in the MAXI DOT display » Fig. 152 on
page 163 .
Automatic engine start›
Release the brake pedal.
The automatic start procedure takes place again.
Further information on automatic transmission
The automatic engine shut down takes place when the selector lever is in po-
sitions P, D , S and N and in Tiptronic mode.
When the selector lever is in position P, the engine remains shut down even
after you release the brake pedal. The engine starts automatically by pressing
the gas pedal or by moving the selector lever into a different mode and releas-
ing the brake pedal.
If the engine is off due to the automatic and the selector lever is put to the R
position, then the automatic start-up of the engine.
If the gear selector is moved from position R to the position D, S or N, the vehi-
cle must reach a speed of more than 10 km / h before the automatic engine
shutdown starts.
There is no automatic engine shutdown when the system detects a vehicle
moving due to a large steering angle.
No automatic engine shutdown takes place when the vehicle is moving at low
speed (e.g. during a traffic jam or when turning) and remains stationary after
pressing the brake pedal lightly. Automatic engine shutdown takes place if you
press the brake pedal down with more force.
System related automatic start-up
Read and observe
on page 162 first.
When the engine is off, the system can automatically start the engine beforethe desired journey continues. Some possible reasons for this are:
› The vehicle has begun to roll, e.g. on a slope.
› The brake pedal has been actuated several times.
› The current consumption is too high.
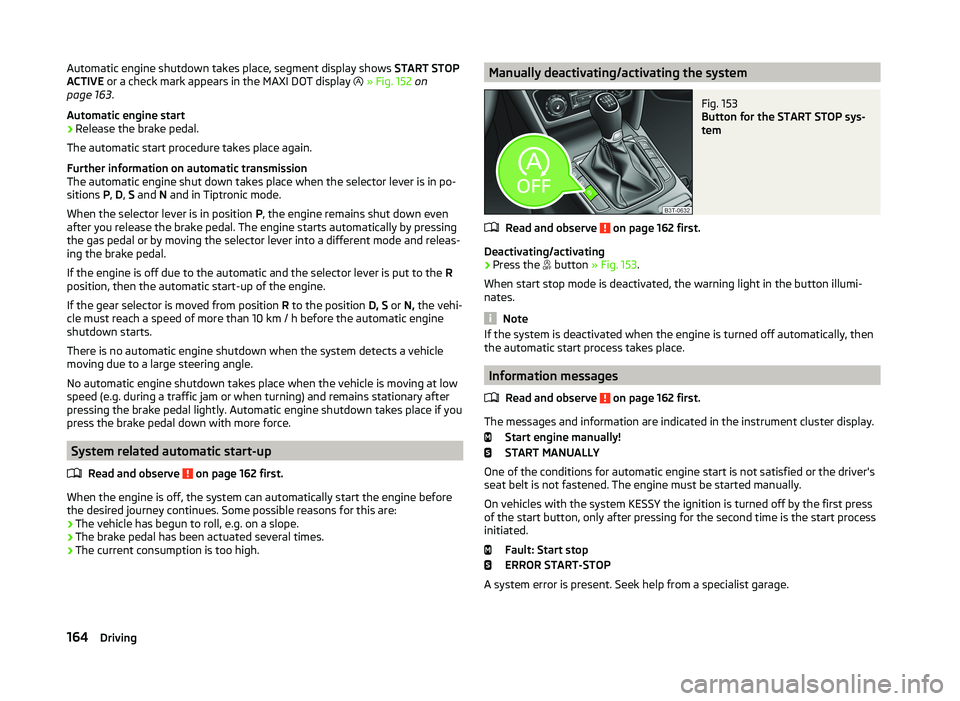
Manually deactivating/activating the systemFig. 153
Button for the START STOP sys-
tem
Read and observe on page 162 first.
Deactivating/activating
›
Press the button
» Fig. 153 .
When start stop mode is deactivated, the warning light in the button illumi-
nates.
Note
If the system is deactivated when the engine is turned off automatically, then
the automatic start process takes place.
Information messages
Read and observe
on page 162 first.
The messages and information are indicated in the instrument cluster display. Start engine manually!
START MANUALLY
One of the conditions for automatic engine start is not satisfied or the driver's
seat belt is not fastened. The engine must be started manually.
On vehicles with the system KESSY the ignition is turned off by the first press
of the start button, only after pressing for the second time is the start process
initiated.
Fault: Start stop
ERROR START-STOP
A system error is present. Seek help from a specialist garage.
164Driving
Page 168 of 252
Fatigue detection (break recommendation)
Introduction
This chapter contains information on the following subjects:
Function
165
Information messages
165WARNING■ For the driving ability is always the driver's responsibility. Never drive if
you feel tired.■
The system may not detect all cases where a break is needed.
■
Therefore, take regular, sufficient breaks during long trips.
■
There will be no system warning during the so-called micro-sleep.
Note
■ In some situations, the system may evaluate the driving incorrectly and thus
mistakenly recommend a break (e.g. sporty driving, adverse weather condi-
tions or poor road conditions).■
The fatigue detection system is designed primarily for motorway driving.
Function
Read and observe
on page 165 first.
The fatigue detection system advises the driver on the basis of information
about the steering behaviour, to take a break from driving. The system recom-
mends a break at speeds of 65-200 km/h.
After the ignition has been switched on, the system evaluates the steering be-
haviour for 15 minutes. This baseline analysis is constantly compared with the
current steering behaviour.
If the system detects deviations from normal steering behaviour due to possi-
ble fatigue of the driver, it recommends taking a break from driving.
The system deletes the stored baseline analysis if one of the following con-
ditions is met.
› The vehicle is stopped and the ignition switched off.
› The vehicle is stopped, the seat belt removed and the driver's door opened.
› The vehicle is stopped for more than 15 minutes.
If none of these conditions are met or if the driving style is not changed, the
system recommends a driving break again after 15 minutes.
Activation/deactivation
The system can be activated/deactivated via the MAXI DOT display in the As-
sistants menu option » page 47.
Information messages
Read and observe
on page 165 first.
In MAXI DOT display the icon appears for a few seconds and the following
message.
Fatigue detected. Take a break!
An audible signal is also emitted.
Tyre pressure monitoring
Introduction
This chapter contains information on the following subjects:
Save tyre pressure values
166
The tyre pressure monitoring function (hereinafter referred to only as a sys-
tem) monitors the tyre pressure while driving.
If the rolling circumference of a wheel is changed, the warning light in the
instrument cluster illuminates and an audible signal sounds.
Information on the procedure for the notification of change of tyre inflation
pressure » page 40 .
The system can only function properly if the tyres have the prescribed inflation
pressure and this pressure values are stored in the system.
WARNING■ Having the correct tyre inflation pressure is always the driver's responsi-
bility. Tyre pressure should be checked regularly » page 198.■
The system cannot warn in case of very rapid loss of tyre pressure, e.g. in
the event of a sudden puncture.
165Assist systems
Page 169 of 252
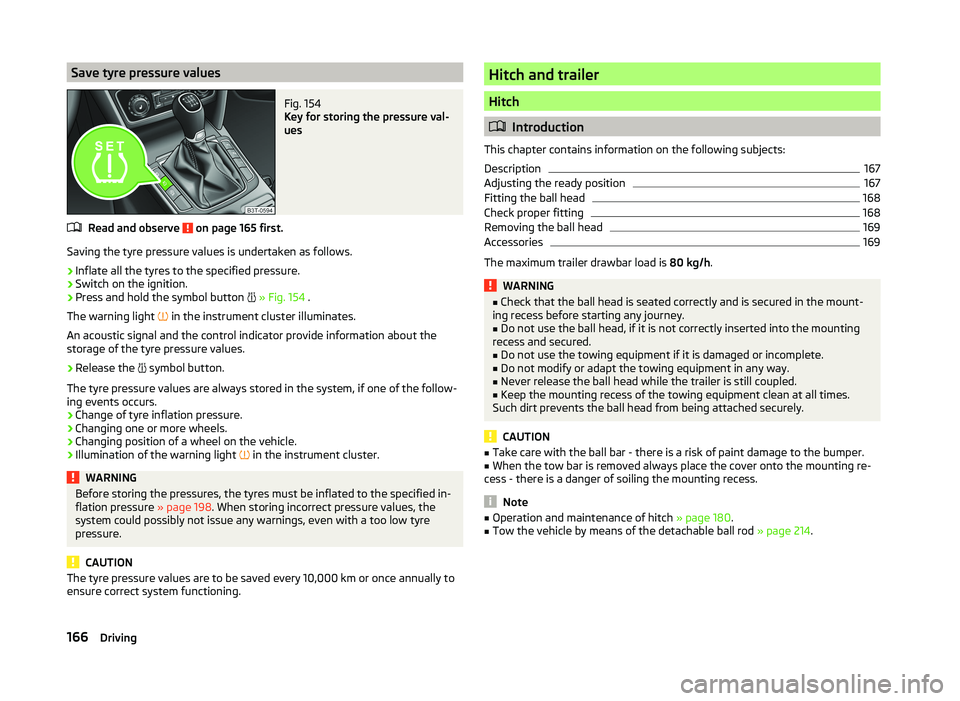
Save tyre pressure valuesFig. 154
Key for storing the pressure val-
ues
Read and observe on page 165 first.
Saving the tyre pressure values is undertaken as follows.
›
Inflate all the tyres to the specified pressure.
›
Switch on the ignition.
›
Press and hold the symbol button
» Fig. 154 .
The warning light in the instrument cluster illuminates.
An acoustic signal and the control indicator provide information about the
storage of the tyre pressure values.
›
Release the symbol button.
The tyre pressure values are always stored in the system, if one of the follow-
ing events occurs.
› Change of tyre inflation pressure.
› Changing one or more wheels.
› Changing position of a wheel on the vehicle.
› Illumination of the warning light
in the instrument cluster.
WARNINGBefore storing the pressures, the tyres must be inflated to the specified in-
flation pressure » page 198. When storing incorrect pressure values, the
system could possibly not issue any warnings, even with a too low tyre
pressure.
CAUTION
The tyre pressure values are to be saved every 10,000 km or once annually to
ensure correct system functioning.Hitch and trailer
Hitch
Introduction
This chapter contains information on the following subjects:
Description
167
Adjusting the ready position
167
Fitting the ball head
168
Check proper fitting
168
Removing the ball head
169
Accessories
169
The maximum trailer drawbar load is 80 kg/h.
WARNING■
Check that the ball head is seated correctly and is secured in the mount-
ing recess before starting any journey.■
Do not use the ball head, if it is not correctly inserted into the mounting
recess and secured.
■
Do not use the towing equipment if it is damaged or incomplete.
■
Do not modify or adapt the towing equipment in any way.
■
Never release the ball head while the trailer is still coupled.
■
Keep the mounting recess of the towing equipment clean at all times.
Such dirt prevents the ball head from being attached securely.
CAUTION
■ Take care with the ball bar - there is a risk of paint damage to the bumper.■When the tow bar is removed always place the cover onto the mounting re-
cess - there is a danger of soiling the mounting recess.
Note
■ Operation and maintenance of hitch » page 180.■Tow the vehicle by means of the detachable ball rod » page 214.166Driving
Page 175 of 252
Engine overheating
The speed must be reduced immediately if the needle for the coolant tempera-
ture gauge moves into the right-hand area or the red area of the scale.
Stop and switch off the engine if the warning light
in the instrument cluster
illuminates.
The following guidelines must be observed » page 36,
Coolant .
The coolant temperature can be reduced by switching on the heating.WARNING■ Always drive particularly carefully with the trailer.■Adapt your speed to the conditions of the road surface and to the traffic
situation.
CAUTION
If you tow a trailer frequently, you should also have your vehicle inspected be-
tween service intervals.
Trailer stabilisation (TSA)
The trailer stabilisation is an extension of the stabilisation control that works
in conjunction with the counter-steering assistance to reduce the amount the
trailer "sways".
After turning on the ignition, the ESC warning light
in the instrument cluster
illuminates for about 2 seconds longer than the ABS warning light.
Function requirements for trailer stabilisation. The trailer was shipped from the factory or purchased from the ŠKODA
genuine accessories.
The ESC is active. (Warning lights
or
do not illuminate in the instru-
ment cluster).
The trailer is electrically connected to the towing vehicle by means of the
trailer socket.
The speed is higher than approx. 60 km/h.
The trailer has a rigid drawbar.
WARNING■ The increased safety offered by the trailer stabilisation must not tempt
you to take greater risks than otherwise.■
Avoid abrupt and sudden driving and braking manoeuvres - there is a risk
of accidents.
CAUTION
■ The trailer stabilisation need not be able to correctly detect all of driving sit-
uations.■
Light trailers that sway are not always detected and therefore stabilised ac-
cordingly by the trailer stabilisation.
■
Release the pressure on the accelerator pedal if the system is being regula-
ted.
Note
The trailer stabilisation works for both braked and unbraked trailers.
Anti-theft alarm system
When the vehicle is locked, the alarm is activated when the electrical connec-
tion to the trailer is interrupted.
Always switch off the anti-theft alarm system before a trailer is coupled or un-
coupled » page 55 .
Conditions for including a trailer in the anti-theft alarm system. The vehicle is factory fitted with an anti-theft alarm system and towing
equipment.
The trailer is electrically connected to the towing vehicle by means of the
trailer socket.
The electrical system of the vehicle and trailer is functional.
The vehicle is locked with the vehicle key and the anti-theft alarm system
is activated.
CAUTION
For technical reasons, trailers with rear LED lights cannot be connected to the
anti-theft alarm system.172Driving
Page 179 of 252

WARNINGThe airbag control unit operates using pressure sensors located in the front
doors. For this reason, no adjustments may be carried out to the doors or
door panels (e.g. installation of additional loudspeakers). Resulting damage
can have a negative impact on the function of the airbag system. Any work
on the front doors and door panels must be carried out by a specialist ga-
rage. The following guidelines must be observed.■
Never drive with inner door panels removed.
■
Never drive if parts of the inner door panel have been removed and the
resulting openings have not been properly sealed.
■
Never drive if the loudspeakers in the doors have been removed, unless
the loudspeaker openings have been properly sealed.
■
Always make sure that the openings are covered or filled if additional
loudspeakers or other equipment parts have been installed in the inner
door panels.
Washing vehicle
Introduction
This chapter contains information on the following subjects:
Washing by hand
176
Automatic car wash systems
177
Washing with a high-pressure cleaner
177
The best way to protect your vehicle against harmful environmental influences
is frequent washing.
How often the vehicle should be washed depends on factors such as:
› Frequency of use.
› Parking situation (garage, under trees etc.).
› Season.
› Weather conditions.
› Environmental influences.
The longer insect residues, bird droppings, tree sap, road and industrial dust,
tar, soot particles, road salt and other aggressive deposits remain adhering to
the paintwork of your vehicle, the more detrimental their destructive effect
can be. High temperatures, such as those caused by intensive sun's rays, ac-
centuate this caustic effect.
It is essential to also thoroughly clean the underside of the vehicle at the end
of the winter.WARNING■ When washing your vehicle in the winter: Water and ice in the braking
system can affect the braking efficiency – risk of accident!■
Only wash the vehicle when the ignition is switched off – risk of accident!
CAUTION
Do not wash your vehicle in bright sunlight – risk of paint damage.
For the sake of the environment
Only wash the vehicle at washing bays intended for this purpose.
Washing by hand
Read and observe
and on page 176 first.
Soak the dirt with plenty of water and rinse as well as possible.
Clean the vehicle with a soft sponge, a washing glove or a washing brush .
Work from the top to the bottom - starting with the roof.
Only use a car shampoo for stubborn dirt.
Wash out the sponge or washing glove thoroughly at short intervals.
Clean wheels, door sills and similar parts last. Use a second sponge for such
areas.
Give the vehicle a good rinse after washing it and dry it off using a chamois
leather.
CAUTION
■ When washing the car by hand, protect your hands and arms from sharp-
edged metal parts (e.g. when cleaning the underfloor, the inside of the wheel
housings or the wheel trims, etc.) - There is a risk of cuts!■
Only apply slight pressure when cleaning the vehicle's paintwork.
176General Maintenance
Page 188 of 252
CAUTION■Even one filling of the tank with petrol that does not meet the standards can
lead to serious damage to parts of the exhaust system!■
If a fuel other than unleaded fuel which complies to the above mentioned
standards (e.g. leaded petrol) is used by mistake, do not start the engine or
switch on the ignition! Engine parts could be significantly damaged!
CAUTION
■ If, in an emergency, the vehicle has to be refuelled with petrol of a lower oc-
tane number than the one prescribed, the journey must only be continued at
medium engine speeds and a low engine load. Driving at high engine revs or a
high engine load can severely damage the engine! Refuel using petrol of the
prescribed octane number as soon as possible.■
Engine parts can be damaged if petrol with a lower octane number than the
one prescribed is used.
■
Even in the event of an emergency, petrol of a lower octane number than 91
RON must not be used, otherwise the engine can be severely damaged!
CAUTION
In no case may fuel additives with metal components be used, especially not
with manganese and iron content. There is a risk of causing considerable
damage to parts of the engine or exhaust system!
CAUTION
Fuels with metal components, such as LRP (lead replacement petrol) must
not be used. There is a risk of causing considerable damage to parts of the
engine or exhaust system!
Note
■ Unleaded petrol that has a higher octane number than that required by the
engine can be used without limitations.■
The use of petrol with an octane rating higher than 95 RON in does not re-
sult in either a noticeable increase in power nor lower fuel consumption in ve-
hicles for which unleaded petrol 95/91, 92 or 93 RON is specified.
■
On vehicles using prescribed unleaded petrol of min. 95 RON, the use of pet-
rol with a higher octane number than 95 RON can increase the power and re-
duce fuel consumption.
Diesel fuel
Read and observe
and on page 183 first.
The vehicle can only be operated with diesel fuel that meets the EN 5901)
standard.
All diesel engines can be operated using diesel fuel with a maximum of 7% bi-
odiesel (B7)2)
.
On the Indian market, your vehicle will only be able to run on diesel fuel com-
pliant with standard IS 1460/Bharat IV. If diesel fuel which complies with this
standard is not available, you can refuel with diesel fuel according to standard
IS 1460/Bharat III in case of emergency.
Operation in winter - Winter-grade diesel fuel
In the cold season, only use “winter-grade diesel fuel” which will still operate
properly even at a temperature of -20 °C.
It is often the case in countries with different climatic conditions that diesel
fuels available have a different temperature characteristic. ŠKODA Partners
and filling stations in the relevant country will be able to provide you with in-
formation regarding the diesel fuels available.
Preheating fuel
The vehicle is fitted with a fuel filter preheating system. This secures opera-
tion of a vehicle using diesel fuel down to an environmental temperature of
-25 °C.
Diesel fuel additives
The diesel fuel in accordance with the prescribed standards meets all the con-
ditions for a smooth running engine. We therefore recommend that no diesel
fuel additives are used. This can result in considerable damage to parts of the
engine or the exhaust system.
1)
In Germany also DIN 51628, in Austria ÖNORM C 1590, in Russia GOST R 52368-2005 / EN 590:2004.
2)
In Germany complying with standard DIN 52638, in Austria ÖNORM C 1590, in France EN 590.
185Inspecting and replenishing
Page 189 of 252
CAUTION■Just filling the tank once with diesel fuel that does not comply with the
standard, can cause severe damage to parts of the engine, the fuel and ex-
haust system!■
If a different fuel other than diesel fuel, which complies to the above men-
tioned standards (e.g. petrol) is used, do not start the engine or switch on the
ignition! Engine parts could be significantly damaged!
■
Water which has collected in the fuel filter can cause engine faults.
CAUTION
■ The vehicle cannot be operated with biofuel RME, therefore this fuel must
not be filled in the tank and used for driving the vehicle. The use of biofuel
RME can cause considerable damage to parts of the engine or fuel system.■
Do not mix any fuel additives, so-called “flow improvers” (petrol and similar
agents), into the diesel. This can result in considerable damage to parts of the
engine or the exhaust system!
Engine compartment
Introduction
This chapter contains information on the following subjects:
Opening and closing the bonnet
187
Engine compartment overview
188
Radiator fan
188
Windscreen washer system
188WARNINGInjuries or scolding or risks of accident or fire may occur when working in
the engine compartment. For this reason, it is essential to comply with the
warning instructions outlined below and with the general applicable safety
rules. The engine compartment of your car is a hazardous area!WARNINGInstructions before beginning work in the engine compartment■Turn off the engine and withdraw the ignition key.■
Firmly apply the handbrake.
WARNING (Continued)■ If the vehicle is fitted with a manual gearbox, move the gearshift lever in-
to Neutral, or if the vehicle is fitted with an automatic gearbox, move the
selector lever into position P.■
Allow the engine to cool.
■
Never open the bonnet if you can see steam or coolant escaping from the
engine compartment – risk of scalding! Wait until no more steam or coolant
is escaping.
WARNINGInformation for working in the engine compartment■Keep all people, especially children, away from the engine compartment.■
Never touch the radiator fan while the engine is still warm. The fan might
suddenly start running!
■
Do not touch any hot engine parts – risk of burns!
■
The coolant is harmful to health.
■
Avoid contact with the coolant.
■
Coolant vapours are harmful to health.
■
Never open the end cover of the coolant expansion reservoir while the
engine is still warm. The cooling system is pressurized!
■
When opening the end cover of the coolant expansion reservoir, cover it
with a cloth to protect your face, hands and arms from hot steam or hot
coolant.
■
If any coolant splashes into your eyes, immediately rinse out your eyes
with clear water and contact a doctor as soon as possible.
■
Always keep the coolant in the original container, safe from people who
are not completely independent, especially children - there is a danger of
poisoning!
■
Consult a doctor immediately if coolant is swallowed.
■
Never spill fluids on the hot engine. Such fluids (e.g. the antifreeze con-
tained in the coolant) may ignite!
WARNINGInformation for working in the engine compartment with the engine run-
ning■
Pay particular attention to rotating engine parts (e.g. V-ribbed belt, gen-
erator, radiator fan) and the high voltage ignition system – risk to life!
■
Never touch the electric wiring on the ignition system.
186General Maintenance