light SKODA SUPERB 2014 2.G / (B6/3T) Swing Infotinment Car Radio Manual
[x] Cancel search | Manufacturer: SKODA, Model Year: 2014, Model line: SUPERB, Model: SKODA SUPERB 2014 2.G / (B6/3T)Pages: 17, PDF Size: 1.78 MB
Page 6 of 17

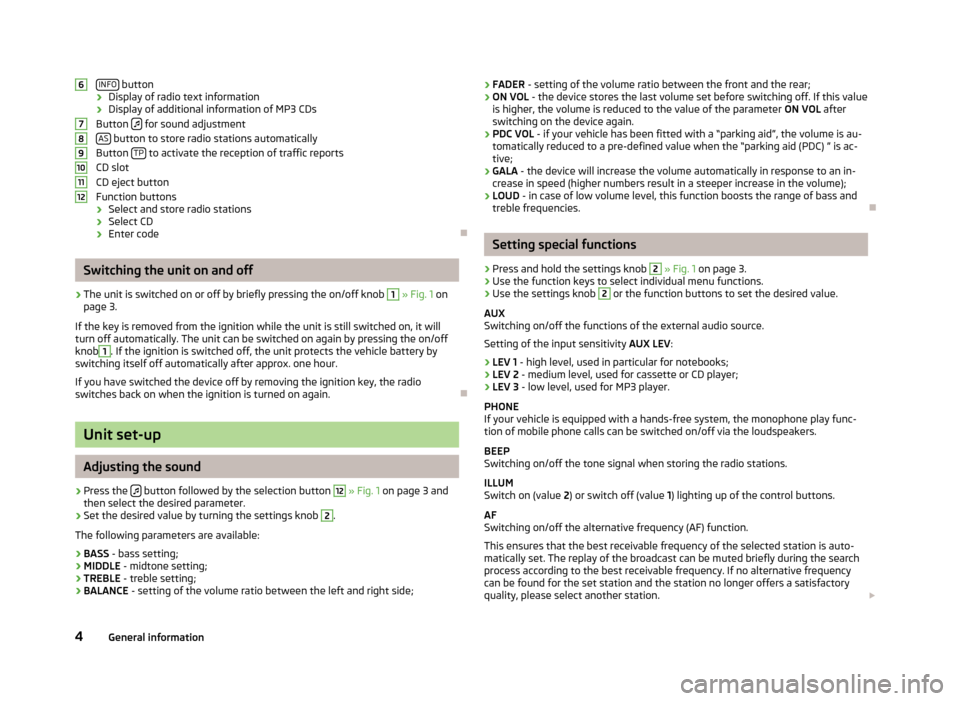
INFO button
› Display of radio text information
› Display of additional information of MP3 CDs
Button
for sound adjustment
AS button to store radio stations automatically
Button TP to activate the reception of traffic reports
CD slot
CD eject button
Function buttons
› Select and store radio stations
› Select CD
› Enter code
Switching the unit on and off
›
The unit is switched on or off by briefly pressing the on/off knob
1
» Fig. 1 on
page 3.
If the key is removed from the ignition while the unit is still switched on, it will
turn off automatically. The unit can be switched on again by pressing the on/off
knob
1
. If the ignition is switched off, the unit protects the vehicle battery by
switching itself off automatically after approx. one hour.
If you have switched the device off by removing the ignition key, the radio switches back on when the ignition is turned on again.
Unit set-up
Adjusting the sound
›
Press the button followed by the selection button
12
» Fig. 1 on page 3 and
then select the desired parameter.
›
Set the desired value by turning the settings knob
2
.
The following parameters are available:
› BASS
- bass setting;
› MIDDLE
- midtone setting;
› TREBLE
- treble setting;
› BALANCE
- setting of the volume ratio between the left and right side;
6789101112›FADER
- setting of the volume ratio between the front and the rear;
› ON VOL
- the device stores the last volume set before switching off. If this value
is higher, the volume is reduced to the value of the parameter ON VOL after
switching on the device again.
› PDC VOL
- if your vehicle has been fitted with a “parking aid”, the volume is au-
tomatically reduced to a pre-defined value when the “parking aid (PDC) ” is ac-
tive;
› GALA
- the device will increase the volume automatically in response to an in-
crease in speed (higher numbers result in a steeper increase in the volume);
› LOUD
- in case of low volume level, this function boosts the range of bass and
treble frequencies.
Setting special functions
›
Press and hold the settings knob
2
» Fig. 1 on page 3.
›
Use the function keys to select individual menu functions.
›
Use the settings knob
2
or the function buttons to set the desired value.
AUX
Switching on/off the functions of the external audio source.
Setting of the input sensitivity AUX LEV:
› LEV 1
- high level, used in particular for notebooks;
› LEV 2
- medium level, used for cassette or CD player;
› LEV 3
- low level, used for MP3 player.
PHONE
If your vehicle is equipped with a hands-free system, the monophone play func- tion of mobile phone calls can be switched on/off via the loudspeakers.
BEEP
Switching on/off the tone signal when storing the radio stations.
ILLUM
Switch on (value 2) or switch off (value 1) lighting up of the control buttons.
AF
Switching on/off the alternative frequency (AF) function.
This ensures that the best receivable frequency of the selected station is auto-
matically set. The replay of the broadcast can be muted briefly during the search
process according to the best receivable frequency. If no alternative frequency
can be found for the set station and the station no longer offers a satisfactory
quality, please select another station.
4General information
Page 10 of 17

CD player
Using the system
Information on how to use a CD
The internal drive can play CD-ROM, CD-R, CD-RW discs.
Insert the CD
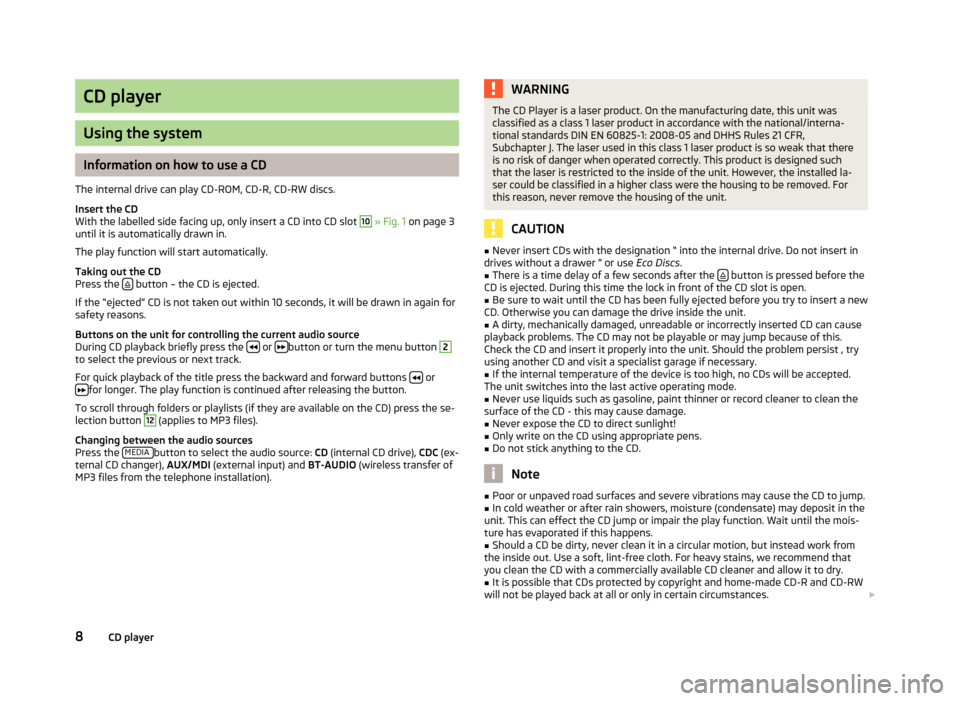
With the labelled side facing up, only insert a CD into CD slot
10
» Fig. 1 on page 3
until it is automatically drawn in.
The play function will start automatically.
Taking out the CD
Press the
button – the CD is ejected.
If the “ejected” CD is not taken out within 10 seconds, it will be drawn in again for
safety reasons.
Buttons on the unit for controlling the current audio source
During CD playback briefly press the
or button or turn the menu button
2
to select the previous or next track.
For quick playback of the title press the backward and forward buttons
or
for longer. The play function is continued after releasing the button.
To scroll through folders or playlists (if they are available on the CD) press the se- lection button
12
(applies to MP3 files).
Changing between the audio sources
Press the MEDIA
button to select the audio source:
CD (internal CD drive), CDC (ex-
ternal CD changer), AUX/MDI (external input) and BT-AUDIO (wireless transfer of
MP3 files from the telephone installation).
WARNINGThe CD Player is a laser product. On the manufacturing date, this unit was
classified as a class 1 laser product in accordance with the national/interna-
tional standards DIN EN 60825-1: 2008-05 and DHHS Rules 21 CFR,
Subchapter J. The laser used in this class 1 laser product is so weak that there is no risk of danger when operated correctly. This product is designed such
that the laser is restricted to the inside of the unit. However, the installed la- ser could be classified in a higher class were the housing to be removed. Forthis reason, never remove the housing of the unit.
CAUTION
■ Never insert CDs with the designation “ into the internal drive. Do not insert in
drives without a drawer ” or use Eco Discs.■
There is a time delay of a few seconds after the button is pressed before the
CD is ejected. During this time the lock in front of the CD slot is open.
■
Be sure to wait until the CD has been fully ejected before you try to insert a new
CD. Otherwise you can damage the drive inside the unit.
■
A dirty, mechanically damaged, unreadable or incorrectly inserted CD can cause
playback problems. The CD may not be playable or may jump because of this.
Check the CD and insert it properly into the unit. Should the problem persist , try
using another CD and visit a specialist garage if necessary.
■
If the internal temperature of the device is too high, no CDs will be accepted.
The unit switches into the last active operating mode.
■
Never use liquids such as gasoline, paint thinner or record cleaner to clean the
surface of the CD - this may cause damage.
■
Never expose the CD to direct sunlight!
■
Only write on the CD using appropriate pens.
■
Do not stick anything to the CD.
Note
■ Poor or unpaved road surfaces and severe vibrations may cause the CD to jump.■In cold weather or after rain showers, moisture (condensate) may deposit in the
unit. This can effect the CD jump or impair the play function. Wait until the mois-
ture has evaporated if this happens.■
Should a CD be dirty, never clean it in a circular motion, but instead work from
the inside out. Use a soft, lint-free cloth. For heavy stains, we recommend that
you clean the CD with a commercially available CD cleaner and allow it to dry.
■
It is possible that CDs protected by copyright and home-made CD-R and CD-RW
will not be played back at all or only in certain circumstances.
8CD player