android auto SKODA SUPERB 2016 3.G / (B8/3V) Owner's Manual
[x] Cancel search | Manufacturer: SKODA, Model Year: 2016, Model line: SUPERB, Model: SKODA SUPERB 2016 3.G / (B8/3V)Pages: 336, PDF Size: 53.89 MB
Page 5 of 336
Radio142Operation142
Media
146
Operation
146
Audio sources
149
Images
153
Image viewer
153
Video DVD
155
Video player
155
TV tuner
156
TV function
156
Media Command
158
Operation
158
Telephone
160
Introductory information
160
Pair and connect
163
Use the SIM card in the external module
166
rSAP
167
Telephone functions
168
Text messages (SMS)
172
Hotspot (WLAN) and data connection
174
Hotspot (WLAN)
174
Data connection
175
SmartLink
176
Introductory information
176
Android Auto
177
Apple CarPlay
178
MirrorLink®
178
Navigation
180
Introductory information
180
Search for destination and enter
182
Import my destinations
186
Map
187
Route guidance
190Route192Waypoint mode194
Traffic reports
196
vehicle systems
198
CAR - Vehicle settings
198
Driving
Starting-off and Driving
199
Starting and stopping the engine
199
START-STOPsystem
201
Brakes and Parking
203
Manual gear changing and pedals
205
Automatic transmission
206
Running in the engine and economical
driving
209
Avoiding damage to your vehicle
211
Assist systems
212
General information
212
Braking and stabilisation systems
212
Parking aid (ParkPilot)
215
Rear traffic alert and wizard for “Blind
spot”Monitoring
218
Reversing camera
221
Park Assist
225
Cruise Control System
229
Speed limiter
231
Adaptive Cruise Control (ACC)
233
Front Assist
237
Select the driving mode (Driving Mode
Selection)
240
Proactive occupant protection (Crew Protect
Assist)
242
Lane Departure Warning (Lane Assist)
243
Traffic jam assistant
245
Assistant for emergencies
246
Traffic sign recognition
246Fatigue detection248Tyre pressure monitoring249
Towing device and trailer
250
Hitch
250
Using hitch
252
General Maintenance
Care and maintenance
256
Service work, adjustments and technical
alterations
256
Service intervals
258
Cleaning and care
260
Inspecting and replenishing
264
Fuel
264
AdBlue ®
and its refilling
267
Engine compartment
268
Engine oil
270
Coolant
271
Brake fluid
273
Vehicle battery
273
Wheels
276
Wheels and tyres
276
Operating in winter conditions
278
Do-it-yourself
Emergency equipment and self-help
280
Emergency equipment
280
Changing a wheel
282
Puncture repair kit
285
Jump-starting
287
Towing the vehicle
288
Remote control and removable light -
replacing the battery/batteries
2903Table of Contents
Page 53 of 336
■ - Account management with the following options:
■Rename user account
- rename the user account (not applicable to the
Guest
account)
■
Copy settings to another account
- copy the settings of an active user account to
another user account
■
Reset user account
- reset the selected user account to factory settings
Adjusting ■
Key assignment:
- options for assigning the vehicle key to the user account:
■
Manual
- detected vehicle key must be assigned to the active user account
manually
■
Automatic
- detected vehicle key automatically assigned to a different ac-
count of the active user account
■
Assign vehicle key to current user account
- manual assignment of the detected ve-
hicle key to the active user account - follow the instructions on the Infotain-
ment screen
■
Reset all
- reset the personalisation and the user accounts to factory settings
SmartGate
Introduction to the subject
Fig. 32
Information about SmartGate on
the ŠKODA websites
SmartGate is a system that transmits certain driving data (such as fuel con-
sumption, speed or similar) via Wi-Fi or Wi-Fi Direct.
The ŠKODA applications installed in a supported external device (e.g. tele-
phone, tablet) give the option to further transmit the received data.
Some ŠKODA applications can be displayed on the Infotainment display using a SmartLink connection » page 176.
Read in the QR code » Fig. 32or enter the following address in the web browser
to open the website with an overview of the available applications, compatible
devices and other information about SmartGate.
http://go.skoda.eu/connectivity-smartgate
CAUTION
■ To increase the access security to the transmitted vehicle data, once the
ŠKODA application has been started, you are requested to change the pass-
word/PIN code if the default password/PIN code has not yet been changed
» page 52 . It is not possible to start the ŠKODA application without having
made this change.■
ŠKODA accepts no responsibility for any problems caused by incompatibility
or improper functioning of the external devices.
connection to SmartGate using Wi-Fi
This type of connection is intended for external devices running Android and
iOS operating systems.
Connecting to an Android external device
›
Switch on the ignition.
›
Switch on Wi-Fi in the external device that is to be connected and search for
available Wi-Fi networks (see Owner´s Manual for the external device).
›
In the menu of the detected networks, select the “SmartGate_...” 1)
menu item.
›
Enter the password (vehicle identification number using uppercase let-
ters » page 52 ).
›
In the external device that is to be connected to, start the SmartGate appli-
cation.
›
Then follow the instructions in the manual, which is included in the
SmartGate application.
With SmartGate, a maximum of four external devices can be connected simul-
taneously using Wi-Fi, with as many launched ŠKODA applications as required.
Connecting to an external iOS device
›
Switch on the ignition.
›
Switch on Wi-Fi in the external device that is to be connected and search for
available Wi-Fi networks (see Owner´s Manual for the external device).
›
In the menu of the detected networks, select the “SmartGate_...” 1)
menu item.
1)
The last 6 characters of the vehicle identification number of your vehicle are displayed at position
....
51Information system
Page 54 of 336
›Enter the password (vehicle identification number using uppercase let-
ters » page 52 ).
With SmartGate, a maximum of four external devices can be connected simul-
taneously using Wi-Fi. In these external devices, up to four ŠKODA applications
can be started simultaneously.
Disconnection
The connection can be switched off in one of the following ways.›
Switch off the ignition for longer than 5 seconds (for vehicles with a starter
button, switch off the engine and open the driver's door).
›
End the connection in the SmartGate application.
›
Switch off Wi-Fi in the connected external device.
Automatic connection
If the communication device has already had a connection with SmartGate,
then the connection is automatically restored under the following conditions.
The ignition is switched on.
Wi-Fi is switched on in the external device that is to be connected to.
The external device that is to be connected to stores the password re-
quired for the connection check.
Connection to SmartGate using Wi-Fi direct
This type of connection is intended for external devices running the Android
operating system.
Establishing a connection
›
Switch on the ignition.
›
In the external device that is to be connected to, start the SmartGate appli- cation.
›
In the application, change the connection type to Wi-Fi direct.
›
Then follow the instructions in the manual, which is included in the
SmartGate application.
The password for the connection to SmartGate _... 1)
includes the last six digits
of the vehicle identification number » page 52.
With SmartGate, a maximum of two external devices can be connected simul-
taneously using Wi-Fi direct, with as many launched ŠKODA applications as re-
quired.
If you want to connect to SmartGate in a different vehicle, you must make a
new connection in the SmartGate application.
Disconnection
The connection can be switched off in one of the following ways.›
Switch off the ignition for longer than 5 seconds (for vehicles with a starter
button, switch off the engine and open the driver's door).
›
End the connection in the SmartGate application.
›
Switch off Wi-Fi in the connected external device.
Automatic connection
If the external device once had a connection with SmartGate, then the connec-
tion is automatically restored after the ignition is started.
SmartGate web interface
SmartGate parameters can be set in the SmartGate web interface.
The following address must be entered in the web browser of the external de-
vice that is connected with SmartGate.
HTTP://192.168.123.1
The setting changes are only effective after tapping the buttons “Save” →
“Reboot”.
Password/PIN code
The password for the Wi-Fi connection preset by the factory is the complete
vehicle identification number (entered in upper case); the PIN code for the Wi-
Fi direct connection is the last 6 digits of the vehicle identification number.
After changing the password/PIN, the connection to SmartGate must be re-es-
tablished on the external device to be connected using the new password or
new PIN code.
Changing the password for the Wi-Fi connection
›
Open the SmartGate web interface » page 52.
›
In the menu item “WPA / WPA2 key:”enter the new password (8 to 63 alpha-
numeric characters and special characters, small and capital letters) .
›
Confirm the password change by tapping on the “Save” button.
1)
The last 6 characters of the vehicle identification number of your vehicle are displayed at position
....
52Using the system
Page 129 of 336
Restart Infotainment
If Infotainment does not respond (if it “freezes”) This can be restarted by hold-
ing
for longer than 10 s.
Adjusting the volume
Every change in volume is displayed on the screen.
›
To increase the volume , turn the controller clockwise.
›
To
reduce volume , turn the controller anticlockwise.
›
To
mute , turn the controller to the left to 0.
›
or:
Press the button (applies to Infotainment Swing).
The following symbol appears in the display when the sound is muted .
If, at the time of muting, sound is played from the source in the media menu,
then the playback is interrupted (pause) 1)
.
CAUTION
■ High volumes can cause sound resonance in the vehicle.■When changing or connecting an audio source, this may cause sudden
changes in volume. Reduce the volume before changing or connecting an au-
dio source.
Infotainment menus
Applies to Infotainment Columbus, Amundsen, Bolero.
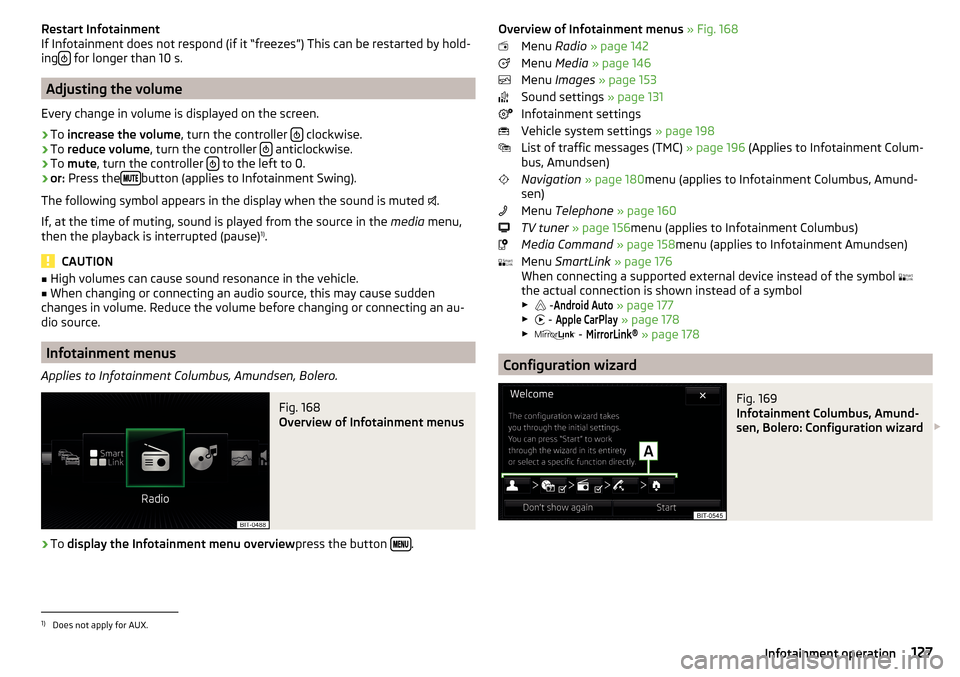
Fig. 168
Overview of Infotainment menus
›
To display the Infotainment menu overview press the button .
Overview of Infotainment menus
» Fig. 168
Menu Radio » page 142
Menu Media » page 146
Menu Images » page 153
Sound settings » page 131
Infotainment settings
Vehicle system settings » page 198
List of traffic messages (TMC) » page 196 (Applies to Infotainment Colum-
bus, Amundsen)
Navigation » page 180 menu (applies to Infotainment Columbus, Amund-
sen)
Menu Telephone » page 160
TV tuner » page 156 menu (applies to Infotainment Columbus)
Media Command » page 158 menu (applies to Infotainment Amundsen)
Menu SmartLink » page 176
When connecting a supported external device instead of the symbol
the actual connection is shown instead of a symbol ▶ -Android Auto
» page 177
▶ -
Apple CarPlay
» page 178
▶ -
MirrorLink®
» page 178
Configuration wizard
Fig. 169
Infotainment Columbus, Amund-
sen, Bolero: Configuration wizard
1)
Does not apply for AUX.
127Infotainment operation
Page 153 of 336
Bluetooth®
player
Infotainment allows audio files of a connected Bluetooth ®
player to play using
the A2DP and AVRCP audio profile.
With Infotainment, multiple devices can be paired using Bluetooth ®
, but only
one of them can be used as a Bluetooth ®
player.
Connect /disconnect›
To connect the Bluetooth ®
player with Infotainment- follow the same in-
structions as for pairing Infotainment with a telephone » page 164.
›
To disconnect the Bluetooth ®
player, end the connection in the list of paired
external devices » page 164.
Replace Bluetooth ®
player (applies to Infotainment Amundsen, Bolero)
If you would like to replace a Bluetooth ®
Player which is connected to Infotain-
ment as a Telephone at the same time, then a relevant information message
appears in the Infotainment screen.
›
End the connection to the currently connected Bluetooth ®
player and repeat
the pairing procedure » page 164, Managing paired external devices .
CAUTION
If an external device is connected to Infotainment using Apple CarPlay
orAndroid Auto, then it cannot be connected using Bluetooth ®
.
Jukebox
Only applies to Infotainment Columbus.
In the Jukebox (in the internal Infotainment memory) Supported audio / video
files can be imported from connected external devices.
Import files
›
Tap on the function surface in the Media main menu
→
Manage jukebox
→
Import
.
›
Select the desired source.
›
Select the desired folders or files.
›
Tap on the function surface
.
Delete files
›
Tap on the function surface in the Media main menu
→
Manage jukebox
→
Delete
.
›
Select the desired folder or files in the selected category.
›
Tap on the function surface
→
Delete
.
Show level of infotainment memory›Tap on the function surface in the Media main menu →
Manage jukebox
.
It displays information about occupied and free space of the Infotainment
memory and the number of files that can still be imported.
Note
■ Files that have already been copied are recognised and cannot be copied
again (shown in grey).■
It is not possible to copy files while simultaneously playing back audio/video
files in the CD/DVD drive.
WLAN
Applies to Infotainment Columbus, Amundsen.
Infotainment allows you to play audio files from one of the external devices
connected to the Infotainment WLAN.
›
Connect an external device that supports the DLNA (Digital Living Network
Alliance), with the Infotainment WLAN » page 174.
›
If necessary use the UPnP application (Universal Plug and Play) in the con-
nected device, which allows playback to start.
›
Select the audio source Select
WLAN
.
151Media
Page 169 of 336
›Remove the SIM card from the slot.
CAUTION
■
When inserting a SIM card of the incorrect size, there is a risk of damage to
Infotainment.■
Avoid using a an adapter for the SIM card as the SIM card may fall out while
driving due to vehicle vibrations - There is a risk of damage to the external
module.
■
If you let the SIM card protrude out from the slot, then it may fall out of the
slot while driving due to vehicle vibrations.
rSAP
Applies to Infotainment Columbus with the SIM card slot in the external mod-
ule.
The Bluetooth ®
profile RSAP (remote transmission of SIM data) also allows, in
contrast to Bluetooth ®
profile HFP the use of data services of the connected
telephone (if this profile is supported by the telephone and data services are
enabled in this telephone) » page 175.
The use of Bluetooth ®
profile RSAP requires the telephone function of the ex-
ternal module to be switched on.
Switching on and off
›
In the Telephone main menu, tap on the function surface,
→
Telephone In-terface “Business”
.
The pairing and connection process takes place in the same way to the Blue-
tooth ®
profile HFP » page 163.
If the rSAP profile supported by the telephone to be connected, then infotain-
ment tries to connect using this profile. Depending on the telephone, it is pos-
sible to block or release the connection using an rSAP profile in the telephone.
If a SIM card is inserted in the external module, it is not possible to connect the
telephone to Infotainment using the rSAP profile.
Note
If Infotainment is connected to an external device via Apple CarPlay or Android
Auto, then using the data connection via rSAP is not possible.167Telephone
Page 178 of 336
SmartLink
Introductory information
Introduction to the subject
Applies to Infotainment Columbus, Amundsen, Bolero.
Fig. 217
Information on SmartLink on the
ŠKODA websites
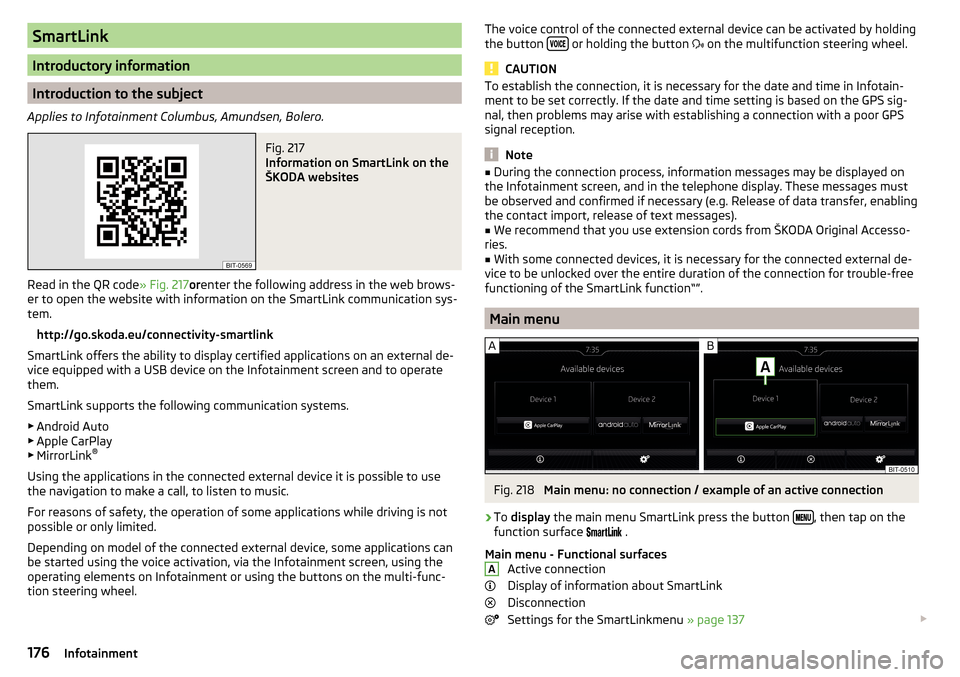
Read in the QR code » Fig. 217orenter the following address in the web brows-
er to open the website with information on the SmartLink communication sys-
tem.
http://go.skoda.eu/connectivity-smartlink
SmartLink offers the ability to display certified applications on an external de-
vice equipped with a USB device on the Infotainment screen and to operate
them.
SmartLink supports the following communication systems. ▶ Android Auto
▶ Apple CarPlay
▶ MirrorLink ®
Using the applications in the connected external device it is possible to use the navigation to make a call, to listen to music.
For reasons of safety, the operation of some applications while driving is not
possible or only limited.
Depending on model of the connected external device, some applications can
be started using the voice activation, via the Infotainment screen, using the
operating elements on Infotainment or using the buttons on the multi-func-
tion steering wheel.
The voice control of the connected external device can be activated by holding
the button or holding the button
on the multifunction steering wheel.
CAUTION
To establish the connection, it is necessary for the date and time in Infotain-
ment to be set correctly. If the date and time setting is based on the GPS sig-
nal, then problems may arise with establishing a connection with a poor GPS
signal reception.
Note
■ During the connection process, information messages may be displayed on
the Infotainment screen, and in the telephone display. These messages must
be observed and confirmed if necessary (e.g. Release of data transfer, enabling
the contact import, release of text messages).■
We recommend that you use extension cords from ŠKODA Original Accesso-
ries.
■
With some connected devices, it is necessary for the connected external de-
vice to be unlocked over the entire duration of the connection for trouble-free
functioning of the SmartLink function“”.
Main menu
Fig. 218
Main menu: no connection / example of an active connection
›
To display the main menu SmartLink press the button , then tap on the
function surface
.
Main menu - Functional surfaces Active connection
Display of information about SmartLink
Disconnection
Settings for the SmartLinkmenu » page 137
A176Infotainment
Page 179 of 336
Connection set-up▶ Connect the external device via a connecting cable to the USB in-
put » page 90 .
▶ In the main menu SmartLink Choose the connected external device and the
type of communication system if necessary » Fig. 218 -
.
Return to the main menu of the active connection from another Infotainment
menu
(E.g. From the Radiomenu)
▶ Press the
button and select the active connection.
Disconnection
▶ To end the connection, in theSmartLinkmain menu, the functional surface
» Fig. 218 -
.
▶ or Disconnect the device from the USB input.
If the connection was ended by pressing the function surface From the main
menu SmartLink the connection needs to be re-established when the external
device is connected again.
If the connection was terminated by disconnecting the cable from the USB
port, then the last active connection is shown in the main menu when the ex-
ternal device is reconnected.
Android Auto
Introduction to the subject
The Android Autoconnection can be set up under the following conditions. The ignition is switched on.
Infotainment is switched on.
The external device to be connected is switched on.
Some applications require the data connection in the connected external de-
vice to be turned on.
If Infotainment connected to an external device via Android Auto then all the
telephones currently connected, as well as the Bluetooth ®
Players are discon-
nected.
The external device to be connected will automatically establish a new tele-
phone connection via Bluetooth ®
as a main telephone. Connecting an addition-
al telephone using the telephone services of the SIM card inserted in the ex-
ternal module is not possible over the duration of the connection. A possible
data connection using the SIM card inserted in the external module remains
operational » page 175.
An external device connected using Android Auto cannot be used as an audio
source in the menu Media.
If route guidance is taking place at this moment in Infotainment, then there is
the option to start the route guidance in the Android Auto application. This is
also true reciprocally.
A list of external devices, regions and applications that the Android Autocon-
nection supports can be found on the Google website. Functionality is not
guaranteed outside of the supported regions.
Main menu
Fig. 219
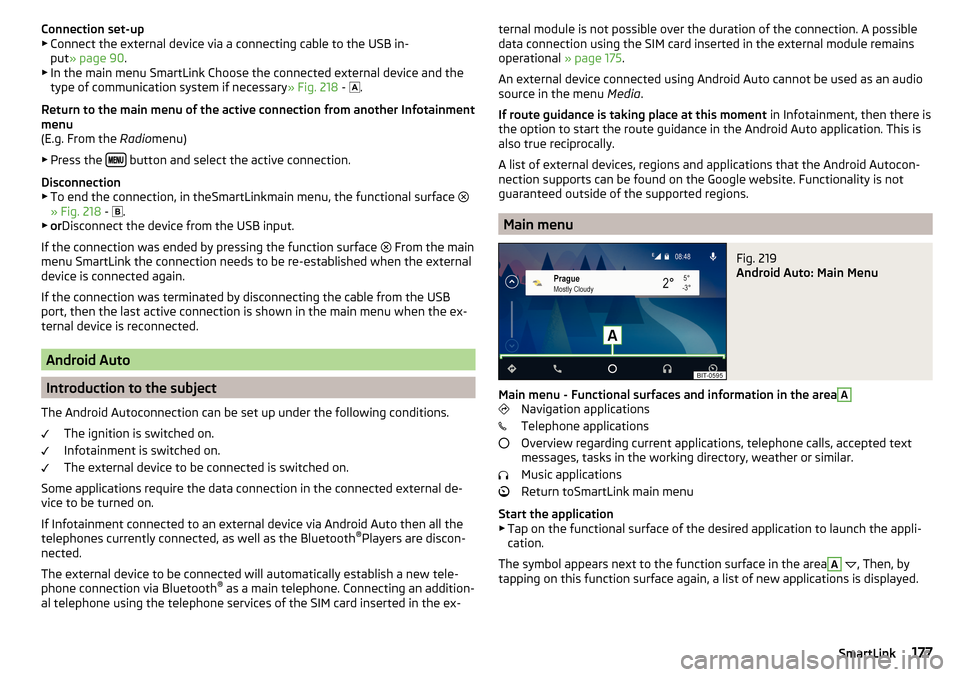
Android Auto: Main Menu
Main menu - Functional surfaces and information in the area
A
Navigation applications
Telephone applications
Overview regarding current applications, telephone calls, accepted text
messages, tasks in the working directory, weather or similar.
Music applications
Return toSmartLink main menu
Start the application ▶ Tap on the functional surface of the desired application to launch the appli-
cation.
The symbol appears next to the function surface in the area
A
, Then, by
tapping on this function surface again, a list of new applications is displayed.
177SmartLink
Page 315 of 336
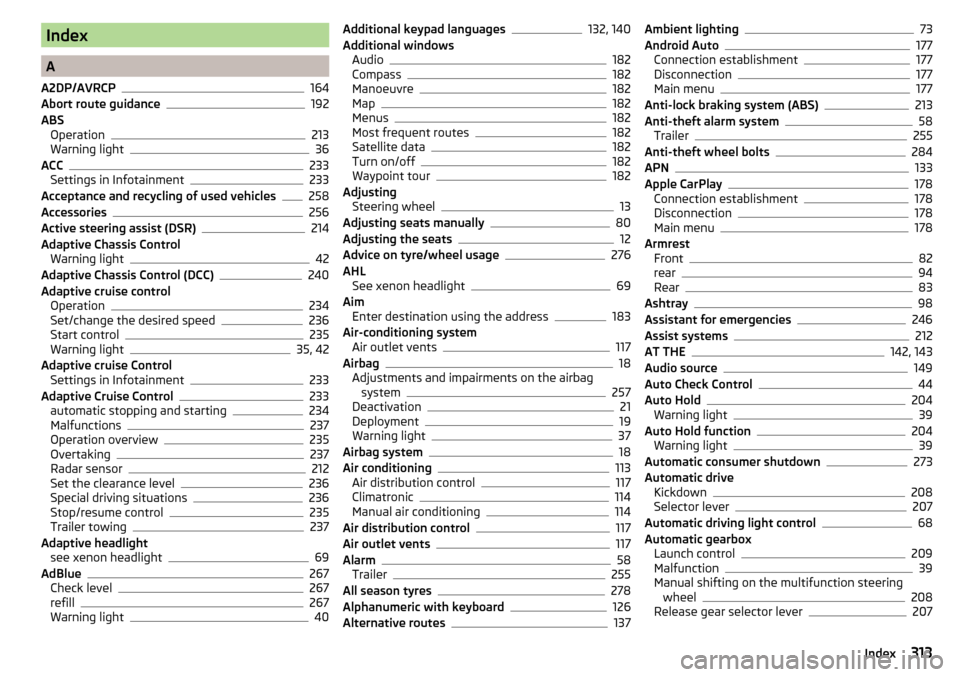
Index
A
A2DP/AVRCP
164
Abort route guidance192
ABS Operation
213
Warning light36
ACC233
Settings in Infotainment233
Acceptance and recycling of used vehicles258
Accessories256
Active steering assist (DSR)214
Adaptive Chassis Control Warning light
42
Adaptive Chassis Control (DCC)240
Adaptive cruise control Operation
234
Set/change the desired speed236
Start control235
Warning light35, 42
Adaptive cruise Control Settings in Infotainment
233
Adaptive Cruise Control233
automatic stopping and starting234
Malfunctions237
Operation overview235
Overtaking237
Radar sensor212
Set the clearance level236
Special driving situations236
Stop/resume control235
Trailer towing237
Adaptive headlight see xenon headlight
69
AdBlue267
Check level267
refill267
Warning light40
Additional keypad languages132, 140
Additional windows Audio
182
Compass182
Manoeuvre182
Map182
Menus182
Most frequent routes182
Satellite data182
Turn on/off182
Waypoint tour182
Adjusting Steering wheel
13
Adjusting seats manually80
Adjusting the seats12
Advice on tyre/wheel usage276
AHL See xenon headlight
69
Aim Enter destination using the address
183
Air-conditioning system Air outlet vents
117
Airbag18
Adjustments and impairments on the airbag system
257
Deactivation21
Deployment19
Warning light37
Airbag system18
Air conditioning113
Air distribution control117
Climatronic114
Manual air conditioning114
Air distribution control117
Air outlet vents117
Alarm58
Trailer255
All season tyres278
Alphanumeric with keyboard126
Alternative routes137
Ambient lighting73
Android Auto177
Connection establishment177
Disconnection177
Main menu177
Anti-lock braking system (ABS)213
Anti-theft alarm system58
Trailer255
Anti-theft wheel bolts284
APN133
Apple CarPlay178
Connection establishment178
Disconnection178
Main menu178
Armrest Front
82
rear94
Rear83
Ashtray98
Assistant for emergencies246
Assist systems212
AT THE142, 143
Audio source149
Auto Check Control44
Auto Hold204
Warning light39
Auto Hold function204
Warning light39
Automatic consumer shutdown273
Automatic drive Kickdown
208
Selector lever207
Automatic driving light control68
Automatic gearbox Launch control
209
Malfunction39
Manual shifting on the multifunction steering wheel
208
Release gear selector lever207
313Index
Page 321 of 336
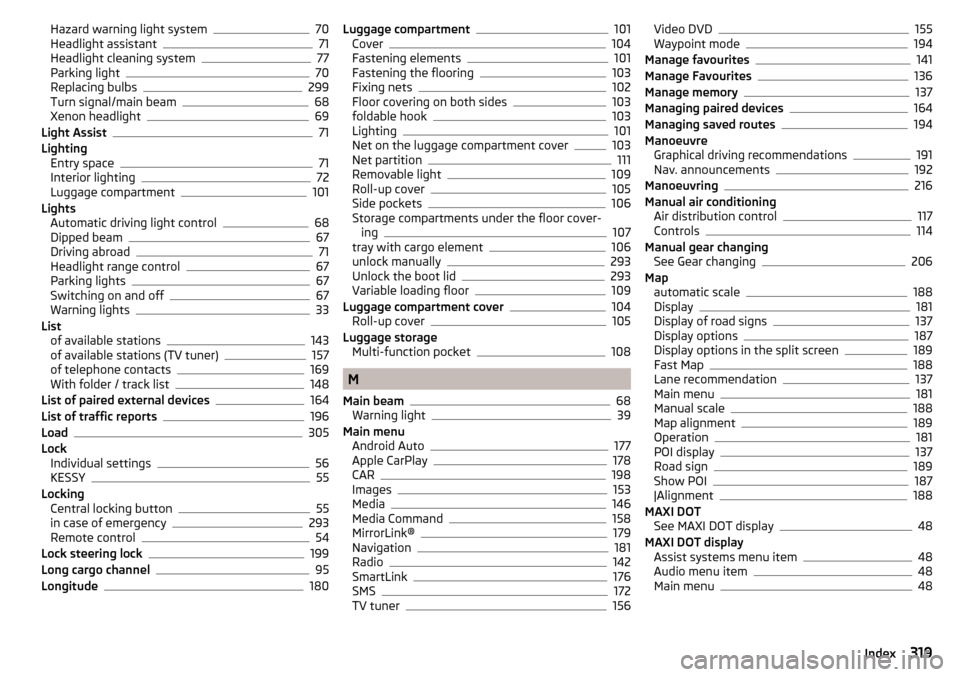
Hazard warning light system70
Headlight assistant71
Headlight cleaning system77
Parking light70
Replacing bulbs299
Turn signal/main beam68
Xenon headlight69
Light Assist71
Lighting Entry space
71
Interior lighting72
Luggage compartment101
Lights Automatic driving light control
68
Dipped beam67
Driving abroad71
Headlight range control67
Parking lights67
Switching on and off67
Warning lights33
List of available stations
143
of available stations (TV tuner)157
of telephone contacts169
With folder / track list148
List of paired external devices164
List of traffic reports196
Load305
Lock Individual settings
56
KESSY55
Locking Central locking button
55
in case of emergency293
Remote control54
Lock steering lock199
Long cargo channel95
Longitude180
Luggage compartment101
Cover104
Fastening elements101
Fastening the flooring103
Fixing nets102
Floor covering on both sides103
foldable hook103
Lighting101
Net on the luggage compartment cover103
Net partition111
Removable light109
Roll-up cover105
Side pockets106
Storage compartments under the floor cover- ing
107
tray with cargo element106
unlock manually293
Unlock the boot lid293
Variable loading floor109
Luggage compartment cover104
Roll-up cover105
Luggage storage Multi-function pocket
108
M
Main beam
68
Warning light39
Main menu Android Auto
177
Apple CarPlay178
CAR198
Images153
Media146
Media Command158
MirrorLink®179
Navigation181
Radio142
SmartLink176
SMS172
TV tuner156
Video DVD155
Waypoint mode194
Manage favourites141
Manage Favourites136
Manage memory137
Managing paired devices164
Managing saved routes194
Manoeuvre Graphical driving recommendations
191
Nav. announcements192
Manoeuvring216
Manual air conditioning Air distribution control
117
Controls114
Manual gear changing See Gear changing
206
Map automatic scale
188
Display181
Display of road signs137
Display options187
Display options in the split screen189
Fast Map188
Lane recommendation137
Main menu181
Manual scale188
Map alignment189
Operation181
POI display137
Road sign189
Show POI187
|Alignment188
MAXI DOT See MAXI DOT display
48
MAXI DOT display Assist systems menu item
48
Audio menu item48
Main menu48
319Index