check engine SKODA SUPERB 2016 3.G / (B8/3V) Owner's Manual
[x] Cancel search | Manufacturer: SKODA, Model Year: 2016, Model line: SUPERB, Model: SKODA SUPERB 2016 3.G / (B8/3V)Pages: 336, PDF Size: 53.89 MB
Page 12 of 336
Structure of the Owner´s Manual and further
information
Structure of the manual
The Owner's Manual is hierarchically divided into the following areas.
■ Paragraph (e.g. Operating instructions) - the title of the paragraph is always
indicated on the lower left-hand side ■ Main chapter (e.g. Checking and refilling) - the title of the main chapter is
always indicated on the lower right-hand side ■ Chapter (e.g. Engine oil)
■ Introductory information
- Module overview within the chapter, in-
troductory information about the chapter content and, where appropri-
ate, information relevant to the whole chapter
■ Module (e.g. Checking and refilling)
Information search
When searching for information in the Owner´s Manual, we recommend using
the Index at the end of the Owner's Manual.
Direction indications
All direction indications such as “left”, “right”, “front”, “rear” relate to the for- ward direction of travel of the vehicle.
Units
The volume, weight, speed and length data are given in metric units, unless
otherwise indicated.
Display
In this Owner's Manual, the MAXI DOT display is used as the display in the in-
strument cluster unless otherwise stated.
Emergency assistance
In the case of a breakdown, the required breakdown service contact informa- tion can be found in the following locations.
▶ Contact information from ŠKODA Partner (e.g. window sticker)
▶ Infotainment (Telephone - breakdown service / information service menu)
▶ Mobile application ŠKODA
▶ ŠKODA websites10Structure of the Owner´s Manual and further information
Page 14 of 336
Safety
Passive Safety
General information
Introduction
This chapter contains information on the following subjects:
Before setting off
12
Driving safety
12
This section of the manual includes important information on the subject of
passive safety. We have combined everything here which you should be famili-
ar with, for example, regarding seat belts, airbags, safety of children and any-
thing similar.
Other important safety information can also be found in the following chapters
of this Owner´s Manual. The Owner´s Manual should therefore always be in
the vehicle.
Before setting off
For your own safety and the safety of the people travelling with you, please
pay attention to the following points before setting off.
▶ Check the function of the lighting and turn signal systems.
▶ Check the function of the wipers and check the wiper blades for wear. Check
the windscreen washer fluid level.
▶ Ensure that all of the windows offer good visibility to the outside.
▶ Adjust the rear-view mirror so that vision to the rear is guaranteed. Ensure
that the mirrors are not covered.
▶ Check the tyre inflation pressure.
▶ Check the engine oil, brake fluid and coolant level.
▶ Secure all items of luggage.
▶ Do not exceed the permissible axle loads and permissible gross weight of the
vehicle.
▶ Close all doors as well as the bonnet and boot lid.
▶ Ensure that no objects can obstruct the pedals.
▶
Protect children by using a suitable child seat » page 22, Transporting chil-
dren safely .
▶ Adopt the correct seated position. Instruct your passengers to assume the
correct seated position » page 12, Correct and safe seated position .
Driving safety
In the interests of traffic safety, the following information must be observed. ▶ Do not become distracted from concentrating on the traffic situation, (e.g. by
your passengers or mobile telephone calls).
▶ Never drive when your driving ability is impaired, (e.g. due to medication, al-
cohol or drugs).
▶ Keep to the traffic regulations and the permissible speed limit.
▶ Always adjust the driving speed to the road, traffic and weather conditions.
▶ Take regular breaks on long journeys (at least every two hours).
Correct and safe seated position
Introduction
This chapter contains information on the following subjects:
Driver’s correct seating position
13
Adjusting the steering wheel position
13
Correct seating position of the passenger
14
Correct seating position for the passengers in the rear seats
14
Always assume the correct seated position before setting off and do not
change this position while driving. Also advise your passengers to adopt the
correct seated position and not to change this position while the car is moving.
The following list contains instructions for the Passenger which, if not ob-
served, may cause serious injuries or death. ▶ Do not lean against the dash panel.
▶ Do not put your feet on the dash panel.
The following list contains instructions for all Passengers which, if not ob-
served, may cause serious injuries or death.
▶ Do not sit only on the front part of the seat.
▶ Do not sit facing to the side.
▶ Do not lean out of the window.
▶ Do not put your limbs out of the window.
▶ Do not put your feet on the seat cushion.
12Safety
Page 21 of 336
Airbag deploymentFig. 8
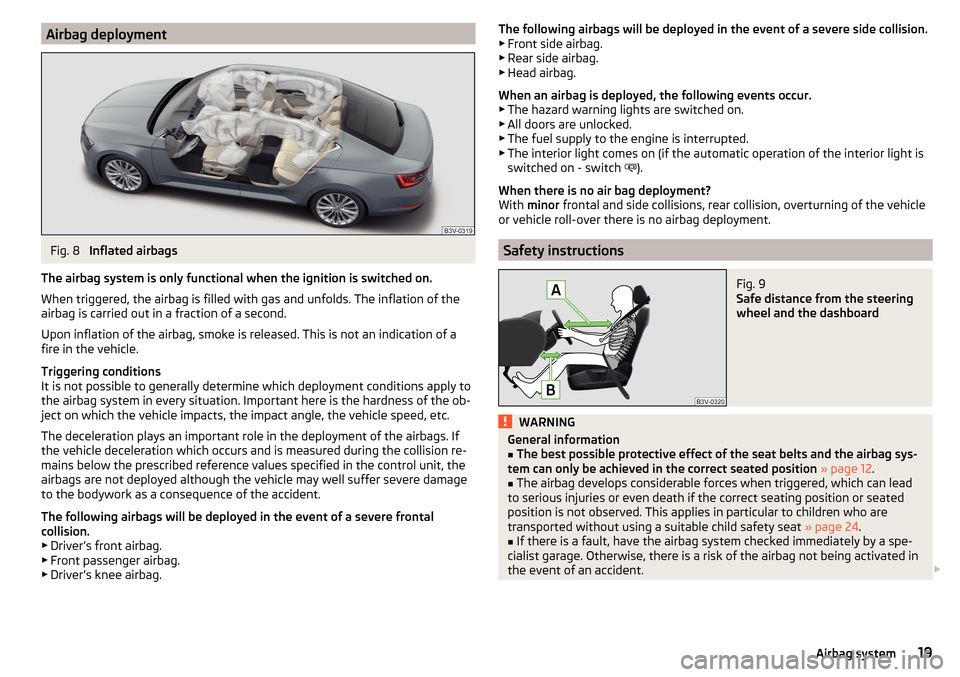
Inflated airbags
The airbag system is only functional when the ignition is switched on.
When triggered, the airbag is filled with gas and unfolds. The inflation of the
airbag is carried out in a fraction of a second.
Upon inflation of the airbag, smoke is released. This is not an indication of a fire in the vehicle.
Triggering conditions
It is not possible to generally determine which deployment conditions apply to
the airbag system in every situation. Important here is the hardness of the ob-
ject on which the vehicle impacts, the impact angle, the vehicle speed, etc.
The deceleration plays an important role in the deployment of the airbags. If
the vehicle deceleration which occurs and is measured during the collision re-
mains below the prescribed reference values specified in the control unit, the
airbags are not deployed although the vehicle may well suffer severe damage
to the bodywork as a consequence of the accident.
The following airbags will be deployed in the event of a severe frontal
collision.
▶ Driver’s front airbag.
▶ Front passenger airbag.
▶ Driver’s knee airbag.
The following airbags will be deployed in the event of a severe side collision.
▶ Front side airbag.
▶ Rear side airbag.
▶ Head airbag.
When an airbag is deployed, the following events occur. ▶ The hazard warning lights are switched on.
▶ All doors are unlocked.
▶ The fuel supply to the engine is interrupted.
▶ The interior light comes on (if the automatic operation of the interior light is
switched on - switch
).
When there is no air bag deployment?
With minor frontal and side collisions, rear collision, overturning of the vehicle
or vehicle roll-over there is no airbag deployment.
Safety instructions
Fig. 9
Safe distance from the steering
wheel and the dashboard
WARNINGGeneral information■The best possible protective effect of the seat belts and the airbag sys-
tem can only be achieved in the correct seated position » page 12 .■
The airbag develops considerable forces when triggered, which can lead
to serious injuries or even death if the correct seating position or seated
position is not observed. This applies in particular to children who are
transported without using a suitable child safety seat » page 24.
■
If there is a fault, have the airbag system checked immediately by a spe-
cialist garage. Otherwise, there is a risk of the airbag not being activated in
the event of an accident.
19Airbag system
Page 37 of 336
Parking on a slope that is too steep Illumi-
nates
Parking brake: Gradient too steep. Log book!GRADIENT TOO STEEP
▶ Find a parking space on a flat surface or on a slope that is not so steep.
Brake system
Read and observe
on page 34 first.
illuminates – the brake fluid level in the brake system is too low.
▶ Stop the vehicle, switch off the engine, and check the level of the brake fluid
» page 273 .
WARNING■
If warning light illuminates simultaneously with warning light
» page 36 , Anti-lock braking system (ABS) , stop driving! Seek help
from a specialist garage.■
A fault to the ABS system or the braking system can increase the vehi-
cle's braking distance – risk of accident!
Front seat belt warning light
Read and observe
on page 34 first.
lights up - the driver or front passenger has not fastened their seat belt.
At a speed of more than approximately 30 km/h, the warning light flashes
and an audible warning sounds at the same time.
If the seat belt is not fastened by the driver or front passenger during the next
approx. 2 minutes, the warning signal is deactivated and the warning light
illuminates permanently.
Adaptive cruise control (ACC)
Read and observe
on page 34 first.
illuminates - the ACC delay is not sufficient.
▶ Apply the brake.
For more information about the ACC system » page 233.
Power steering / steering lock (KESSY system)
Read and observe
on page 34 first.
Fault in the power steering
lights up – this indicates a complete failure of the power steering and the
steering assist is no longer working (significantly higher steering forces).
lights up – this indicates a partial failure of the power steering and the
steering forces can be greater.
▶ Seek help from a specialist garage.
Steering lock defect (KESSY system)
An audible signal sounds as a warning.
flashes
Steering column lock faulty. Stop!STOP VEHICLE STEERING FAULTY
▶ Park the vehicle, and
stop driving . After switching off the ignition, it is no
longer possible to lock the steering, to activate the electrical components
(e.g. Infotainment ), to switch on the ignition again and to start the engine.
Seek help from a specialist garage.
flashes
Steering lock: Workshop!STEERING WORKSHOP
▶ You can drive on, exercising appropriate caution. Seek assistance from a spe-
cialist garage immediately.
Steering column lock not unlocked (System KESSY)
flashes
Move the steering wheel!MOVE STEERING WHEEL
▶ Move the steering wheel slightly back and forth, thereby facilitating unlock-
ing the steering lock.
▶ If the steering does also not unlock then, the help of a specialist garage is
required.
Disconnecting the vehicle battery
If the vehicle's battery has been disconnected and reconnected, the indicator
light comes on after switching on the ignition.
The warning light should go out after driving a short distance.
If, after the motor is restarted and a short drive, the indicator light does not go
out, there is a system error.
35Instruments and warning lights
Page 39 of 336
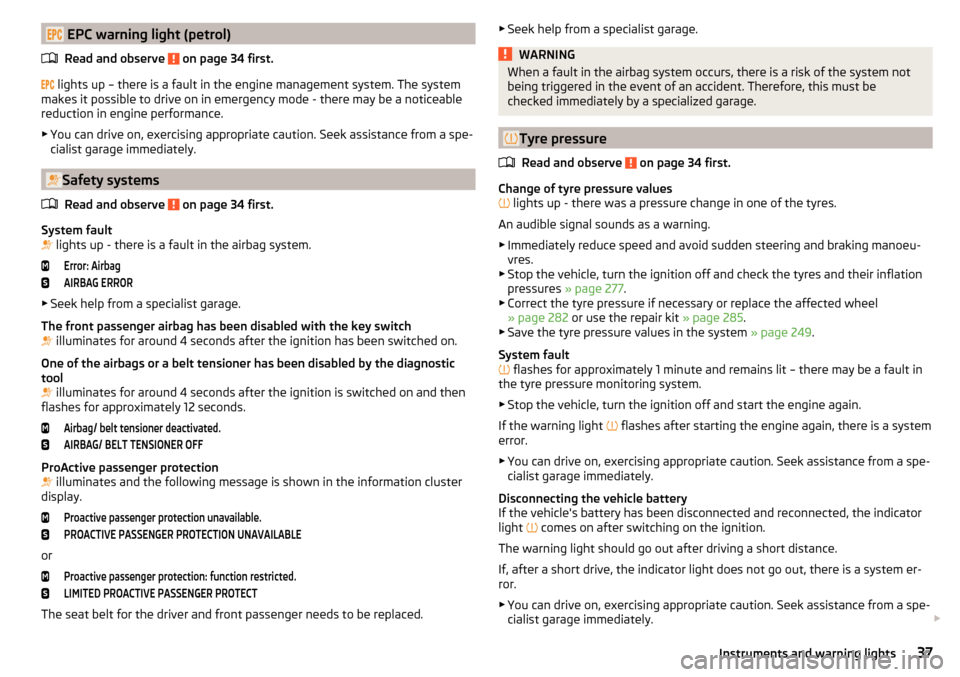
EPC warning light (petrol)Read and observe
on page 34 first.
lights up – there is a fault in the engine management system. The system
makes it possible to drive on in emergency mode - there may be a noticeable
reduction in engine performance.
▶ You can drive on, exercising appropriate caution. Seek assistance from a spe-
cialist garage immediately.
Safety systems
Read and observe
on page 34 first.
System fault
lights up - there is a fault in the airbag system.
Error: AirbagAIRBAG ERROR
▶
Seek help from a specialist garage.
The front passenger airbag has been disabled with the key switch
illuminates for around 4 seconds after the ignition has been switched on.
One of the airbags or a belt tensioner has been disabled by the diagnostic
tool
illuminates for around 4 seconds after the ignition is switched on and then
flashes for approximately 12 seconds.
Airbag/ belt tensioner deactivated.AIRBAG/ BELT TENSIONER OFF
ProActive passenger protection
illuminates and the following message is shown in the information cluster
display.
Proactive passenger protection unavailable.PROACTIVE PASSENGER PROTECTION UNAVAILABLE
or
Proactive passenger protection: function restricted.LIMITED PROACTIVE PASSENGER PROTECT
The seat belt for the driver and front passenger needs to be replaced.
▶ Seek help from a specialist garage.WARNINGWhen a fault in the airbag system occurs, there is a risk of the system not
being triggered in the event of an accident. Therefore, this must be
checked immediately by a specialized garage.
Tyre pressure
Read and observe
on page 34 first.
Change of tyre pressure values
lights up - there was a pressure change in one of the tyres.
An audible signal sounds as a warning. ▶ Immediately reduce speed and avoid sudden steering and braking manoeu-
vres.
▶ Stop the vehicle, turn the ignition off and check the tyres and their inflation
pressures » page 277 .
▶ Correct the tyre pressure if necessary or replace the affected wheel
» page 282 or use the repair kit » page 285.
▶ Save the tyre pressure values in the system » page 249.
System fault
flashes for approximately 1 minute and remains lit – there may be a fault in
the tyre pressure monitoring system.
▶ Stop the vehicle, turn the ignition off and start the engine again.
If the warning light flashes after starting the engine again, there is a system
error.
▶ You can drive on, exercising appropriate caution. Seek assistance from a spe-
cialist garage immediately.
Disconnecting the vehicle battery
If the vehicle's battery has been disconnected and reconnected, the indicator
light comes on after switching on the ignition.
The warning light should go out after driving a short distance.
If, after a short drive, the indicator light does not go out, there is a system er-
ror.
▶ You can drive on, exercising appropriate caution. Seek assistance from a spe-
cialist garage immediately.
37Instruments and warning lights
Page 41 of 336
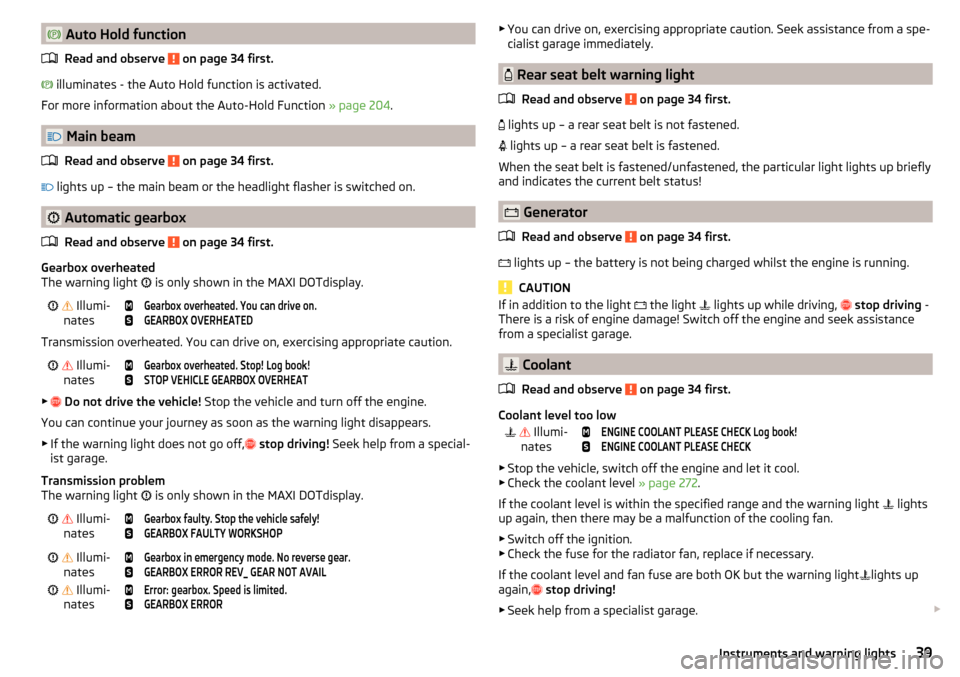
Auto Hold functionRead and observe
on page 34 first.
illuminates - the Auto Hold function is activated.
For more information about the Auto-Hold Function » page 204.
Main beam
Read and observe
on page 34 first.
lights up – the main beam or the headlight flasher is switched on.
Automatic gearbox
Read and observe
on page 34 first.
Gearbox overheated
The warning light is only shown in the MAXI DOTdisplay.
Illumi-
nates
Gearbox overheated. You can drive on.GEARBOX OVERHEATED
Transmission overheated. You can drive on, exercising appropriate caution.
Illumi-
nates
Gearbox overheated. Stop! Log book!STOP VEHICLE GEARBOX OVERHEAT
▶
Do not drive the vehicle! Stop the vehicle and turn off the engine.
You can continue your journey as soon as the warning light disappears.
▶ If the warning light does not go off,
stop driving! Seek help from a special-
ist garage.
Transmission problem
The warning light is only shown in the MAXI DOTdisplay.
Illumi-
nates
Gearbox faulty. Stop the vehicle safely!GEARBOX FAULTY WORKSHOP Illumi-
nates
Gearbox in emergency mode. No reverse gear.GEARBOX ERROR REV_ GEAR NOT AVAIL Illumi-
nates
Error: gearbox. Speed is limited.GEARBOX ERROR▶ You can drive on, exercising appropriate caution. Seek assistance from a spe-
cialist garage immediately.
Rear seat belt warning light
Read and observe
on page 34 first.
lights up – a rear seat belt is not fastened.
lights up – a rear seat belt is fastened.
When the seat belt is fastened/unfastened, the particular light lights up briefly
and indicates the current belt status!
Generator
Read and observe
on page 34 first.
lights up – the battery is not being charged whilst the engine is running.
CAUTION
If in addition to the light
the light lights up while driving, stop driving -
There is a risk of engine damage! Switch off the engine and seek assistance
from a specialist garage.
Coolant
Read and observe
on page 34 first.
Coolant level too low
Illumi-
nates
ENGINE COOLANT PLEASE CHECK Log book!ENGINE COOLANT PLEASE CHECK
▶ Stop the vehicle, switch off the engine and let it cool.
▶ Check the coolant level » page 272.
If the coolant level is within the specified range and the warning light lights
up again, then there may be a malfunction of the cooling fan.
▶ Switch off the ignition.
▶ Check the fuse for the radiator fan, replace if necessary.
If the coolant level and fan fuse are both OK but the warning light lights up
again,
stop driving!
▶ Seek help from a specialist garage.
39Instruments and warning lights
Page 42 of 336
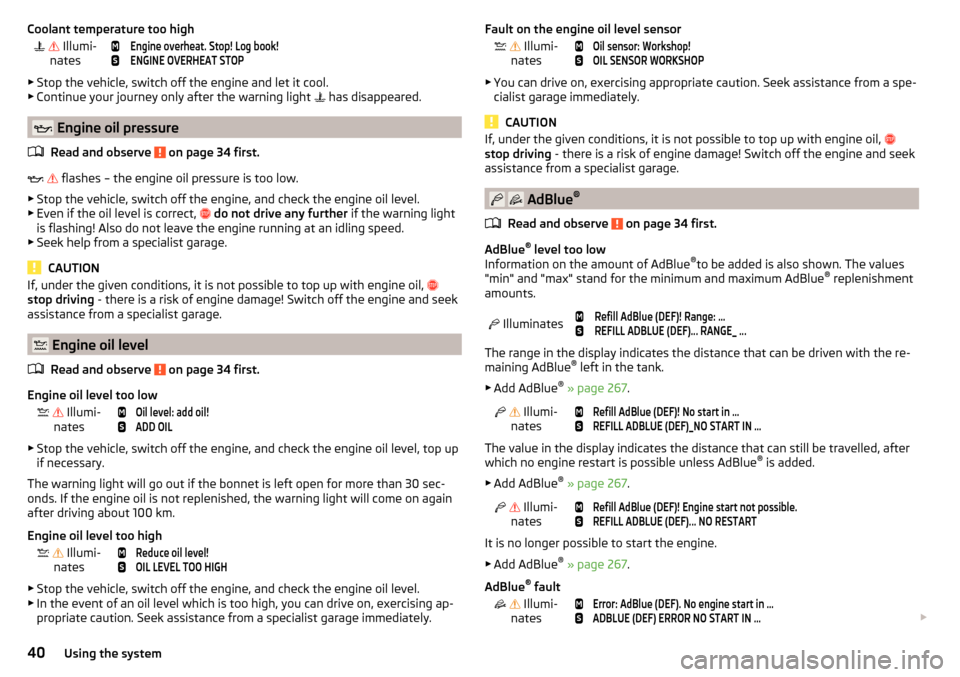
Coolant temperature too high Illumi-
nates
Engine overheat. Stop! Log book!ENGINE OVERHEAT STOP
▶ Stop the vehicle, switch off the engine and let it cool.
▶ Continue your journey only after the warning light
has disappeared.
Engine oil pressure
Read and observe
on page 34 first.
flashes – the engine oil pressure is too low.
▶ Stop the vehicle, switch off the engine, and check the engine oil level.
▶ Even if the oil level is correct,
do not drive any further if the warning light
is flashing! Also do not leave the engine running at an idling speed.
▶ Seek help from a specialist garage.
CAUTION
If, under the given conditions, it is not possible to top up with engine oil,
stop driving - there is a risk of engine damage! Switch off the engine and seek
assistance from a specialist garage.
Engine oil level
Read and observe
on page 34 first.
Engine oil level too low
Illumi-
nates
Oil level: add oil!ADD OIL
▶ Stop the vehicle, switch off the engine, and check the engine oil level, top up
if necessary.
The warning light will go out if the bonnet is left open for more than 30 sec-
onds. If the engine oil is not replenished, the warning light will come on again
after driving about 100 km.
Engine oil level too high
Illumi-
nates
Reduce oil level!OIL LEVEL TOO HIGH
▶ Stop the vehicle, switch off the engine, and check the engine oil level.
▶ In the event of an oil level which is too high, you can drive on, exercising ap-
propriate caution. Seek assistance from a specialist garage immediately.
Fault on the engine oil level sensor Illumi-
nates
Oil sensor: Workshop!OIL SENSOR WORKSHOP
▶ You can drive on, exercising appropriate caution. Seek assistance from a spe-
cialist garage immediately.
CAUTION
If, under the given conditions, it is not possible to top up with engine oil,
stop driving - there is a risk of engine damage! Switch off the engine and seek
assistance from a specialist garage.
AdBlue ®
Read and observe
on page 34 first.
AdBlue ®
level too low
Information on the amount of AdBlue ®
to be added is also shown. The values
"min" and "max" stand for the minimum and maximum AdBlue ®
replenishment
amounts.
Illuminates
Refill AdBlue (DEF)! Range: ...REFILL ADBLUE (DEF)... RANGE_ ...
The range in the display indicates the distance that can be driven with the re-
maining AdBlue ®
left in the tank.
▶ Add AdBlue ®
» page 267 .
Illumi-
nates
Refill AdBlue (DEF)! No start in …REFILL ADBLUE (DEF)_NO START IN …
The value in the display indicates the distance that can still be travelled, after
which no engine restart is possible unless AdBlue ®
is added.
▶ Add AdBlue ®
» page 267 .
Illumi-
nates
Refill AdBlue (DEF)! Engine start not possible.REFILL ADBLUE (DEF)... NO RESTART
It is no longer possible to start the engine.
▶ Add AdBlue ®
» page 267 .
AdBlue ®
fault
Illumi-
nates
Error: AdBlue (DEF). No engine start in …ADBLUE (DEF) ERROR NO START IN …
40Using the system
Page 46 of 336
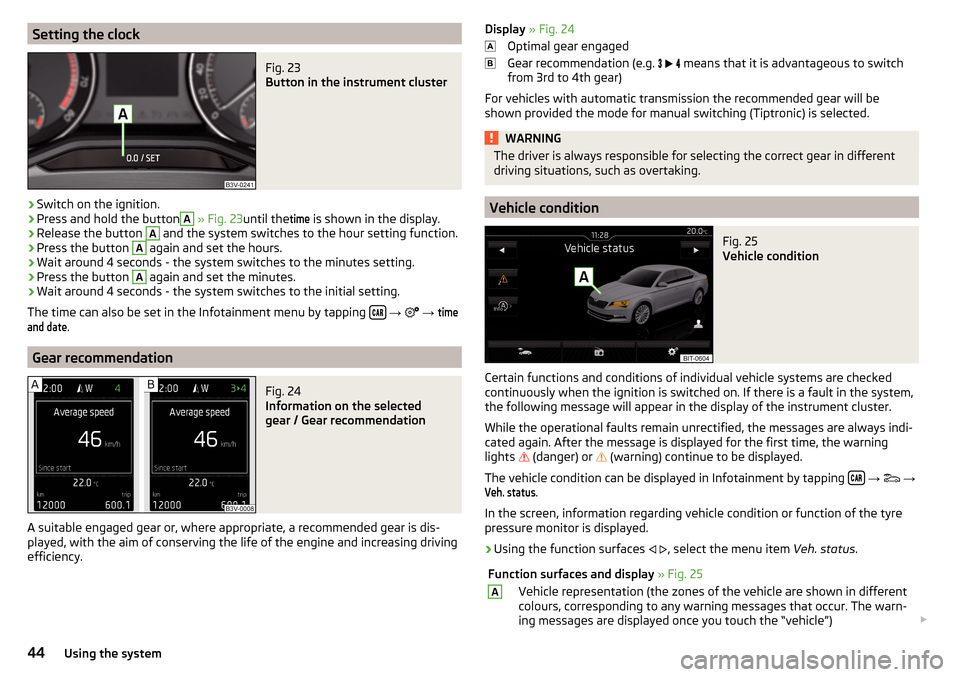
Setting the clockFig. 23
Button in the instrument cluster
›
Switch on the ignition.
›
Press and hold the button
A
» Fig. 23 until the
time
is shown in the display.
›
Release the button
A
and the system switches to the hour setting function.
›
Press the button
A
again and set the hours.
›
Wait around 4 seconds - the system switches to the minutes setting.
›
Press the button
A
again and set the minutes.
›
Wait around 4 seconds - the system switches to the initial setting.
The time can also be set in the Infotainment menu by tapping
→
→
timeand date
.
Gear recommendation
Fig. 24
Information on the selected
gear / Gear recommendation
A suitable engaged gear or, where appropriate, a recommended gear is dis-
played, with the aim of conserving the life of the engine and increasing driving
efficiency.
Display » Fig. 24
Optimal gear engaged
Gear recommendation (e.g.
means that it is advantageous to switch
from 3rd to 4th gear)
For vehicles with automatic transmission the recommended gear will be
shown provided the mode for manual switching (Tiptronic) is selected.WARNINGThe driver is always responsible for selecting the correct gear in different
driving situations, such as overtaking.
Vehicle condition
Fig. 25
Vehicle condition
Certain functions and conditions of individual vehicle systems are checked
continuously when the ignition is switched on. If there is a fault in the system,
the following message will appear in the display of the instrument cluster.
While the operational faults remain unrectified, the messages are always indi-
cated again. After the message is displayed for the first time, the warning
lights
(danger) or
(warning) continue to be displayed.
The vehicle condition can be displayed in Infotainment by tapping
→
→
Veh. status
.
In the screen, information regarding vehicle condition or function of the tyre
pressure monitor is displayed.
›
Using the function surfaces
, select the menu item Veh. status.
Function surfaces and display » Fig. 25AVehicle representation (the zones of the vehicle are shown in different
colours, corresponding to any warning messages that occur. The warn-
ing messages are displayed once you touch the “vehicle”) 44Using the system
Page 54 of 336
›Enter the password (vehicle identification number using uppercase let-
ters » page 52 ).
With SmartGate, a maximum of four external devices can be connected simul-
taneously using Wi-Fi. In these external devices, up to four ŠKODA applications
can be started simultaneously.
Disconnection
The connection can be switched off in one of the following ways.›
Switch off the ignition for longer than 5 seconds (for vehicles with a starter
button, switch off the engine and open the driver's door).
›
End the connection in the SmartGate application.
›
Switch off Wi-Fi in the connected external device.
Automatic connection
If the communication device has already had a connection with SmartGate,
then the connection is automatically restored under the following conditions.
The ignition is switched on.
Wi-Fi is switched on in the external device that is to be connected to.
The external device that is to be connected to stores the password re-
quired for the connection check.
Connection to SmartGate using Wi-Fi direct
This type of connection is intended for external devices running the Android
operating system.
Establishing a connection
›
Switch on the ignition.
›
In the external device that is to be connected to, start the SmartGate appli- cation.
›
In the application, change the connection type to Wi-Fi direct.
›
Then follow the instructions in the manual, which is included in the
SmartGate application.
The password for the connection to SmartGate _... 1)
includes the last six digits
of the vehicle identification number » page 52.
With SmartGate, a maximum of two external devices can be connected simul-
taneously using Wi-Fi direct, with as many launched ŠKODA applications as re-
quired.
If you want to connect to SmartGate in a different vehicle, you must make a
new connection in the SmartGate application.
Disconnection
The connection can be switched off in one of the following ways.›
Switch off the ignition for longer than 5 seconds (for vehicles with a starter
button, switch off the engine and open the driver's door).
›
End the connection in the SmartGate application.
›
Switch off Wi-Fi in the connected external device.
Automatic connection
If the external device once had a connection with SmartGate, then the connec-
tion is automatically restored after the ignition is started.
SmartGate web interface
SmartGate parameters can be set in the SmartGate web interface.
The following address must be entered in the web browser of the external de-
vice that is connected with SmartGate.
HTTP://192.168.123.1
The setting changes are only effective after tapping the buttons “Save” →
“Reboot”.
Password/PIN code
The password for the Wi-Fi connection preset by the factory is the complete
vehicle identification number (entered in upper case); the PIN code for the Wi-
Fi direct connection is the last 6 digits of the vehicle identification number.
After changing the password/PIN, the connection to SmartGate must be re-es-
tablished on the external device to be connected using the new password or
new PIN code.
Changing the password for the Wi-Fi connection
›
Open the SmartGate web interface » page 52.
›
In the menu item “WPA / WPA2 key:”enter the new password (8 to 63 alpha-
numeric characters and special characters, small and capital letters) .
›
Confirm the password change by tapping on the “Save” button.
1)
The last 6 characters of the vehicle identification number of your vehicle are displayed at position
....
52Using the system
Page 205 of 336
Brakes and Parking
Introduction
This chapter contains information on the following subjects:
Electric parking brake
203
Auto Hold function
204
Parking
205
The wear of the brake pads is dependent on the operating conditions and driv-
ing style. Under difficult conditions (e.g. urban, sporty driving style) the condi-
tion of the brakes should also be checked by a specialist garage between the
service intervals.
The performance of the brakes can be delayed if the brakes are damp, iced up
in winter or if covered in a layer of salt . The brakes are cleaned and dried by
applying the brakes several times »
.
Corrosion on the brake discs and dirt on the brake pads occur if the vehicle has
been parked for a long period and if you do not make much use of the braking
system. The brakes are cleaned by applying the brakes several times »
.
Before travelling a long distance with a steep gradient , reduce speed and
shift into the next lowest gear. As a result, the braking effect of the engine will
be used, reducing the load on the brakes. If you do have to brake, this should
be carried out at intervals.
Emergency braking display - when an emergency braking is performed, the
automatic flashing of the brake lights are used to alert the traffic behind.
New brake pads must first be “worn in” because these do not initially have the
best possible braking effect. Drive especially carefully for the first 200 km or
so.
A too low brake fluid level can cause faults in the braking system , the warn-
ing light illuminates in the instrument cluster
» page 35,
Brake system
. If
the warning light does not illuminate and an extended stopping distance is re-
quired, then driving should be adapted according to the unknown cause of
fault and restricted braking effect - seek the assistance of a specialist garage
immediately.
The brake booster increases the pressure generated with the brake pedal. The
brake booster only operates when the engine is running.
WARNING■ Greater physical effort is required for braking when the engine is switch-
ed off – risk of accident!■
During the braking procedure on a vehicle with manual transmission,
when the vehicle is in gear and at low revs, press the clutch pedal. Other-
wise, the functionality of the brake system may be impaired – risk of acci-
dent!
■
Do not press the brake pedal if braking is now required. This causes the
brakes to overheat and can also result in a longer braking distance and ex-
cessive wear - risk of accident!
■
Braking for the purpose of drying and cleaning the brake discs should be
carried out only if the traffic conditions permit. Do not place any other road
users in jeopardy.
■
Recommendations for new brake pads have to be observed.
■
When stopping and parking, the parking brake should always be on, oth-
erwise the vehicle could move off - there is the risk of an accident!
■
If a front spoiler, full wheel trim, etc. is mounted retrospectively, it must
be ensured that the air supply to the front wheel brakes is not reduced.
Otherwise, the functionality of the brake system may be impaired – risk of
accident!
Electric parking brake
Fig. 255
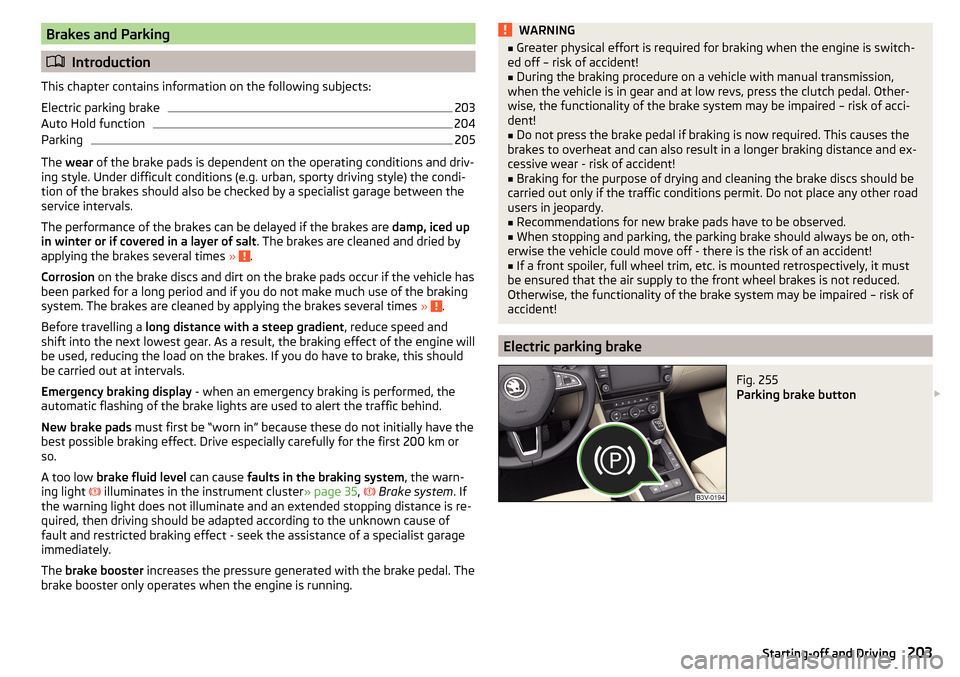
Parking brake button
203Starting-off and Driving