tire pressure SKODA YETI 2010 1.G / 5L Owner's Manual
[x] Cancel search | Manufacturer: SKODA, Model Year: 2010, Model line: YETI, Model: SKODA YETI 2010 1.G / 5LPages: 271, PDF Size: 14.71 MB
Page 152 of 271

Airbag system151
Using the system
Safety
Driving Tips
General Maintenance
Breakdown assistance
Technical Data
Function of the side airbags
Risk of injury to the upper part of the body is reduced by fully inflated
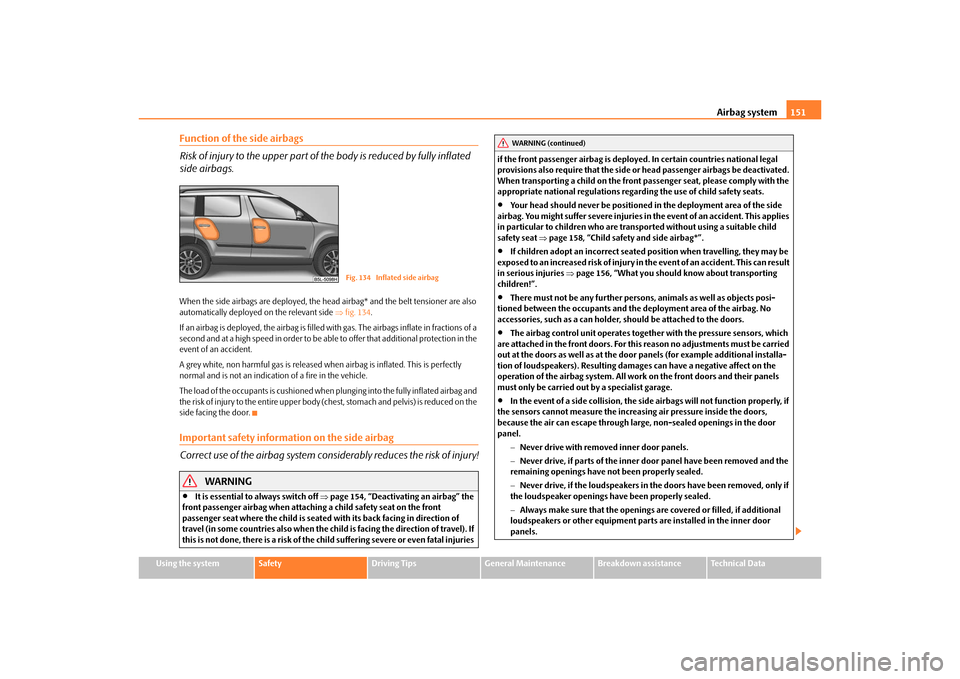
side airbags.When the side airbags are deployed, the head airbag* and the belt tensioner are also
automatically deployed on the relevant side fig. 134 .
If an airbag is deployed, the airbag is filled with gas. The airbags inflate in fractions of a
second and at a high speed in order to be able to offer that additional protection in the
event of an accident.
A grey white, non harmful gas is released when airbag is inflated. This is perfectly
normal and is not an indicati on of a fire in the vehicle.
The load of the occupants is cushioned when plunging into the fully inflated airbag and
the ri sk of i njur y to the entire uppe r body (chest, stomach and pelvis) is reduced on the
side facing the door.Important safety information on the side airbag
Correct use of the airbag system cons iderably reduces the risk of injury!
WARNING
It is essential to always switch off page 154, “Deactivating an airbag” the
front passenger airbag when attaching a child safety seat on the front
passenger seat where the child is seated with its back facing in direction of
travel (in some countries also when the child is facing the direction of travel). If
this is not done, there is a risk of the ch ild suffering severe or even fatal injuries if the front passenger airbag is deploy
ed. In certain countries national legal
provisions also require that the side or head passenger airbags be deactivated.
When transporting a child on the front passenger seat, please comply with the
appropriate national regulations regarding the use of child safety seats.
Your head should never be positioned in the deployment area of the side
airbag. You might suffer severe injuries in the event of an accident. This applies
in particular to children who are transported without using a suitable child
safety seat page 158, “Child safety and side airbag*”.
If children adopt an incorrect seated position when travelling, they may be
exposed to an increased risk of injury in the event of an accident. This can result
in serious injuries page 156, “What you should know about transporting
children!”.
There must not be any further persons, animals as well as objects posi-
tioned between the occupants and the deployment area of the airbag. No
accessories, such as a can holder, should be attached to the doors.
The airbag control unit operates together with the pressure sensors, which
are attached in the front doors. For this reason no adjustments must be carried
out at the doors as well as at the door panels (for example additional installa-
tion of loudspeakers). Resulting damage s can have a negative affect on the
operation of the airbag system. All work on the front doors and their panels
must only be carried out by a specialist garage.
In the event of a side collision, the side airbags will not function properly, if
the sensors cannot measure the increasi ng air pressure inside the doors,
because the air can escape through lar ge, non-sealed openings in the door
panel.
Never drive with removed inner door panels.
Never drive, if parts of the inner door panel have been removed and the
remaining openings have not been properly sealed.
Never drive, if the loudspeakers in the doors have been removed, only if
the loudspeaker openings have been properly sealed.
Always make sure that the openings are covered or filled, if additional
loudspeakers or other equipment part s are installed in the inner door
panels.
Fig. 134 Inflated side airbag
WARNING (continued)
s2ug.6.book Page 151 Friday, April 9, 2010 2:24 PM
Page 227 of 271

Breakdown assistance
226
– Have the tightening torque of the wheel bolts checked with a torque wrench as
soon as possible. Steel and light alloy wh eels must be tightened to a tightening
torque of 120 Nm .
– Change the damaged wheel or consult a specialist garage about possibilities for getting repairs done.
WARNING
It is necessary to observe the guidelines given on page 218 if the vehicle is
subsequently fitted with tyres which are different to those it was fitted with at
the works.
Note
If you find, when changing the wheel, that the wheel bolts are corroded and diffi-
cult to turn, the bolts must be replaced before checking the tightening torque.
Drive cautiously and only at a moderate speed to a workshop where the tightening
torque can be checked.
Full wheel trim*Pulling off– Hook the clamp found in the vehicle tool kit into the reinforced edge of the full
wheel trim.
– Push the wheel key through the clamp, support the wheel key at the tyre and pull off the wheel trim.Installing– First press the full wheel trim onto the wheel at the valve opening provided. Then
press the full wheel trim into the wheel in such a way that its entire circumference
locks correctly in place.
Caution
Use the pressure of your hand, do not knock on the full wheel trim! Heavy knocks
mainly on the points where the full wheel trim has not been inserted into the wheel,
can result in damage to the guide and centering elements of the full wheel trim.
Check for yourself that the safety wheel bolt is located in the hole in the area of the
valve before fitting the full wheel trim onto a steel wheel which is attached with a safety
wheel bolt page 228.
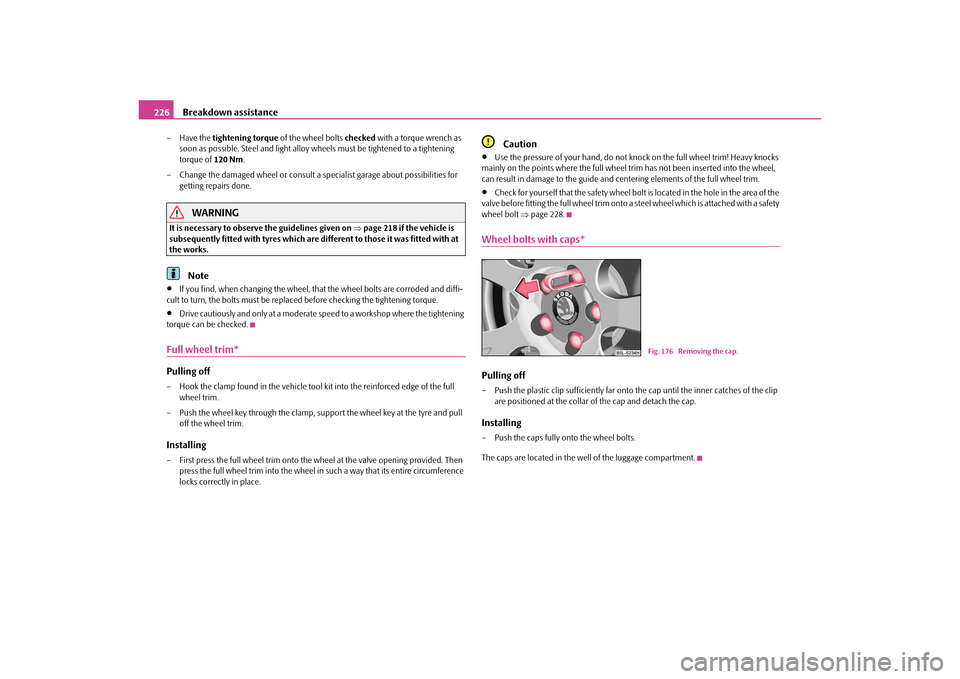
Wheel bolts with caps*Pulling off– Push the plastic clip sufficie ntly far onto the cap until the inner catches of the clip
are positioned at the collar of the cap and detach the cap.Installing– Push the caps fully onto the wheel bolts.
The caps are located in the well of the luggage compartment.
Fig. 176 Removing the cap.
s2ug.6.book Page 226 Friday, April 9, 2010 2:24 PM