high beam SKODA YETI 2015 1.G / 5L Owner's Manual
[x] Cancel search | Manufacturer: SKODA, Model Year: 2015, Model line: YETI, Model: SKODA YETI 2015 1.G / 5LPages: 232, PDF Size: 30.84 MB
Page 69 of 232

Dynamic cornering lights
The cone of light in front of the vehicle is adjusted to the steering angle so
that the road in the curve is illuminated. This function is active at speeds
greater than 10 km/h and in all system modes.
Tourist lights (Travel mode)
This mode makes it possible to drive in countries with opposing traffic system
(driving on the left/right) without dazzling the oncoming vehicles.
If this mode is activated, there is no automatic cone of light adaptation in front
of the vehicle. When switching on the ignition the warning light
flashes for
10 seconds.
This mode can be enabled / disabled via the MAXI DOT display in the Travelmode
» page 47 , Menu item
Settings
menu option.
WARNINGIf there is a system malfunction the headlights are automatically lowered
to the emergency position, which prevents a possible dazzling of oncoming
traffic. This reduces the cone of light in front of the vehicle. Drive carefully
and visit a specialist garage as soon as possible.
Front and rear fog light
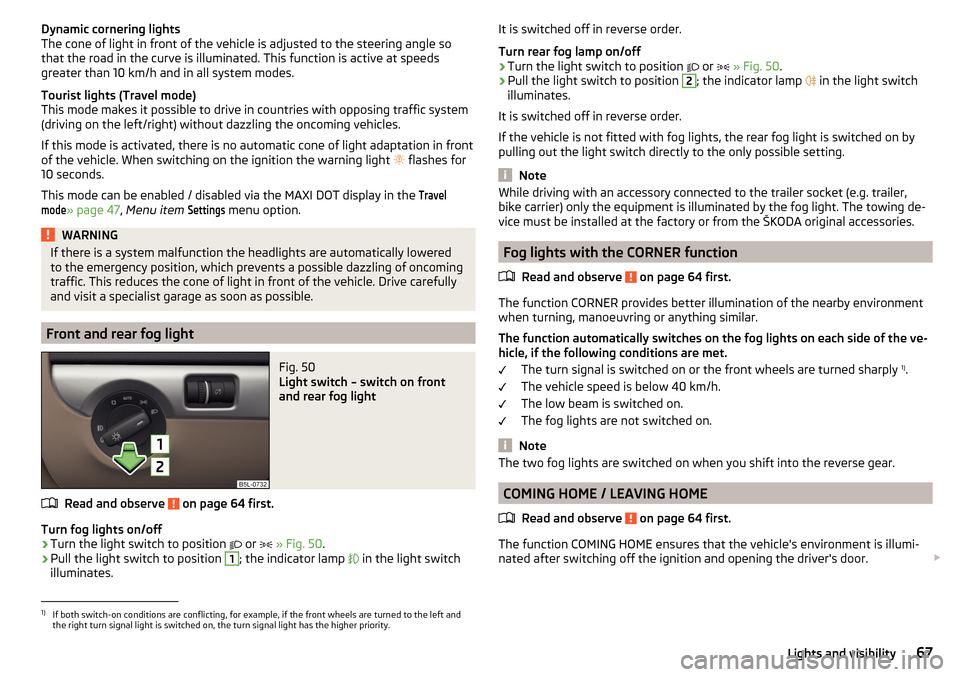
Fig. 50
Light switch – switch on front
and rear fog light
Read and observe on page 64 first.
Turn fog lights on/off
›
Turn the light switch to position
or
» Fig. 50 .
›
Pull the light switch to position
1
; the indicator lamp
in the light switch
illuminates.
It is switched off in reverse order.
Turn rear fog lamp on/off›
Turn the light switch to position
or
» Fig. 50 .
›
Pull the light switch to position
2
; the indicator lamp
in the light switch
illuminates.
It is switched off in reverse order.
If the vehicle is not fitted with fog lights, the rear fog light is switched on by pulling out the light switch directly to the only possible setting.
Note
While driving with an accessory connected to the trailer socket (e.g. trailer,
bike carrier) only the equipment is illuminated by the fog light. The towing de-
vice must be installed at the factory or from the ŠKODA original accessories.
Fog lights with the CORNER function
Read and observe
on page 64 first.
The function CORNER provides better illumination of the nearby environmentwhen turning, manoeuvring or anything similar.
The function automatically switches on the fog lights on each side of the ve- hicle, if the following conditions are met.
The turn signal is switched on or the front wheels are turned sharply 1)
.
The vehicle speed is below 40 km/h.
The low beam is switched on.
The fog lights are not switched on.
Note
The two fog lights are switched on when you shift into the reverse gear.
COMING HOME / LEAVING HOME
Read and observe
on page 64 first.
The function COMING HOME ensures that the vehicle's environment is illumi-
nated after switching off the ignition and opening the driver's door.
1)
If both switch-on conditions are conflicting, for example, if the front wheels are turned to the left and
the right turn signal light is switched on, the turn signal light has the higher priority.
67Lights and visibility
Page 72 of 232

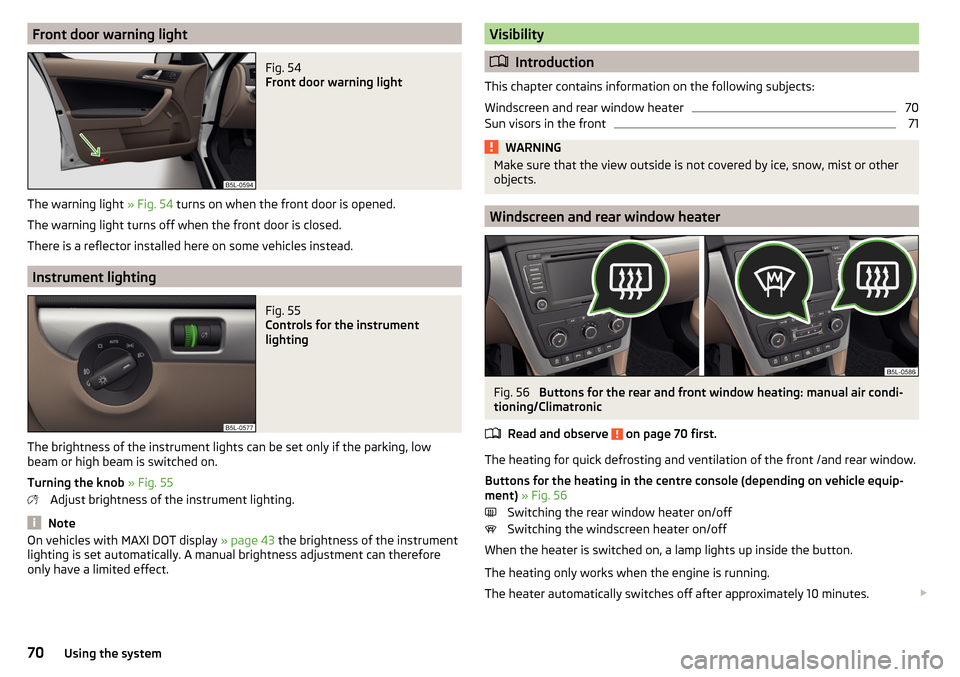
Front door warning lightFig. 54
Front door warning light
The warning light » Fig. 54 turns on when the front door is opened.
The warning light turns off when the front door is closed.
There is a reflector installed here on some vehicles instead.
Instrument lighting
Fig. 55
Controls for the instrument
lighting
The brightness of the instrument lights can be set only if the parking, low
beam or high beam is switched on.
Turning the knob » Fig. 55
Adjust brightness of the instrument lighting.
Note
On vehicles with MAXI DOT display » page 43 the brightness of the instrument
lighting is set automatically. A manual brightness adjustment can therefore
only have a limited effect.Visibility
Introduction
This chapter contains information on the following subjects:
Windscreen and rear window heater
70
Sun visors in the front
71WARNINGMake sure that the view outside is not covered by ice, snow, mist or other
objects.
Windscreen and rear window heater
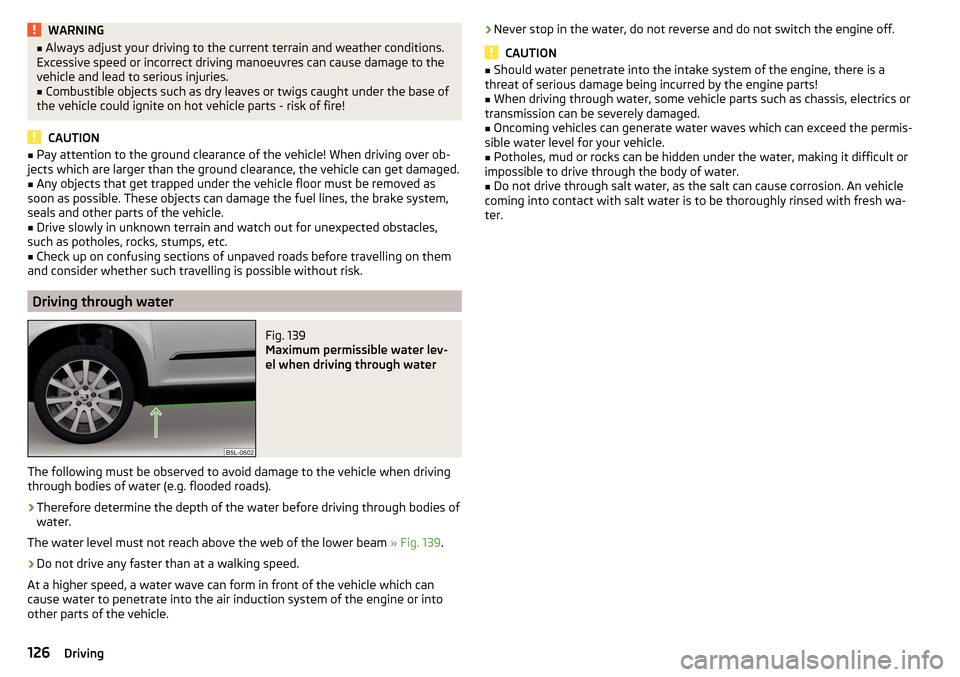
Fig. 56
Buttons for the rear and front window heating: manual air condi-
tioning/Climatronic
Read and observe
on page 70 first.
The heating for quick defrosting and ventilation of the front /and rear window.Buttons for the heating in the centre console (depending on vehicle equip-
ment) » Fig. 56
Switching the rear window heater on/off Switching the windscreen heater on/off
When the heater is switched on, a lamp lights up inside the button.
The heating only works when the engine is running.
The heater automatically switches off after approximately 10 minutes.
70Using the system
Page 128 of 232

WARNING■Always adjust your driving to the current terrain and weather conditions.
Excessive speed or incorrect driving manoeuvres can cause damage to the
vehicle and lead to serious injuries.■
Combustible objects such as dry leaves or twigs caught under the base of
the vehicle could ignite on hot vehicle parts - risk of fire!
CAUTION
■ Pay attention to the ground clearance of the vehicle! When driving over ob-
jects which are larger than the ground clearance, the vehicle can get damaged.■
Any objects that get trapped under the vehicle floor must be removed as
soon as possible. These objects can damage the fuel lines, the brake system,
seals and other parts of the vehicle.
■
Drive slowly in unknown terrain and watch out for unexpected obstacles,
such as potholes, rocks, stumps, etc.
■
Check up on confusing sections of unpaved roads before travelling on them
and consider whether such travelling is possible without risk.
Driving through water
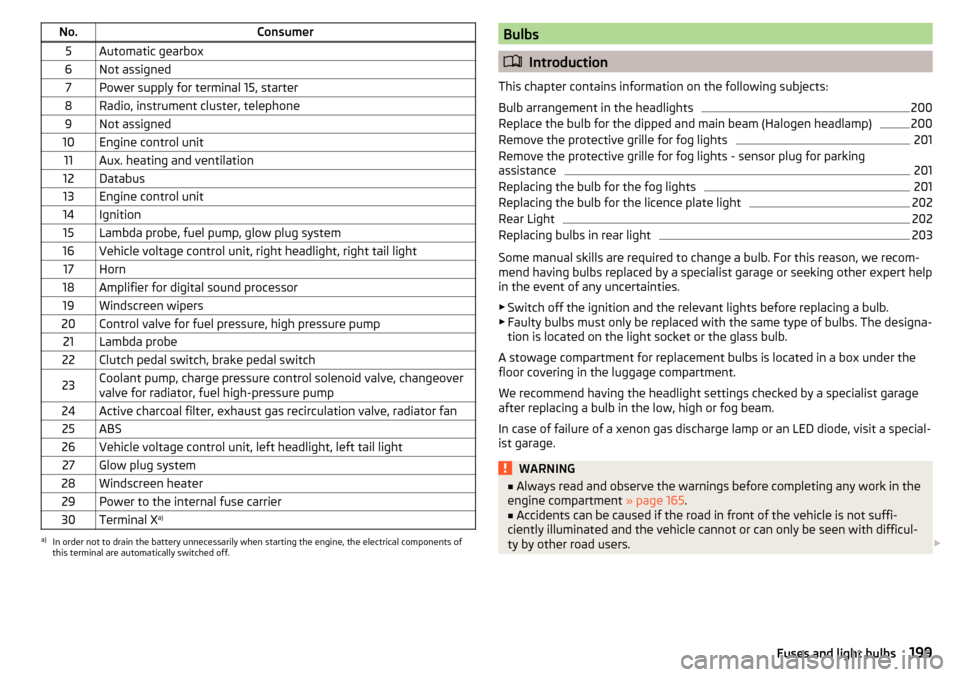
Fig. 139
Maximum permissible water lev-
el when driving through water
The following must be observed to avoid damage to the vehicle when driving
through bodies of water (e.g. flooded roads).
›
Therefore determine the depth of the water before driving through bodies of
water.
The water level must not reach above the web of the lower beam » Fig. 139.
›
Do not drive any faster than at a walking speed.
At a higher speed, a water wave can form in front of the vehicle which can
cause water to penetrate into the air induction system of the engine or into
other parts of the vehicle.
› Never stop in the water, do not reverse and do not switch the engine off.
CAUTION
■
Should water penetrate into the intake system of the engine, there is a
threat of serious damage being incurred by the engine parts!■
When driving through water, some vehicle parts such as chassis, electrics or
transmission can be severely damaged.
■
Oncoming vehicles can generate water waves which can exceed the permis-
sible water level for your vehicle.
■
Potholes, mud or rocks can be hidden under the water, making it difficult or
impossible to drive through the body of water.
■
Do not drive through salt water, as the salt can cause corrosion. An vehicle
coming into contact with salt water is to be thoroughly rinsed with fresh wa-
ter.
126Driving
Page 201 of 232

No.Consumer5Automatic gearbox6Not assigned7Power supply for terminal 15, starter8Radio, instrument cluster, telephone9Not assigned10Engine control unit11Aux. heating and ventilation12Databus13Engine control unit14Ignition15Lambda probe, fuel pump, glow plug system16Vehicle voltage control unit, right headlight, right tail light17Horn18Amplifier for digital sound processor19Windscreen wipers20Control valve for fuel pressure, high pressure pump21Lambda probe22Clutch pedal switch, brake pedal switch23Coolant pump, charge pressure control solenoid valve, changeover
valve for radiator, fuel high-pressure pump24Active charcoal filter, exhaust gas recirculation valve, radiator fan25ABS26Vehicle voltage control unit, left headlight, left tail light27Glow plug system28Windscreen heater29Power to the internal fuse carrier30Terminal X a)a)
In order not to drain the battery unnecessarily when starting the engine, the electrical components of
this terminal are automatically switched off.
Bulbs
Introduction
This chapter contains information on the following subjects:
Bulb arrangement in the headlights
200
Replace the bulb for the dipped and main beam (Halogen headlamp)
200
Remove the protective grille for fog lights
201
Remove the protective grille for fog lights - sensor plug for parking
assistance
201
Replacing the bulb for the fog lights
201
Replacing the bulb for the licence plate light
202
Rear Light
202
Replacing bulbs in rear light
203
Some manual skills are required to change a bulb. For this reason, we recom-
mend having bulbs replaced by a specialist garage or seeking other expert help
in the event of any uncertainties.
▶ Switch off the ignition and the relevant lights before replacing a bulb.
▶ Faulty bulbs must only be replaced with the same type of bulbs. The designa-
tion is located on the light socket or the glass bulb.
A stowage compartment for replacement bulbs is located in a box under the floor covering in the luggage compartment.
We recommend having the headlight settings checked by a specialist garage after replacing a bulb in the low, high or fog beam.
In case of failure of a xenon gas discharge lamp or an LED diode, visit a special- ist garage.
WARNING■ Always read and observe the warnings before completing any work in the
engine compartment » page 165.■
Accidents can be caused if the road in front of the vehicle is not suffi-
ciently illuminated and the vehicle cannot or can only be seen with difficul-
ty by other road users.
199Fuses and light bulbs