flat tire SMART FORTWO 2016 Owners Manual
[x] Cancel search | Manufacturer: SMART, Model Year: 2016, Model line: FORTWO, Model: SMART FORTWO 2016Pages: 214, PDF Size: 4.93 MB
Page 6 of 214
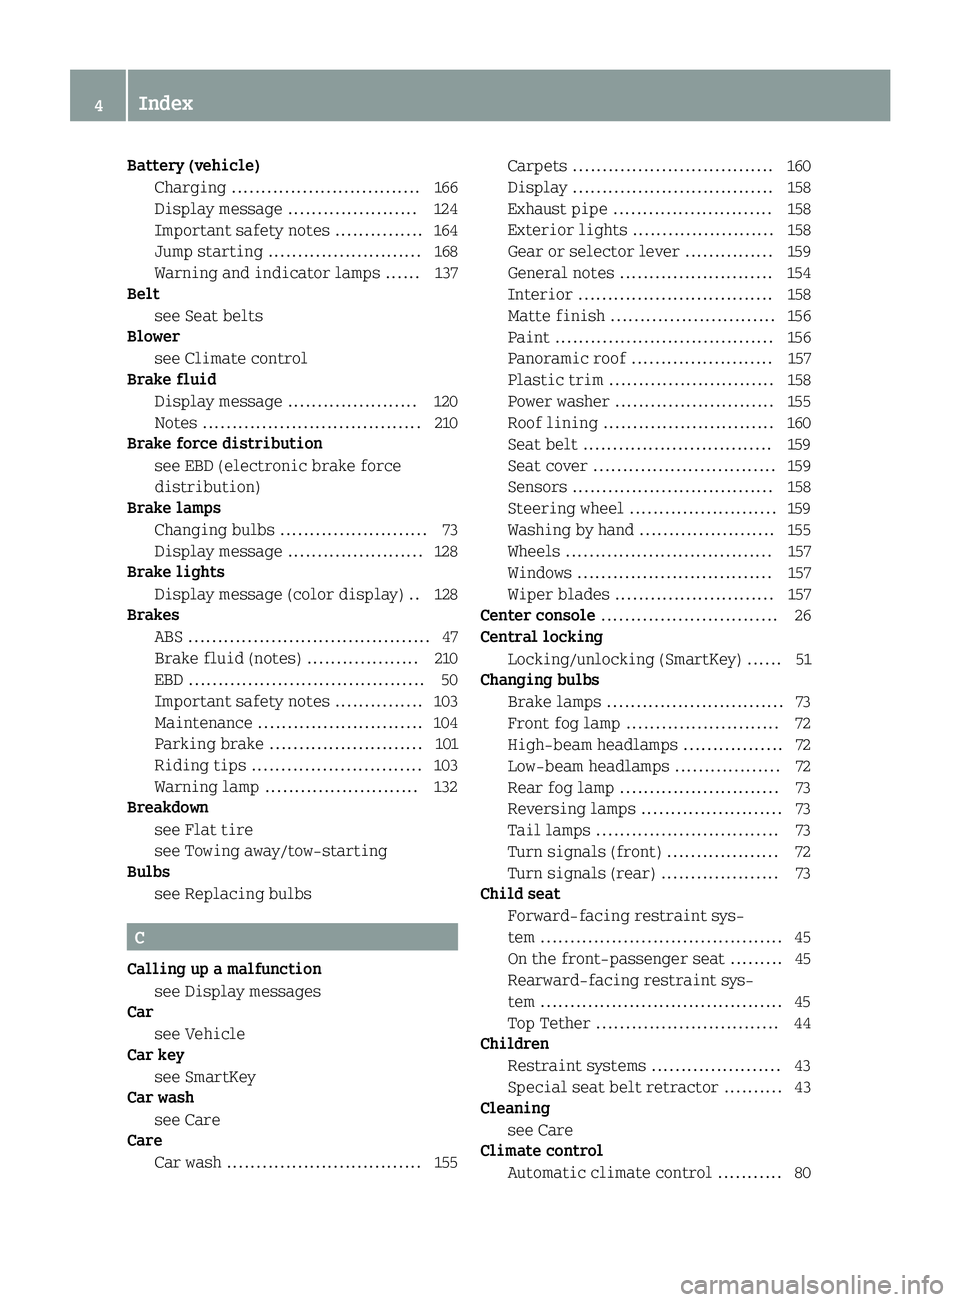
Battery (vehicle)Charging ................................ 166
Display message ......................1 24
Important safety notes ............... 164
Jump starting .......................... 168
Warning and indicator lamps ...... 137
Belt
see Seat belts
Blower
see Climate control
Brake fluid
Display message ..................... .120
Notes .................................... .210
Brake force distribution
see EBD (electronic brake force
distribution)
Brake lamps
Changing bulbs .........................7 3
Display message ....................... 128
Brake lights
Display message (color display) .. 128
Brakes
ABS ......................................... 47
Brake fluid (notes) .................. .210
EBD ........................................5 0
Important safety notes ............... 103
Maintenance ............................ 104
Parking brake ..........................1 01
Riding tips .............................1 03
Warning lamp .......................... 132
Breakdown
see Flat tire
see Towing away/tow-starting
Bulbs
see Replacing bulbs
C
Calling up a malfunctionsee Display messages
Car
see Vehicle
Car key
see SmartKey
Car wash
see Care
Care
Car wash .................................1 55Carpets .................................. 160
Display .................................. 158
Exhaust pipe ........................... 158
Exterior lights ........................ 158
Gear or selector lever ............... 159
General notes ..........................1
54
Interior ................................. 158
Matte finish ............................ 156
Paint ..................................... 156
Panoramic roof ........................ 157
Plastic trim ............................ 158
Power washer ........................... 155
Roof lining ............................. 160
Seat belt ................................ 159
Seat cover ...............................1 59
Sensors .................................. 158
Steering wheel ......................... 159
Washing by hand ....................... 155
Wheels ................................... 157
Windows ................................. 157
Wiper blades ........................... 157
Center console .............................. 26
Central locking
Locking/unlocking (SmartKey) ......5 1
Changing bulbs
Brake lamps .............................. 73
Front fog lamp .......................... 72
High-beam headlamps ................. 72
Low-beam headlamps .................. 72
Rear fog lamp ........................... 73
Reversing lamps ........................ 73
Tail lamps ............................... 73
Turn signals (front) ................... 72
Turn signals (rear) .................... 73
Child seat
Forward-facing restraint sys-
tem .........................................4 5
On the front-passenger seat .........4 5
Rearward-facing restraint sys-
tem ......................................... 45
Top Tether ............................... 44
Children
Restraint systems ...................... 43
Special seat belt retractor .......... 43
Cleaning
see Care
Climate control
Automatic climate control ........... 80
4Index
Page 9 of 214
Emergency releaseDriver's door ........................... .55
Vehicle ................................... 55
Emergency Tensioning Devices
Activation ............................... 40
Emissions control
Service and warranty informa-
tion ........................................ 17
Engine
Check Engine warning lamp ........1 36
Display message ...................... 124
Engine number ......................... 206
Irregular running ...................... 90
Jump-starting ......................... 168
Starting problems ..................... 90
Starting the engine with the
SmartKey ................................. 88
Switching off ........................... 101
Tow-starting (vehicle) .............. 172
Engine compartment cover .............. 149
Engine electronics
Problem (malfunction) ................ 90
Engine oil
Adding ................................... 150
Additives ............................... 209
Checking the oil level ............... 150
Display message ...................... 124
Filling capacity ...................... 209
Notes about oil grades .............. 209
Notes on oil level/consumption ... 149
Viscosity ............................... 210
Warning lamp .......................... 138
Engine oil additives
see Additives (engine oil)
ESP
®(Electronic Stability Program)
Characteristics ........................4 9
Crosswind Assist ....................... 50
Display message ....................... 121
ETS .........................................4 9
Function/notes ......................... 49
General notes ........................... 49
Important safety information ....... 49
Warning and indicator lamps ...... 134
ETS (Electronic Traction System) ...... 49
Exhaust check .............................. 103
Exhaust pipe (cleaning instruc-
tions) ......................................... 158 Exterior lighting
Cleaning ................................ 158
Setting options ......................... 67
Exterior mirrors
Adjusting (electrically) ............. 66
Adjusting (manually) .................. 66
Out of position (troubleshoot-
ing) ........................................ 66
F
Filler capsee Refueling
Filling capacities (Technical data) .. 207
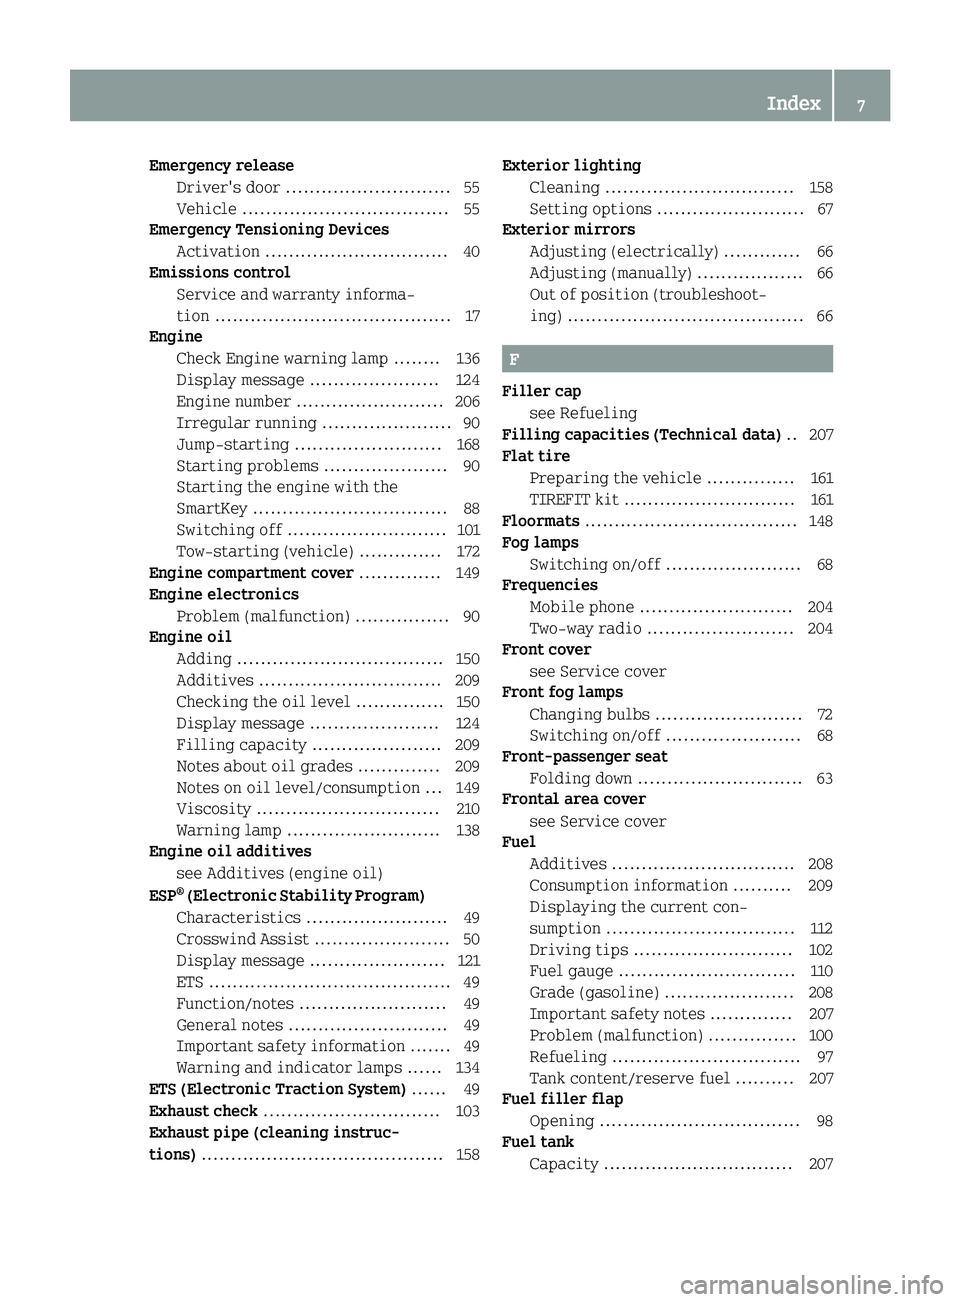
Flat tire
Preparing the vehicle ............... 161
TIREFIT kit ............................. 161
Floormats .................................... 148
Fog lamps
Switching on/off ....................... 68
Frequencies
Mobile phone .......................... 204
Two-way radio ......................... 204
Front cover
see Service cover
Front fog lamps
Changing bulbs ......................... 72
Switching on/off ....................... 68
Front-passenger seat
Folding down ............................ 63
Frontal area cover
see Service cover
Fuel
Additives ............................... 208
Consumption information .......... 209
Displaying the current con-
sumption ................................ 112
Driving tips ........................... 102
Fuel gauge .............................. 110
Grade (gasoline) ...................... 208
Important safety notes .............. 207
Problem (malfunction) ............... 100
Refueling ................................ 97
Tank content/reserve fuel .......... 207
Fuel filler flap
Opening .................................. 98
Fuel tank
Capacity ................................ 207
Index7
Page 16 of 214
Tire size (data) ....................... 200
Tire size designation, load-
bearing capacity, speed rating ... 191
Tire tread ...............................178
Tire tread (definition) .............. 196
Total load limit (definition) ...... 196
Traction .................................1 90
Traction (definition) ................ 196
Tread wear .............................. 190
Uniform Tire Quality Grading
Standards ............................... 189
Uniform Tire Quality Grading
Standards (definition) .............. 194
Wear indicator (definition) ....... 196
Wheel and tire combination ....... 202
Wheel rim (definition) .............. 195
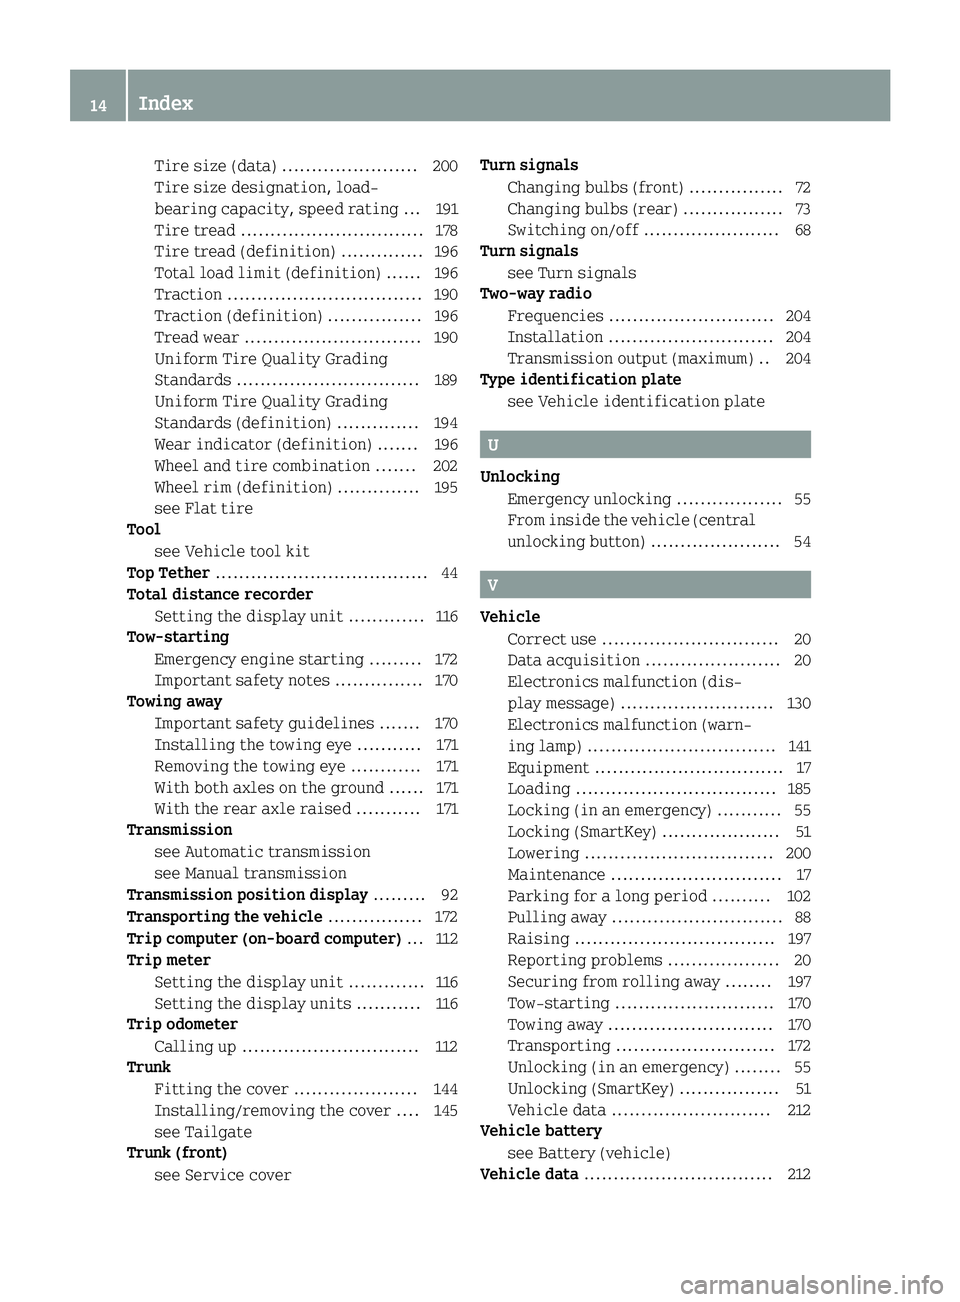
see Flat tire
Tool
see Vehicle tool kit
Top Tether .................................... 44
Total distance recorder
Setting the display unit .............1 16
Tow-starting
Emergency engine starting ......... 172
Important safety notes ............... 170
Towing away
Important safety guidelines .......1 70
Installing the towing eye ........... 171
Removing the towing eye ............ 171
With both axles on the ground ...... 171
With the rear axle raised ........... 171
Transmission
see Automatic transmission
see Manual transmission
Transmission position display .........92
Transporting the vehicle ................ 172
Trip computer (on-board computer) ... 112
Trip meter
Setting the display unit .............1 16
Setting the display units ........... 116
Trip odometer
Calling up .............................. 112
Trunk
Fitting the cover ..................... 144
Installing/removing the cover ....1 45
see Tailgate
Trunk (front)
see Service cover Turn signals
Changing bulbs (front) ................ 72
Changing bulbs (rear) ................. 73
Switching on/off ....................... 68
Turn signals
see Turn signals
Two-way radio
Frequencies ............................ 204
Installation ............................ 204
Transmission output (maximum) .. 204
Type identification plate
see Vehicle identification plate
U
UnlockingEmergency unlocking .................. 55
From inside the vehicle (central
unlocking button) ...................... 54
V
VehicleCorrect use .............................. 20
Data acquisition ....................... 20
Electronics malfunction (dis-
play message) .......................... 130
Electronics malfunction (warn-
ing lamp) ................................ 141
Equipment ................................ 17
Loading .................................. 185
Locking (in an emergency) ........... 55
Locking (SmartKey) .................... 51
Lowering ................................ 200
Maintenance ............................. 17
Parking for a long period .......... 102
Pulling away ............................. 88
Raising .................................. 197
Reporting problems ................... 20
Securing from rolling away ........ 197
Tow-starting ........................... 170
Towing away ............................ 170
Transporting ........................... 172
Unlocking (in an emergency) ........ 55
Unlocking (SmartKey) ................. 51
Vehicle data ........................... 212
Vehicle battery
see Battery (vehicle)
Vehicle data ................................ 212
14Index
Page 42 of 214
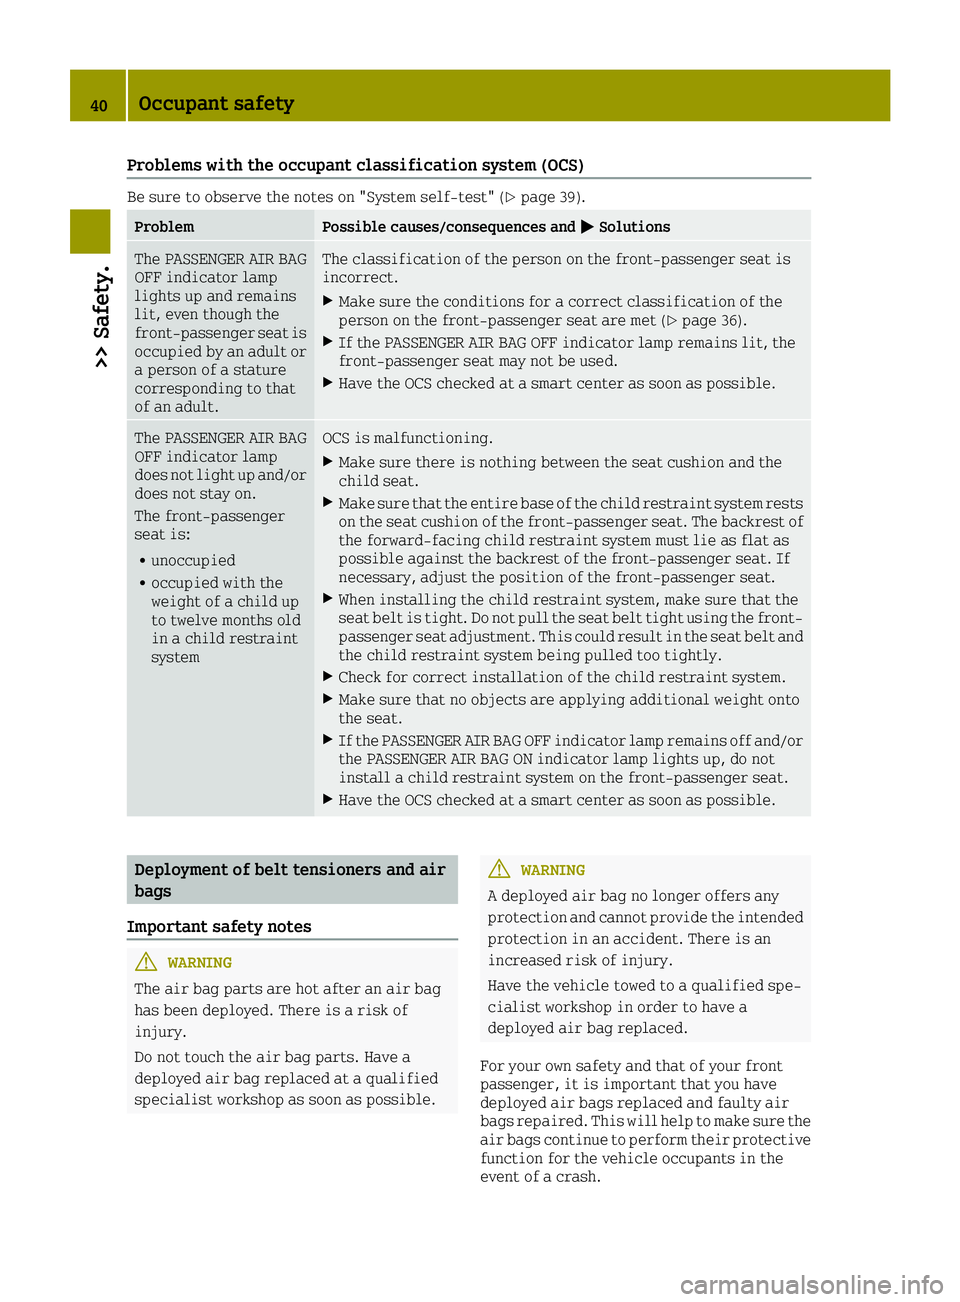
Problems with the occupant classification system (OCS)
Be sure to observe the notes on "System self-test" (Ypage 39).
ProblemPossible causes/consequences and0050Solutions
The PASSENGER AIR BAG
OFF indicator lamp
lights up and remains
lit, even though the
front-passenger seat is
occupied by an adult or
a person of a stature
corresponding to that
of an adult.The classification of the person on the front-passenger seat is
incorrect.
XMake sure the conditions for a correct classification of the
person on the front-passenger seat are met (Ypage 36).
XIf the PASSENGER AIR BAG OFF indicator lamp remains lit, the
front-passenger seat may not be used.
XHave the OCS checked at a smart center as soon as possible.
The PASSENGER AIR BAG
OFF indicator lamp
does not light up and/or
does not stay on.
The front-passenger
seat is:
Runoccupied
Roccupied with the
weight of a child up
to twelve months old
in a child restraint
system
OCS is malfunctioning.
XMake sure there is nothing between the seat cushion and the
child seat.
XMake sure that the entire base of the child restraint system rests
on the seat cushion of the front-passenger seat. The backrest of
the forward-facing child restraint system must lie as flat as
possible against the backrest of the front-passenger seat. If
necessary, adjust the position of the front-passenger seat.
XWhen installing the child restraint system, make sure that the
seat belt is tight. Do not pull the seat belt tight using the front-
passenger seat adjustment. This could result in the seat belt and
the child restraint system being pulled too tightly.
XCheck for correct installation of the child restraint system.
XMake sure that no objects are applying additional weight onto
the seat.
XIf the PASSENGER AIR BAG OFF indicator lamp remains off and/or
the PASSENGER AIR BAG ON indicator lamp lights up, do not
install a child restraint system on the front-passenger seat.
XHave the OCS checked at a smart center as soon as possible.
Deployment of belt tensioners and air
bags
Important safety notes
GWARNING
The air bag parts are hot after an air bag
has been deployed. There is a risk of
injury.
Do not touch the air bag parts. Have a
deployed air bag replaced at a qualified
specialist workshop as soon as possible.
GWARNING
A deployed air bag no longer offers any
protection and cannot provide the intended
protection in an accident. There is an
increased risk of injury.
Have the vehicle towed to a qualified spe-
cialist workshop in order to have a
deployed air bag replaced.
For your own safety and that of your front
passenger, it is important that you have
deployed air bags replaced and faulty air
bags repaired. This will help to make sure the
air bags continue to perform their protective
function for the vehicle occupants in the
event of a crash.
40Occupant safety
>> Safety.
Page 104 of 214
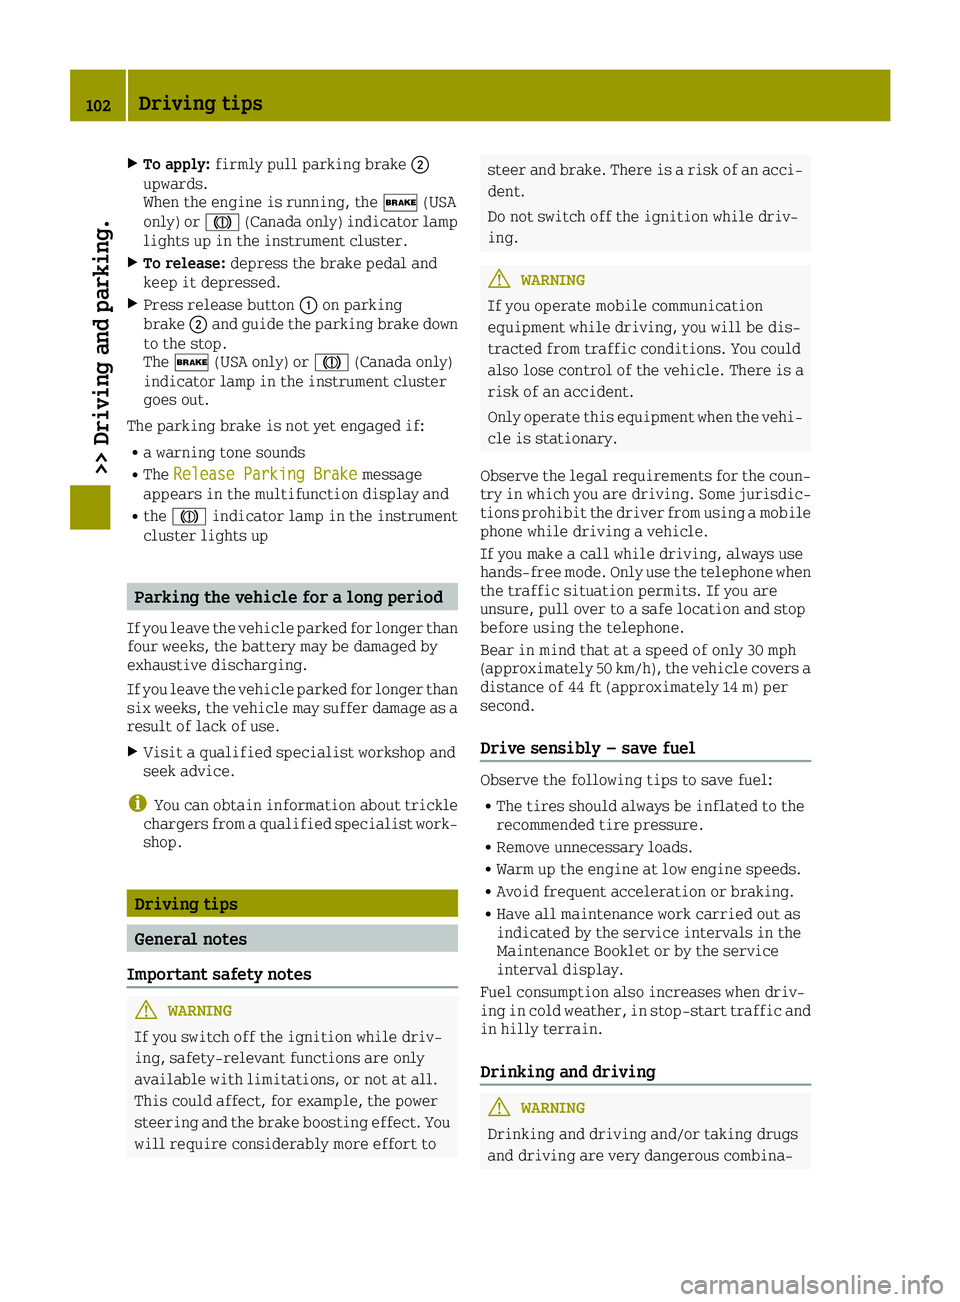
XTo apply:firmly pull parking brake 0044
upwards.
When the engine is running, the 0027(USA
only) or 004D(Canada only) indicator lamp
lights up in the instrument cluster.
XTo release: depress the brake pedal and
keep it depressed.
XPress release button 0043on parking
brake 0044and guide the parking brake down
to the stop.
The 0027 (USA only) or 004D(Canada only)
indicator lamp in the instrument cluster
goes out.
The parking brake is not yet engaged if:
Ra warning tone sounds
RThe Release Parking Brakemessage
appears in the multifunction display and
Rthe 004D indicator lamp in the instrument
cluster lights up
Parking the vehicle for a long period
If you leave the vehicle parked for longer than
four weeks, the battery may be damaged by
exhaustive discharging.
If you leave the vehicle parked for longer than
six weeks, the vehicle may suffer damage as a
result of lack of use.
XVisit a qualified specialist workshop and
seek advice.
iYou can obtain information about trickle
chargers from a qualified specialist work-
shop.
Driving tips
General notes
Important safety notes
GWARNING
If you switch off the ignition while driv-
ing, safety-relevant functions are only
available with limitations, or not at all.
This could affect, for example, the power
steering and the brake boosting effect. You will require considerably more effort to
steer and brake. There is a risk of an acci-dent.
Do not switch off the ignition while driv-
ing.
GWARNING
If you operate mobile communication
equipment while driving, you will be dis-
tracted from traffic conditions. You could
also lose control of the vehicle. There is a
risk of an accident.
Only operate this equipment when the vehi- cle is stationary.
Observe the legal requirements for the coun-
try in which you are driving. Some jurisdic-
tions prohibit the driver from using a mobile
phone while driving a vehicle.
If you make a call while driving, always use
hands-free mode. Only use the telephone when
the traffic situation permits. If you are
unsure, pull over to a safe location and stop
before using the telephone.
Bear in mind that at a speed of only 30 mph
(approximately 50 km/h), the vehicle covers a
distance of 44 ft (approximately 14 m) per
second.
Drive sensibly – save fuel
Observe the following tips to save fuel:
RThe tires should always be inflated to the
recommended tire pressure.
RRemove unnecessary loads.
RWarm up the engine at low engine speeds.
RAvoid frequent acceleration or braking.
RHave all maintenance work carried out as
indicated by the service intervals in the
Maintenance Booklet or by the service
interval display.
Fuel consumption also increases when driv-
ing in cold weather, in stop-start traffic and
in hilly terrain.
Drinking and driving
GWARNING
Drinking and driving and/or taking drugs
and driving are very dangerous combina-
102Driving tips
>> Driving and parking.
Page 128 of 214
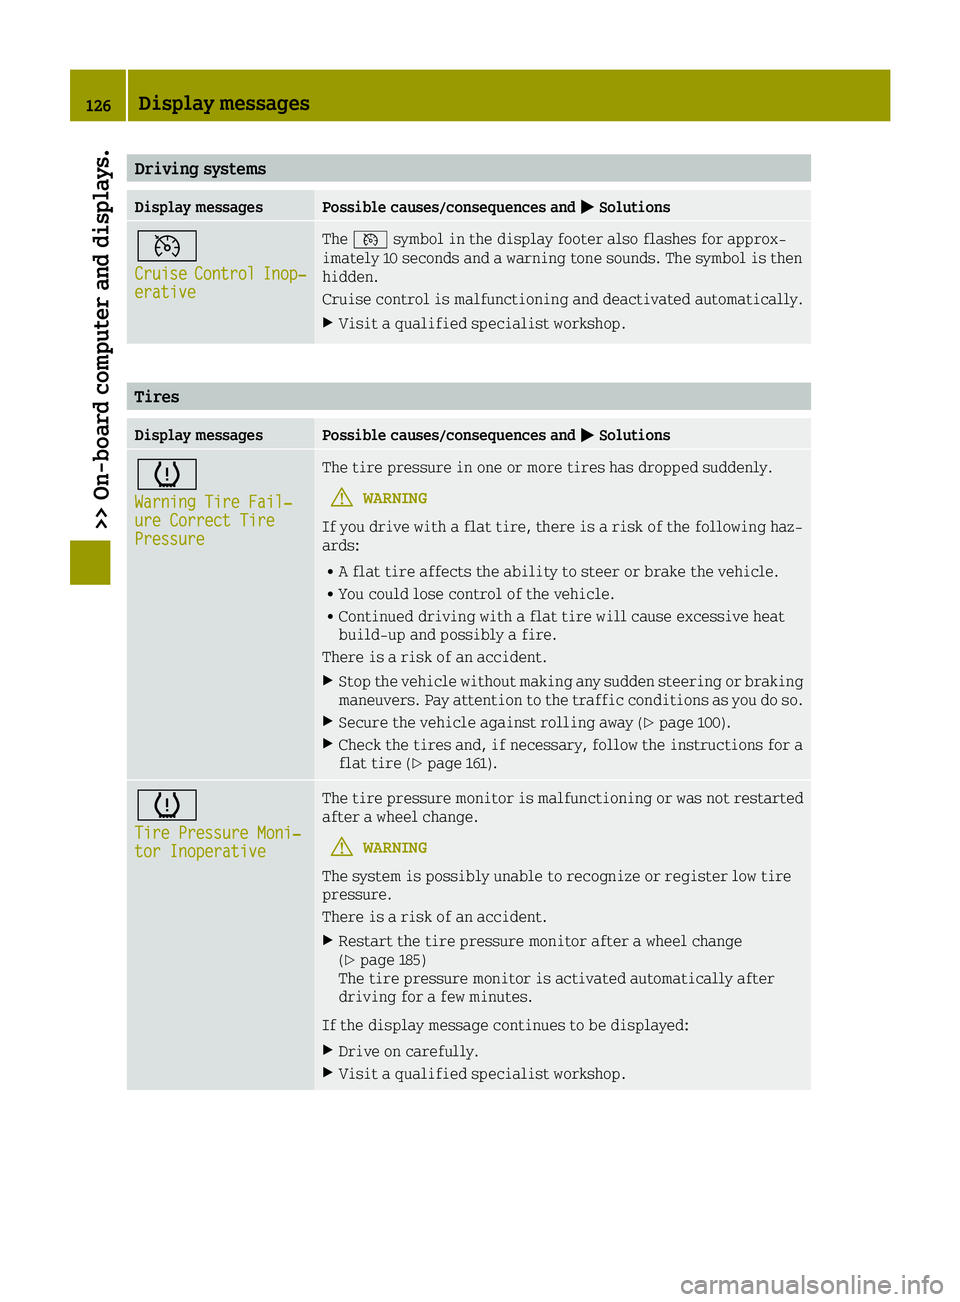
Driving systems
Display messagesPossible causes/consequences and0050Solutions
0085
CruiseControlInop‐erative
The0085 symbol in the display footer also flashes for approx-
imately 10 seconds and a warning tone sounds. The symbol is then
hidden.
Cruise control is malfunctioning and deactivated automatically.
XVisit a qualified specialist workshop.
Tires
Display messagesPossible causes/consequences and 0050Solutions
0077
Warning Tire Fail‐ure Correct TirePressure
The tire pressure in one or more tires has dropped suddenly.
GWARNING
If you drive with a flat tire, there is a risk of the following haz-
ards:
RA flat tire affects the ability to steer or brake the vehicle.
RYou could lose control of the vehicle.
RContinued driving with a flat tire will cause excessive heat
build-up and possibly a fire.
There is a risk of an accident.
XStop the vehicle without making any sudden steering or braking
maneuvers. Pay attention to the traffic conditions as you do so.
XSecure the vehicle against rolling away (Ypage 100).
XCheck the tires and, if necessary, follow the instructions for a
flat tire (Ypage 161).
0077
Tire Pressure Moni‐tor Inoperative
The tire pressure monitor is malfunctioning or was not restarted
after a wheel change.
GWARNING
The system is possibly unable to recognize or register low tire
pressure.
There is a risk of an accident.
XRestart the tire pressure monitor after a wheel change
(Ypage 185)
The tire pressure monitor is activated automatically after
driving for a few minutes.
If the display message continues to be displayed:
XDrive on carefully.
XVisit a qualified specialist workshop.
126Display messages
>> On-board computer and displays.
Page 141 of 214

Tires
ProblemPossible causes/consequences and0050Solutions
0077
You are driving and the
yellow tire pressure
monitor warning lamp
(pressure loss/
malfunction) is lit.
In addition the\
door warning lamp and
other warning lamps,
e.g. 00E5, light up.The central vehicle electronics system is malfunctioning.
After the engine is switched off:
Rdo not lock/unlock the doors using the remote control function of
the key
Ryou can no longer start the engine.
XObserve the additional display messages in the display.
XPull over and stop the vehicle safely as soon as possible, paying
attention to road and traffic conditions. Do not continue driv-
ing under any circumstances.
XSecure the vehicle against rolling away (Ypage 100).
XConsult a qualified specialist workshop.
0077
You are driving and the
yellow tire pressure
monitor warning lamp
(pressure loss/
malfunction) is lit. A
warning tone also
sounds.The tire pressure in one or more tires has dropped suddenly.
GWARNING
If you drive with a flat tire, there is a risk of the following haz-
ards:
RA flat tire affects the ability to steer or brake the vehicle.
Ryou could lose control of the vehicle.
RContinued driving with a flat tire will cause excessive heat
build-up and possibly a fire.
There is a risk of an accident.
XStop the vehicle without making any sudden steering or braking
maneuvers. Pay attention to the traffic conditions as you do so.
XSecure the vehicle against rolling away (Ypage 100).
XCheck the tires and, if necessary, follow the instructions for a
flat tire (Ypage 161).
Warning and indicator lamps in the instrument cluster139
>> On-board computer and displays.
Z
Page 163 of 214
Useful information
i
This Operator's Manual describes all
models and all standard and optional
equipment of your vehicle available at the
time of publication of the Operator's Man- ual. Country-specific differences are pos-
sible. Bear in mind that your vehicle may
not feature all functions described here.
This also applies to safety-relevant sys-
tems and functions.
iRead the information on qualified spe-
cialist workshops: (Ypage 20).
Where will I find...?
Vehicle tool kit
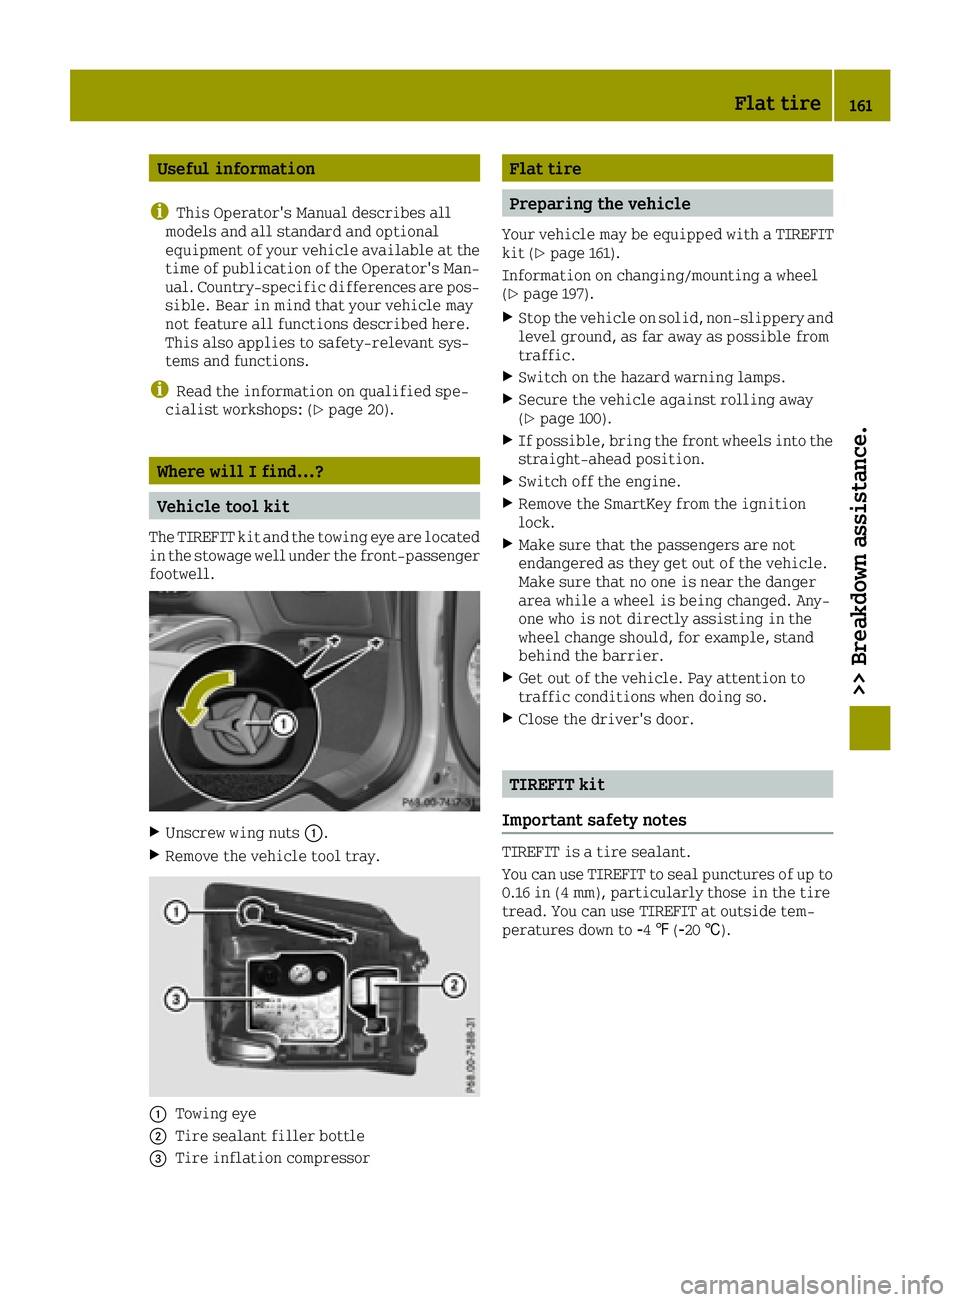
The TIREFIT kit and the towing eye are located
in the stowage well under the front-passenger
footwell.
XUnscrew wing nuts 0043.
XRemove the vehicle tool tray.
0043Towing eye
0044Tire sealant filler bottle
0087Tire inflation compressor
Flat tire
Preparing the vehicle
Your vehicle may be equipped with a TIREFIT
kit (Ypage 161).
Information on changing/mounting a wheel
(
Ypage 197).
XStop the vehicle on solid, non-slippery and
level ground, as far away as possible from
traffic.
XSwitch on the hazard warning lamps.
XSecure the vehicle against rolling away
(Ypage 100).
XIf possible, bring the front wheels into the
straight-ahead position.
XSwitch off the engine.
XRemove the SmartKey from the ignition
lock.
XMake sure that the passengers are not
endangered as they get out of the vehicle.
Make sure that no one is near the danger
area while a wheel is being changed. Any-
one who is not directly assisting in the
wheel change should, for example, stand
behind the barrier.
XGet out of the vehicle. Pay attention to
traffic conditions when doing so.
XClose the driver's door.
TIREFIT kit
Important safety notes
TIREFIT is a tire sealant.
You can use TIREFIT to seal punctures of up to
0.16 in (4 mm), particularly those in the tire
tread. You can use TIREFIT at outside tem-
peratures down to 00F84‡(00F820 †).
Flat tire161
>> Breakdown assistance.
Page 164 of 214
GWARNING
In the following situations, the tire seal-
ant is unable to provide sufficient break-
down assistance, as it is unable to seal the
tire properly:
Rthere are cuts or punctures in the tire
larger than those mentioned above.
Rthe wheel rim is damaged.
Ryou have driven at very low tire pressures
or on a flat tire.
There is a risk of an accident.
Do not drive the vehicle. Contact a quali-
fied specialist workshop.
GWARNING
The tire sealant is harmful and causes irri-
tation. It must not come into contact with
your skin, eyes or clothing or be swallowed.
Do not inhale TIREFIT fumes. Keep tire
sealant away from children. There is a risk
of injury.
If you come into contact with the tire seal-
ant, observe the following:
RRinse off the tire sealant from your skin
immediately with water.
RIf the tire sealant comes into contact
with your eyes, immediately rinse them
thoroughly with clean water.
RIf tire sealant is swallowed, immediately
rinse your mouth out thoroughly and
drink plenty of water. Do not induce vom-
iting, and seek medical attention imme-
diately.
RImmediately change out of clothing
which has come into contact with tire
sealant.
RIf an allergic reaction occurs, seek med-
ical attention immediately.
!Do not operate the tire inflation com-
pressor for longer than 15 minutes at a time
without a break. It may otherwise overheat.
The tire inflation compressor can be oper-
ated again once it has cooled down. Comply with the manufacturer’s safety
instructions on the sticker on the tire infla-
tion compressor.
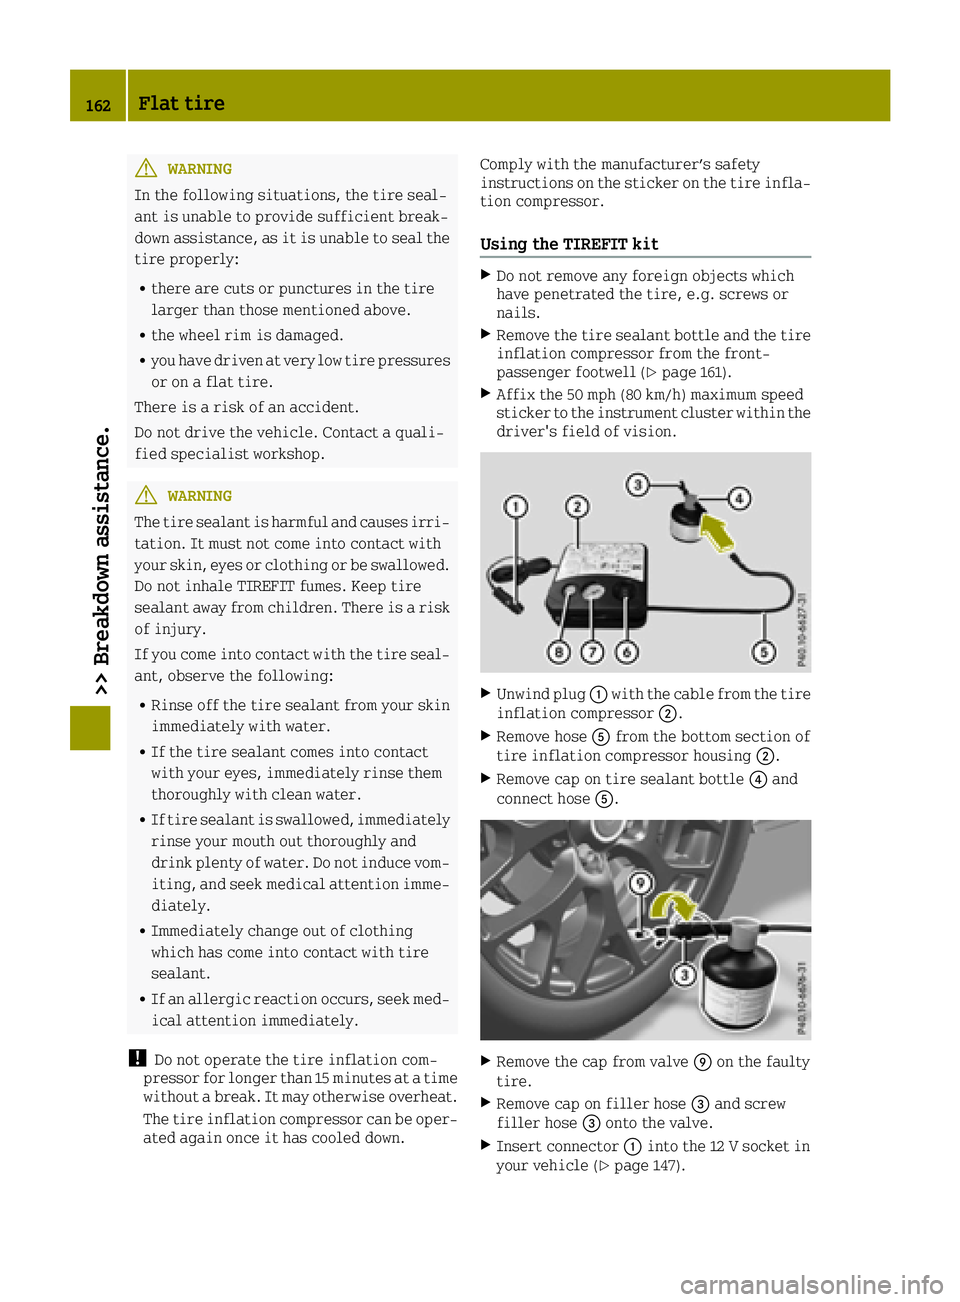
Using the TIREFIT kit
XDo not remove any foreign objects which
have penetrated the tire, e.g. screws or
nails.
XRemove the tire sealant bottle and the tire
inflation compressor from the front-
passenger footwell (
Ypage 161).
XAffix the 50 mph (80 km/h) maximum speed
sticker to the instrument cluster within the
driver's field of vision.
XUnwind plug
0043with the cable from the tire
inflation compressor 0044.
XRemove hose0083from the bottom section of
tire inflation compressor housing 0044.
XRemove cap on tire sealant bottle0085and
connect hose 0083.
XRemove the cap from valve 006Don the faulty
tire.
XRemove cap on filler hose 0087and screw
filler hose 0087onto the valve.
XInsert connector 0043into the 12 V socket in
your vehicle (Ypage 147).
162Flat tire
>> Breakdown assistance.
Page 165 of 214
XTurn the key to position1in the ignition
lock (Ypage 87).
XPress on/off switch 0084on tire inflation
compressor 0044toI.
The tire inflation compressor is switched
on. The tire is inflated.
iFirst, tire sealant is pumped into the
tire. The pressure can briefly rise to
approximately 600 kPa (6.0 bar/86 psi).
Do not switch off the tire inflation com-
pressor during this phase.
XLet the tire inflation compressor run for a
maximum of 15 minutes. The tire should then
have attained a pressure of at least 180 kPa
(1.8 bar/26 psi).
If a tire pressure of 180 kPa (1.8 bar/26 psi) is
achieved after a maximum of 15 minutes, see
"Tire pressure is achieved" (
Ypage 163).
If a tire pressure of 180 kPa (1.8 bar/26 psi)
has not been achieved after a maximum of
15 minutes, see "Tire pressure is not ach-
ieved" (
Ypage 163).
iIf tire sealant leaks out, allow it to dry. It
can then be removed like a layer of film.
If your clothes are soiled with tire sealant,
have them cleaned with perchloroethylene
at a dry cleaner as soon as possible.
Tire pressure not reached
If a tire pressure of 180 kPa (1.8 bar/26 psi)
has not been achieved after a maximum of
10 minutes:
XSwitch off the tire inflation compressor.
XUnscrew the filler hose from the valve of
the faulty tire.
XVery slowly drive forwards or reverse
approximately 30 ft (10 m).
XPump up the tire again.
After a maximum of 10 minutes, the tire
pressure must be at least 180 kPa (1.8 bar/
26 psi).
GWARNING
If the required tire pressure is not reached after the specified time, the tire is too
badly damaged. The tire sealant cannot
repair the tire in this instance. Damaged
tires and a tire pressure that is too low can
significantly impair the vehicle's braking
and driving characteristics. There is a
risk of accident.
Do not continue driving. Contact a quali-
fied specialist workshop.
Tire pressure reached
GWARNING
A tire temporarily sealed with tire sealant impairs the driving characteristics and is
not suitable for higher speeds. There is a
risk of accident.
You should therefore adapt your driving
style accordingly and drive carefully. Do
not exceed the specified maximum speed
with a tire that has been repaired using
tire sealant.
The maximum speed for a tire sealed with tire
sealant is 50 mph (80 km/h). The 50 mph
(80 km/h) maximum speed sticker must be
affixed to the instrument cluster within the
driver's field of vision.
!After use, excess tire sealant may run out
of the filler hose. This could cause stains.
Therefore, place the filler hose in the
plastic bag that contained the TIREFIT kit.
HEnvironmental note
Have the used tire sealant bottle disposed
of professionally, e.g. at a qualified spe-
cialist workshop.
If a tire pressure of 180 kPa (1.8 bar/26 psi)
has been achieved after 10 minutes:
XSwitch off the tire inflation compressor.
XUnscrew the filler hose from the valve of
the faulty tire.
XStow the tire sealant bottle and the tire
inflation compressor.
XPull away immediately.
XStop after driving for approximately
2 miles (3 km) and check the tire pressure
with the tire inflation compressor.
The tire pressure must now be at least
130 kPa (1.3 bar/19 psi).
Flat tire163
>> Breakdown assistance.
Z