display SMART FORTWO COUPE 2010 Owner's Manual
[x] Cancel search | Manufacturer: SMART, Model Year: 2010, Model line: FORTWO COUPE, Model: SMART FORTWO COUPE 2010Pages: 216, PDF Size: 9.7 MB
Page 149 of 216

>> Practical hints.Where will I find ...? ........................148
Display messages ............................. 148
What to do if ... ............................... 149
Unlocking/locking manually ...............162
Replacing transmitter battery ............163
Replacing bulbs .............................. 164
Replacing wiper blades .....................170
Flat tire ........................................ 172
Wheel change ................................... 177
Battery .......................................... 180
Jump starting .................................. 183
Towing ........................................... 185
Fuses ............................................. 188451_AKB; 3; 22, en-USd2ureepe,Version: 2.11.8.12009-07-27T09:36:34+02:00 - Seite 147
Page 150 of 216

Where will I find ...?
Tire repair kit
The tire repair kit is located in the
passenger footwell under the carpet.
XInsert a suitable object such as a coin
into the slot of carpet holder 0046.XTurn carpet holder 0046 counterclockwise.XLift the carpet.0047Tire repair kit
The following is included:
R Tire sealant container
R Electric air pump with filler hose
R Sticker
R Operating instructions label (on the
inside of the tire repair kit lid)
i The tire sealant container is located
below the tire repair kit.GWarning!
The tire repair kit is a limited repair
device. In case of a breakdown caused by a
flat tire, read through the section flat tire
carefully. When using the tire repair kit
follow the instructions in this section.
Failure to follow these instructions can
result in severe injury or death.
First-aid kit*
The first-aid kit is located on the driver’s
side in the cargo compartment.
0046First-aid kit
i Check expiration dates and contents for
completeness at least once a year and
replace missing/expired items.
Display messages
The following display messages appear in
the multifunction display ( Y page 84).
148Display messages>> Practical hints.* optional451_AKB; 3; 22, en-USd2ureepe,Version: 2.11.8.12009-07-27T09:36:34+02:00 - Seite 148
Page 151 of 216

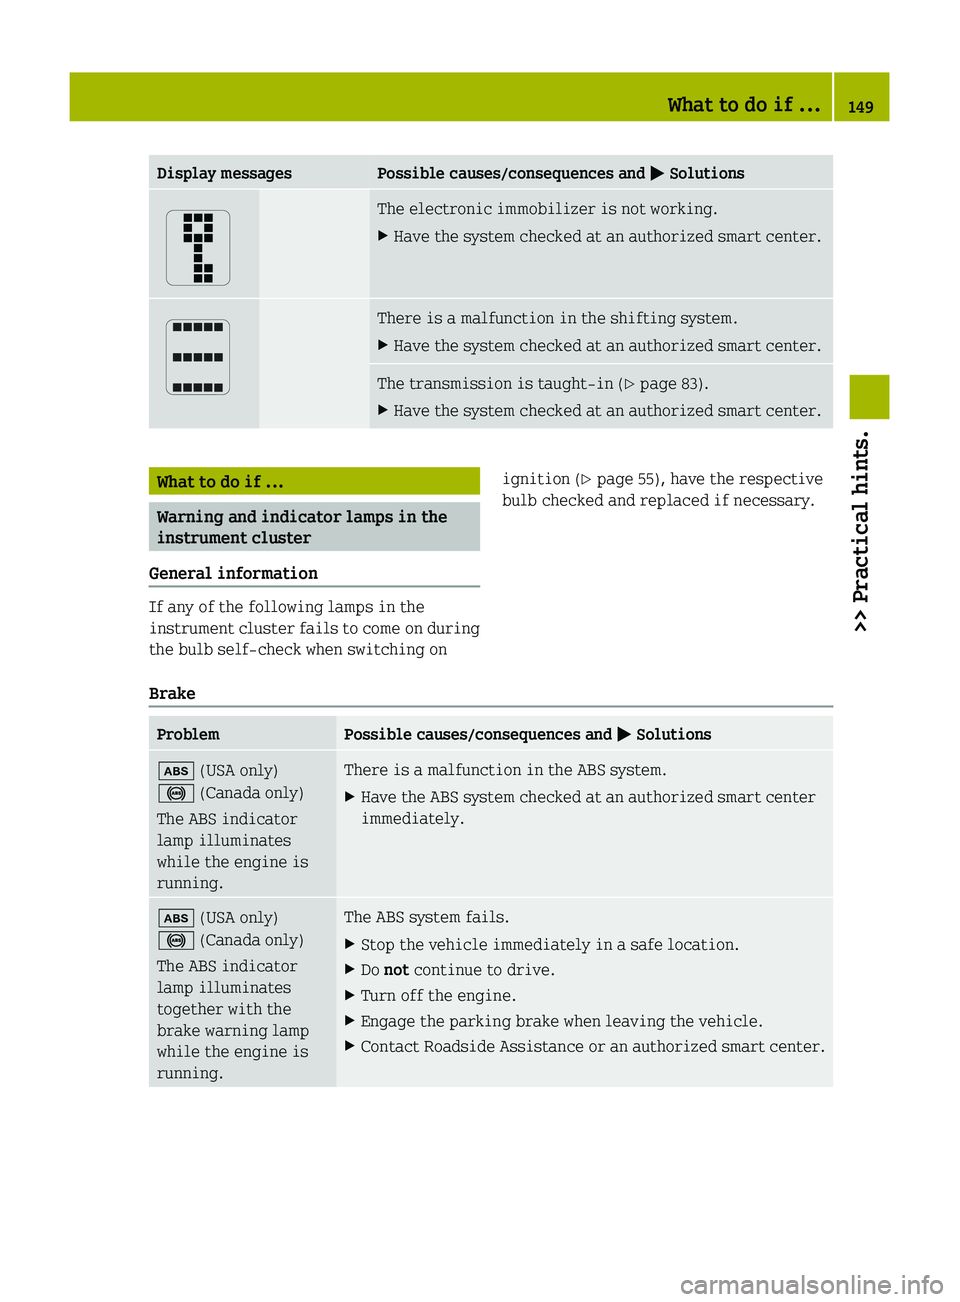
Display messagesPossible causes/consequences and 0050 SolutionsThe electronic immobilizer is not working.XHave the system checked at an authorized smart center.There is a malfunction in the shifting system.XHave the system checked at an authorized smart center.The transmission is taught-in ( Y page 83).XHave the system checked at an authorized smart center.What to do if ...
Warning and indicator lamps in the
instrument cluster
General information
If any of the following lamps in the
instrument cluster fails to come on during
the bulb self-check when switching on
ignition ( Y page 55), have the respective
bulb checked and replaced if necessary.
Brake
ProblemPossible causes/consequences and 0050 Solutions00EB (USA only)
0031 (Canada only)
The ABS indicator
lamp illuminates
while the engine is
running.There is a malfunction in the ABS system.XHave the ABS system checked at an authorized smart center
immediately.00EB (USA only)
0031 (Canada only)
The ABS indicator
lamp illuminates
together with the
brake warning lamp
while the engine is
running.The ABS system fails.XStop the vehicle immediately in a safe location.XDo not continue to drive.XTurn off the engine.XEngage the parking brake when leaving the vehicle.XContact Roadside Assistance or an authorized smart center.What to do if ...149>> Practical hints.451_AKB; 3; 22, en-USd2ureepe,Version: 2.11.8.12009-07-27T09:36:34+02:00 - Seite 149Z
Page 177 of 216

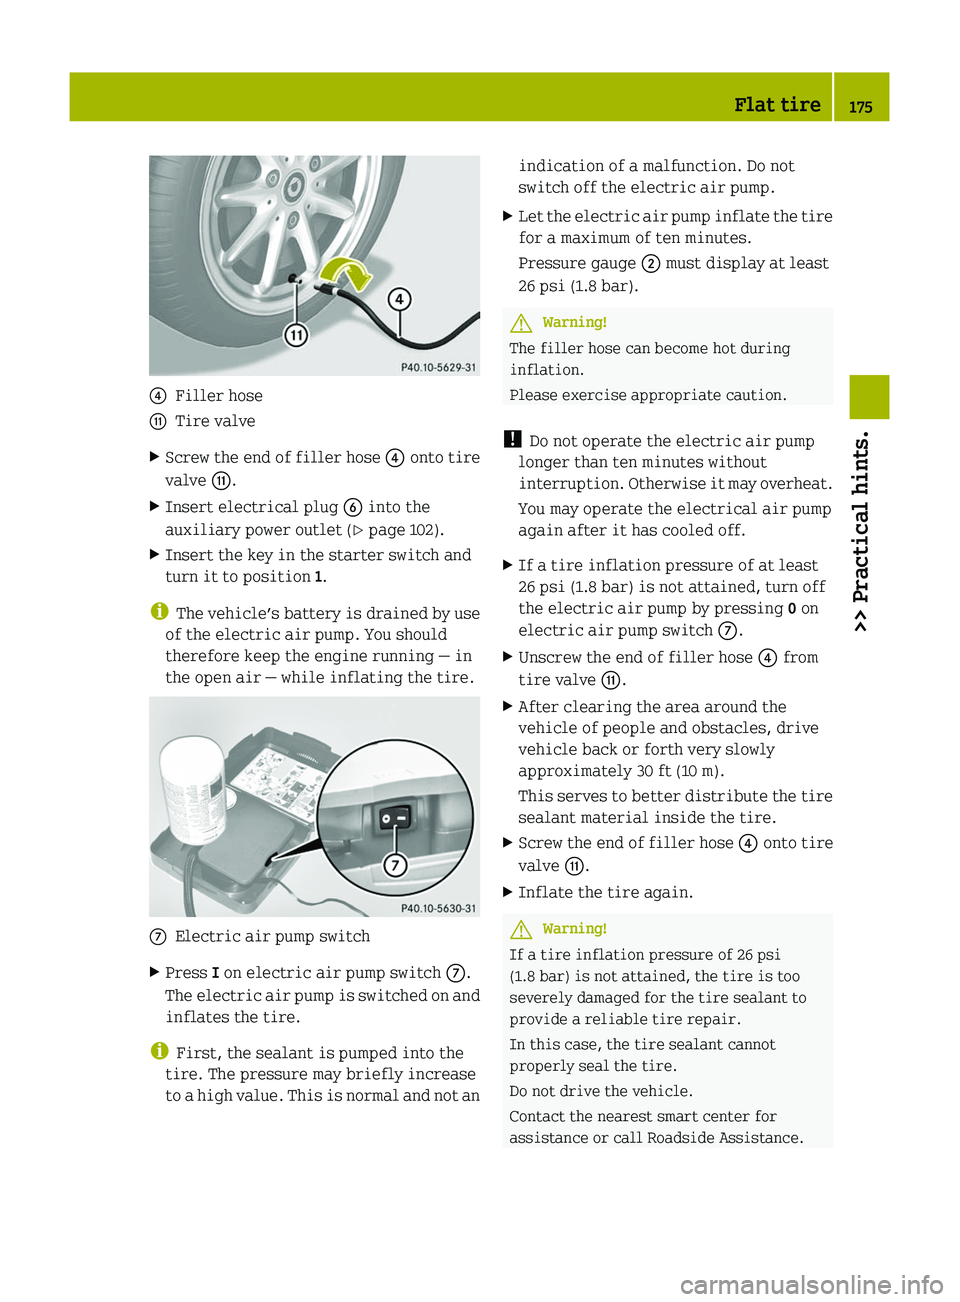
0088Filler hose0072Tire valveXScrew the end of filler hose 0088 onto tire
valve 0072.XInsert electrical plug 0087 into the
auxiliary power outlet ( Y page 102).XInsert the key in the starter switch and
turn it to position 1.
i
The vehicle’s battery is drained by use
of the electric air pump. You should
therefore keep the engine running — in
the open air — while inflating the tire.
006EElectric air pump switchXPress I on electric air pump switch 006E.
The electric air pump is switched on and
inflates the tire.
i First, the sealant is pumped into the
tire. The pressure may briefly increase
to a high value. This is normal and not an
indication of a malfunction. Do not
switch off the electric air pump.XLet the electric air pump inflate the tire
for a maximum of ten minutes.
Pressure gauge 0047 must display at least
26 psi (1.8 bar).GWarning!
The filler hose can become hot during
inflation.
Please exercise appropriate caution.
! Do not operate the electric air pump
longer than ten minutes without
interruption. Otherwise it may overheat.
You may operate the electrical air pump
again after it has cooled off.
XIf a tire inflation pressure of at least
26 psi (1.8 bar) is not attained, turn off
the electric air pump by pressing 0 on
electric air pump switch 006E.XUnscrew the end of filler hose 0088 from
tire valve 0072.XAfter clearing the area around the
vehicle of people and obstacles, drive
vehicle back or forth very slowly
approximately 30 ft (10 m).
This serves to better distribute the tire
sealant material inside the tire.XScrew the end of filler hose 0088 onto tire
valve 0072.XInflate the tire again.GWarning!
If a tire inflation pressure of 26 psi
(1.8 bar) is not attained, the tire is too
severely damaged for the tire sealant to
provide a reliable tire repair.
In this case, the tire sealant cannot
properly seal the tire.
Do not drive the vehicle.
Contact the nearest smart center for
assistance or call Roadside Assistance.
Flat tire175>> Practical hints.451_AKB; 3; 22, en-USd2ureepe,Version: 2.11.8.12009-07-27T09:36:34+02:00 - Seite 175Z
Page 190 of 216

left as it will go when switching off the
ignition.XSwitch off the ignition.XLeave the key in the starter switch.XWait approximately 30 seconds until the
multifunction display in the instrument
cluster is completely blank.XTurn the battery off using the previously
installed battery switch.XRelease the parking brake.XDuring towing: Make sure the gear
selector lever remains in neutral
position N with the ignition switched
off.XAfter towing: Engage the parking brake.XTurn the battery on using the previously
installed battery switch.XMove the gear selector lever to park
position P.XRemove the key from the starter switch.XLock the doors.
!
Do not flat tow the vehicle with the front
axle raised. Doing so may cause serious
damage to the brake system which is not
covered by the smart Limited Warranty.
! Failure to follow the recommendations
for flat towing can cause damage to your
vehicle:
R Not following the battery disconnect
procedure in the proper sequence may
result in data loss in the vehicle’s
control units.
R Not disconnecting the battery and
leaving the key in starter switch
position 1 (ignition on) may result in
- the vehicle locking. The vehicle will
lock if the wheels are turning at
vehicle speeds of approximately
8 mph (14 km/h) or more.
- the ESP ®
being activated. Active
braking action through the ESP ®
may
seriously damage the brake system
which is not covered by the smart
Limited Warranty.
R Not moving the gear selector lever to
neutral position N may result in
significant transmission damage.
R in a discharged battery.
Fuses
The electrical fuses in your vehicle serve
to switch off malfunctioning power
circuits.
If a fuse is blown, the components and
systems secured by that fuse will stop
operating.
GWarning!
Only use fuses approved by smart with the
specified amperage for the system in
question and do not attempt to repair or
bridge a blown fuse this may cause an
overload leading to a fire, and/or cause
damage to electrical components and/or
systems. Contact a smart center if you
encounter any electrical problems.
! A blown fuse must be replaced by an
appropriate spare fuse (recognizable by
its color or the fuse rating given on the
fuse) of the amperage recommended in
the fuse chart. Any smart center will be
glad to advise you on this subject.
If a newly inserted fuse blows again, have
the cause determined and rectified at an
authorized smart center.
Before replacing fuses:
R Engage the parking brake.
R Make sure the gear selector lever is in
park position P.
R Turn off all electrical accessories.
188Fuses>> Practical hints.
451_AKB; 3; 22, en-USd2ureepe,Version: 2.11.8.12009-07-27T09:36:34+02:00 - Seite 188