language SMART FORTWO COUPE 2012 Owners Manual
[x] Cancel search | Manufacturer: SMART, Model Year: 2012, Model line: FORTWO COUPE, Model: SMART FORTWO COUPE 2012Pages: 228, PDF Size: 12.76 MB
Page 98 of 228

RESET menu appears in the multifunction
display.
X To reset: Press button : (Y page 90)on
the instrument cluster until the RESET
menu is reset to 0.Messages menu
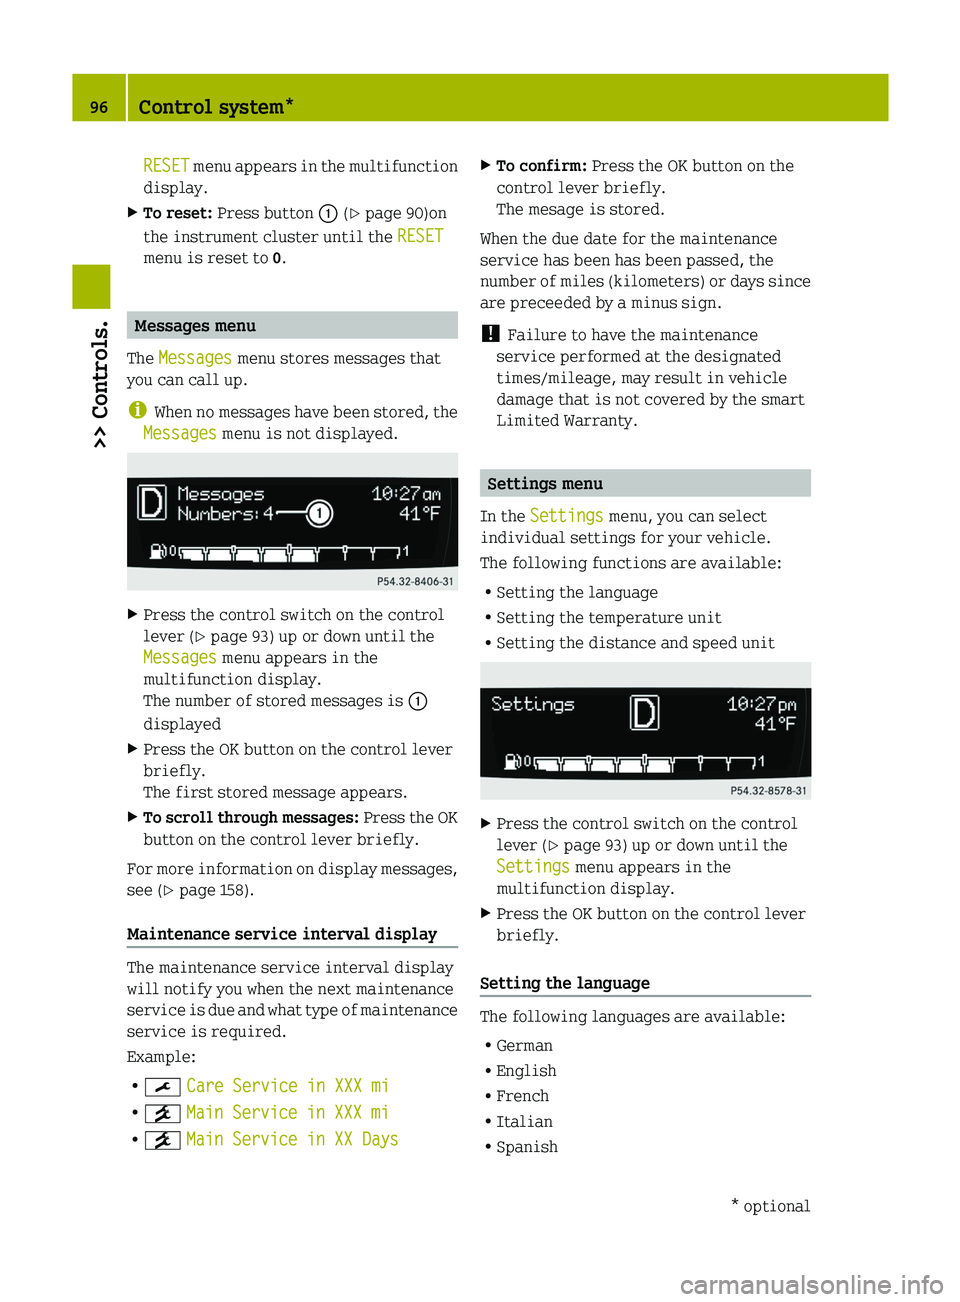
The Messages menu stores messages that
you can call up.
i When
no messages have been stored, the
Messages menu is not displayed. X
Press the control switch on the control
lever (Y page 93) up or down until the
Messages menu appears in the
multifunction display.
The number of stored messages is :
displayed
X Press the OK button on the control lever
briefly.
The first stored message appears.
X To scroll through messages:
Press the OK
button on the control lever briefly.
For more information on display messages,
see (Y page 158).
Maintenance service interval display The maintenance service interval display
will notify you when the next maintenance
service
is due and what type of maintenance
service is required.
Example:
R ¯ Care Service in XXX mi
R ° Main Service in XXX mi
R ° Main Service in XX Days X
To confirm: Press the OK button on the
control lever briefly.
The mesage is stored.
When the due date for the maintenance
service has been has been passed, the
number
of miles (kilometers) or days since
are preceeded by a minus sign.
! Failure to have the maintenance
service performed at the designated
times/mileage, may result in vehicle
damage that is not covered by the smart
Limited Warranty. Settings menu
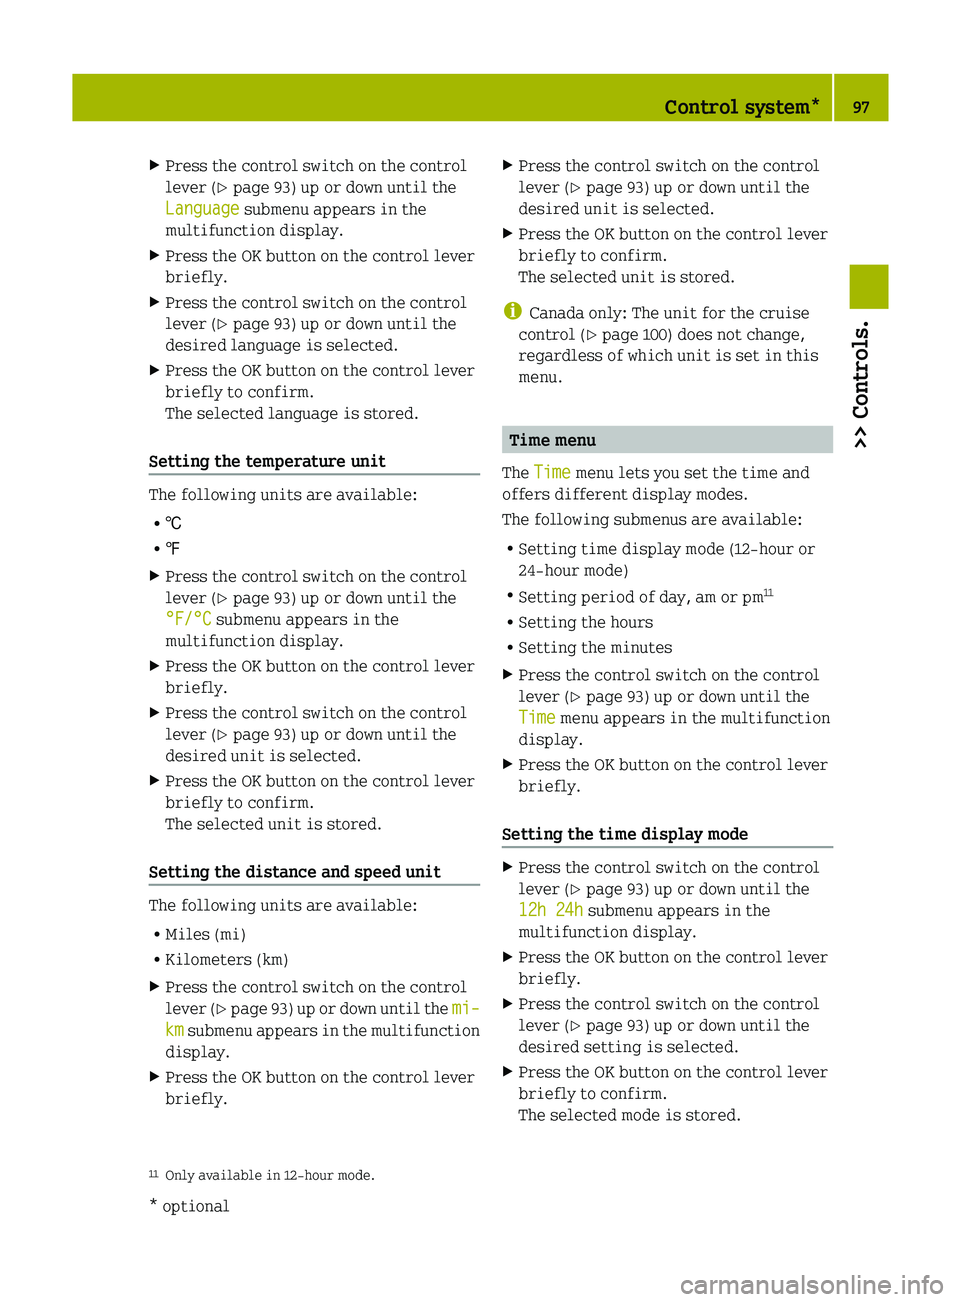
In the Settings menu, you can select
individual settings for your vehicle.
The following functions are available:
R Setting the language
R Setting the temperature unit
R Setting the distance and speed unit X
Press the control switch on the control
lever (Y page 93) up or down until the
Settings menu appears in the
multifunction display.
X Press the OK button on the control lever
briefly.
Setting the language The following languages are available:
R
German
R English
R French
R Italian
R Spanish 96
Control system*
>> Controls.
* optional
Page 99 of 228

X
Press the control switch on the control
lever (Y page 93) up or down until the
Language submenu appears in the
multifunction display.
X Press the OK button on the control lever
briefly.
X Press the control switch on the control
lever (Y page 93) up or down until the
desired language is selected.
X Press the OK button on the control lever
briefly to confirm.
The selected language is stored.
Setting the temperature unit The following units are available:
R
†
R ‡
X Press the control switch on the control
lever (Y page 93) up or down until the
°F/°C submenu appears in the
multifunction display.
X Press the OK button on the control lever
briefly.
X Press the control switch on the control
lever (Y page 93) up or down until the
desired unit is selected.
X Press the OK button on the control lever
briefly to confirm.
The selected unit is stored.
Setting the distance and speed unit The following units are available:
R
Miles (mi)
R Kilometers (km)
X Press the control switch on the control
lever (Y
page 93) up or down until the mi–
km submenu appears in the multifunction
display.
X Press the OK button on the control lever
briefly. X
Press the control switch on the control
lever (Y page 93) up or down until the
desired unit is selected.
X Press the OK button on the control lever
briefly to confirm.
The selected unit is stored.
i Canada only: The unit for the cruise
control (Y page 100) does not change,
regardless of which unit is set in this
menu. Time menu
The Time menu lets you set the time and
offers different display modes.
The following submenus are available:
R Setting time display mode (12-hour or
24-hour mode)
R Setting period of day, am or pm 11
R Setting the hours
R Setting the minutes
X Press the control switch on the control
lever (Y page 93) up or down until the
Time menu appears in the multifunction
display.
X Press the OK button on the control lever
briefly.
Setting the time display mode X
Press the control switch on the control
lever (Y page 93) up or down until the
12h 24h submenu appears in the
multifunction display.
X Press the OK button on the control lever
briefly.
X Press the control switch on the control
lever (Y page 93) up or down until the
desired setting is selected.
X Press the OK button on the control lever
briefly to confirm.
The selected mode is stored.
11 Only available in 12-hour mode. Control system*
97
>> Controls.
* optional Z