AUX SUBARU IMPREZA 2011 4.G Owners Manual
[x] Cancel search | Manufacturer: SUBARU, Model Year: 2011, Model line: IMPREZA, Model: SUBARU IMPREZA 2011 4.GPages: 458, PDF Size: 16.22 MB
Page 188 of 458
Antenna system.................................................. 5-3
Roof antenna ...................................................... 5-3
FM reception ....................................................... 5-3
Installation of accessories .................................. 5-4
Audio set ............................................................. 5-4
Type A audio set (if equipped) ............................. 5-5
Type B audio set (if equipped) ............................. 5-6
Type C audio set (if equipped) ............................. 5-7
Power and sound controls ................................. 5-8
Power switch and volume control ........................ 5-8
Sound control ..................................................... 5-8
Adjustable level of each mode ............................ 5-11
FM/AM radio operation ...................................... 5-12
FM/AM selection ................................................. 5-12
Tuning ............................................................... 5-12
Displaying radio PS (Program Service Name) and RT (Radio Text) ................................................ 5-15
Station preset .................................................... 5-16
Satellite radio operation (if equipped) .............. 5-17
XM
TMsatellite radio (U.S.A. only) ........................ 5-17
Sirius satellite radio ........................................... 5-17
Satellite radio reception ...................................... 5-17
Displaying satellite radio ID of tuner ................... 5-18
Band selection ................................................... 5-19
Channel and category selection .......................... 5-19
Channel preset ................................................... 5-21
Display selection ................................................ 5-22
CD player operation ........................................... 5-23
Play file. ............................................................. 5-23
How to insert a CD (type A and C) ...................... 5-23How to insert a CD(s) (type B) ..
.......................... 5-23
How to play back a CD ...................................... 5-24
To select a track from its beginning. ................... 5-26
Fast-forwarding and fast-reversing ..................... 5-27
Repeating .......................................................... 5-28
Random playback .............................................. 5-29
Scan ................................................................. 5-30
Display selection ............................................... 5-30
Folder selection ................................................. 5-31
How to eject a CD from the player (type A and C).................................................................... 5-32
How to eject CDs from the player (type B) ..... ..... 5-32
When the following messages are displayed. . ..... 5-33
Auxiliary input jack (if equipped). ..................... 5-34
Precautions to observe when handling a compact disc ................................................... 5-35
USB storage device / iPod
®operations
(type C audio) ................................................. 5-37
Play file ............................................................. 5-37
Connectable USB storage device ....................... 5-37
Connectable iPod
®models ................................. 5-38
Connecting USB storage device / iPod®............. 5-38
How to play back ............................................... 5-39
To select a track/index from its beginning ..... ..... 5-40
To select a chapter from its beginning when connecting iPod
®............................................. 5-40
Fast-forwarding and fast-reversing ..................... 5-40
Repeating .......................................................... 5-40
Random playback .............................................. 5-41
SCAN (only when connecting USB storage device) ............................................................ 5-41 Audio
5
Page 192 of 458
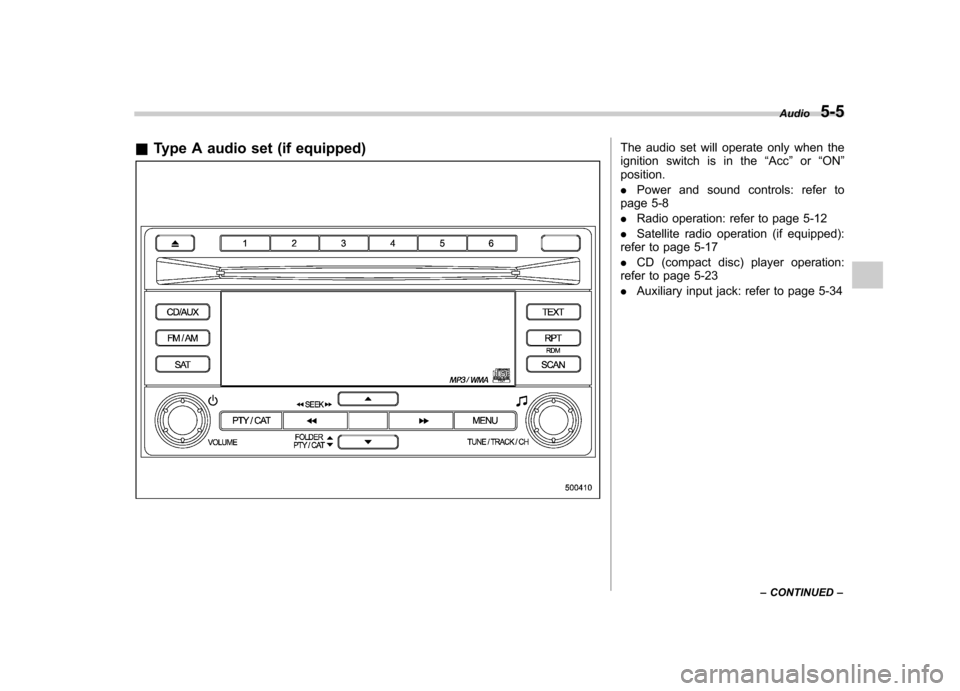
&Type A audio set (if equipped)The audio set will operate only when the
ignition switch is in the “Acc ”or “ON ”
position. . Power and sound controls: refer to
page 5-8. Radio operation: refer to page 5-12
. Satellite radio operation (if equipped):
refer to page 5-17. CD (compact disc) player operation:
refer to page 5-23. Auxiliary input jack: refer to page 5-34 Audio
5-5
– CONTINUED –
Page 193 of 458
5-6Audio
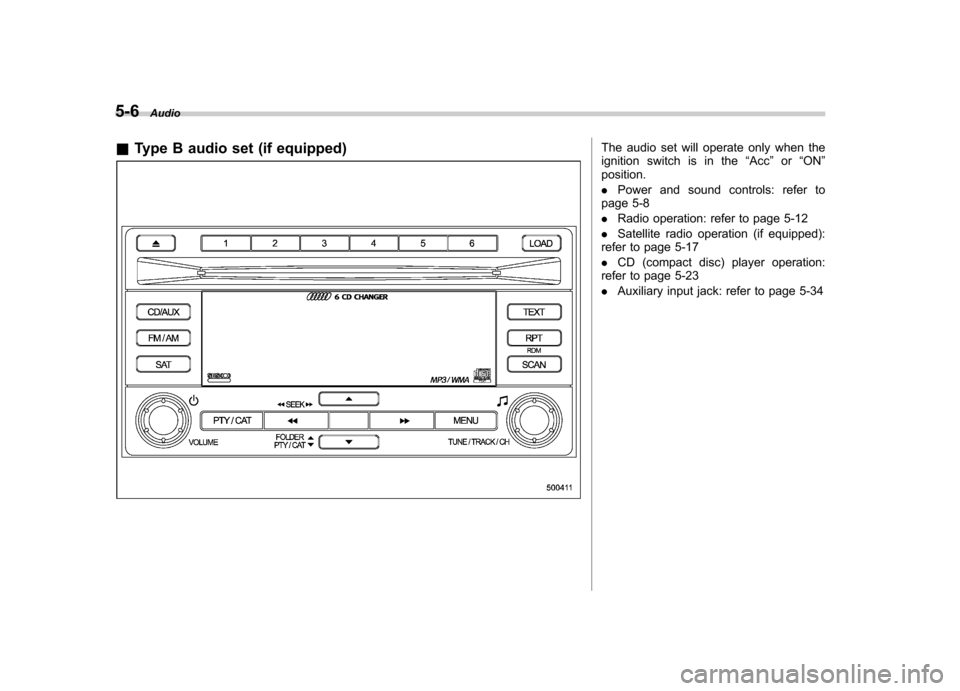
& Type B audio set (if equipped)
The audio set will operate only when the
ignition switch is in the “Acc ”or “ON ”
position. . Power and sound controls: refer to
page 5-8. Radio operation: refer to page 5-12
. Satellite radio operation (if equipped):
refer to page 5-17. CD (compact disc) player operation:
refer to page 5-23. Auxiliary input jack: refer to page 5-34
Page 194 of 458
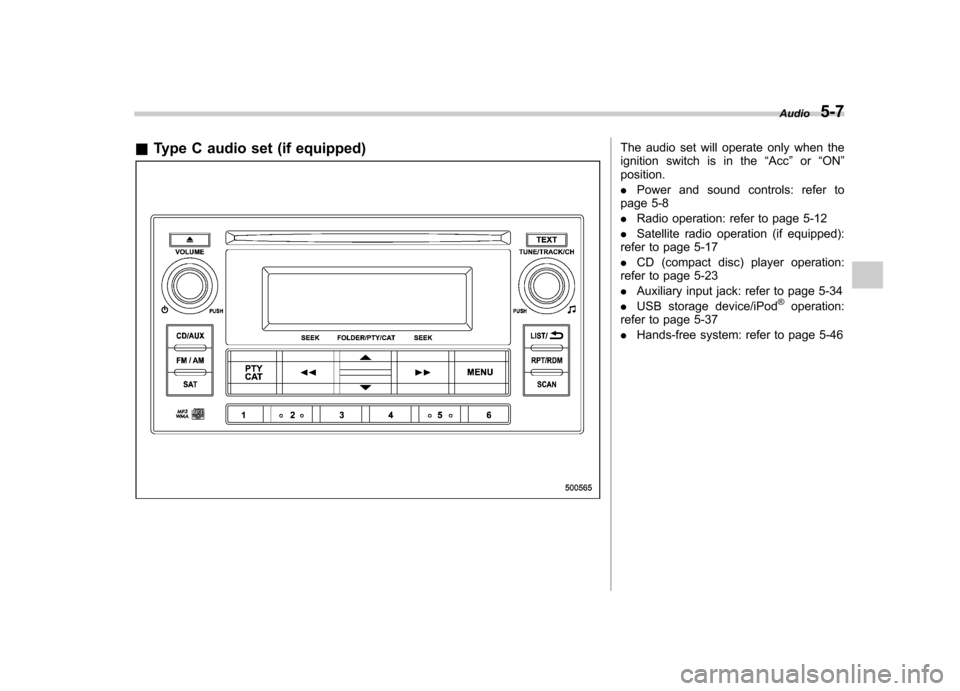
&Type C audio set (if equipped)The audio set will operate only when the
ignition switch is in the “Acc ”or “ON ”
position. . Power and sound controls: refer to
page 5-8. Radio operation: refer to page 5-12
. Satellite radio operation (if equipped):
refer to page 5-17. CD (compact disc) player operation:
refer to page 5-23. Auxiliary input jack: refer to page 5-34
. USB storage device/iPod
®operation:
refer to page 5-37. Hands-free system: refer to page 5-46 Audio
5-7
Page 198 of 458
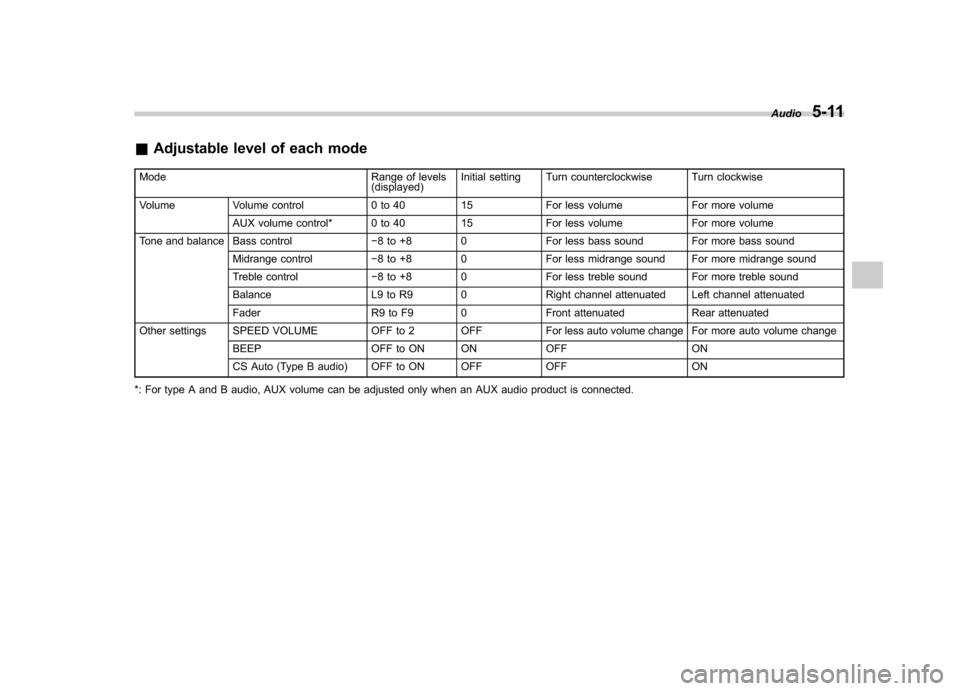
&Adjustable level of each mode
Mode Range of levels (displayed)Initial setting Turn counterclockwise Turn clockwise
Volume Volume control 0 to 40 15 For less volume For more volume AUX volume control* 0 to 40 15 For less volume For more volume
Tone and balance Bass control �8 to +8 0 For less bass sound For more bass sound
Midrange control �8 to +8 0 For less midrange sound For more midrange sound
Treble control �8 to +8 0 For less treble sound For more treble sound
Balance L9 to R9 0 Right channel attenuated Left channel attenuated
Fader R9 to F9 0 Front attenuated Rear attenuated
Other settings SPEED VOLUME OFF to 2 OFF For less auto volume change For more auto volume change
BEEP OFF to ON ON OFF ON
CS Auto (Type B audio) OFF to ON OFF OFF ON
*: For type A and B audio, AUX volume can be adjusted only when an AUX audio product is connected. Audio
5-11
Page 211 of 458
5-24Audio
inserted the disc, the “LOAD ”indicator will
turn off. The disc will then be automatically
drawn in, and the player will begin to play
back the first track of the disc. . To insert more discs in succession,
repeat Steps 1 and 2. The magazine will
be loaded with discs in the ascending
order of position number.
If you do not insert any disc in 15 seconds
after you have pressed the “LOAD ”button,
the player will begin to play back the first
track of the last disc you have inserted. . The disc indicator steadily lights up if a
disc is already inserted in the correspond-
ing position of the magazine. . While the player is in the loading mode,
if you press “FM/AM ”or “SAT ”button, the
player will enter the standby mode. Press the “CD/AUX ”button to start playback.
! Inserting a disc in a desired posi-tion
1. Briefly press the “LOAD ”button. If the
magazine in the player has an idle
position where you can insert a disc, the
disc number indicator associated with the
idle position will blink.
The positions in the magazine the indica-
tor of which steadily lights up are already
loaded with discs.
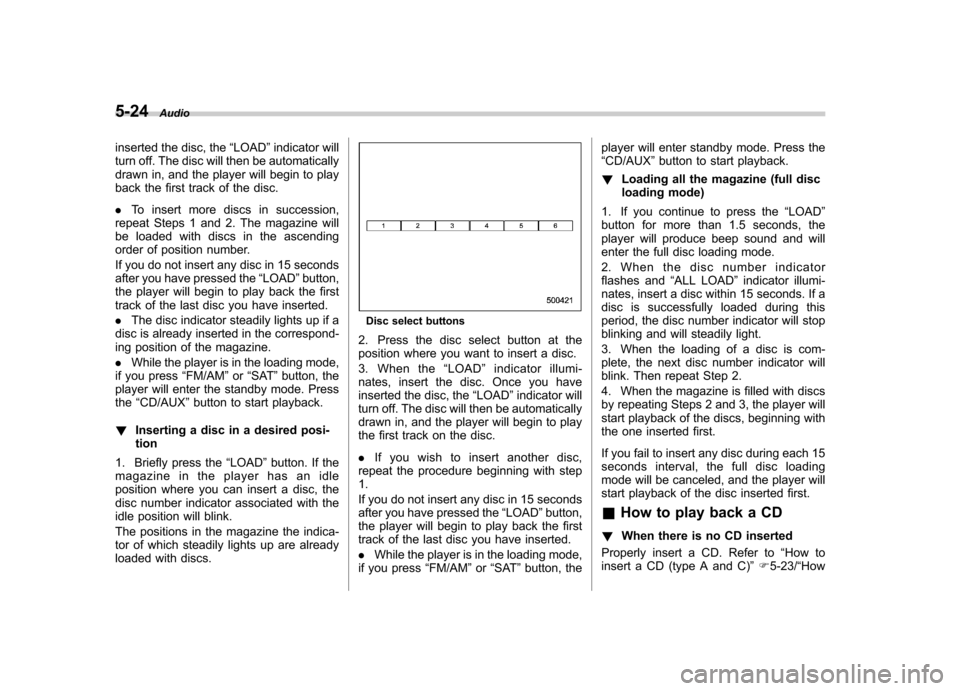
Disc select buttons
2. Press the disc select button at the
position where you want to insert a disc.
3. When the “LOAD ”indicator illumi-
nates, insert the disc. Once you have
inserted the disc, the “LOAD ”indicator will
turn off. The disc will then be automatically
drawn in, and the player will begin to play
the first track on the disc. . If you wish to insert another disc,
repeat the procedure beginning with step 1.
If you do not insert any disc in 15 seconds
after you have pressed the “LOAD ”button,
the player will begin to play back the first
track of the last disc you have inserted. . While the player is in the loading mode,
if you press “FM/AM ”or “SAT ”button, the player will enter standby mode. Press the “
CD/AUX ”button to start playback.
! Loading all the magazine (full disc
loading mode)
1. If you continue to press the “LOAD ”
button for more than 1.5 seconds, the
player will produce beep sound and will
enter the full disc loading mode.
2. When the disc number indicator
flashes and “ALL LOAD ”indicator illumi-
nates, insert a disc within 15 seconds. If a
disc is successfully loaded during this
period, the disc number indicator will stop
blinking and will steadily light.
3. When the loading of a disc is com-
plete, the next disc number indicator will
blink. Then repeat Step 2.
4. When the magazine is filled with discs
by repeating Steps 2 and 3, the player will
start playback of the discs, beginning with
the one inserted first.
If you fail to insert any disc during each 15
seconds interval, the full disc loading
mode will be canceled, and the player will
start playback of the disc inserted first.
& How to play back a CD
! When there is no CD inserted
Properly insert a CD. Refer to “How to
insert a CD (type A and C) ”F 5-23/ “How
Page 212 of 458
to insert a CD(s) (type B)”F 5-23.
When a CD is loaded, the player will start
playback of the CD, beginning with the
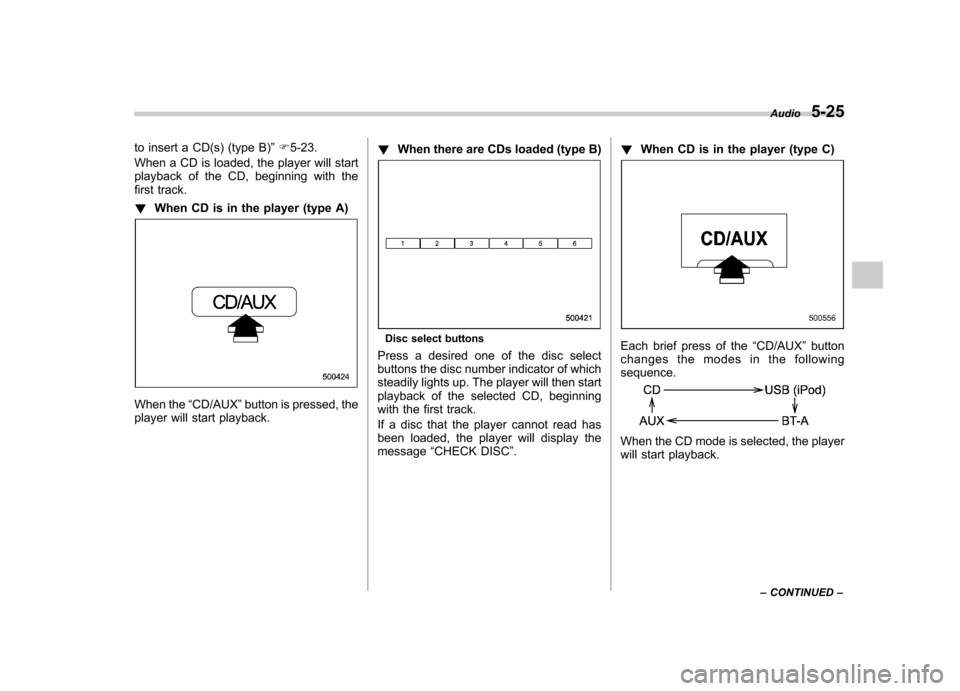
first track. ! When CD is in the player (type A)
When the “CD/AUX ”button is pressed, the
player will start playback. !
When there are CDs loaded (type B)
Disc select buttons
Press a desired one of the disc select
buttons the disc number indicator of which
steadily lights up. The player will then start
playback of the selected CD, beginning
with the first track.
If a disc that the player cannot read has
been loaded, the player will display themessage “CHECK DISC ”. !
When CD is in the player (type C)Each brief press of the “CD/AUX ”button
changes the modes in the following sequence.
When the CD mode is selected, the player
will start playback. Audio
5-25
– CONTINUED –
Page 217 of 458
5-30Audio
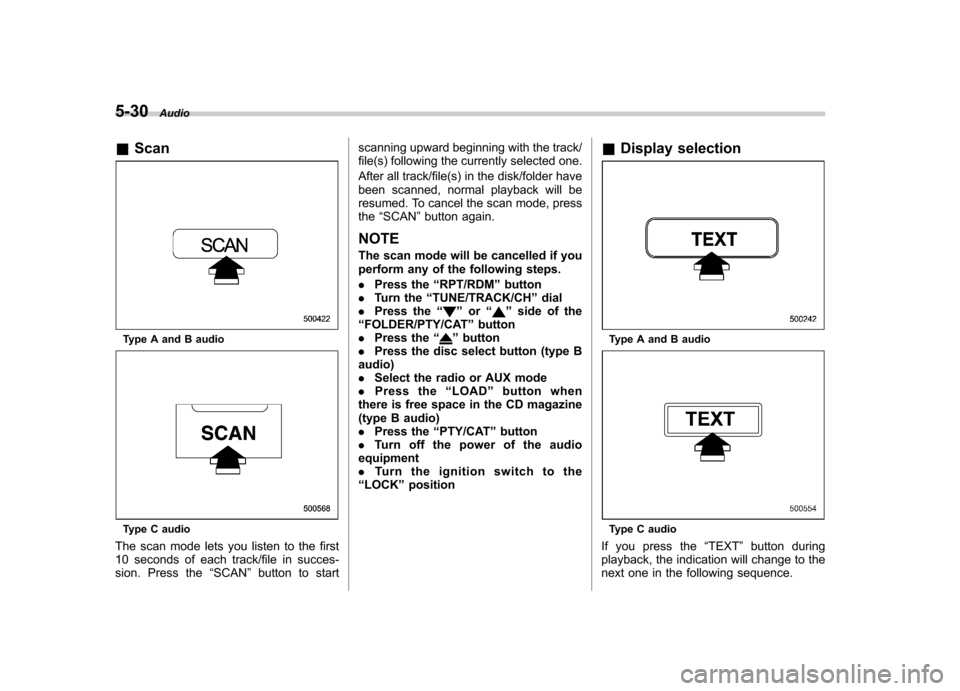
& Scan
Type A and B audio
Type C audio
The scan mode lets you listen to the first
10 seconds of each track/file in succes-
sion. Press the “SCAN ”button to start scanning upward beginning with the track/
file(s) following the currently selected one.
After all track/file(s) in the disk/folder have
been scanned, normal playback will be
resumed. To cancel the scan mode, pressthe
“SCAN ”button again.
NOTE
The scan mode will be cancelled if you
perform any of the following steps. . Press the “RPT/RDM ”button
. Turn the “TUNE/TRACK/CH ”dial
. Press the “
”or “”side of the
“ FOLDER/PTY/CAT ”button
. Press the “
”button
. Press the disc select button (type B
audio) . Select the radio or AUX mode
. Press the “LOAD ”button when
there is free space in the CD magazine
(type B audio). Press the “PTY/CAT ”button
. Turn off the power of the audio
equipment. Turn the ignition switch to the
“ LOCK ”position &
Display selectionType A and B audio
Type C audio
If you press the “TEXT ”button during
playback, the indication will change to the
next one in the following sequence.
Page 220 of 458
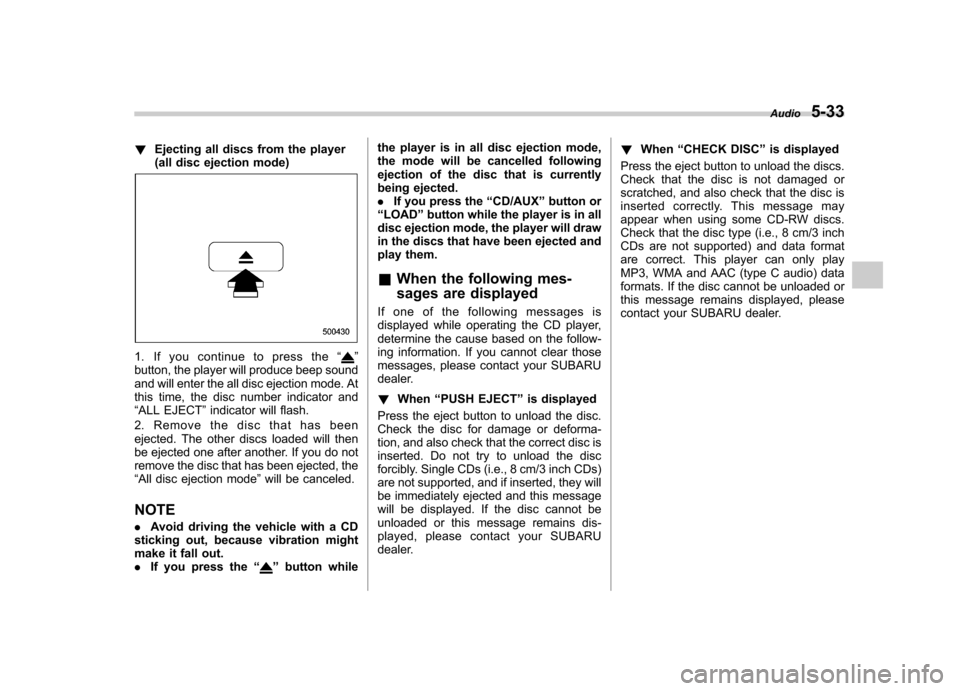
!Ejecting all discs from the player
(all disc ejection mode)
1. If you continue to press the “”
button, the player will produce beep sound
and will enter the all disc ejection mode. At
this time, the disc number indicator and“ ALL EJECT ”indicator will flash.
2. Remove the disc that has been
ejected. The other discs loaded will then
be ejected one after another. If you do not
remove the disc that has been ejected, the“ All disc ejection mode ”will be canceled.
NOTE . Avoid driving the vehicle with a CD
sticking out, because vibration might
make it fall out.. If you press the “
”button while the player is in all disc ejection mode,
the mode will be cancelled following
ejection of the disc that is currently
being ejected..
If you press the “CD/AUX ”button or
“ LOAD ”button while the player is in all
disc ejection mode, the player will draw
in the discs that have been ejected and
play them.
& When the following mes-
sages are displayed
If one of the following messages is
displayed while operating the CD player,
determine the cause based on the follow-
ing information. If you cannot clear those
messages, please contact your SUBARU
dealer. ! When “PUSH EJECT ”is displayed
Press the eject button to unload the disc.
Check the disc for damage or deforma-
tion, and also check that the correct disc is
inserted. Do not try to unload the disc
forcibly. Single CDs (i.e., 8 cm/3 inch CDs)
are not supported, and if inserted, they will
be immediately ejected and this message
will be displayed. If the disc cannot be
unloaded or this message remains dis-
played, please contact your SUBARU
dealer. !
When “CHECK DISC ”is displayed
Press the eject button to unload the discs.
Check that the disc is not damaged or
scratched, and also check that the disc is
inserted correctly. This message may
appear when using some CD-RW discs.
Check that the disc type (i.e., 8 cm/3 inch
CDs are not supported) and data format
are correct. This player can only play
MP3, WMA and AAC (type C audio) data
formats. If the disc cannot be unloaded or
this message remains displayed, please
contact your SUBARU dealer. Audio
5-33
Page 221 of 458
5-34Audio
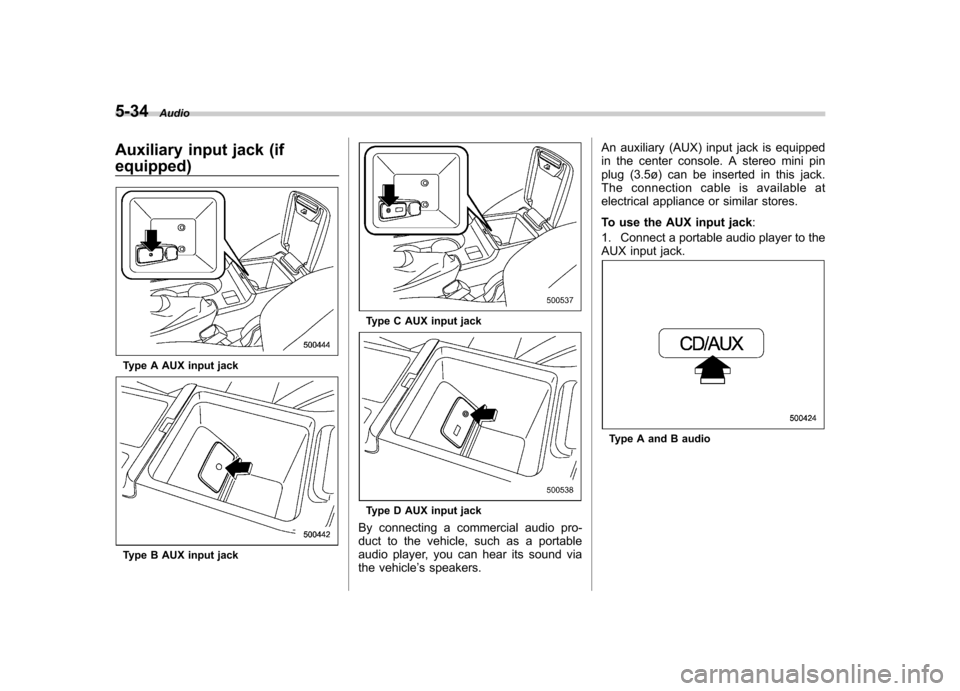
Auxiliary input jack (if equipped)
Type A AUX input jack
Type B AUX input jack
Type C AUX input jack
Type D AUX input jack
By connecting a commercial audio pro-
duct to the vehicle, such as a portable
audio player, you can hear its sound via
the vehicle ’s speakers. An auxiliary (AUX) input jack is equipped
in the center console. A stereo mini pin
plug (3.5ø) can be inserted in this jack.
The connection cable is available at
electrical appliance or similar stores.
To use the AUX input jack
:
1. Connect a portable audio player to the
AUX input jack.
Type A and B audio