SUBARU IMPREZA WRX 2004 2.G Owners Manual
Manufacturer: SUBARU, Model Year: 2004, Model line: IMPREZA WRX, Model: SUBARU IMPREZA WRX 2004 2.GPages: 491, PDF Size: 5.93 MB
Page 161 of 491
3-24
Instruments and controls
as when the engine is jump started, the ABS warning
light may come on. This is due to the low battery volt-
age and does not indicate a malfunction. When the
battery becomes fully charged, the light will go out. !
Brake system warning light
"Driving with the brake system warning light
on is dangerous. This indicates your brake sys-
tem may not be working properly. If the light re-
mains on, have the brakes inspected by a
SUBARU dealer immediately." If at all in doubt about whether the brakes are
operating properly, do not drive the vehicle.
Have your vehicle towed to the nearest
SUBARU dealer for repair.
This light has the following two functions: ! Parking brake warning
The light comes on with the parking brake applied
while the ignition switch is in the “ON” position. It goes
out when the parking brake is fully released. !
Brake fluid level warning
This light comes on when the brake fluid level has
dropped to near the “MIN” level of the brake fluid res-
ervoir with the ignition switch in the “ON” position and
with the parking brake fully released.
If the brake system warning light should come on while
driving (with the parking brake fully released and with
the ignition switch positioned in “ON”), it could be an
indication of leaking of brake fluid or worn brake pads.
If this occurs, immediately stop the vehicle at the near-
est safe place and check the brake fluid level. If the flu-
id level is below the “MIN” mark in the reservoir, do not
drive the vehicle. Have the vehicle towed to the near-
est SUBARU dealer for repair. ! Electronic Brake Force Distribution (EBD) sys-
tem warning (for vehicles with ABS)
The brake system warning light also illuminates if a
malfunction occurs in the EBD system. In that event, it
comes on together with the ABS warning light.
The EBD system may be malfunctioning if the brake
system warning light and ABS warning light illuminate
simultaneously during driving.
Even if the EBD system fails, the conventional braking
system will still function. However, the rear wheels will
be more prone to locking when the brakes are applied
harder than usual and the vehicle’s motion may there-
(U.S.) (Canada)
Page 162 of 491
3-25
Instruments and controls
– CONTINUED –
fore become somewhat harder to control. If the brake system warning light and ABS warning
light illuminate simultaneously, take the following
steps:
1. Stop the vehicle in the nearest safe, flat place.
2. Shut down the engine, then restart it.
3. Release the parking brake. If both warning lights go
out, the EBD system may be faulty. Drive carefully to
the nearest SUBARU dealer and have the system in-
spected.
4. If both warning lights come on again and stay illu-
minated after the engine has been restarted, shut
down the engine again, apply the parking brake, and
check the brake fluid level.
5. If the brake fluid level is not below the “MIN” mark,
the EBD system may be faulty. Drive carefully to the
nearest SUBARU dealer and have the system inspect-
ed.
6. If the brake fluid level is below the “MIN” mark, DO
NOT drive the vehicle. Instead, have the vehicle towed
to the nearest SUBARU dealer for repair. !Door open warning lights
The door open warning light comes on if any door or
the rear gate is not fully closed.
Always make sure this light is out before you start to drive. !
Front-wheel drive warning light
(for AT vehicles – if equipped)
This light comes on when All Wheel Drive is disen-
gaged and the drive mechanism is switched to Front
Wheel Drive for maintenance or similar purposes. ! Intercooler water spray warning
light (WRX-STi)
This light comes on when the water level in the inter-
cooler water spray tank falls to the lower limit (about
0.4 U.S. qt, 0.4 liter, 0.4 Imp qt.).
Page 163 of 491
3-26
Instruments and controls
!
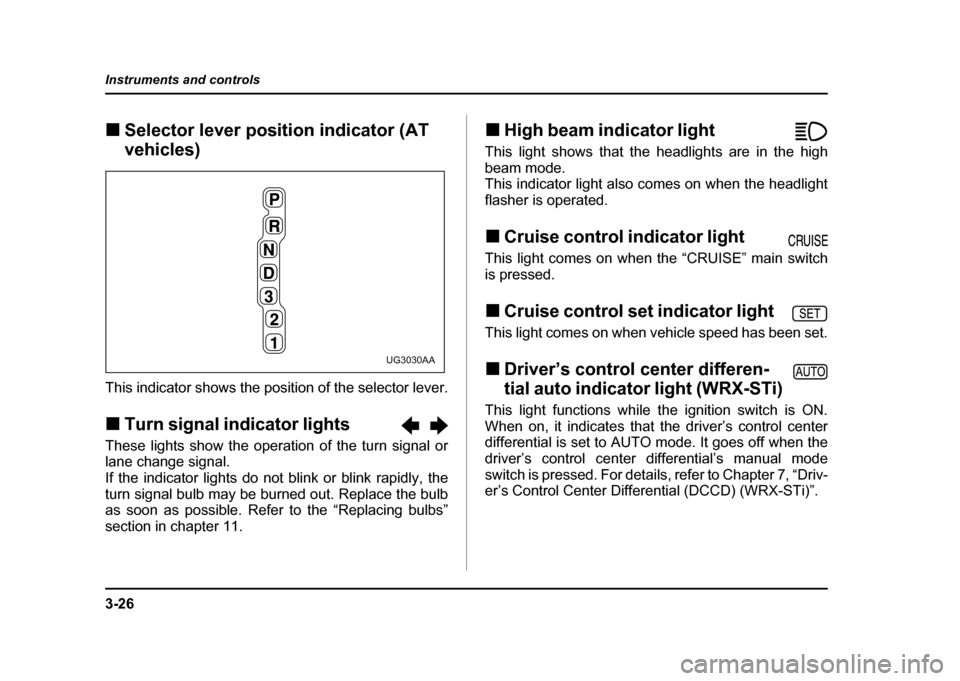
Selector lever position indicator (AT
vehicles)
This indicator shows the position of the selector lever. ! Turn signal indicator lights
These lights show the operation of the turn signal or
lane change signal.
If the indicator lights do not blink or blink rapidly, the
turn signal bulb may be burned out. Replace the bulb
as soon as possible. Refer to the “Replacing bulbs”
section in chapter 11. !
High beam indicator light
This light shows that the headlights are in the high
beam mode.
This indicator light also comes on when the headlight
flasher is operated. ! Cruise control indicator light
This light comes on when the “CRUISE” main switch
is pressed. ! Cruise control set indicator light
This light comes on when vehicle speed has been set.! Driver’s control center differen-
tial auto indicator light (WRX-STi)
This light functions while the ignition switch is ON.
When on, it indicates that the driver’s control center
differential is set to AUTO mode. It goes off when the
driver’s control center differential’s manual modeswitch is pressed. For details, refer to Chapter 7, “Driv-
er’s Control Center Differential (DCCD) (WRX-STi)”.
UG3030AA
Page 164 of 491
3-27
Instruments and controls
– CONTINUED –
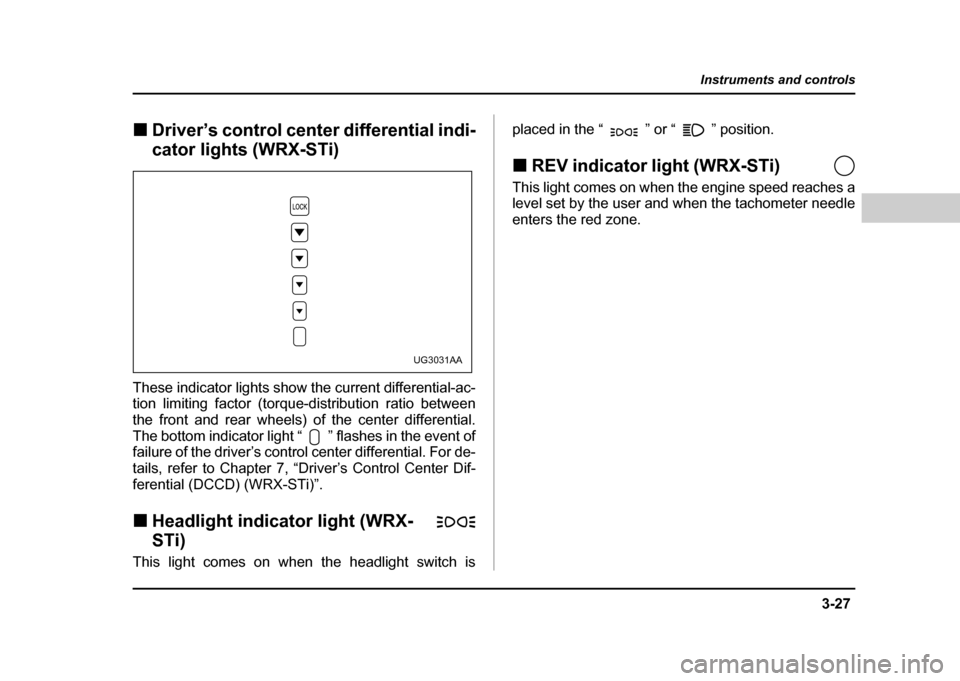
!Driver’s control center differential indi-
cator lights (WRX-STi)
These indicator lights show the current differential-ac-
tion limiting factor (torque-distribution ratio between
the front and rear wheels) of the center differential.
The bottom indicator light “ ” flashes in the event of
failure of the driver’s control center differential. For de-
tails, refer to Chapter 7, “Driver’s Control Center Dif-
ferential (DCCD) (WRX-STi)”. ! Headlight indicator light (WRX-
STi)
This light comes on when the headlight switch is placed in the “ ” or “ ” position. !
REV indicator light (WRX-STi)
This light comes on when the engine speed reaches a
level set by the user and when the tachometer needle
enters the red zone.
UG3031AA
Page 165 of 491
3-28
Instruments and controls
Clock
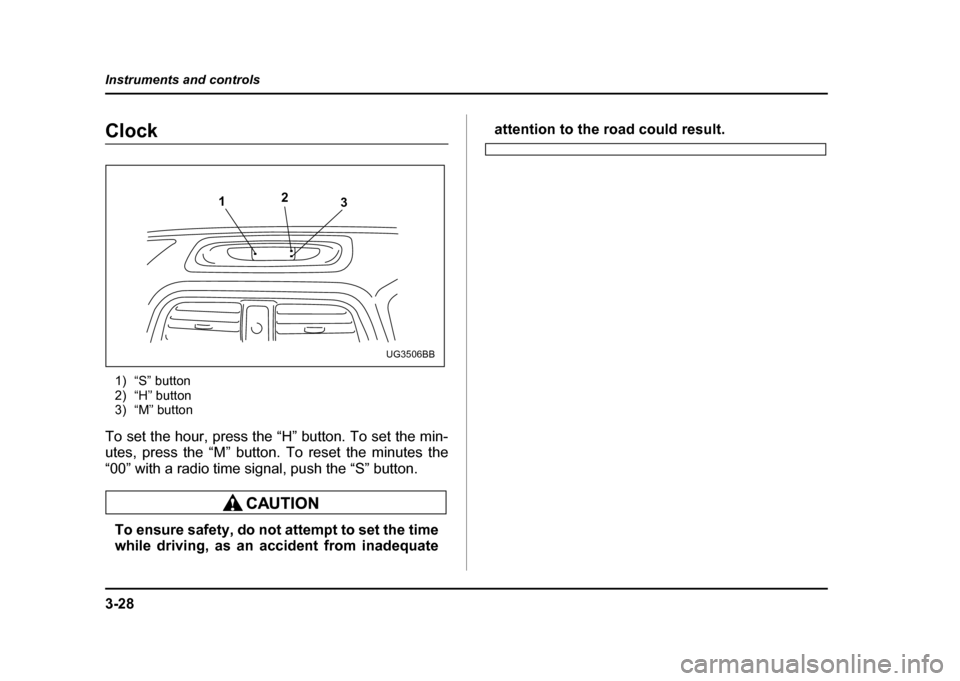
1) “S” button
2) “H” button
3) “M” button
To set the hour, press the “H” button. To set the min-
utes, press the “M” button. To reset the minutes the
“00” with a radio time signal, push the “S” button.
To ensure safety, do not attempt to set the time
while driving, as an accident from inadequate
attention to the road could result.
1 2
3
UG3506BB
Page 166 of 491
3-29
Instruments and controls
– CONTINUED –
Light control switch
The light switch operates only when the ignition switch
is in the “ON” position.
To prevent battery discharge resulting from ac-
cidentally leaving your lights on when your ve-
hicle is parked, the light switch operates only
when the ignition switch is in the “ON” posi-
tion. In any other position, the vehicle’s lights
will be out.
If you park your vehicle on a roadside at night,
use the hazard warning flasher to alert the other
drivers. !
Headlights
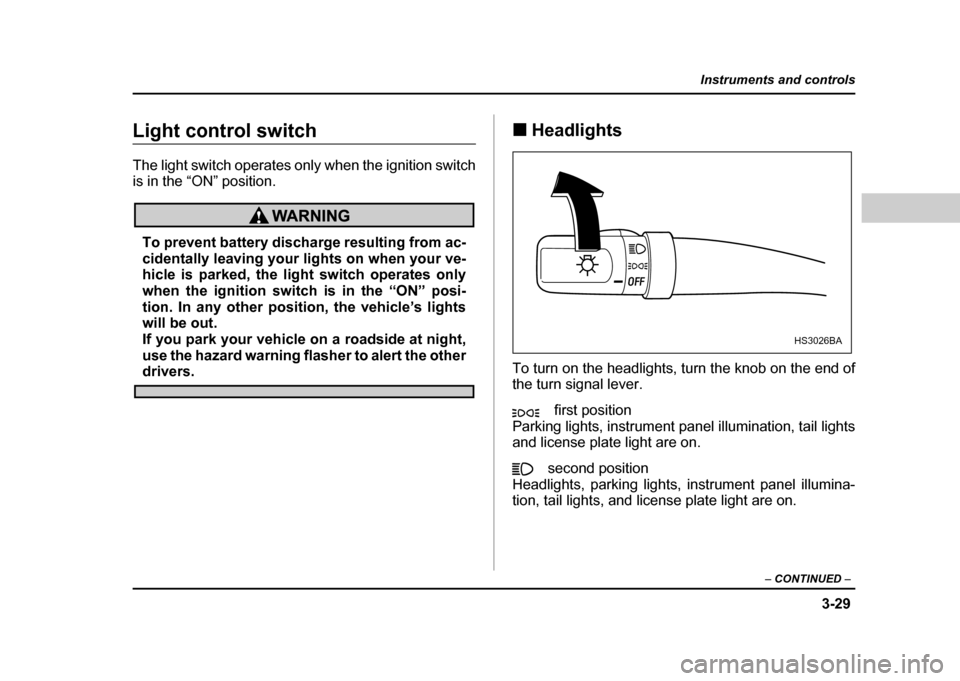
To turn on the headlights, turn the knob on the end of
the turn signal lever. first position
Parking lights, instrument panel illumination, tail lights
and license plate light are on.
second position
Headlights, parking lights, instrument panel illumina-
tion, tail lights, and license plate light are on.
HS3026BA
Page 167 of 491
3-30
Instruments and controls
!
High/low beam change (dimmer)
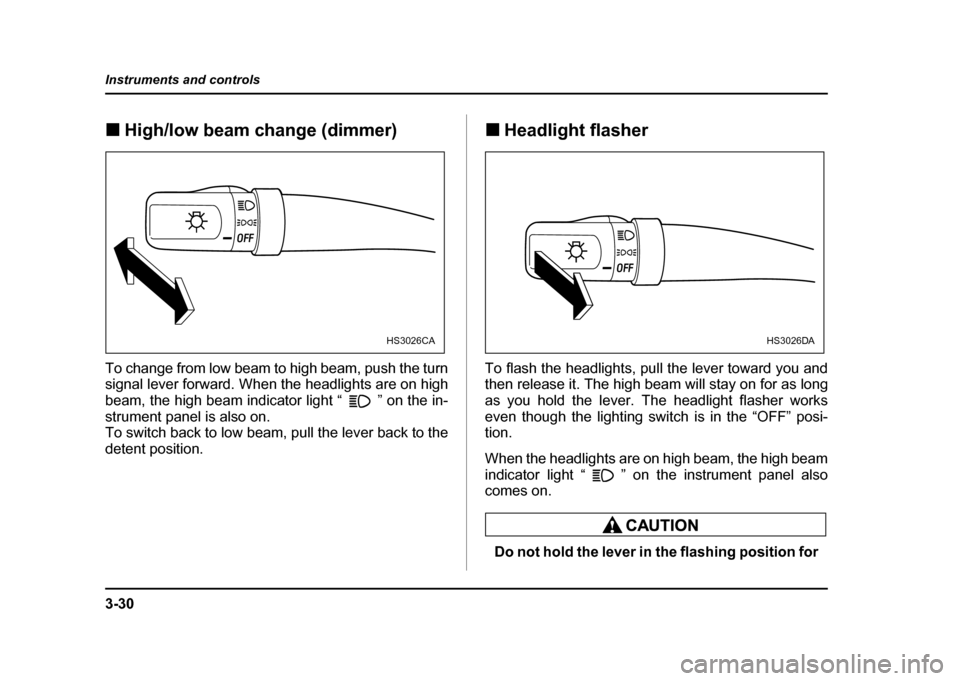
To change from low beam to high beam, push the turn
signal lever forward. When the headlights are on high
beam, the high beam indicator light “ ” on the in-
strument panel is also on.
To switch back to low beam, pull the lever back to the
detent position. !
Headlight flasher
To flash the headlights, pull the lever toward you and
then release it. The high beam will stay on for as long
as you hold the lever. The headlight flasher works
even though the lighting switch is in the “OFF” posi- tion.
When the headlights are on high beam, the high beam
indicator light “ ” on the instrument panel also
comes on.
Do not hold the lever in the flashing position for
HS3026CAHS3026DA
Page 168 of 491
3-31
Instruments and controls
– CONTINUED –
more than just a few seconds.
! Daytime running light system (except
U.S. spec. WRX-STi)
The low beam headlights will automatically come on at
reduced brightness when the engine has started, un-
der the following conditions: " The parking brake is fully released.
" The light switch is in the “OFF” or “ ” position.
" The automatic transmission selector lever is set at
other than the “P” position.
The tail lights, parking lights, and side marker
lights are not turned on by the daytime running
light system. The light switch must always be
turned to the “ ” position when it is dark
outside.
Turn signal lever
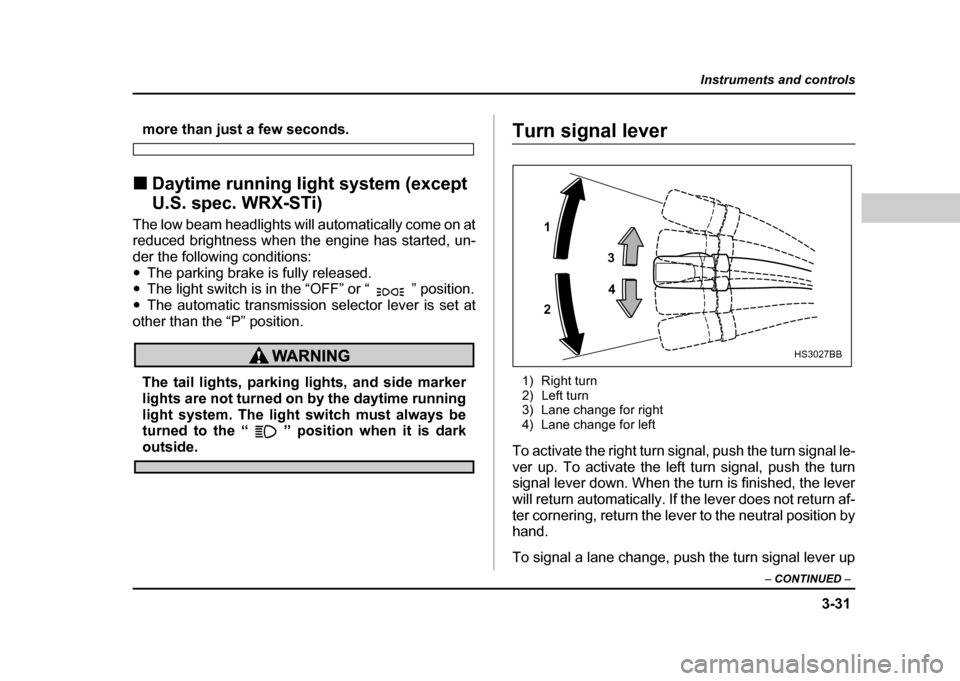
1) Right turn
2) Left turn
3) Lane change for right
4) Lane change for left
To activate the right turn signal, push the turn signal le-
ver up. To activate the left turn signal, push the turn
signal lever down. When the turn is finished, the lever
will return automatically. If the lever does not return af-
ter cornering, return the lever to the neutral position by
hand.
To signal a lane change, push the turn signal lever up
1 2 3
4
HS3027BB
Page 169 of 491
3-32
Instruments and controls
or down slightly and hold it during the lane change.
The turn signal indicator lights will flash in the direction
of the turn or lane change. The lever will return auto-
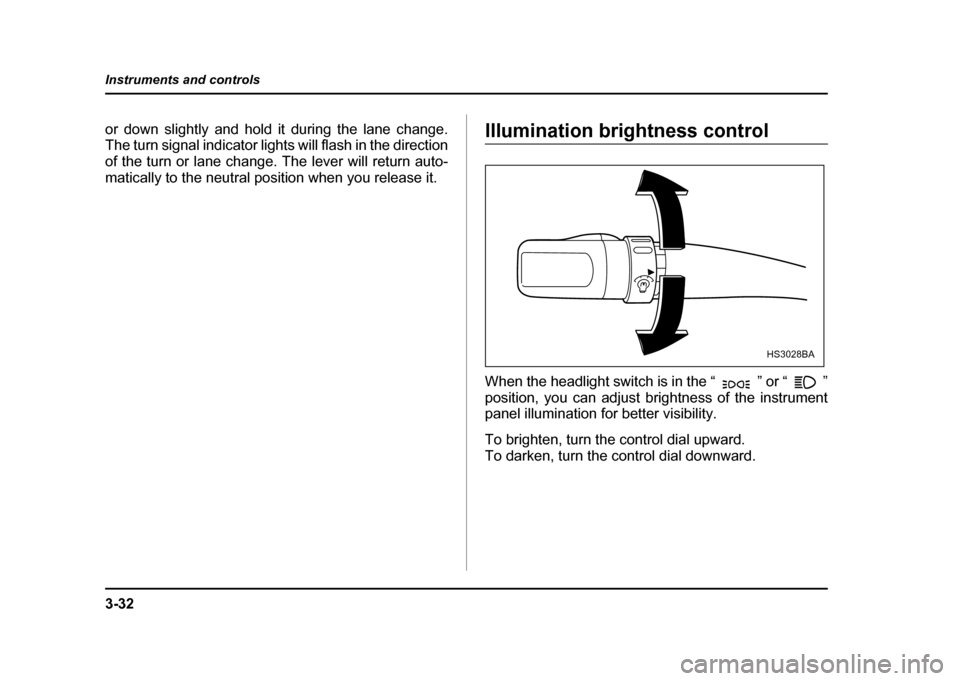
matically to the neutral position when you release it.Illumination brightness control
When the headlight switch is in the “ ” or “ ”
position, you can adjust brightness of the instrument
panel illumination for better visibility.
To brighten, turn the control dial upward.
To darken, turn the control dial downward.
HS3028BA
Page 170 of 491
3-33
Instruments and controls
– CONTINUED –
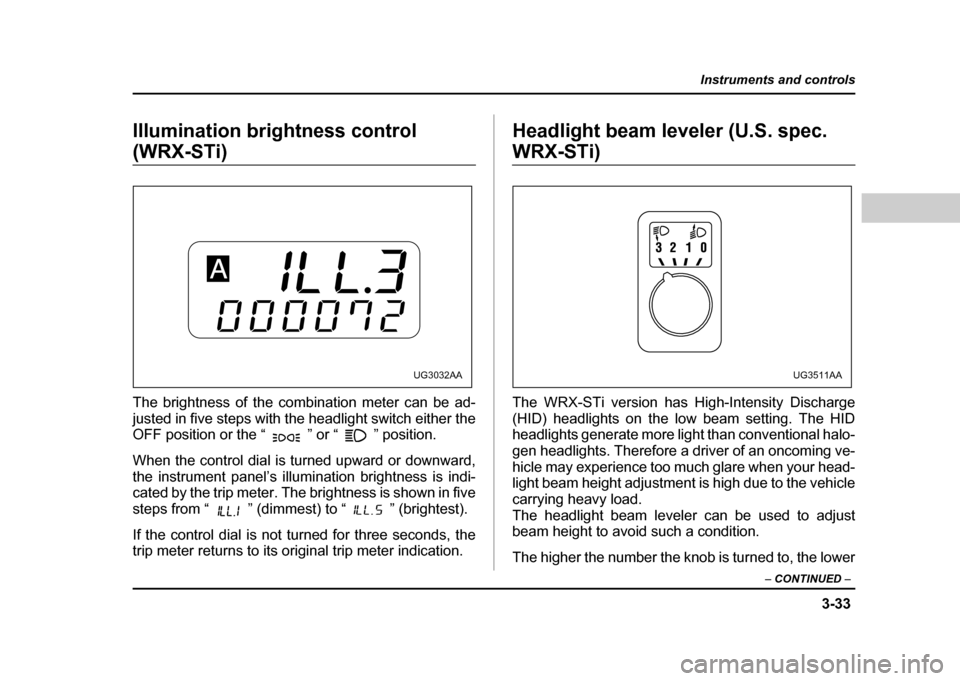
Illumination brightness control
(WRX-STi)
The brightness of the combination meter can be ad-
justed in five steps with the headlight switch either the
OFF position or the “ ” or “ ” position.
When the control dial is turned upward or downward,
the instrument panel’s illumination brightness is indi-
cated by the trip meter. The brightness is shown in five
steps from “ ” (dimmest) to “ ” (brightest).
If the control dial is not turned for three seconds, the
trip meter returns to its original trip meter indication. Headlight beam leveler (U.S. spec. WRX-STi)
The WRX-STi version has High-Intensity Discharge
(HID) headlights on the low beam setting. The HID
headlights generate more light than conventional halo-
gen headlights. Therefore a driver of an oncoming ve-
hicle may experience too much glare when your head-
light beam height adjustment is high due to the vehicle
carrying heavy load.
The headlight beam leveler can be used to adjust
beam height to avoid such a condition.
The higher the number the knob is turned to, the lower
UG3032AAUG3511AA