rear view mirror SUBARU OUTBACK 2021 Getting Started Guide
[x] Cancel search | Manufacturer: SUBARU, Model Year: 2021, Model line: OUTBACK, Model: SUBARU OUTBACK 2021Pages: 172, PDF Size: 53.92 MB
Page 3 of 172
PURPOSE OF THIS GUIDE
WELCOME................. 4
IMPORTANT SAFETY
INFORMATION.............. 4
OWNER’S RESOURCES....... 5
IN CASE OF EMERGENCY..... 6
TOWING YOUR ALL-WHEEL
DRIVE SUBARU............. 7
ENTRY AND EXIT
KEYLESS ENTRY............ 8
KEYLESS ACCESS WITH PUSH
BUTTON START.............10
POWER REAR GATE (PRG)....12
INSTRUMENT PANEL........16
GETTING COMFORTABLE
SEATING...................18
TILT AND TELESCOPIC STEERING
COLUMN...................21
POWER EXTERIOR MIRRORS . . 21
REAR VIEW MIRROR.........23
POWER WINDOWS..........24
CENTER CONSOLE STORAGE . . 25
POWER MOONROOF........25
CLIMATE CONTROL..........26
ACCESSORY CONNECTIONS . . 34
CONTROLS
INSTRUMENT PANEL SWITCHES
(LOWER LEFT)..............35AUDIO CONTROLS...........35
ADVANCED ADAPTIVE CRUISE
CONTROL..................36
I SWITCH...................36
LIGHT CONTROLS...........37
TURN SIGNALS.............38
WINDSHIELD WIPERS........38
REAR WINDOW WIPER.......39
OVERHEAD CONSOLE........40
GAUGES AND WARNING LIGHTS
COMBINATION METER.......41
WARNING AND INDICATOR
LIGHTS....................41
OPERATING THE VEHICLE
IGNITION SWITCH...........42
PUSH-BUTTON IGNITION
SWITCH...................42
STARTING THE VEHICLE......42
DRIVING THE VEHICLE.......43
AUTO START–STOP..........44
ELECTRONIC PARKING BRAKE
(EPB).....................46
X-MODE
®..................48
TURNING OFF THE VEHICLE...49
REFUELING
FUEL FILLER LID............50
FUEL......................50
FUEL CAPACITY.............50
TABLE OF CONTENTS
Page 25 of 172
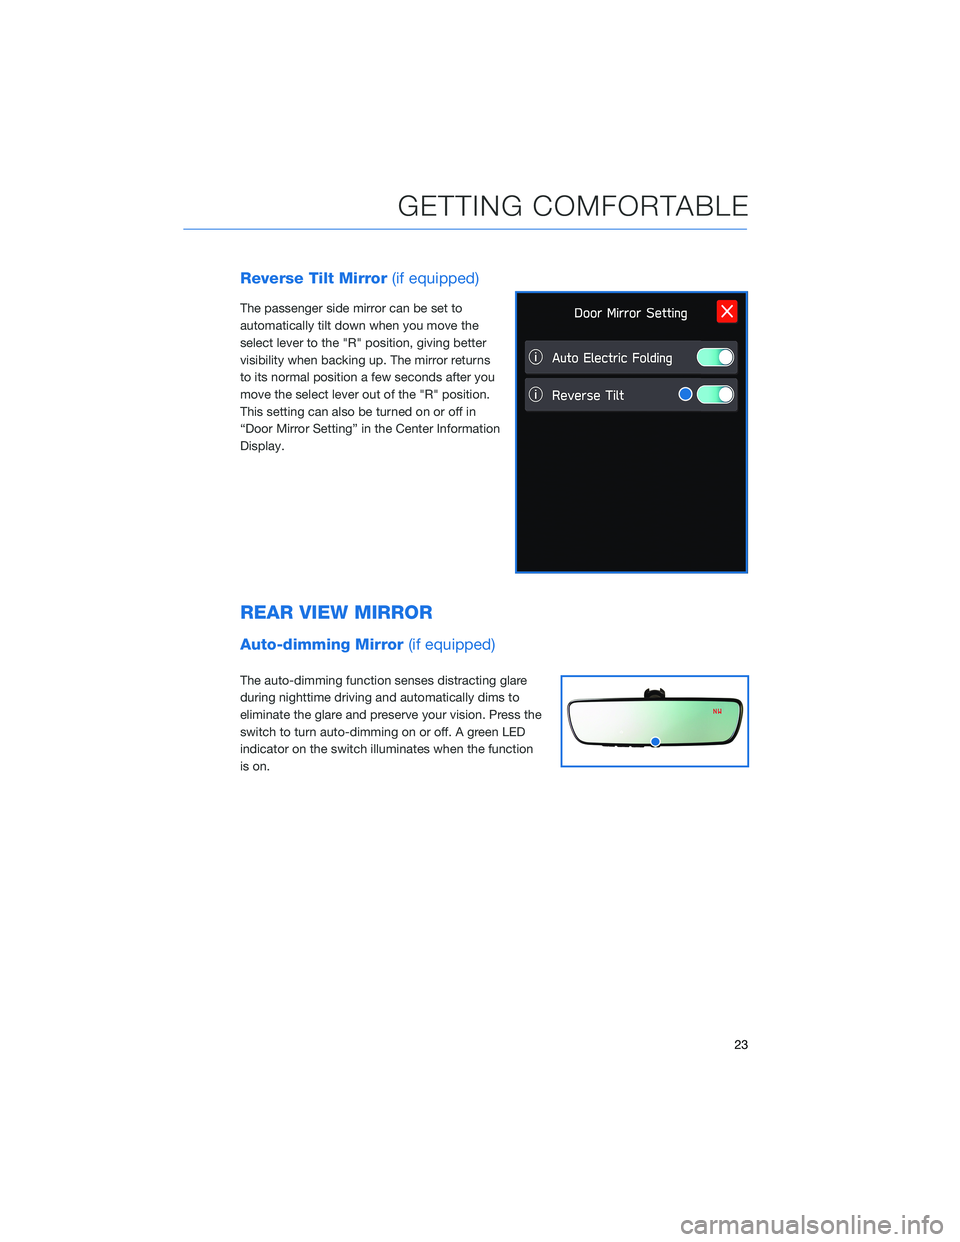
Reverse Tilt Mirror(if equipped)
The passenger side mirror can be set to
automatically tilt down when you move the
select lever to the "R" position, giving better
visibility when backing up. The mirror returns
to its normal position a few seconds after you
move the select lever out of the "R" position.
This setting can also be turned on or off in
“Door Mirror Setting” in the Center Information
Display.
REAR VIEW MIRROR
Auto-dimming Mirror(if equipped)
The auto-dimming function senses distracting glare
during nighttime driving and automatically dims to
eliminate the glare and preserve your vision. Press the
switch to turn auto-dimming on or off. A green LED
indicator on the switch illuminates when the function
is on.
GETTING COMFORTABLE
23
Page 114 of 172
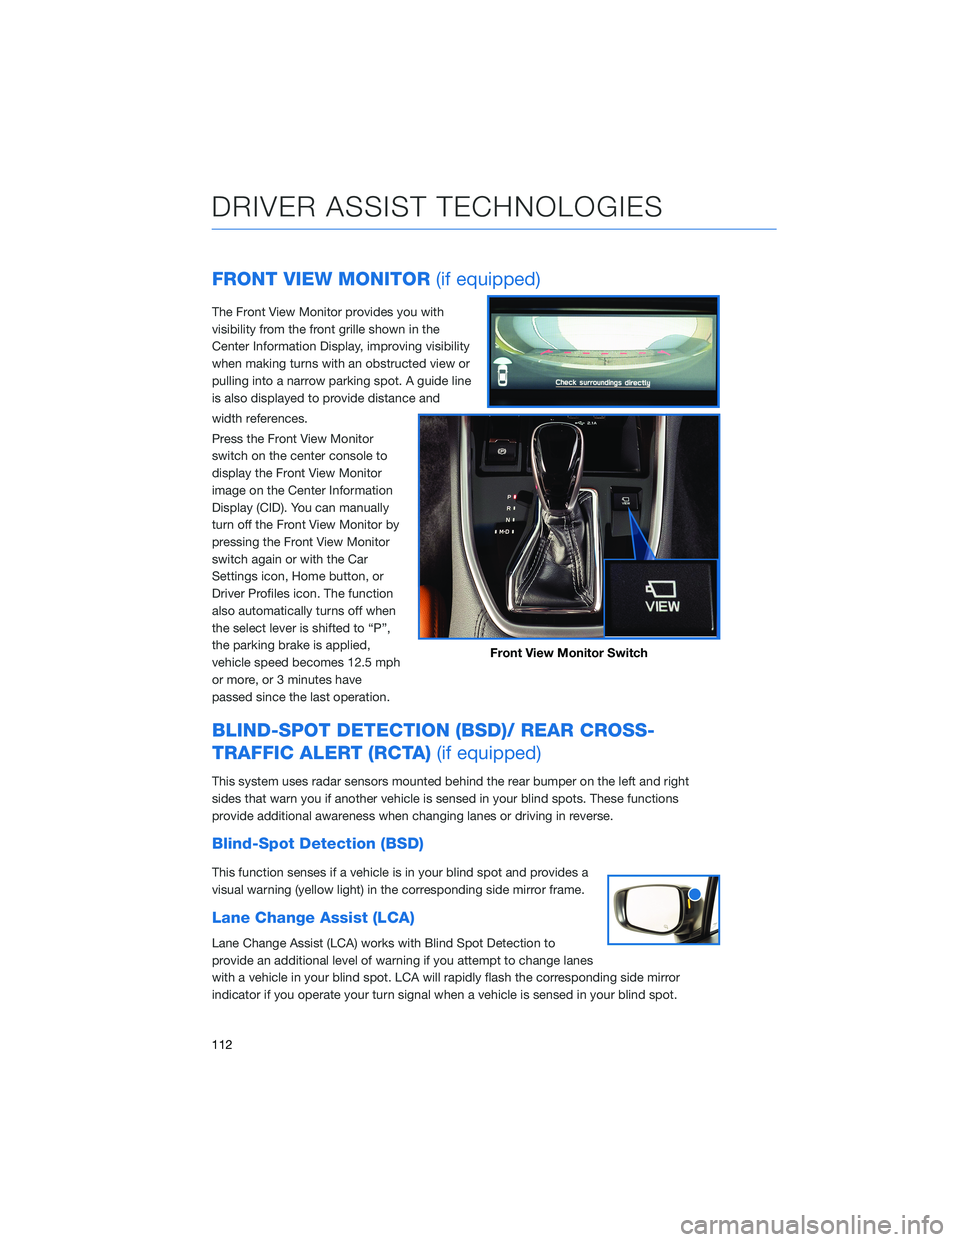
FRONT VIEW MONITOR(if equipped)
The Front View Monitor provides you with
visibility from the front grille shown in the
Center Information Display, improving visibility
when making turns with an obstructed view or
pulling into a narrow parking spot. A guide line
is also displayed to provide distance and
width references.
Press the Front View Monitor
switch on the center console to
display the Front View Monitor
image on the Center Information
Display (CID). You can manually
turn off the Front View Monitor by
pressing the Front View Monitor
switch again or with the Car
Settings icon, Home button, or
Driver Profiles icon. The function
also automatically turns off when
the select lever is shifted to “P”,
the parking brake is applied,
vehicle speed becomes 12.5 mph
or more, or 3 minutes have
passed since the last operation.
BLIND-SPOT DETECTION (BSD)/ REAR CROSS-
TRAFFIC ALERT (RCTA)(if equipped)
This system uses radar sensors mounted behind the rear bumper on the left and right
sides that warn you if another vehicle is sensed in your blind spots. These functions
provide additional awareness when changing lanes or driving in reverse.
Blind-Spot Detection (BSD)
This function senses if a vehicle is in your blind spot and provides a
visual warning (yellow light) in the corresponding side mirror frame.
Lane Change Assist (LCA)
Lane Change Assist (LCA) works with Blind Spot Detection to
provide an additional level of warning if you attempt to change lanes
with a vehicle in your blind spot. LCA will rapidly flash the corresponding side mirror
indicator if you operate your turn signal when a vehicle is sensed in your blind spot.
Front View Monitor Switch
DRIVER ASSIST TECHNOLOGIES
112
Page 122 of 172
STEREO CAMERA PRECAUTIONS
Your EyeSight®stereo cameras are precision components that must be kept free from
obstruction and contamination, such as fingerprints or cleaning solutions. When the
system detects that the stereo camera lenses are impaired, a malfunction indicator will be
displayed and EyeSight
®functions will not be available.
When you are in the vicinity of the EyeSight
®stereo cameras, always observe the following
precautions:
• Do not touch or attempt to clean the EyeSight
®camera lenses inside the vehicle. Extra
caution should be used when cleaning the inside of the windshield. Over-spray from
cleaning solutions may impair or even damage the camera lenses. Please inform others
who may attempt to clean the windshield, such as car wash staff, of this precaution.
• Electronic Toll Collection devices, such as EZPass
TM, must be installed in an area that
does not obstruct the stereo cameras' field of vision. See "Prohibited Area" on
page 121.
• Adjust the rearview mirror so it does not obstruct the stereo cameras' field of vision.
• Do not install any interior rearview mirror accessories, such as a wide-type mirror or
hanging objects. Only approved Genuine SUBARU accessories may be installed.
For more detailed information, please refer to your EyeSight®Owner’s Manual.
WINDSHIELD GLASS AND DASHBOARD
Since the characteristics and limitations of the EyeSight®stereo cameras are similar to
human eyes, it is important that the area in front of the cameras be kept free from dirt,
scratches, cracks, fogging, or accessories mounted to the windshield, hood or dashboard.
Visual impairments or reflections can affect EyeSight
®system performance. Extra caution
should be taken when cleaning the windshield to prevent over-spray from cleaning
solutions.
The image in the following section outlines those areas that must be kept clean and free
from obstruction. Please refer to the Owner’s Manual for a complete listing of limitations.
CARE AND LIMITATIONS
120
Page 166 of 172
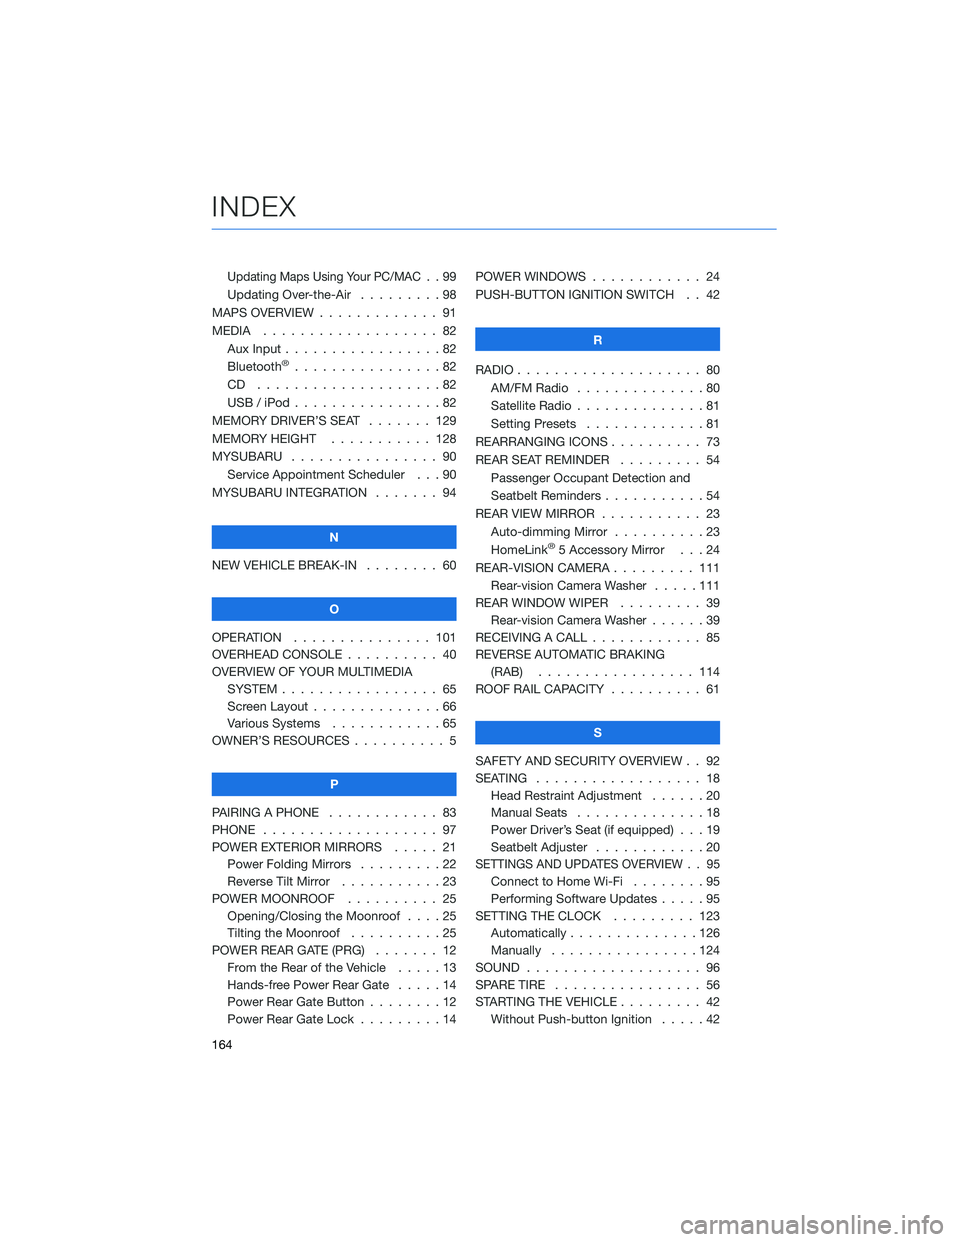
Updating Maps Using Your PC/MAC..99
Updating Over-the-Air . . . . . . . . . 98
MAPS OVERVIEW . . . . . ........ 91
MEDIA................... 82
Aux Input . . . . . . . . . ........82
Bluetooth
®................82
CD ....................82
USB / iPod . . . . . . . .........82
MEMORY DRIVER’S SEAT . . . . . . . 129
MEMORY HEIGHT . . . . . . . . . . . 128
MYSUBARU . . . . . . .......... 90
Service Appointment Scheduler . . . 90
MYSUBARU INTEGRATION ....... 94
N
NEW VEHICLE BREAK-IN........ 60
O
OPERATION . . . . . . . ........ 101
OVERHEAD CONSOLE . . ........ 40
OVERVIEW OF YOUR MULTIMEDIA
SYSTEM . . . . . . . . . . . . . . . . . 65
Screen Layout . . . . . . ........66
Various Systems . . . . . . . . . . . . 65
OWNER’S RESOURCES . . . . . . . . . . 5
P
PAIRING A PHONE . . . . ........ 83
PHONE................... 97
POWER EXTERIOR MIRRORS ..... 21
Power Folding Mirrors .........22
Reverse Tilt Mirror . . . . . ......23
POWER MOONROOF . . . . . ..... 25
Opening/Closing the Moonroof . . . . 25
Tilting the Moonroof . . . . . . . . . . 25
POWER REAR GATE (PRG) ....... 12
From the Rear of the Vehicle.....13
Hands-free Power Rear Gate .....14
Power Rear Gate Button ........12
Power Rear Gate Lock . ........14POWER WINDOWS............ 24
PUSH-BUTTON IGNITION SWITCH . . 42
R
RADIO.................... 80
AM/FM Radio..............80
Satellite Radio . . . . . . . . . . . . . . 81
Setting Presets . . . . . . . ......81
REARRANGING ICONS .......... 73
REAR SEAT REMINDER......... 54
Passenger Occupant Detection and
Seatbelt Reminders ...........54
REAR VIEW MIRROR . . . . . . ..... 23
Auto-dimming Mirror . . . . . . . . . . 23
HomeLink
®5 Accessory Mirror . . . 24
REAR-VISION CAMERA . . . . . . . . . 111
Rear-vision Camera Washer .....111
REAR WINDOW WIPER . . . . . . . . . 39
Rear-vision Camera Washer......39
RECEIVING A CALL ............ 85
REVERSE AUTOMATIC BRAKING
(RAB)................. 114
ROOF RAIL CAPACITY .......... 61
S
SAFETY AND SECURITY OVERVIEW . . 92
SEATING.................. 18
Head Restraint Adjustment . . . . . . 20
Manual Seats . . . . . .........18
Power Driver’s Seat (if equipped) . . . 19
Seatbelt Adjuster . . . . . . . .....20
SETTINGS AND UPDATES OVERVIEW . . 95
Connect to Home Wi-Fi . . . . . . . . 95
Performing Software Updates .....95
SETTING THE CLOCK . . . ...... 123
Automatically . . . . ..........126
Manually................124
SOUND................... 96
SPARE TIRE................ 56
STARTING THE VEHICLE ......... 42
Without Push-button Ignition.....42
INDEX
164