check engine SUZUKI ALTO 2020 User Guide
[x] Cancel search | Manufacturer: SUZUKI, Model Year: 2020, Model line: ALTO, Model: SUZUKI ALTO 2020Pages: 139, PDF Size: 2.22 MB
Page 95 of 139
96
76G-74E
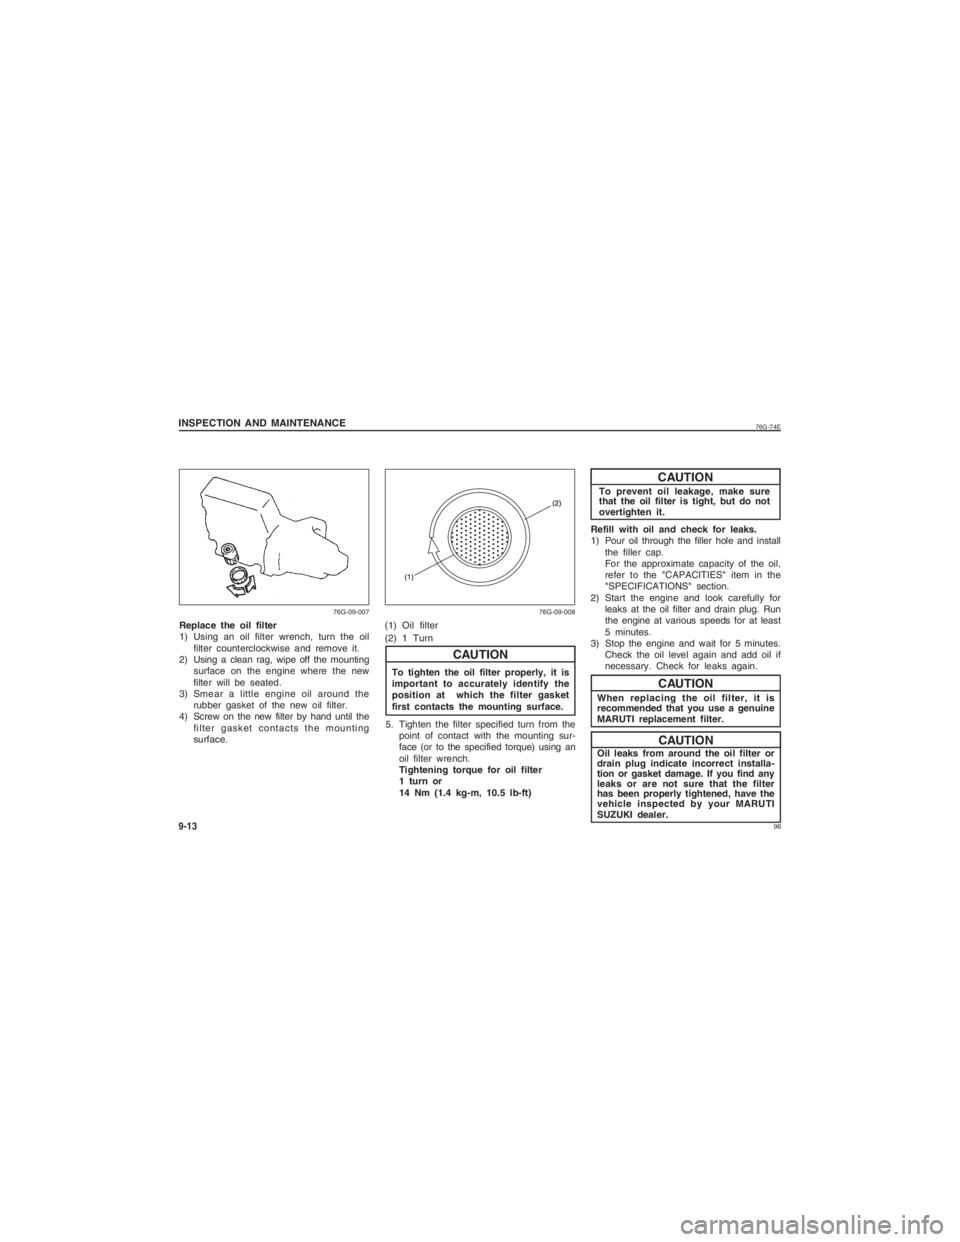
INSPECTION AND MAINTENANCE9-13Replace the oil filter
1) Using an oil filter wrench, turn the oilfilter counterclockwise and remove it.
2) Using a clean rag, wipe off the mounting surface on the engine where the new
filter will be seated.
3) Smear a little engine oil around the rubber gasket of the new oil filter.
4) Screw on the new filter by hand until the filter gasket contacts the mounting
surface.
To tighten the oil filter properly, it is
important to accurately identify the
position at which the filter gasket
first contacts the mounting surface.
5. Tighten the filter specified turn from the point of contact with the mounting sur-
face (or to the specified torque) using an
oil filter wrench.
Tightening torque for oil filter
1 turn or
14 Nm (1.4 kg-m, 10.5 lb-ft)
CAUTION
Refill with oil and check for leaks.
1) Pour oil through the filler hole and install the filler cap.
For the approximate capacity of the oil,
refer to the "CAPACITIES" item in the
"SPECIFICATIONS" section.
2) Start the engine and look carefully for leaks at the oil filter and drain plug. Run
the engine at various speeds for at least
5 minutes.
3) Stop the engine and wait for 5 minutes. Check the oil level again and add oil if
necessary. Check for leaks again.
When replacing the oil filter, it is
recommended that you use a genuine
MARUTI replacement filter.
Oil leaks from around the oil filter or
drain plug indicate incorrect installa-
tion or gasket damage. If you find any
leaks or are not sure that the filter
has been properly tightened, have the
vehicle inspected by your MARUTI
SUZUKI dealer.
CAUTIONCAUTIONCAUTION
76G-09-007 76G-09-008
To prevent oil leakage, make sure
that the oil filter is tight, but do not
overtighten it.
(1) Oil filter
(2) 1 Turn
Page 96 of 139
9776G-74E
INSPECTION AND MAINTENANCE
9-14
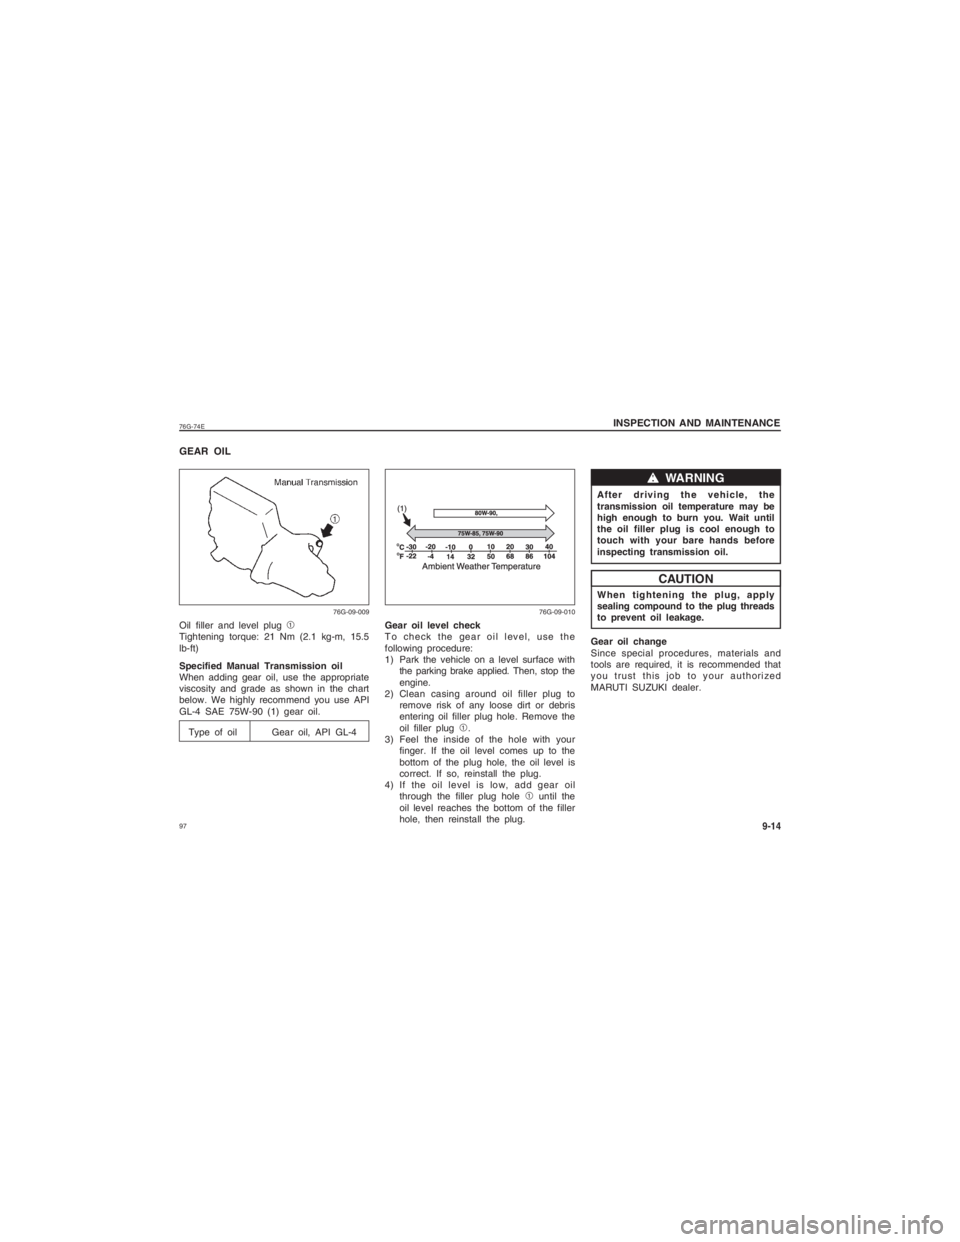
GEAR OILOil filler and level plug 1
Tightening torque: 21 Nm (2.1 kg-m, 15.5
lb-ft)
Specified Manual Transmission oil
When adding gear oil, use the appropriate
viscosity and grade as shown in the chart
below. We highly recommend you use API
GL-4 SAE 75W-90 (1) gear oil.
Type of oil Gear oil, API GL-4
Gear oil level check
To check the gear oil level, use the
following procedure:
1) Park the vehicle on a level surface with the parking brake applied. Then, stop the
engine.
2) Clean casing around oil filler plug to remove risk of any loose dirt or debris
entering oil filler plug hole. Remove the
oil filler plug 1.
3) Feel the inside of the hole with your finger. If the oil level comes up to the
bottom of the plug hole, the oil level is
correct. If so, reinstall the plug.
4) If the oil level is low, add gear oil
through the filler plug hole 1 until the
oil level reaches the bottom of the filler
hole, then reinstall the plug. After driving the vehicle, the
transmission oil temperature may be
high enough to burn you. Wait until
the oil filler plug is cool enough to
touch with your bare hands before
inspecting transmission oil.
When tightening the plug, apply
sealing compound to the plug threads
to prevent oil leakage.
Gear oil change
Since special procedures, materials and
tools are required, it is recommended that
you trust this job to your authorized
MARUTI SUZUKI dealer.
ww ww
w WARNINGCAUTION
76G-09-009 76G-09-010
Page 98 of 139
9976G-74E
INSPECTION AND MAINTENANCE
9-16
CAUTION
To avoid damaging your cooling sys-
tem:
Always use a high quality ethyleneglycol base non-silicate type cool-
ant diluted with distilled water at
the correct mixture concentration.
Make sure that the proper mix is 30/ 70 coolant to distilled water.
Concentrations greater than 70/30
coolant to distilled water will cause
over heating conditions.
Do not use straight coolant nor plain water.
Do not add extra inhibitors or addi-
tives. They may not be compatible
with your cooling system.
Do not mix different types of base coolants. Doing so may result in
accelerated seal wear and/or the
possibility of severe overheating
and extensive engine damage. Coolant Level Check
Check the coolant level at the reservoir
tank, not at the radiator. With the engine
cool, the coolant level should be between
the “FULL” and “LOW” marks.
Adding Coolant
If the coolant level is below the “LOW”
mark, more coolant should be added.
Remove the reservoir tank cap and add
coolant until the reservoir tank level reaches
the “FULL” mark. Never fill the reservoir
tank above the “FULL” mark.
CAUTION
The mixture you use should con-
tain 50% concentration of anti-
freeze.
If the lowest ambient temperature
in your area is expected to be –
35°C (–31°F) or below, use higher
concentrations up to 60% following
the instructions on the antifreeze
container.
When putting the cap on the reser- voir tank, line up the arrow on the
cap and the arrow on the tank. Fail-
ure to follow this can result in cool-
ant leakage.
Page 103 of 139
104
76G-74E
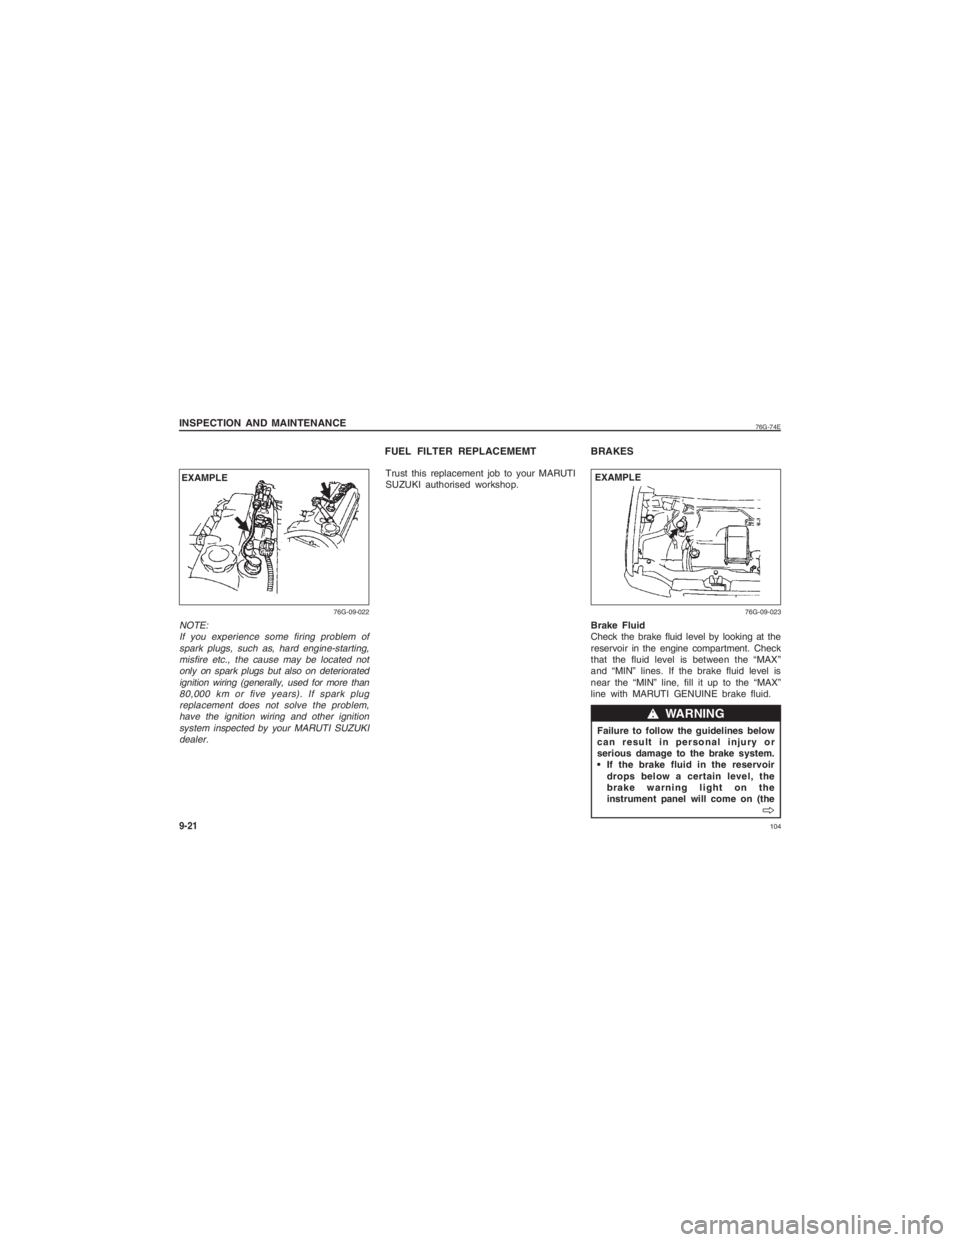
INSPECTION AND MAINTENANCE9-21NOTE:If you experience some firing problem of
spark plugs, such as, hard engine-starting,misfire etc., the cause may be located notonly on spark plugs but also on deteriorated
ignition wiring (generally, used for more than80,000 km or five years). If spark plugreplacement does not solve the problem,
have the ignition wiring and other ignitionsystem inspected by your MARUTI SUZUKIdealer.
76G-09-022
BRAKESBrake Fluid
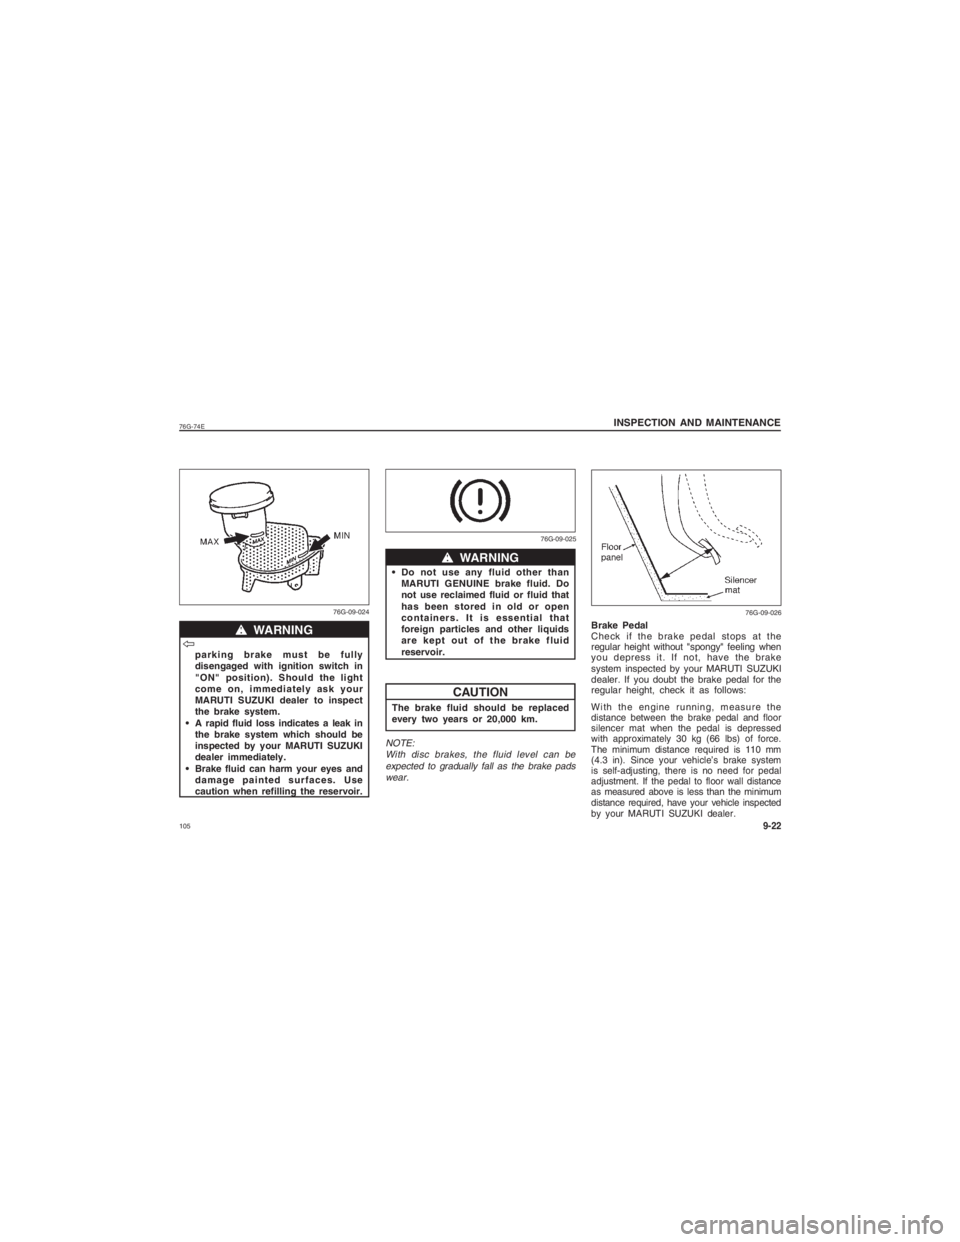
Check the brake fluid level by looking at the
reservoir in the engine compartment. Check
that the fluid level is between the “MAX”
and “MIN” lines. If the brake fluid level is
near the “MIN” line, fill it up to the “MAX”
line with MARUTI GENUINE brake fluid.
Failure to follow the guidelines below
can result in personal injury or
serious damage to the brake system.
If the brake fluid in the reservoir drops below a certain level, the
brake warning light on the
instrument panel will come on (the
ww ww
w WARNING
VV
VV
V
76G-09-023
EXAMPLE EXAMPLE
FUEL FILTER REPLACEMEMTTrust this replacement job to your MARUTI
SUZUKI authorised workshop.
Page 104 of 139
10576G-74E
parking brake must be fully
disengaged with ignition switch in
"ON" position). Should the light
come on, immediately ask your
MARUTI SUZUKI dealer to inspect
the brake system.
A rapid fluid loss indicates a leak in
the brake system which should be
inspected by your MARUTI SUZUKI
dealer immediately.
Brake fluid can harm your eyes and
damage painted surfaces. Use
caution when refilling the reservoir.
ww ww
w WARNING
VV
VV
V
76G-09-024
INSPECTION AND MAINTENANCE
9-22
Do not use any fluid other than
MARUTI GENUINE brake fluid. Do
not use reclaimed fluid or fluid that
has been stored in old or open
containers. It is essential that
foreign particles and other liquids
are kept out of the brake fluid
reservoir.
The brake fluid should be replaced
every two years or 20,000 km.NOTE: With disc brakes, the fluid level can beexpected to gradually fall as the brake padswear.
ww ww
w WARNINGCAUTION
76G-09-025
Brake Pedal
Check if the brake pedal stops at the
regular height without "spongy" feeling when
you depress it. If not, have the brake
system inspected by your MARUTI SUZUKI
dealer. If you doubt the brake pedal for the
regular height, check it as follows:With the engine running, measure the
distance between the brake pedal and floor
silencer mat when the pedal is depressed
with approximately 30 kg (66 lbs) of force.
The minimum distance required is 110 mm
(4.3 in). Since your vehicle’s brake system
is self-adjusting, there is no need for pedal
adjustment. If the pedal to floor wall distance
as measured above is less than the minimum
distance required, have your vehicle inspected
by your MARUTI SUZUKI dealer.
76G-09-026
Page 124 of 139
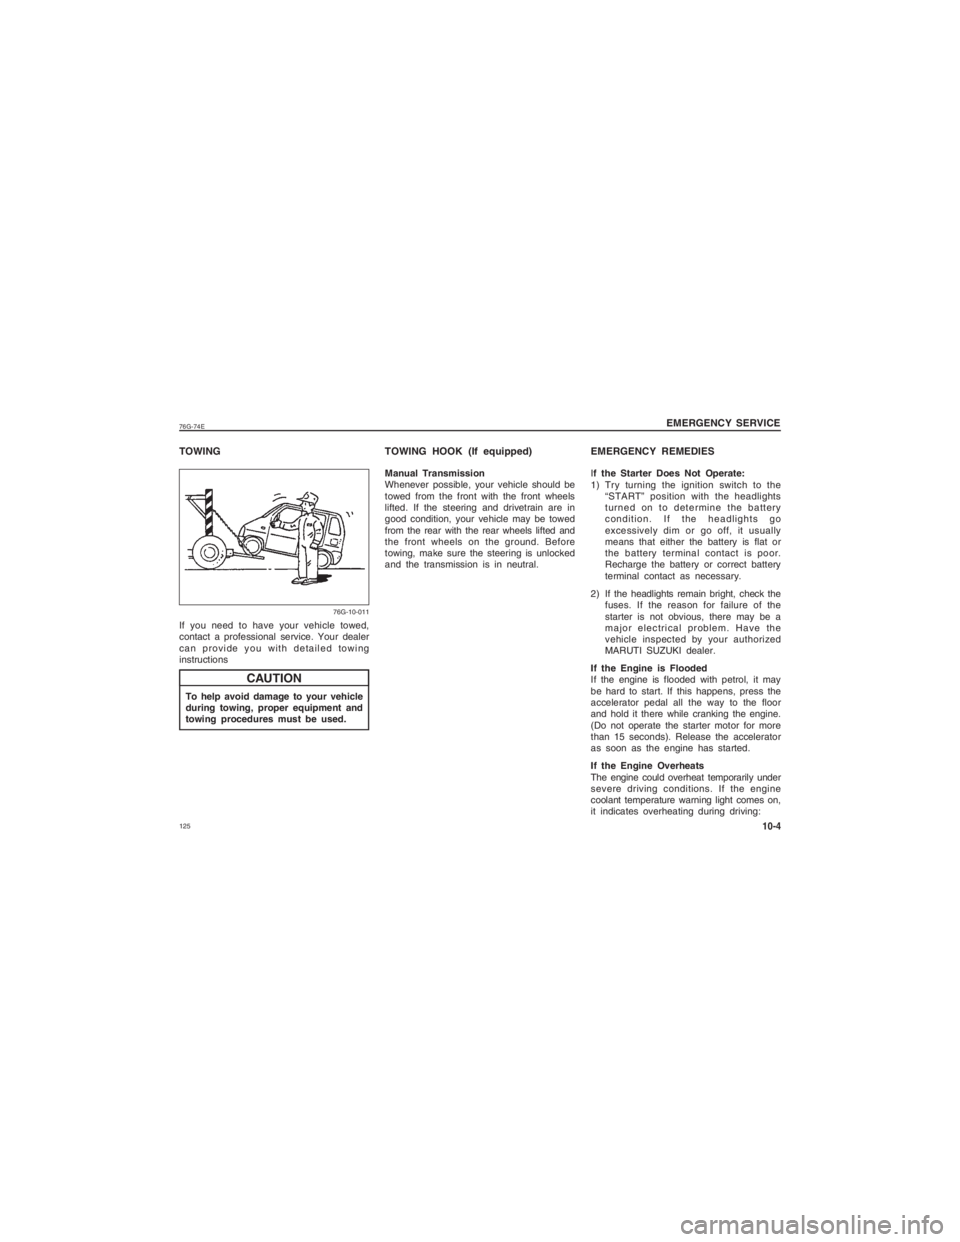
12576G-74ETOWINGIf you need to have your vehicle towed,
contact a professional service. Your dealer
can provide you with detailed towing
instructionsTo help avoid damage to your vehicle
during towing, proper equipment and
towing procedures must be used.
EMERGENCY REMEDIES EMERGENCY SERVICE
10-4
CAUTION
Manual Transmission
Whenever possible, your vehicle should be
towed from the front with the front wheels
lifted. If the steering and drivetrain are in
good condition, your vehicle may be towed
from the rear with the rear wheels lifted and
the front wheels on the ground. Before
towing, make sure the steering is unlocked
and the transmission is in neutral. I
f the Starter Does Not Operate:
1) Try turning the ignition switch to the
“START” position with the headlights
turned on to determine the battery
condition. If the headlights go
excessively dim or go off, it usually
means that either the battery is flat or
the battery terminal contact is poor.
Recharge the battery or correct battery
terminal contact as necessary.
2) If the headlights remain bright, check the fuses. If the reason for failure of the
starter is not obvious, there may be a
major electrical problem. Have the
vehicle inspected by your authorized
MARUTI SUZUKI dealer.
If the Engine is Flooded
If the engine is flooded with petrol, it may
be hard to start. If this happens, press the
accelerator pedal all the way to the floor
and hold it there while cranking the engine.
(Do not operate the starter motor for more
than 15 seconds). Release the accelerator
as soon as the engine has started.
If the Engine Overheats
The engine could overheat temporarily under
severe driving conditions. If the engine
coolant temperature warning light comes on,
it indicates overheating during driving:TOWING HOOK (If equipped)
76G-10-011
Page 125 of 139
126
76G-74E
engine until these problems have been
corrected.
3) If you do not find a leak, carefully add coolant to the reservoir and then the
radiator, if necessary. (Refer to “ENGINE
COOLANT” in the “INSPECTION AND
MAINTENANCE” section.)
It is dangerous to remove the radiator
cap when the water temperature is
high, because scalding fluid and
steam may be blown out under
pressure. The cap should only be
taken off when the coolant
temperature has lowered.
To help prevent personal injury, keep
hands, tools and clothing away from
the engine cooling fan and air-
conditioner fan (if equipped). These
electric fans can automatically turn on
without warning.
EMERGENCY SERVICE10-5
ww ww
w WARNINGww
ww
w WARNING
1) Turn off the air conditioner, if equipped.
2) Take the vehicle to a safe place and
park.
3) Let the engine run at normal idle speed for a few minutes until engine coolant
temperature warning light goes off.
If you see or hear escaping steam,
stop the vehicle in a safe place and
immediately turn off the engine to let
it cool. Do not open the bonnet when
steam is present. When the steam can
no longer be seen or heard, open the
hood to see if the coolant is still
boiling. If it is, you must wait until it
stops boiling before you proceed.
If the engine coolant temperature warning
light does not goes off:
1) Turn off the engine and check that the water pump belt and pulleys are not
damaged or slipping. If any abnormality
is found, correct it.
2) Check the coolant level in the reservoir. If it is found to be lower than the “LOW”
line, look for leaks at the radiator, water
pump, and radiator and heater hoses. If
you locate any leaks that may have
caused the overheating, do not run the
ww ww
w WARNING
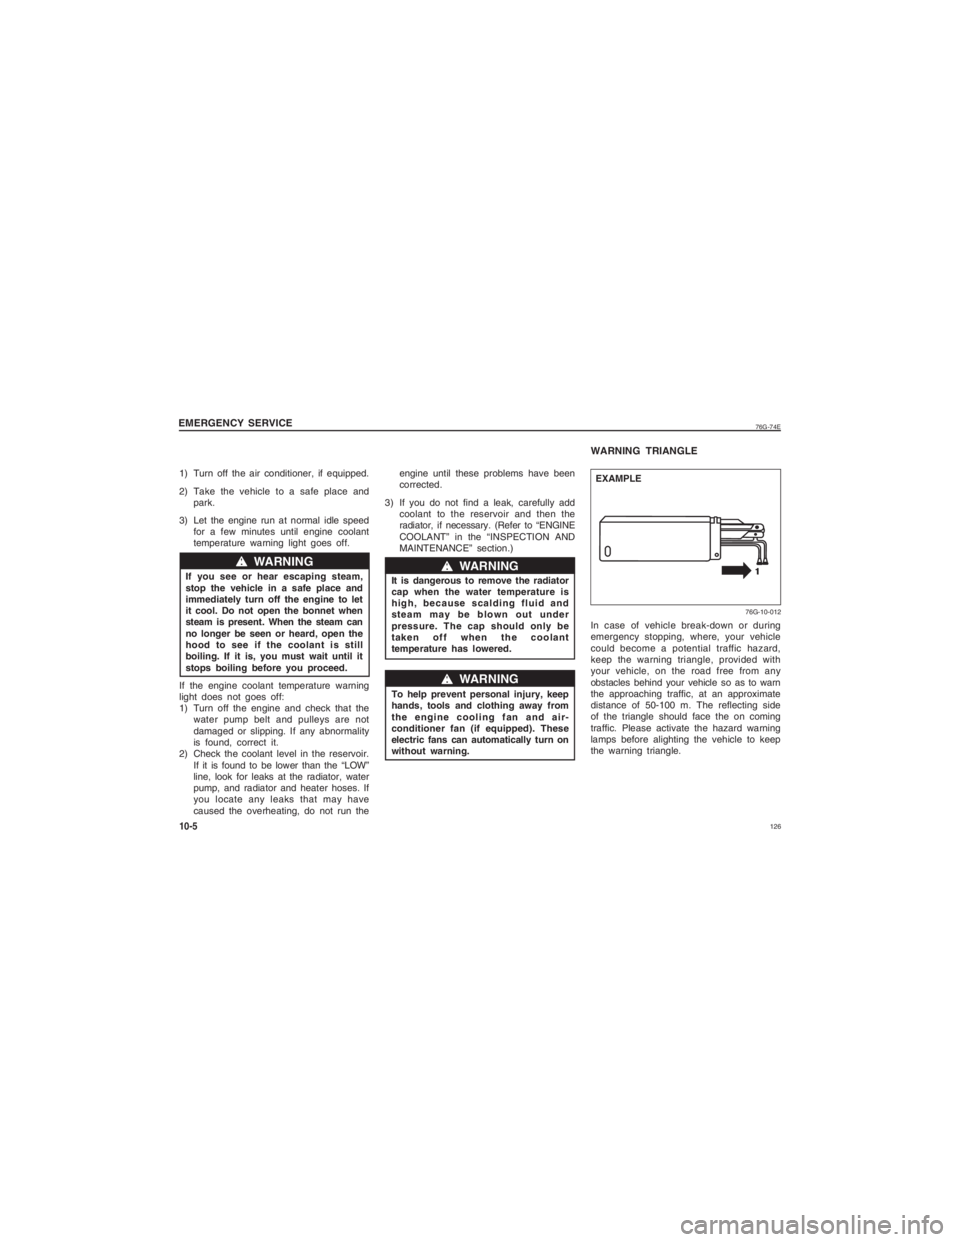
WARNING TRIANGLEIn case of vehicle break-down or during
emergency stopping, where, your vehicle
could become a potential traffic hazard,
keep the warning triangle, provided with
your vehicle, on the road free from any
obstacles behind your vehicle so as to warn
the approaching traffic, at an approximate
distance of 50-100 m. The reflecting side
of the triangle should face the on coming
traffic. Please activate the hazard warning
lamps before alighting the vehicle to keep
the warning triangle.
176G-10-012
EXAMPLE
Page 131 of 139
132
76G-74E
Cleaning the ExteriorIt is important that your vehicle be
kept clean and free from dirt. Failure
to keep your vehicle clean may result
in fading of the paint or corrosion to
various parts of the vehicle body.
Washing
Never attempt to wash and wax your vehicle with the engine running.
When cleaning the underside of the
body and fender, where there may
be sharp-edged parts, you should
wear gloves and a longsleeved shirt
to protect your hands and arms
from being cut.
After washing your vehicle, carefully test the brakes before driving to
make sure they have maintained
their normal effectiveness. When washing the vehicle, follow the
instructions below:
1) Flush the underside of body and wheel
housings with pressurized water to
remove mud and debris. Use plenty of
water.
When washing the vehicle, avoid
directing steam or hot water of more
than 80
0C (176
0F) on plastic parts.
2) Remove dirt and mud from the body exterior with running water. You may use
a soft sponge or brush. Do not use hard
materials which can scratch the paint.
3) Wash the entire exterior with a mild
detergent or car wash soap using a
sponge or soft cloth. The sponge or
cloth should be frequently soaked in the
soap solution.
When using a commercial car wash
product, observe the cautions
specified by the manufacturer. Never
use strong household detergents or
soaps.
BODY WORK CARE11-3
ww ww
w WARNING
CAUTION
4) Once the dirt has been completely
removed, rinse off the detergent with
running water.
5) After rinsing, wipe off the vehicle body with a wet chamois or cloth and allow
it to dry in the shade.
6) Check carefully for damage to painted surfaces. If there is any damage,
“Touchup” the damage following the
procedure below:
a) Clean all damaged spots and allow them to dry.
b) Stir the paint and “touchup” the damaged spots lightly using a small
brush.
c) Allow the paint to dry completely.
Waxing
After washing the vehicle, waxing and
polishing are recommended to further
protect and beautify the paint.
Only use waxes and polishes of good quality.
When using waxes and polishes, observe the precautions specified by the
manufacturers.
CAUTION
CAUTION