warning light SUZUKI ERTIGA 2013 1.G User Guide
[x] Cancel search | Manufacturer: SUZUKI, Model Year: 2013, Model line: ERTIGA, Model: SUZUKI ERTIGA 2013 1.GPages: 207, PDF Size: 5.14 MB
Page 56 of 207
Downloaded from www.Manualslib.com manuals search engine 2-41BEFORE DRIVING
60MK0-14E
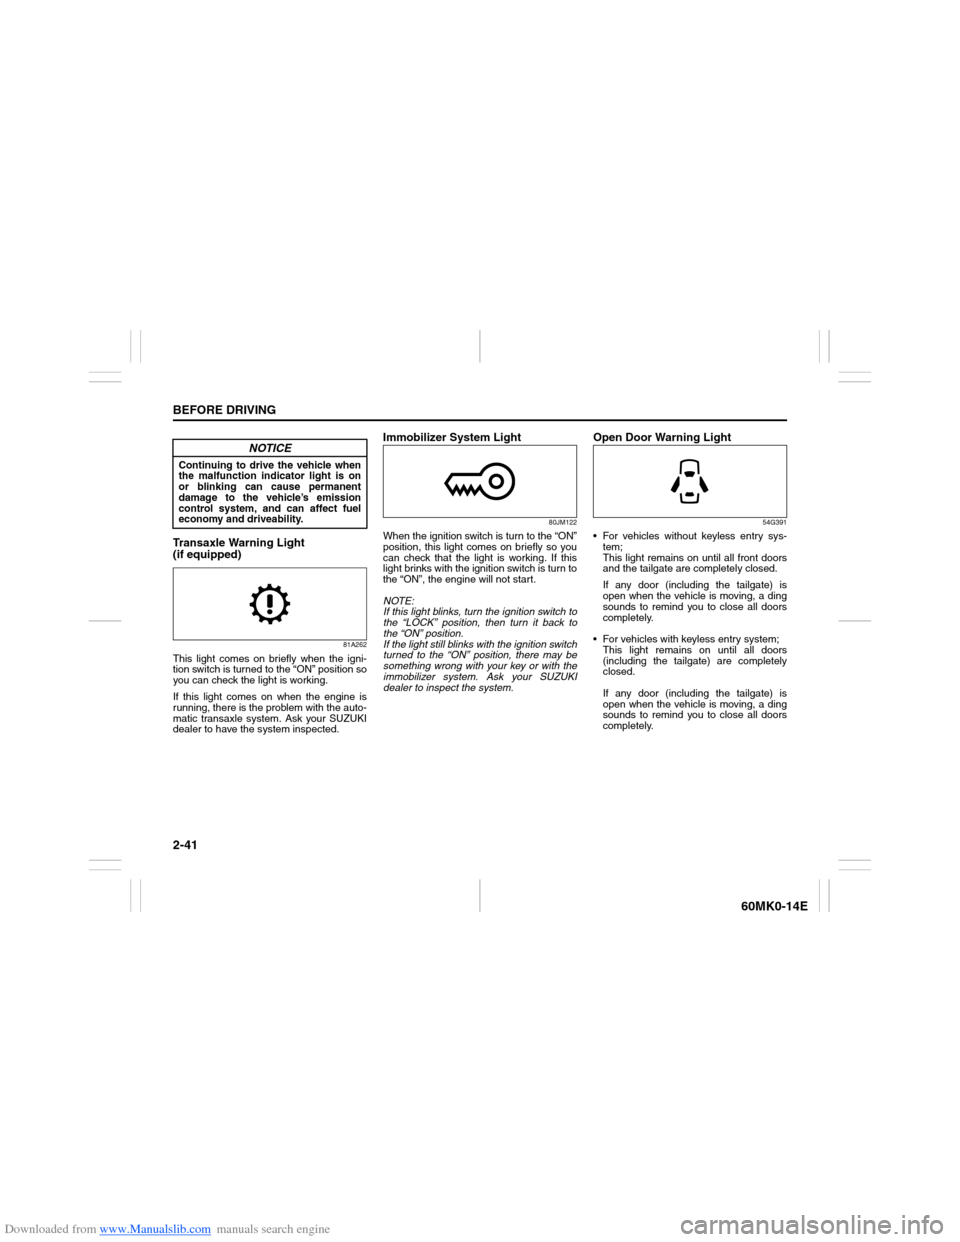
Transaxle Warning Light
(if equipped)
81A262
This light comes on briefly when the igni-
tion switch is turned to the “ON” position so
you can check the light is working.
If this light comes on when the engine is
running, there is the problem with the auto-
matic transaxle system. Ask your SUZUKI
dealer to have the system inspected.
Immobilizer System Light
80JM122
When the ignition switch is turn to the “ON”
position, this light comes on briefly so you
can check that the light is working. If this
light brinks with the ignition switch is turn to
the “ON”, the engine will not start.
NOTE:
If this light blinks, turn the ignition switch to
the “LOCK” position, then turn it back to
the “ON” position.
If the light still blinks with the ignition switch
turned to the “ON” position, there may be
something wrong with your key or with the
immobilizer system. Ask your SUZUKI
dealer to inspect the system.
Open Door Warning Light
54G391
For vehicles without keyless entry sys-
tem;
This light remains on until all front doors
and the tailgate are completely closed.
If any door (including the tailgate) is
open when the vehicle is moving, a ding
sounds to remind you to close all doors
completely.
For vehicles with keyless entry system;
This light remains on until all doors
(including the tailgate) are completely
closed.
If any door (including the tailgate) is
open when the vehicle is moving, a ding
sounds to remind you to close all doors
completely.
NOTICE
Continuing to drive the vehicle when
the malfunction indicator light is on
or blinking can cause permanent
damage to the vehicle’s emission
control system, and can affect fuel
economy and driveability.
Page 57 of 207
Downloaded from www.Manualslib.com manuals search engine 2-42
BEFORE DRIVING
60MK0-14E
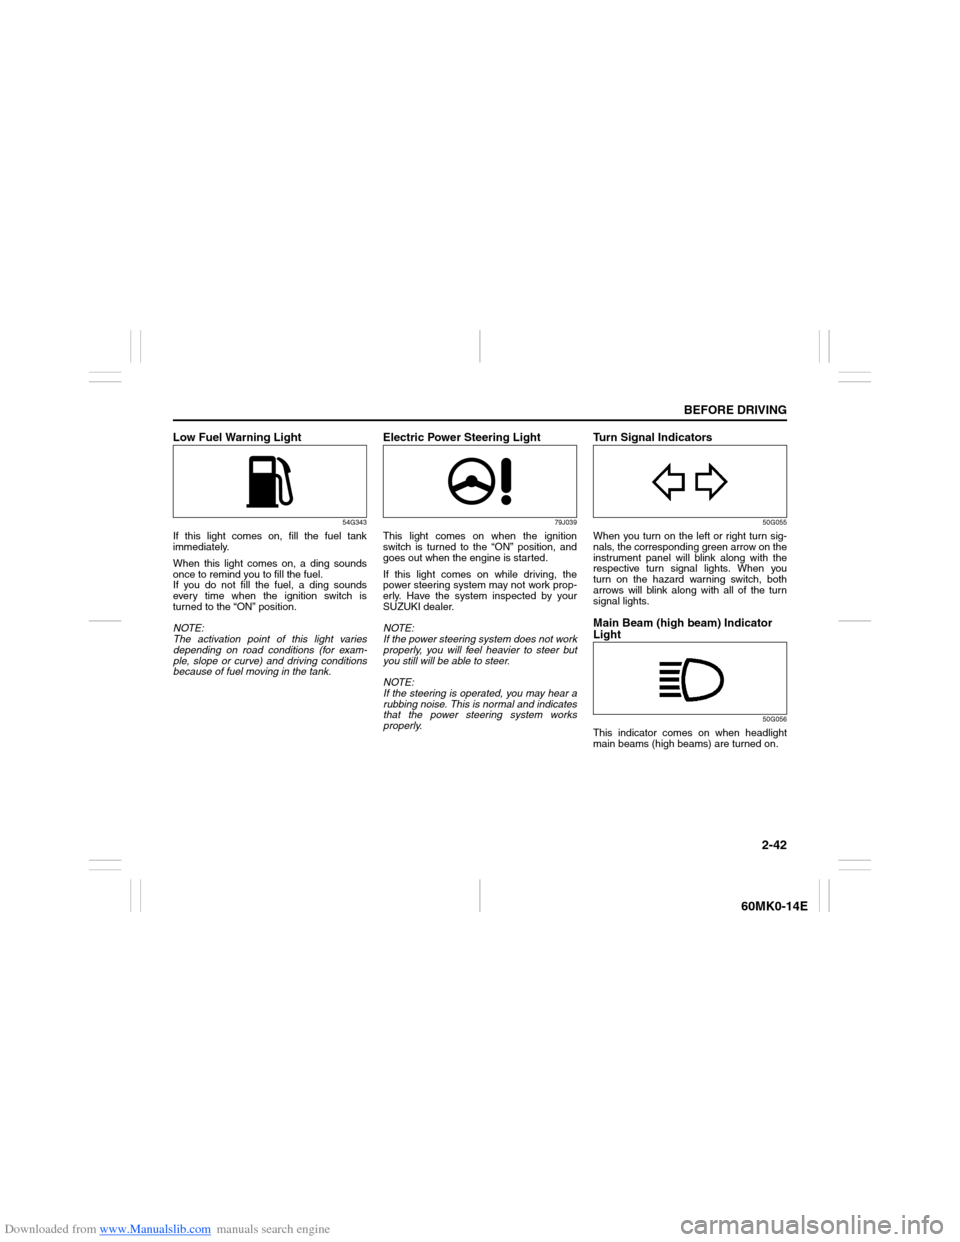
Low Fuel Warning Light
54G343
If this light comes on, fill the fuel tank
immediately.
When this light comes on, a ding sounds
once to remind you to fill the fuel.
If you do not fill the fuel, a ding sounds
every time when the ignition switch is
turned to the “ON” position.
NOTE:
The activation point of this light varies
depending on road conditions (for exam-
ple, slope or curve) and driving conditions
because of fuel moving in the tank.
Electric Power Steering Light
79J039
This light comes on when the ignition
switch is turned to the “ON” position, and
goes out when the engine is started.
If this light comes on while driving, the
power steering system may not work prop-
erly. Have the system inspected by your
SUZUKI dealer.
NOTE:
If the power steering system does not work
properly, you will feel heavier to steer but
you still will be able to steer.
NOTE:
If the steering is operated, you may hear a
rubbing noise. This is normal and indicates
that the power steering system works
properly.
Turn Signal Indicators
50G055
When you turn on the left or right turn sig-
nals, the corresponding green arrow on the
instrument panel will blink along with the
respective turn signal lights. When you
turn on the hazard warning switch, both
arrows will blink along with all of the turn
signal lights.Main Beam (high beam) Indicator
Light
50G056
This indicator comes on when headlight
main beams (high beams) are turned on.
Page 59 of 207
Downloaded from www.Manualslib.com manuals search engine 2-44
BEFORE DRIVING
60MK0-14E
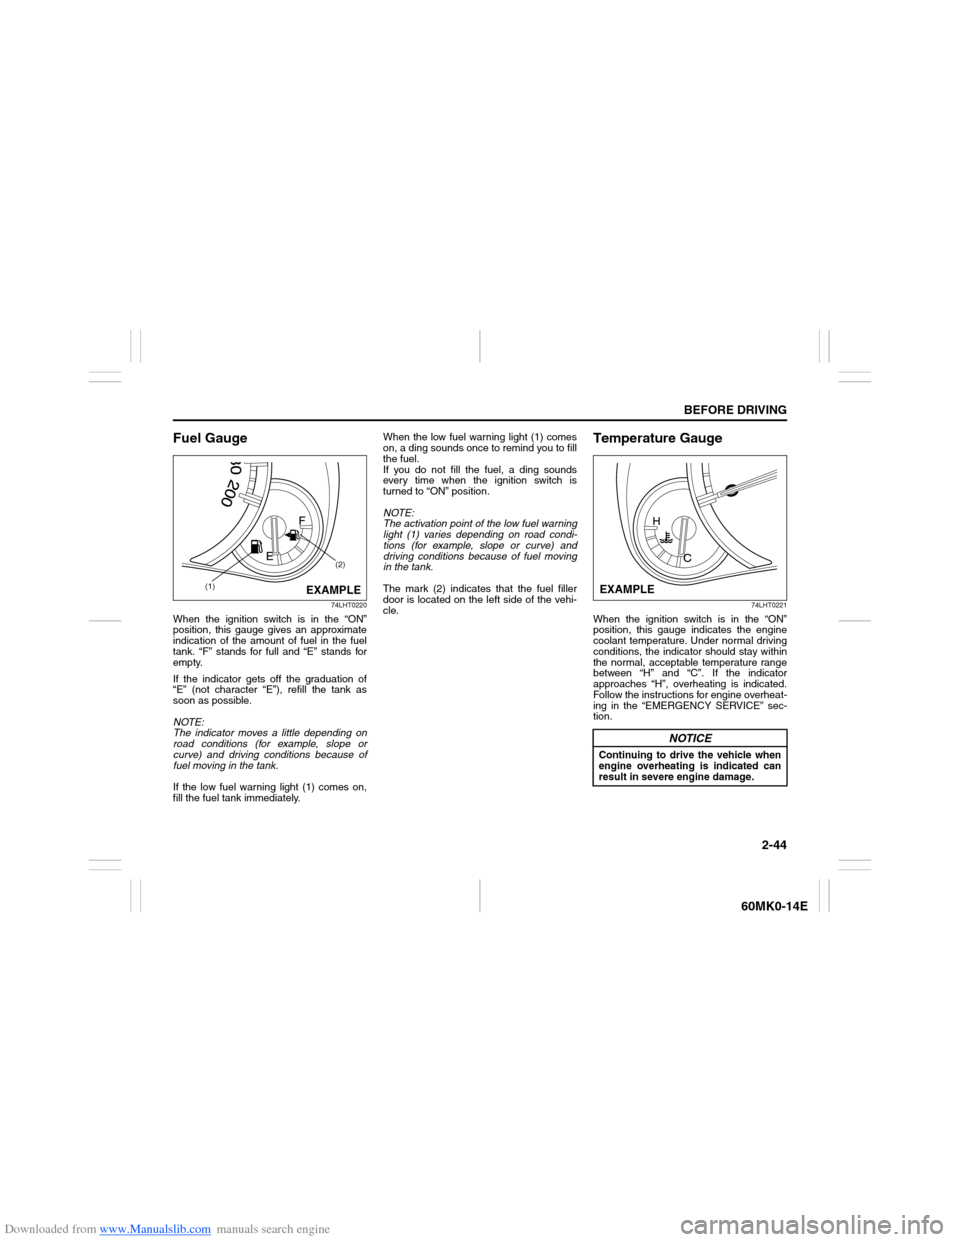
Fuel Gauge
74LHT0220
When the ignition switch is in the “ON”
position, this gauge gives an approximate
indication of the amount of fuel in the fuel
tank. “F” stands for full and “E” stands for
empty.
If the indicator gets off the graduation of
“E” (not character “E”), refill the tank as
soon as possible.
NOTE:
The indicator moves a little depending on
road conditions (for example, slope or
curve) and driving conditions because of
fuel moving in the tank.
If the low fuel warning light (1) comes on,
fill the fuel tank immediately.When the low fuel warning light (1) comes
on, a ding sounds once to remind you to fill
the fuel.
If you do not fill the fuel, a ding sounds
every time when the ignition switch is
turned to “ON” position.
NOTE:
The activation point of the low fuel warning
light (1) varies depending on road condi-
tions (for example, slope or curve) and
driving conditions because of fuel moving
in the tank.
The mark (2) indicates that the fuel filler
door is located on the left side of the vehi-
cle.
Temperature Gauge
74LHT0221
When the ignition switch is in the “ON”
position, this gauge indicates the engine
coolant temperature. Under normal driving
conditions, the indicator should stay within
the normal, acceptable temperature range
between “H” and “C”. If the indicator
approaches “H”, overheating is indicated.
Follow the instructions for engine overheat-
ing in the “EMERGENCY SERVICE” sec-
tion.
(1)(2)
EXAMPLE
NOTICE
Continuing to drive the vehicle when
engine overheating is indicated can
result in severe engine damage.EXAMPLE
Page 60 of 207
Downloaded from www.Manualslib.com manuals search engine 2-45BEFORE DRIVING
60MK0-14E
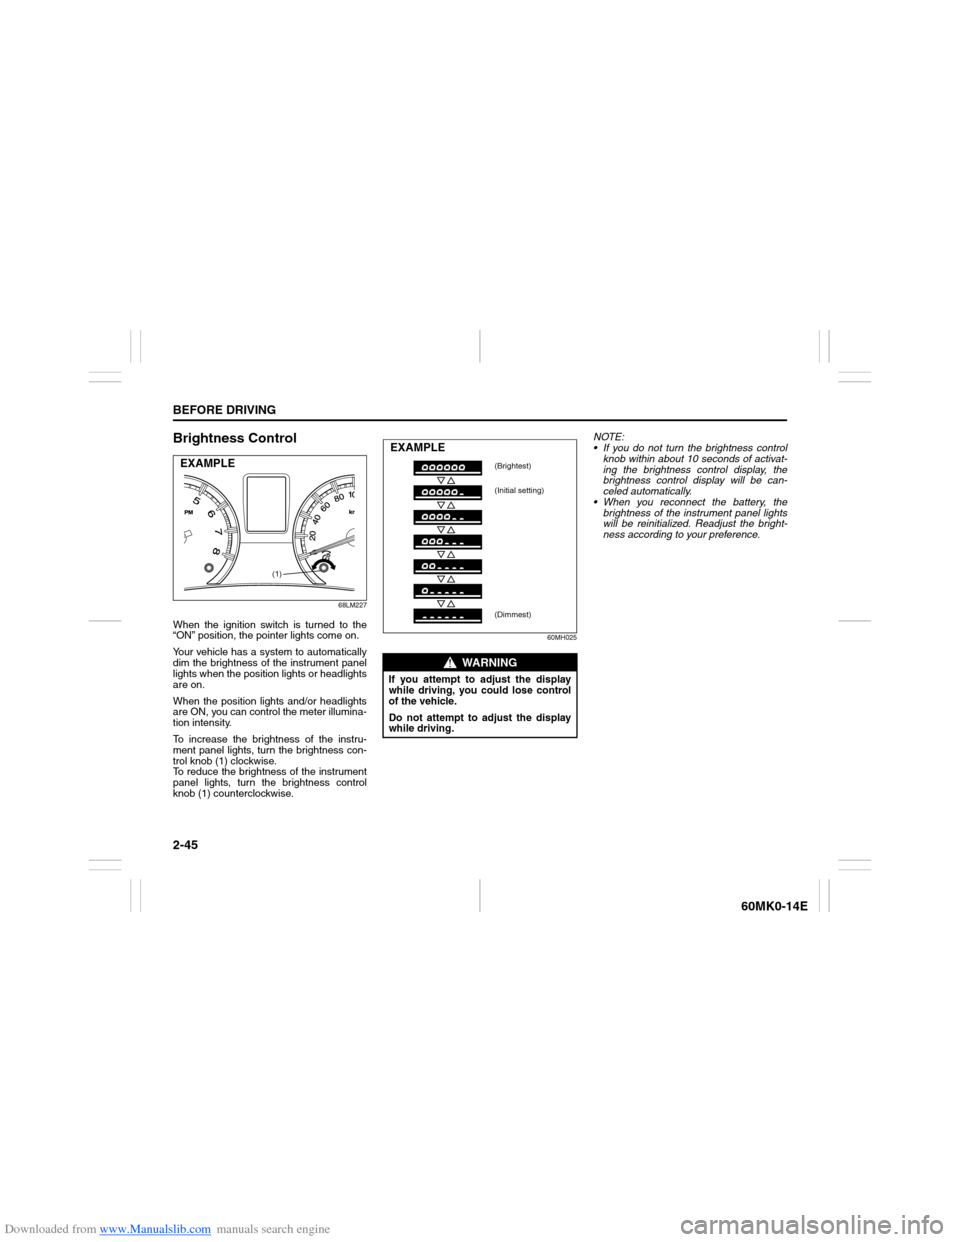
Brightness Control
68LM227
When the ignition switch is turned to the
“ON” position, the pointer lights come on.
Your vehicle has a system to automatically
dim the brightness of the instrument panel
lights when the position lights or headlights
are on.
When the position lights and/or headlights
are ON, you can control the meter illumina-
tion intensity.
To increase the brightness of the instru-
ment panel lights, turn the brightness con-
trol knob (1) clockwise.
To reduce the brightness of the instrument
panel lights, turn the brightness control
knob (1) counterclockwise.
60MH025
NOTE:
If you do not turn the brightness control
knob within about 10 seconds of activat-
ing the brightness control display, the
brightness control display will be can-
celed automatically.
When you reconnect the battery, the
brightness of the instrument panel lights
will be reinitialized. Readjust the bright-
ness according to your preference.
(1)
EXAMPLE
WARNING
If you attempt to adjust the display
while driving, you could lose control
of the vehicle.
Do not attempt to adjust the display
while driving.EXAMPLE
(Brightest)
(Initial setting)
(Dimmest)
Page 64 of 207
Downloaded from www.Manualslib.com manuals search engine 2-49BEFORE DRIVING
60MK0-14E
Average fuel consumption
If you selected average fuel consumption
the last time you drove the vehicle, the dis-
play shows the last value of average fuel
consumption from previous driving when
the ignition switch is turned to the “ON”
position. Unless you reset the value of
average fuel consumption, the display indi-
cates the value of average fuel consump-
tion which includes average fuel
consumption during previous driving.
To reset the average fuel consumption to
zero, push and hold the indicator selector
knob (2) for a while when the display
shows the average fuel consumption.
NOTE:
When you reset the indication or reconnect
the negative (–) terminal to the battery, the
value of average fuel consumption will be
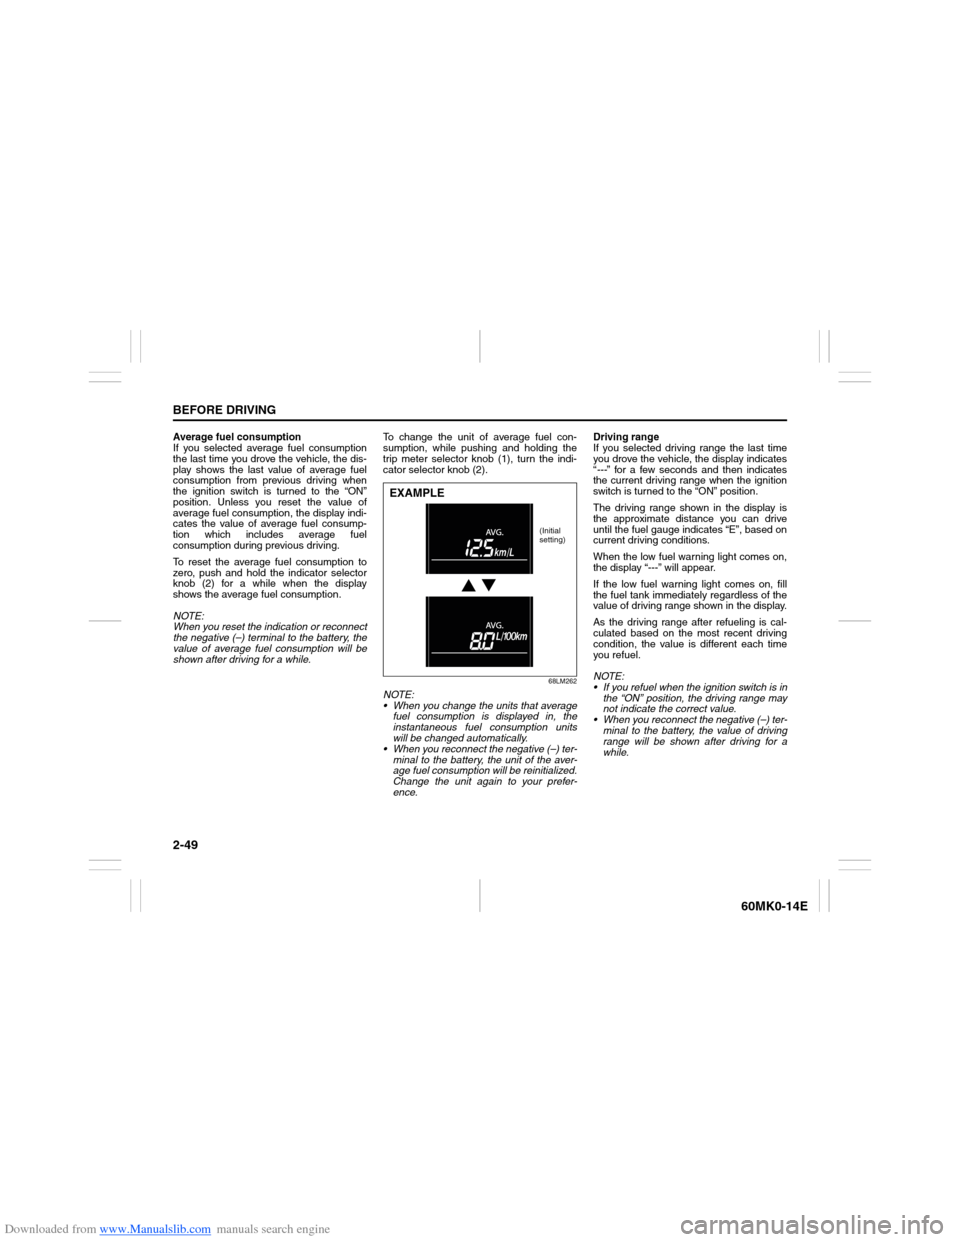
shown after driving for a while.To change the unit of average fuel con-
sumption, while pushing and holding the
trip meter selector knob (1), turn the indi-
cator selector knob (2).
68LM262
NOTE:
When you change the units that average
fuel consumption is displayed in, the
instantaneous fuel consumption units
will be changed automatically.
When you reconnect the negative (–) ter-
minal to the battery, the unit of the aver-
age fuel consumption will be reinitialized.
Change the unit again to your prefer-
ence.Driving range
If you selected driving range the last time
you drove the vehicle, the display indicates
“---” for a few seconds and then indicates
the current driving range when the ignition
switch is turned to the “ON” position.
The driving range shown in the display is
the approximate distance you can drive
until the fuel gauge indicates “E”, based on
current driving conditions.
When the low fuel warning light comes on,
the display “---” will appear.
If the low fuel warning light comes on, fill
the fuel tank immediately regardless of the
value of driving range shown in the display.
As the driving range after refueling is cal-
culated based on the most recent driving
condition, the value is different each time
you refuel.
NOTE:
If you refuel when the ignition switch is in
the “ON” position, the driving range may
not indicate the correct value.
When you reconnect the negative (–) ter-
minal to the battery, the value of driving
range will be shown after driving for a
while.EXAMPLE
(Initial
setting)
Page 65 of 207
Downloaded from www.Manualslib.com manuals search engine 2-50
BEFORE DRIVING
60MK0-14E
Odometer
When the ignition switch is in the “ON”
position, the display (D) shows the odome-
ter.
The odometer records the total distance
the vehicle has been driven.
Clock
When the ignition switch is in the “ON”
position, the display (E) shows the time.To change the time indication:
1) Push the trip meter selector knob (1)
and the indicator selector knob (2)
together.
2) To change the hour indication, turn the
indicator selector knob (2) left or right
repeatedly when the hour indication
blinks. To change the hour indication
quickly, turn and hold the indicator
selector knob (2). To set the hour indi-
cation, push the indicator selector knob
(2) and the minute indication will blink.
3) To change the minute indication, turn
the indicator selector knob (2) left or
right repeatedly when the minute indi-
cation blinks. To change the minute
indication quickly, turn and hold the
indicator selector knob (2). To set the
minute indication, push the indicator
selector knob (2).
NOTE:
When you reconnect the negative (–) ter-
minal to the battery, the clock indication will
be reinitialized. Change the indication
again to your preference.
Lighting Control Lever
65D611
NOTICE
Keep track of your odometer reading
and check the maintenance schedule
regularly for required services.
Increased wear or damage to certain
parts can result from failure to per-
form required services at the proper
mileage intervals.
WARNING
If you attempt to adjust the display
while driving, you could lose control
of the vehicle.
Do not attempt to adjust the display
while driving.
WARNING
To avoid possible injury, do not oper-
ate controls by reaching through the
steering wheel.
Page 67 of 207
Downloaded from www.Manualslib.com manuals search engine 2-52
BEFORE DRIVING
60MK0-14E
Front Fog Light Switch
(if equipped)
64J058
The front fog light comes on when the fog
light switch is pushed in with the position
lights, tail lights and/or the headlights are
on. An indicator light above the switch will
be lit when the front fog light is on.
NOTE:
In some countries the lighting operation
may be different from the above descrip-
tion according to local regulations.
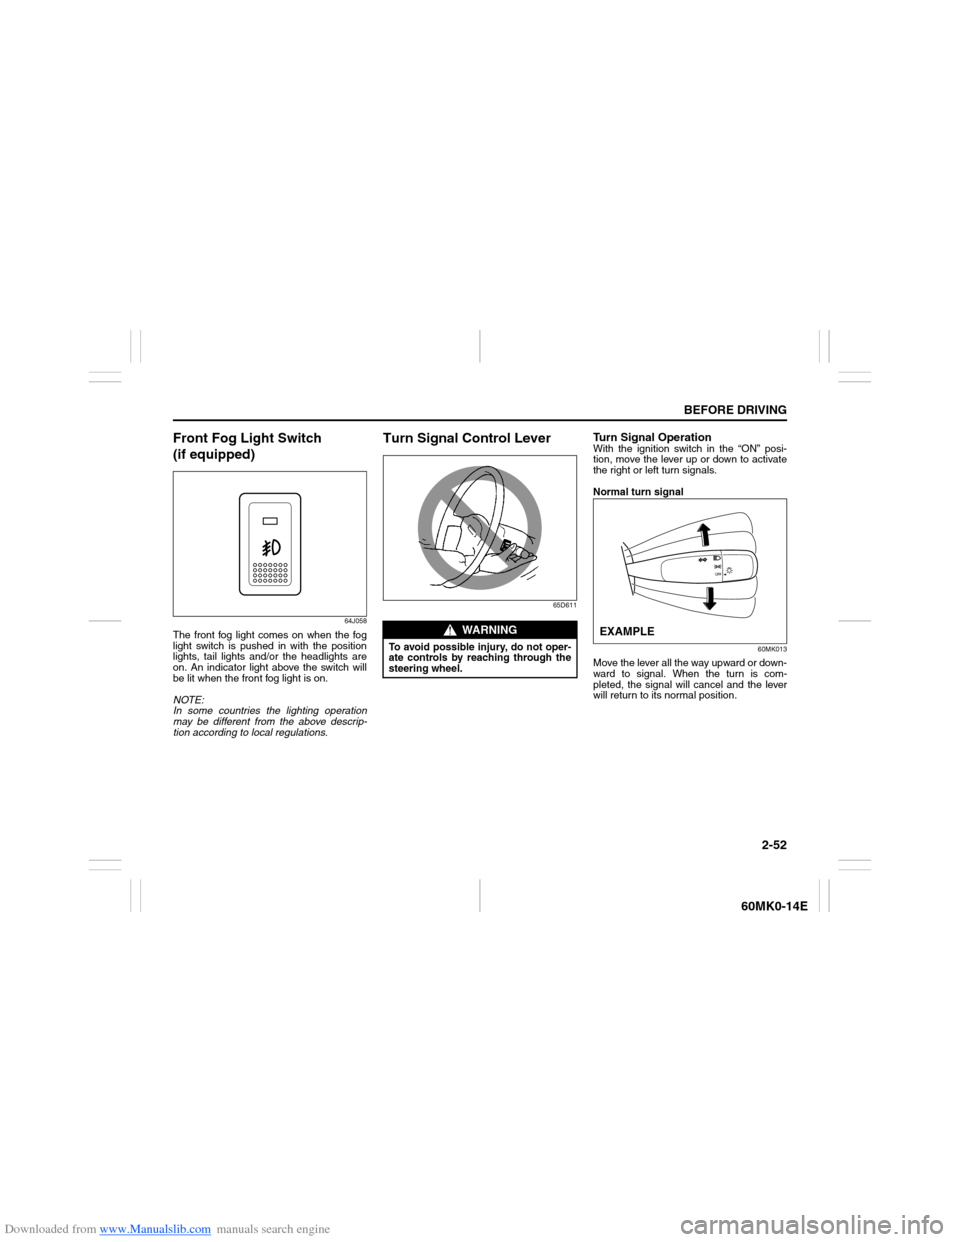
Turn Signal Control Lever
65D611
Turn Signal OperationWith the ignition switch in the “ON” posi-
tion, move the lever up or down to activate
the right or left turn signals.
Normal turn signal
60MK013
Move the lever all the way upward or down-
ward to signal. When the turn is com-
pleted, the signal will cancel and the lever
will return to its normal position.
WARNING
To avoid possible injury, do not oper-
ate controls by reaching through the
steering wheel.
EXAMPLE
Page 68 of 207
Downloaded from www.Manualslib.com manuals search engine 2-53BEFORE DRIVING
60MK0-14E
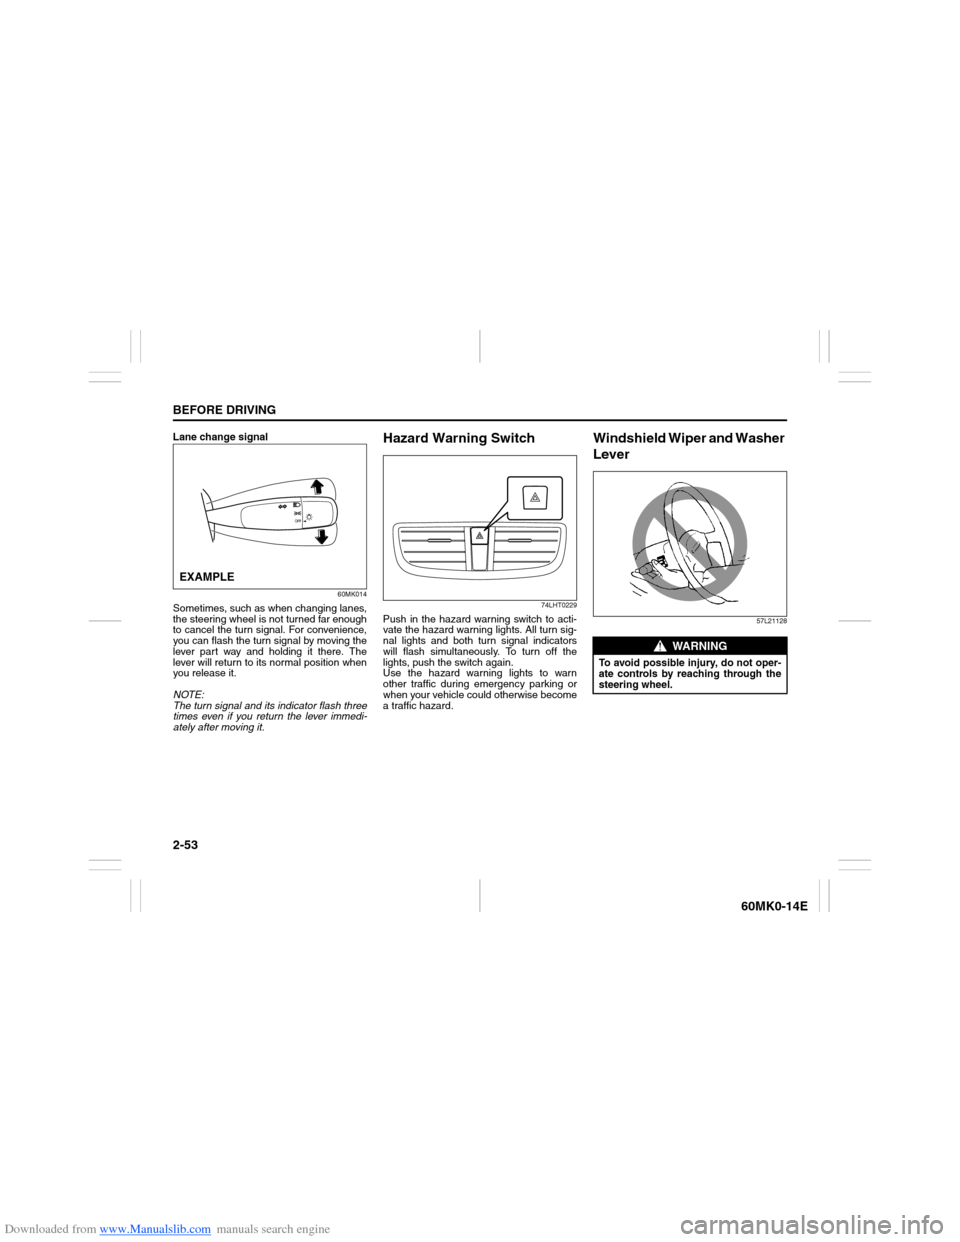
Lane change signal
60MK014
Sometimes, such as when changing lanes,
the steering wheel is not turned far enough
to cancel the turn signal. For convenience,
you can flash the turn signal by moving the
lever part way and holding it there. The
lever will return to its normal position when
you release it.
NOTE:
The turn signal and its indicator flash three
times even if you return the lever immedi-
ately after moving it.
Hazard Warning Switch
74LHT0229
Push in the hazard warning switch to acti-
vate the hazard warning lights. All turn sig-
nal lights and both turn signal indicators
will flash simultaneously. To turn off the
lights, push the switch again.
Use the hazard warning lights to warn
other traffic during emergency parking or
when your vehicle could otherwise become
a traffic hazard.
Windshield Wiper and Washer
Lever
57L21128
EXAMPLE
WARNING
To avoid possible injury, do not oper-
ate controls by reaching through the
steering wheel.
Page 69 of 207
Downloaded from www.Manualslib.com manuals search engine 2-54
BEFORE DRIVING
60MK0-14E
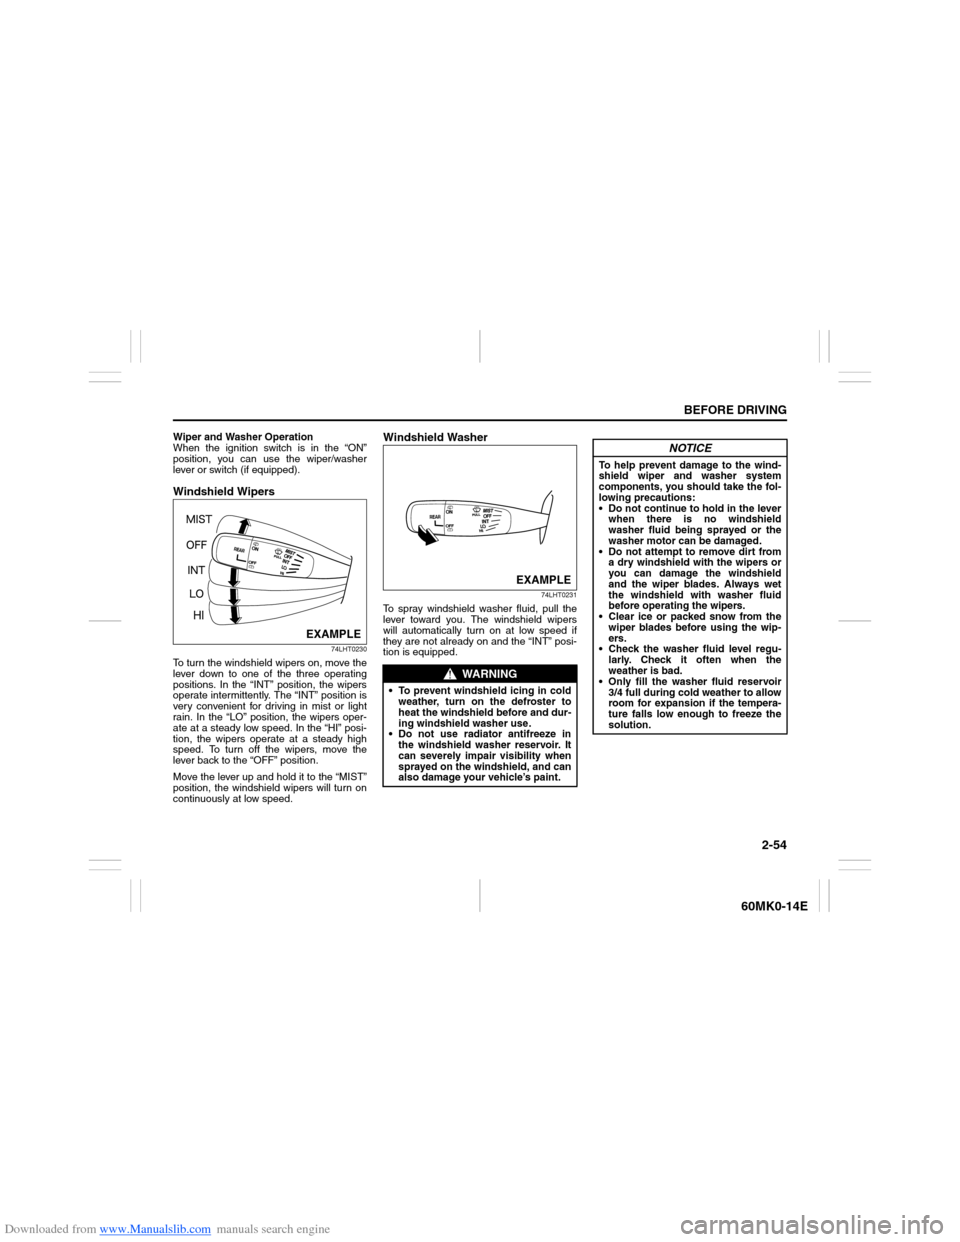
Wiper and Washer Operation
When the ignition switch is in the “ON”
position, you can use the wiper/washer
lever or switch (if equipped).Windshield Wipers
74LHT0230
To turn the windshield wipers on, move the
lever down to one of the three operating
positions. In the “INT” position, the wipers
operate intermittently. The “INT” position is
very convenient for driving in mist or light
rain. In the “LO” position, the wipers oper-
ate at a steady low speed. In the “HI” posi-
tion, the wipers operate at a steady high
speed. To turn off the wipers, move the
lever back to the “OFF” position.
Move the lever up and hold it to the “MIST”
position, the windshield wipers will turn on
continuously at low speed.
Windshield Washer
74LHT0231
To spray windshield washer fluid, pull the
lever toward you. The windshield wipers
will automatically turn on at low speed if
they are not already on and the “INT” posi-
tion is equipped.
EXAMPLE
WARNING
To prevent windshield icing in cold
weather, turn on the defroster to
heat the windshield before and dur-
ing windshield washer use.
Do not use radiator antifreeze in
the windshield washer reservoir. It
can severely impair visibility when
sprayed on the windshield, and can
also damage your vehicle’s paint.
EXAMPLE
NOTICE
To help prevent damage to the wind-
shield wiper and washer system
components, you should take the fol-
lowing precautions:
Do not continue to hold in the lever
when there is no windshield
washer fluid being sprayed or the
washer motor can be damaged.
Do not attempt to remove dirt from
a dry windshield with the wipers or
you can damage the windshield
and the wiper blades. Always wet
the windshield with washer fluid
before operating the wipers.
Clear ice or packed snow from the
wiper blades before using the wip-
ers.
Check the washer fluid level regu-
larly. Check it often when the
weather is bad.
Only fill the washer fluid reservoir
3/4 full during cold weather to allow
room for expansion if the tempera-
ture falls low enough to freeze the
solution.
Page 74 of 207
Downloaded from www.Manualslib.com manuals search engine 3-1OPERATING YOUR VEHICLE
60MK0-14E
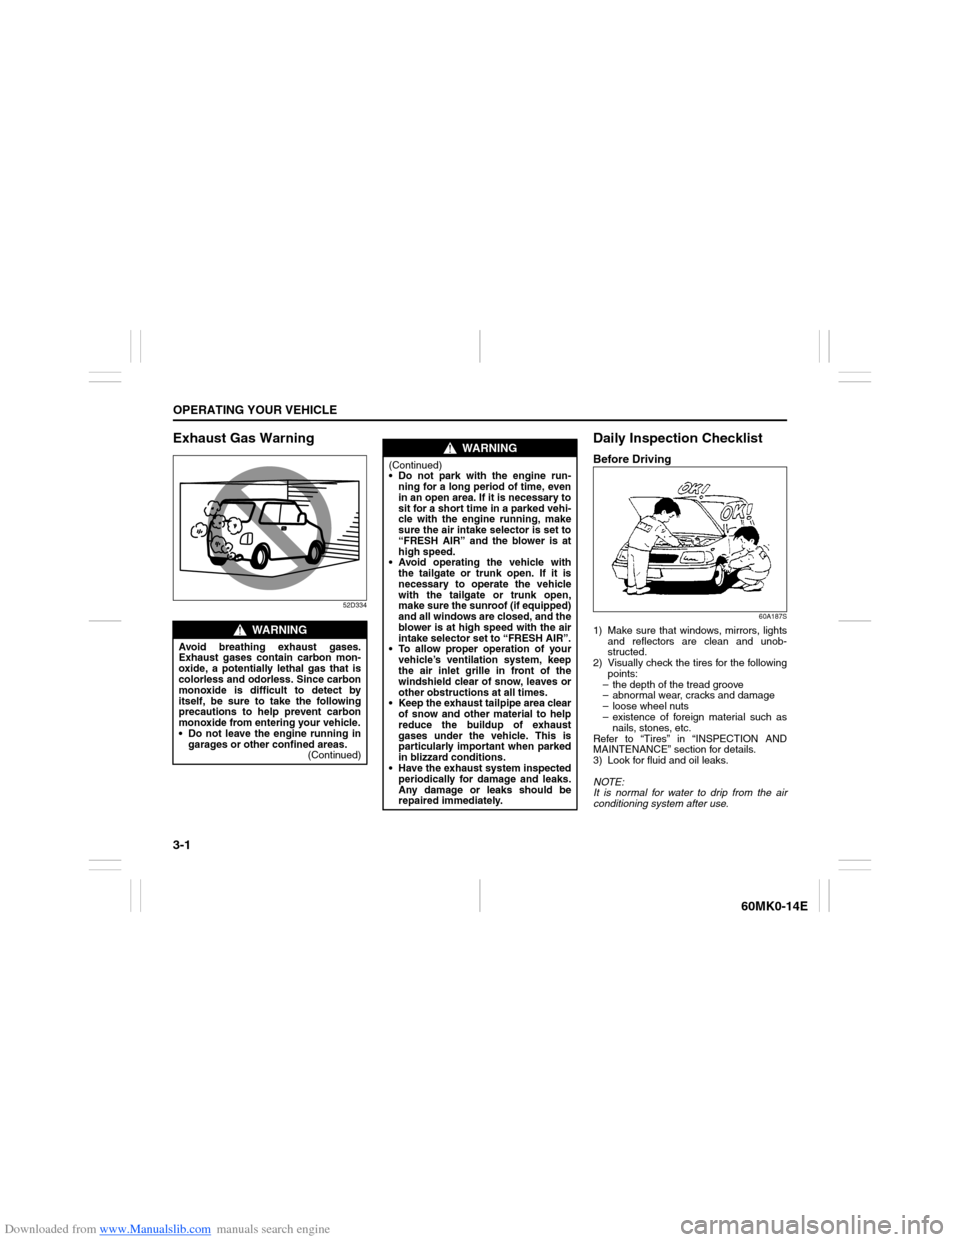
Exhaust Gas Warning
52D334
Daily Inspection ChecklistBefore Driving
60A187S
1) Make sure that windows, mirrors, lights
and reflectors are clean and unob-
structed.
2) Visually check the tires for the following
points:
– the depth of the tread groove
– abnormal wear, cracks and damage
– loose wheel nuts
– existence of foreign material such as
nails, stones, etc.
Refer to “Tires” in “INSPECTION AND
MAINTENANCE” section for details.
3) Look for fluid and oil leaks.
NOTE:
It is normal for water to drip from the air
conditioning system after use.
WARNING
Avoid breathing exhaust gases.
Exhaust gases contain carbon mon-
oxide, a potentially lethal gas that is
colorless and odorless. Since carbon
monoxide is difficult to detect by
itself, be sure to take the following
precautions to help prevent carbon
monoxide from entering your vehicle.
Do not leave the engine running in
garages or other confined areas.
(Continued)
WARNING
(Continued)
Do not park with the engine run-
ning for a long period of time, even
in an open area. If it is necessary to
sit for a short time in a parked vehi-
cle with the engine running, make
sure the air intake selector is set to
“FRESH AIR” and the blower is at
high speed.
Avoid operating the vehicle with
the tailgate or trunk open. If it is
necessary to operate the vehicle
with the tailgate or trunk open,
make sure the sunroof (if equipped)
and all windows are closed, and the
blower is at high speed with the air
intake selector set to “FRESH AIR”.
To allow proper operation of your
vehicle’s ventilation system, keep
the air inlet grille in front of the
windshield clear of snow, leaves or
other obstructions at all times.
Keep the exhaust tailpipe area clear
of snow and other material to help
reduce the buildup of exhaust
gases under the vehicle. This is
particularly important when parked
in blizzard conditions.
Have the exhaust system inspected
periodically for damage and leaks.
Any damage or leaks should be
repaired immediately.