flat SUZUKI FORENZA 2008 1.G User Guide
[x] Cancel search | Manufacturer: SUZUKI, Model Year: 2008, Model line: FORENZA, Model: SUZUKI FORENZA 2008 1.GPages: 226, PDF Size: 5.25 MB
Page 47 of 226
1-35SEATS AND RESTRAINT SYSTEMS
85Z04-03E
Replacing Restraint System Parts
After a CrashIf you’ve had a crash, do you need new
belts or LATCH system parts?
If belts are cut or damaged, replace them.
Collision damage also may mean you will
need to have LATCH system, safety belt or
seat parts repaired or replaced. New parts
and repairs may be necessary even if the
belt or LATCH system wasn’t being used at
the time of the collision.
If the frontal air bags inflate, you will also
need to replace the driver’s and right front
passenger’s safety belt pretensioners and
safety belts. Be sure to do so. Then the
new pretensioners and safety belts will be
there to help protect you in a collision.
If your vehicle is equipped with side air
bags, the front seat assembly must bereplaced after the side air bag has been
deployed.
If an air bag inflates, you’ll need to replace
air bag system parts.
WARNING
A crash can damage the restraint
systems in your vehicle. A damaged
restraint system may not properly
protect the person using it, resulting
in serious injury or even death in a
crash. To help make sure your
restraint systems are working prop-
erly after a crash, have them
inspected and any necessary
replacements made as soon as pos-
sible.
Restraint System Check:
Page 69 of 226
2-21FEATURES AND CONTROLS
85Z04-03E
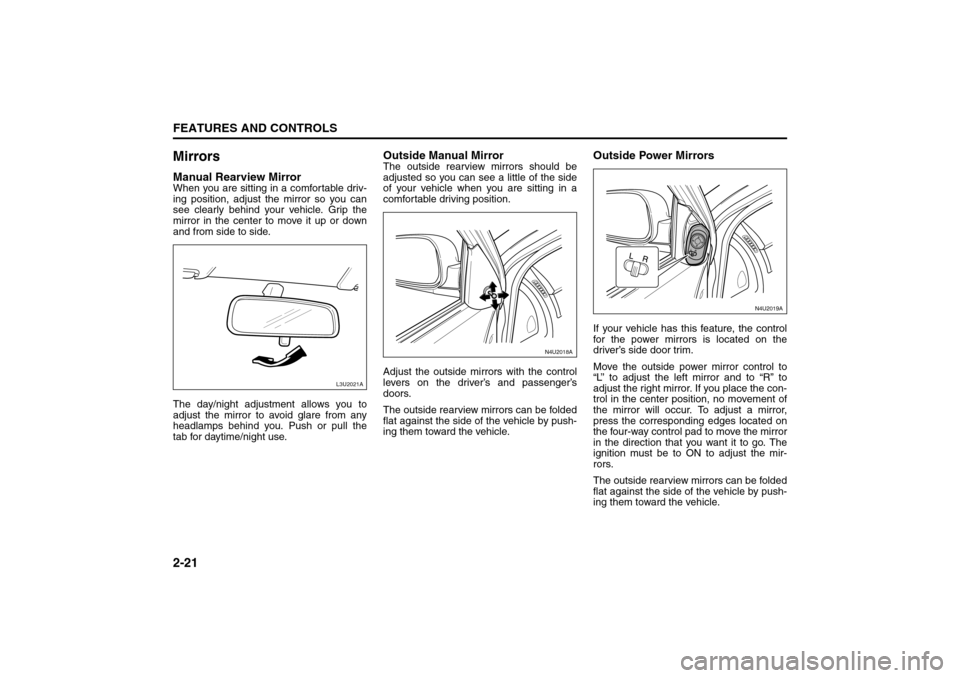
MirrorsManual Rearview MirrorWhen you are sitting in a comfortable driv-
ing position, adjust the mirror so you can
see clearly behind your vehicle. Grip the
mirror in the center to move it up or down
and from side to side.
The day/night adjustment allows you to
adjust the mirror to avoid glare from any
headlamps behind you. Push or pull the
tab for daytime/night use.
Outside Manual MirrorThe outside rearview mirrors should be
adjusted so you can see a little of the side
of your vehicle when you are sitting in a
comfortable driving position.
Adjust the outside mirrors with the control
levers on the driver’s and passenger’s
doors.
The outside rearview mirrors can be folded
flat against the side of the vehicle by push-
ing them toward the vehicle.
Outside Power MirrorsIf your vehicle has this feature, the control
for the power mirrors is located on the
driver’s side door trim.
Move the outside power mirror control to
“L” to adjust the left mirror and to “R” to
adjust the right mirror. If you place the con-
trol in the center position, no movement of
the mirror will occur. To adjust a mirror,
press the corresponding edges located on
the four-way control pad to move the mirror
in the direction that you want it to go. The
ignition must be to ON to adjust the mir-
rors.
The outside rearview mirrors can be folded
flat against the side of the vehicle by push-
ing them toward the vehicle.
L3U2021A
N4U2018A
N4U2019A
Mirrors:
Page 96 of 226
3-20
INSTRUMENT PANEL
85Z04-03E
Air Bag Readiness LightThere is an air bag readiness light on the
instrument panel. The air bag readiness
system checks the air bag’s electrical sys-
tem for malfunctions. The light tells you if
there is an electrical problem. The system
check includes the air bag sensor, the air
bag modules, the wiring and the crash
sensing and diagnostic module. For more
information on the air bag system, see “Air
Bag Systems” in section 1.
This light will come on when you start your
vehicle, and it will flash for a few seconds.
Then the light should go out. This means
the system is ready.If the air bag readiness light stays on after
you start the vehicle or comes on or
flashes when you are driving, the air bag
system may not work properly. Have your
vehicle serviced right away.
The air bag readiness light should be illu-
minated for a few seconds when you turn
the ignition key to ON. If the light doesn’t
come on then, have it fixed so it will be
ready to warn you if there is a problem.
Charging System LightThe charging system light will come on
when you turn on the ignition, and the
engine is not running, as a check to show
you it is working.
When the engine is running, the light
should go out.
If it stays on, or comes on while you are
driving, you may have a problem with the
electrical charging system. It could indicate
that you have a loose generator drive belt,
or another electrical problem. Have it
checked right away. Driving while this light
is on could drain your battery.
If you must drive a short distance with the
light on, be certain to turn off all your
accessories, such as the radio and air con-
ditioner.
WARNING
It is absolutely essential that the
driver and passengers wear their
safety belts at all times. Persons who
are not wearing safety belts have a
much greater risk of injury if an acci-
dent occurs. Make a regular habit of
buckling your safety belt before put-
ting the key in the ignition.
S4U3042A
WARNING
If the air bag readiness light stays on
after you start your vehicle, it means
the air bag system may not be work-
ing properly. The air bags in your
vehicle may not inflate in a crash, or
they could even inflate without a
crash. To help avoid injury to yourself
or others, have your vehicle serviced
right away if the air bag readiness
light stays on after you start your
vehicle.
Warning Lights, Gauges and Indicators:
Page 102 of 226
3-26
INSTRUMENT PANEL
85Z04-03E
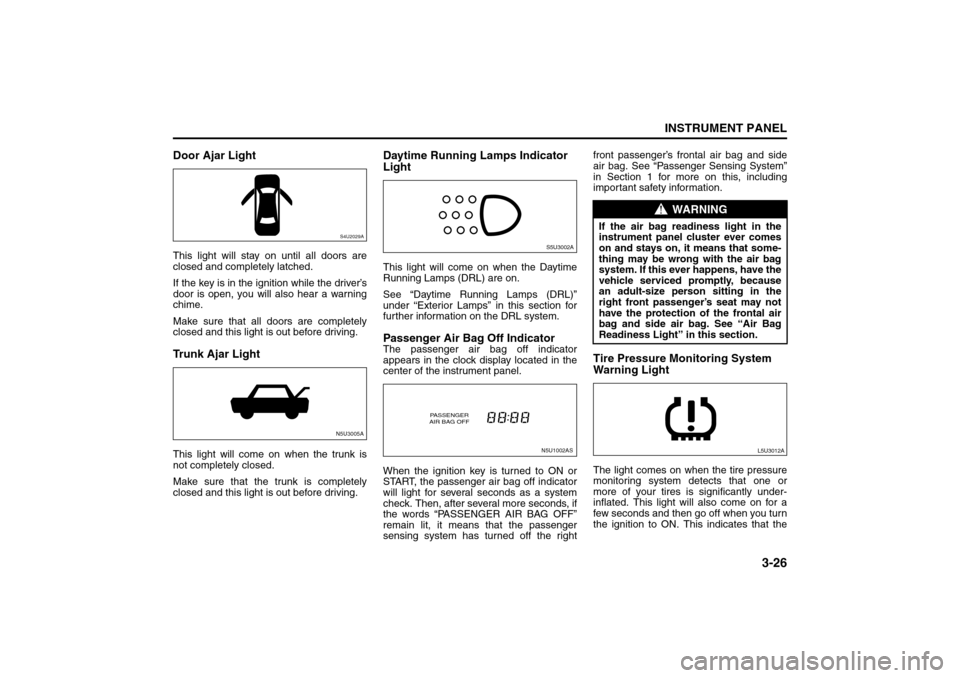
Door Ajar LightThis light will stay on until all doors are
closed and completely latched.
If the key is in the ignition while the driver’s
door is open, you will also hear a warning
chime.
Make sure that all doors are completely
closed and this light is out before driving.Trunk Ajar LightThis light will come on when the trunk is
not completely closed.
Make sure that the trunk is completely
closed and this light is out before driving.
Daytime Running Lamps Indicator
LightThis light will come on when the Daytime
Running Lamps (DRL) are on.
See “Daytime Running Lamps (DRL)”
under “Exterior Lamps” in this section for
further information on the DRL system.Passenger Air Bag Off IndicatorThe passenger air bag off indicator
appears in the clock display located in the
center of the instrument panel.
When the ignition key is turned to ON or
START, the passenger air bag off indicator
will light for several seconds as a system
check. Then, after several more seconds, if
the words “PASSENGER AIR BAG OFF”
remain lit, it means that the passenger
sensing system has turned off the rightfront passenger’s frontal air bag and side
air bag. See “Passenger Sensing System”
in Section 1 for more on this, including
important safety information.
Tire Pressure Monitoring System
Warning LightThe light comes on when the tire pressure
monitoring system detects that one or
more of your tires is significantly under-
inflated. This light will also come on for a
few seconds and then go off when you turn
the ignition to ON. This indicates that the
S4U2029AN5U3005A
S5U3002AN5U1002AS
PASSENGER
AIR BAG OFF
WARNING
If the air bag readiness light in the
instrument panel cluster ever comes
on and stays on, it means that some-
thing may be wrong with the air bag
system. If this ever happens, have the
vehicle serviced promptly, because
an adult-size person sitting in the
right front passenger’s seat may not
have the protection of the frontal air
bag and side air bag. See “Air Bag
Readiness Light” in this section.
L5U3012A
Warning Lights, Gauges and Indicators:
Audio System:
Page 103 of 226
3-27INSTRUMENT PANEL
85Z04-03E
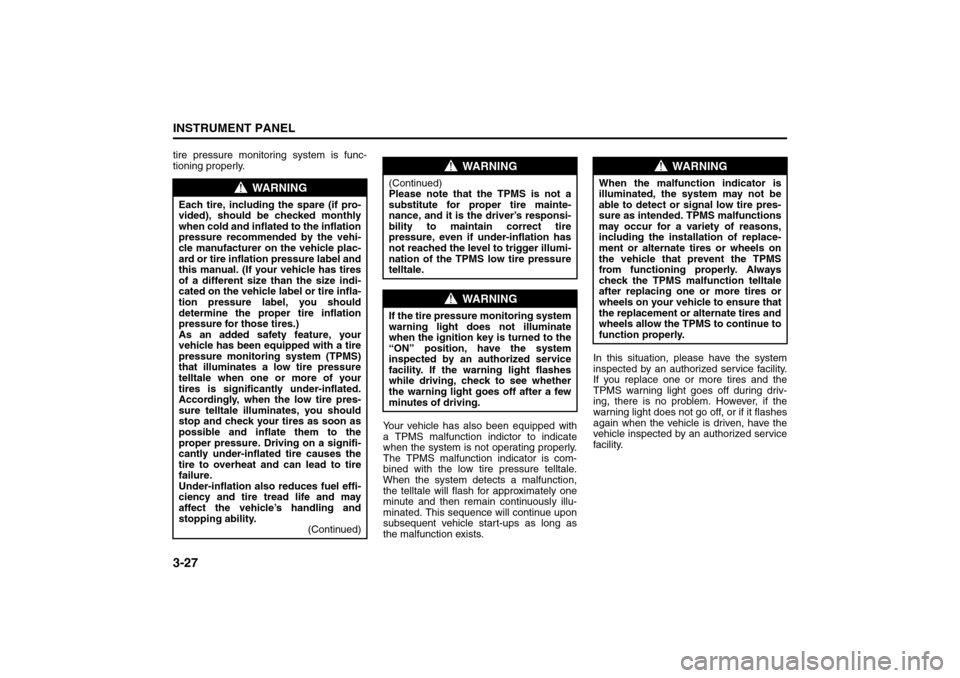
tire pressure monitoring system is func-
tioning properly.
Your vehicle has also been equipped with
a TPMS malfunction indictor to indicate
when the system is not operating properly.
The TPMS malfunction indicator is com-
bined with the low tire pressure telltale.
When the system detects a malfunction,
the telltale will flash for approximately one
minute and then remain continuously illu-
minated. This sequence will continue upon
subsequent vehicle start-ups as long as
the malfunction exists.In this situation, please have the system
inspected by an authorized service facility.
If you replace one or more tires and the
TPMS warning light goes off during driv-
ing, there is no problem. However, if the
warning light does not go off, or if it flashes
again when the vehicle is driven, have the
vehicle inspected by an authorized service
facility.
WARNING
Each tire, including the spare (if pro-
vided), should be checked monthly
when cold and inflated to the inflation
pressure recommended by the vehi-
cle manufacturer on the vehicle plac-
ard or tire inflation pressure label and
this manual. (If your vehicle has tires
of a different size than the size indi-
cated on the vehicle label or tire infla-
tion pressure label, you should
determine the proper tire inflation
pressure for those tires.)
As an added safety feature, your
vehicle has been equipped with a tire
pressure monitoring system (TPMS)
that illuminates a low tire pressure
telltale when one or more of your
tires is significantly under-inflated.
Accordingly, when the low tire pres-
sure telltale illuminates, you should
stop and check your tires as soon as
possible and inflate them to the
proper pressure. Driving on a signifi-
cantly under-inflated tire causes the
tire to overheat and can lead to tire
failure.
Under-inflation also reduces fuel effi-
ciency and tire tread life and may
affect the vehicle’s handling and
stopping ability.
(Continued)
WARNING
(Continued)
Please note that the TPMS is not a
substitute for proper tire mainte-
nance, and it is the driver’s responsi-
bility to maintain correct tire
pressure, even if under-inflation has
not reached the level to trigger illumi-
nation of the TPMS low tire pressure
telltale.
WARNING
If the tire pressure monitoring system
warning light does not illuminate
when the ignition key is turned to the
“ON” position, have the system
inspected by an authorized service
facility. If the warning light flashes
while driving, check to see whether
the warning light goes off after a few
minutes of driving.
WARNING
When the malfunction indicator is
illuminated, the system may not be
able to detect or signal low tire pres-
sure as intended. TPMS malfunctions
may occur for a variety of reasons,
including the installation of replace-
ment or alternate tires or wheels on
the vehicle that prevent the TPMS
from functioning properly. Always
check the TPMS malfunction telltale
after replacing one or more tires or
wheels on your vehicle to ensure that
the replacement or alternate tires and
wheels allow the TPMS to continue to
function properly.
Audio System:
Page 104 of 226
3-28
INSTRUMENT PANEL
85Z04-03E
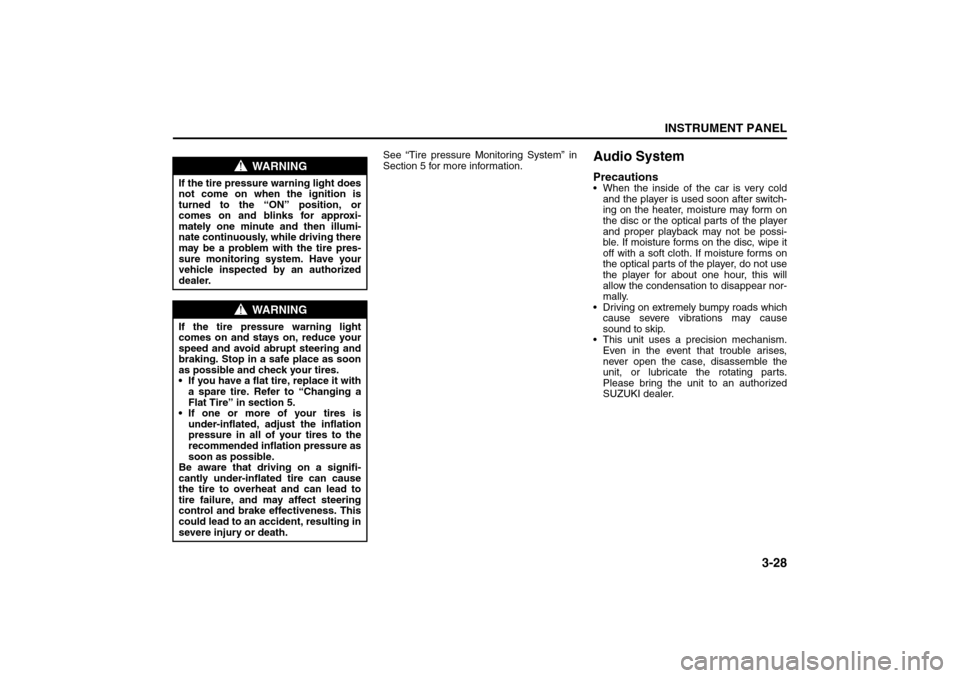
See “Tire pressure Monitoring System” in
Section 5 for more information.
Audio SystemPrecautions When the inside of the car is very cold
and the player is used soon after switch-
ing on the heater, moisture may form on
the disc or the optical parts of the player
and proper playback may not be possi-
ble. If moisture forms on the disc, wipe it
off with a soft cloth. If moisture forms on
the optical parts of the player, do not use
the player for about one hour, this will
allow the condensation to disappear nor-
mally.
Driving on extremely bumpy roads which
cause severe vibrations may cause
sound to skip.
This unit uses a precision mechanism.
Even in the event that trouble arises,
never open the case, disassemble the
unit, or lubricate the rotating parts.
Please bring the unit to an authorized
SUZUKI dealer.
WARNING
If the tire pressure warning light does
not come on when the ignition is
turned to the “ON” position, or
comes on and blinks for approxi-
mately one minute and then illumi-
nate continuously, while driving there
may be a problem with the tire pres-
sure monitoring system. Have your
vehicle inspected by an authorized
dealer.
WARNING
If the tire pressure warning light
comes on and stays on, reduce your
speed and avoid abrupt steering and
braking. Stop in a safe place as soon
as possible and check your tires.
If you have a flat tire, replace it with
a spare tire. Refer to “Changing a
Flat Tire” in section 5.
If one or more of your tires is
under-inflated, adjust the inflation
pressure in all of your tires to the
recommended inflation pressure as
soon as possible.
Be aware that driving on a signifi-
cantly under-inflated tire can cause
the tire to overheat and can lead to
tire failure, and may affect steering
control and brake effectiveness. This
could lead to an accident, resulting in
severe injury or death.
Audio System:
Page 136 of 226
4-12
DRIVING YOUR VEHICLE
85Z04-03E
Tires: They are vitally important to a
safe, trouble-free trip. Is the tread good
enough for long-distance driving? Are
the tires all inflated to the recommended
pressure?
Weather Forecasts: What’s the weather
outlook along your route? Should you
delay your trip a short time to avoid a
major storm system?
Maps: Do you have up-to-date maps?Highway HypnosisIs there actually such a condition as “high-
way hypnosis”? Or is it just plain falling
asleep at the wheel? Call it highway hyp-
nosis, lack of awareness, or whatever.
There is something about an easy stretch
of road with the same scenery, along with
the hum of the tires on the road, the drone
of the engine, and the rush of the wind
against the vehicle that can make you
sleepy. Don’t let it happen to you! If it does,
your vehicle can leave the road in less than
a second, and you could crash and be
injured.
What can you do about highway hypnosis?
First, be aware that it can happen.
Then here are some tips:
Make sure your vehicle is well ventilated,
with a comfortably cool interior.
Keep your eyes moving. Scan the road
ahead and to the sides. Check your rear-
view mirrors and your instruments fre-
quently. If you get sleepy, pull off the road into a
rest, service or parking area and take a
nap, get some exercise, or both. For
safety, treat drowsiness on the highway
as an emergency.
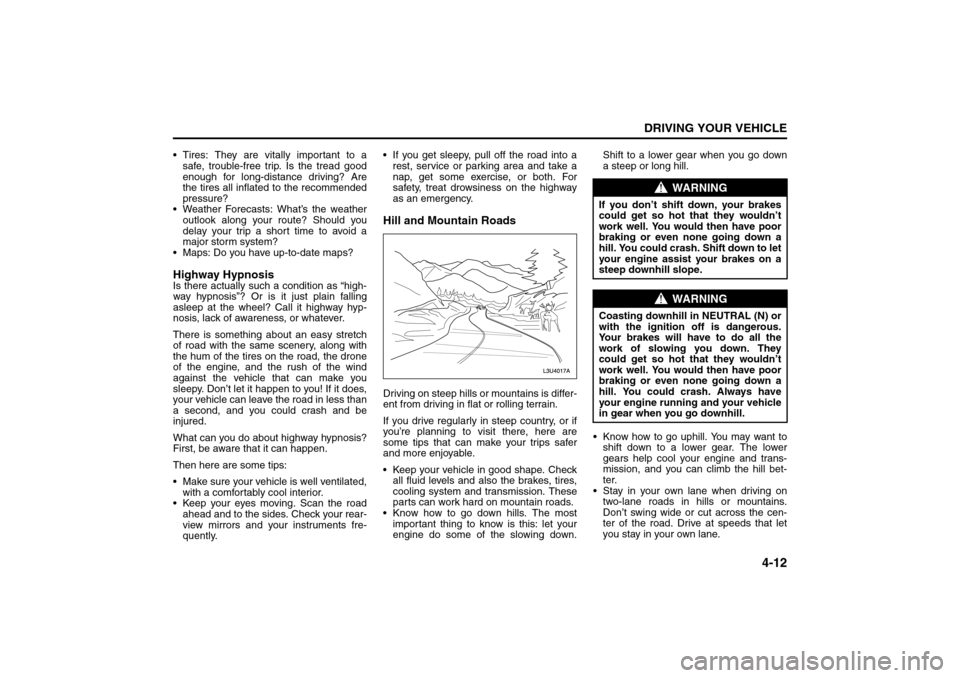
Hill and Mountain RoadsDriving on steep hills or mountains is differ-
ent from driving in flat or rolling terrain.
If you drive regularly in steep country, or if
you’re planning to visit there, here are
some tips that can make your trips safer
and more enjoyable.
Keep your vehicle in good shape. Check
all fluid levels and also the brakes, tires,
cooling system and transmission. These
parts can work hard on mountain roads.
Know how to go down hills. The most
important thing to know is this: let your
engine do some of the slowing down.Shift to a lower gear when you go down
a steep or long hill.
Know how to go uphill. You may want to
shift down to a lower gear. The lower
gears help cool your engine and trans-
mission, and you can climb the hill bet-
ter.
Stay in your own lane when driving on
two-lane roads in hills or mountains.
Don’t swing wide or cut across the cen-
ter of the road. Drive at speeds that let
you stay in your own lane.
WARNING
If you don’t shift down, your brakes
could get so hot that they wouldn’t
work well. You would then have poor
braking or even none going down a
hill. You could crash. Shift down to let
your engine assist your brakes on a
steep downhill slope.
WARNING
Coasting downhill in NEUTRAL (N) or
with the ignition off is dangerous.
Your brakes will have to do all the
work of slowing you down. They
could get so hot that they wouldn’t
work well. You would then have poor
braking or even none going down a
hill. You could crash. Always have
your engine running and your vehicle
in gear when you go downhill.
Your Driving, the Road, and Your Vehicle:
Page 141 of 226
4-17DRIVING YOUR VEHICLE
85Z04-03E
and shift to NEUTRAL (N). See “Shift-
ing Out of Park (P)” in Section 2.
5) Clamp the steering wheel in a straight-
ahead position with a clamping device
designed for towing.
6) Release the parking brake.
Loading Your VehicleIt is very important to know how much
weight your vehicle can carry. The load
capacities of your vehicle are indicated by
the Gross Vehicle Weight Rating (GVWR),
the Gross Axle Weight Rating (GAWR,
front and rear), the total load capacity, the
seating capacity, and the cargo load
capacity. The GVWR and GAWR (front and
rear) are listed on the Safety Certification
Label which is located below the driver’s
side door latch striker. The total load
capacity and seating capacity are listed on
the Tire and Loading Information Label
which is located on the center pillar, near
the driver’s door latch.
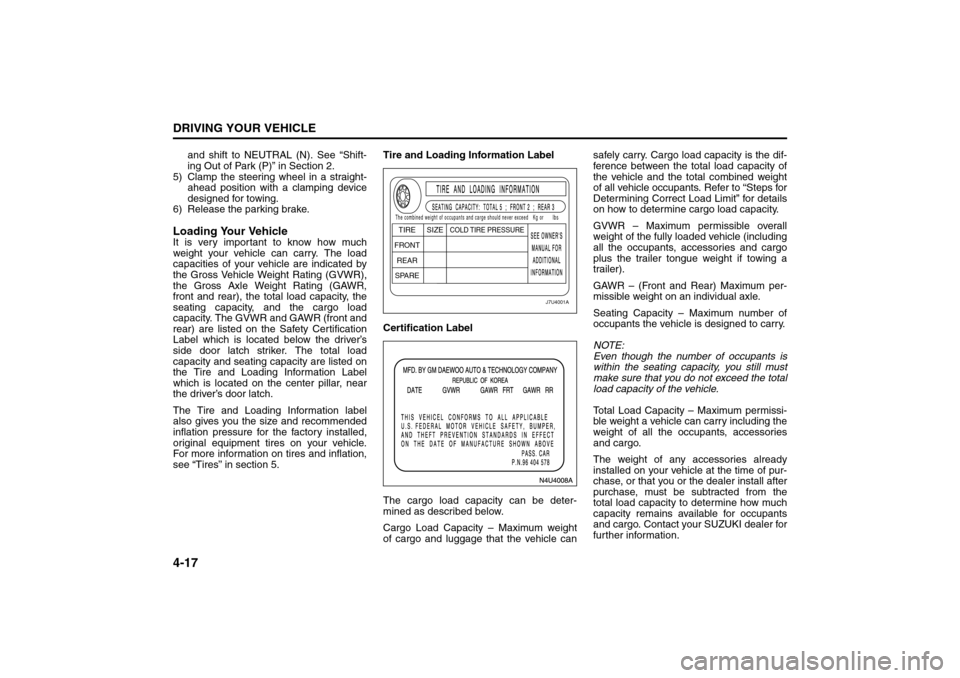
The Tire and Loading Information label
also gives you the size and recommended
inflation pressure for the factory installed,
original equipment tires on your vehicle.
For more information on tires and inflation,
see “Tires” in section 5.Tire and Loading Information Label
Certification Label
The cargo load capacity can be deter-
mined as described below.
Cargo Load Capacity – Maximum weight
of cargo and luggage that the vehicle cansafely carry. Cargo load capacity is the dif-
ference between the total load capacity of
the vehicle and the total combined weight
of all vehicle occupants. Refer to “Steps for
Determining Correct Load Limit” for details
on how to determine cargo load capacity.
GVWR – Maximum permissible overall
weight of the fully loaded vehicle (including
all the occupants, accessories and cargo
plus the trailer tongue weight if towing a
trailer).
GAWR – (Front and Rear) Maximum per-
missible weight on an individual axle.
Seating Capacity – Maximum number of
occupants the vehicle is designed to carry.
NOTE:
Even though the number of occupants is
within the seating capacity, you still must
make sure that you do not exceed the total
load capacity of the vehicle.
Total Load Capacity – Maximum permissi-
ble weight a vehicle can carry including the
weight of all the occupants, accessories
and cargo.
The weight of any accessories already
installed on your vehicle at the time of pur-
chase, or that you or the dealer install after
purchase, must be subtracted from the
total load capacity to determine how much
capacity remains available for occupants
and cargo. Contact your SUZUKI dealer for
further information.
J7U4001A
TIRE
SIZE
COLD TIRE PRESSURE
FRONT
REAR
SPAREThe combined weight of occupants and carge should never exceedKg or lbs
Towing:
Page 143 of 226
4-19DRIVING YOUR VEHICLE
85Z04-03E
Determining Compatibility of Tire and
Vehicle Load Limits
The tires on your vehicle, when they are
inflated to the recommended tire inflation
pressure, have a load-carrying capacity
that is greater than the load that will be onthe tires when the vehicle is at its GVWR
or GAWR limit. Never use replacement
tires that have a load-carrying capacity
less than the original tires on your vehicle.
Tire load-carrying capacity information is
molded into the tire sidewall typically
shown as “Max. Load”. Use of replacement
tires with a lower load-carrying capacity
than the original tires, or failure to keep the
tires inflated to recommended tire pres-
sure, may reduce the GVWR or GAWR
limit of your vehicle.
NOTE:
Use of replacement tires with a higher
load-carrying capacity than the original
tires, or using a tire inflation pressure
higher than the recommended tire inflation
pressure, will not increase the GVWR or
GAWR limit of your vehicle.
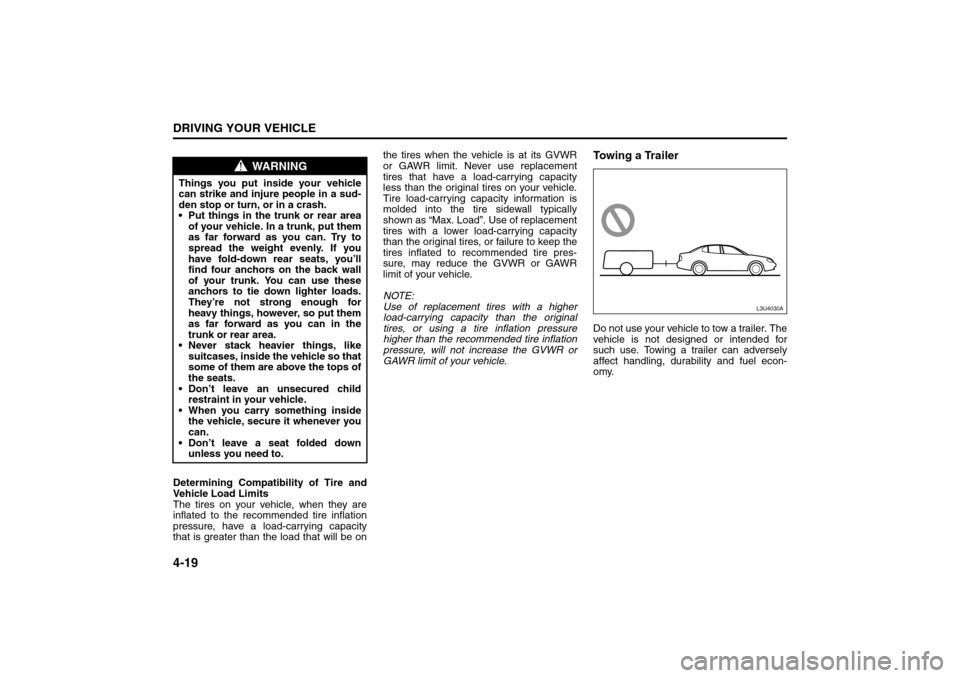
Towing a TrailerDo not use your vehicle to tow a trailer. The
vehicle is not designed or intended for
such use. Towing a trailer can adversely
affect handling, durability and fuel econ-
omy.
WARNING
Things you put inside your vehicle
can strike and injure people in a sud-
den stop or turn, or in a crash.
Put things in the trunk or rear area
of your vehicle. In a trunk, put them
as far forward as you can. Try to
spread the weight evenly. If you
have fold-down rear seats, you’ll
find four anchors on the back wall
of your trunk. You can use these
anchors to tie down lighter loads.
They’re not strong enough for
heavy things, however, so put them
as far forward as you can in the
trunk or rear area.
Never stack heavier things, like
suitcases, inside the vehicle so that
some of them are above the tops of
the seats.
Don’t leave an unsecured child
restraint in your vehicle.
When you carry something inside
the vehicle, secure it whenever you
can.
Don’t leave a seat folded down
unless you need to.
L3U4030A
Towing:
Page 170 of 226
5-26
SERVICE AND APPEARANCE CARE
85Z04-03E
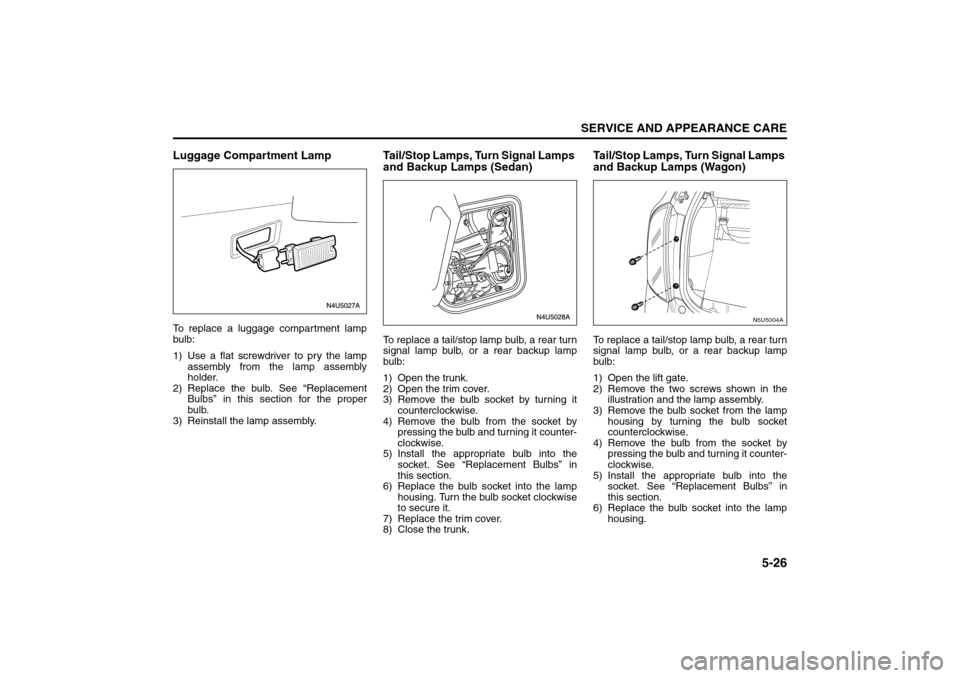
Luggage Compartment LampTo replace a luggage compartment lamp
bulb:
1) Use a flat screwdriver to pry the lamp
assembly from the lamp assembly
holder.
2) Replace the bulb. See “Replacement
Bulbs” in this section for the proper
bulb.
3) Reinstall the lamp assembly.
Tail/Stop Lamps, Turn Signal Lamps
and Backup Lamps (Sedan)To replace a tail/stop lamp bulb, a rear turn
signal lamp bulb, or a rear backup lamp
bulb:
1) Open the trunk.
2) Open the trim cover.
3) Remove the bulb socket by turning it
counterclockwise.
4) Remove the bulb from the socket by
pressing the bulb and turning it counter-
clockwise.
5) Install the appropriate bulb into the
socket. See “Replacement Bulbs” in
this section.
6) Replace the bulb socket into the lamp
housing. Turn the bulb socket clockwise
to secure it.
7) Replace the trim cover.
8) Close the trunk.
Tail/Stop Lamps, Turn Signal Lamps
and Backup Lamps (Wagon)To replace a tail/stop lamp bulb, a rear turn
signal lamp bulb, or a rear backup lamp
bulb:
1) Open the lift gate.
2) Remove the two screws shown in the
illustration and the lamp assembly.
3) Remove the bulb socket from the lamp
housing by turning the bulb socket
counterclockwise.
4) Remove the bulb from the socket by
pressing the bulb and turning it counter-
clockwise.
5) Install the appropriate bulb into the
socket. See “Replacement Bulbs” in
this section.
6) Replace the bulb socket into the lamp
housing.
N5U5004A
Bulb Replacement: