oil temperature SUZUKI GRAND VITARA 2008 3.G Owners Manual
[x] Cancel search | Manufacturer: SUZUKI, Model Year: 2008, Model line: GRAND VITARA, Model: SUZUKI GRAND VITARA 2008 3.GPages: 290, PDF Size: 4.99 MB
Page 103 of 290
4-28
INSTRUMENT PANEL
66J22-03E
64J074
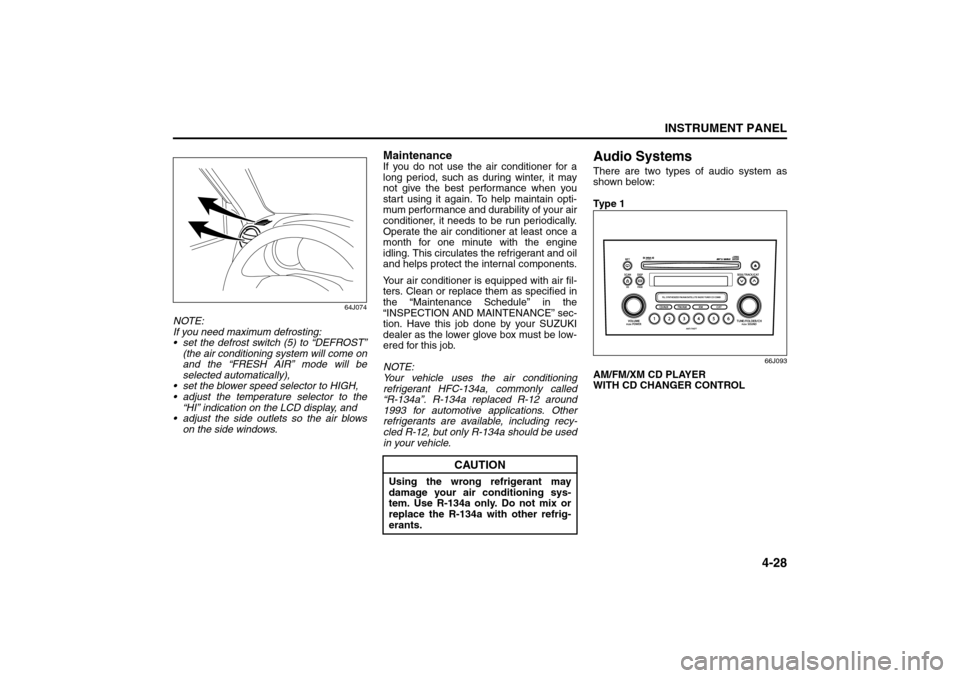
NOTE:
If you need maximum defrosting:
set the defrost switch (5) to “DEFROST”
(the air conditioning system will come on
and the “FRESH AIR” mode will be
selected automatically),
set the blower speed selector to HIGH,
adjust the temperature selector to the
“HI” indication on the LCD display, and
adjust the side outlets so the air blows
on the side windows.
MaintenanceIf you do not use the air conditioner for a
long period, such as during winter, it may
not give the best performance when you
start using it again. To help maintain opti-
mum performance and durability of your air
conditioner, it needs to be run periodically.
Operate the air conditioner at least once a
month for one minute with the engine
idling. This circulates the refrigerant and oil
and helps protect the internal components.
Your air conditioner is equipped with air fil-
ters. Clean or replace them as specified in
the “Maintenance Schedule” in the
“INSPECTION AND MAINTENANCE” sec-
tion. Have this job done by your SUZUKI
dealer as the lower glove box must be low-
ered for this job.
NOTE:
Your vehicle uses the air conditioning
refrigerant HFC-134a, commonly called
“R-134a”. R-134a replaced R-12 around
1993 for automotive applications. Other
refrigerants are available, including recy-
cled R-12, but only R-134a should be used
in your vehicle.
Audio SystemsThere are two types of audio system as
shown below:
Ty p e 1
66J093
AM/FM/XM CD PLAYER
WITH CD CHANGER CONTROL
CAUTION
Using the wrong refrigerant may
damage your air conditioning sys-
tem. Use R-134a only. Do not mix or
replace the R-134a with other refrig-
erants.
Heating and Air Conditioning System: 4
Audio Systems:
Page 216 of 290

9-9INSPECTION AND MAINTENANCE
66J22-03E
Drive BeltMake sure the drive belt tension is correct.
If the belt is too loose, insufficient battery
charging, engine overheating, poor power
steering, poor air conditioning or excessive
belt wear can result. When you press the
belt with your thumb midway between the
pulleys, there should be a deflection
according to the following chart.
The belts should also be examined to
ensure that they are not damaged.
If you need to replace or adjust the belt
have it done by your SUZUKI dealer.
52D029
Engine Oil and FilterSpecified Oil
52D083
(1) Preferred
Use engine oil with the American Petro-
leum Institute Certified For Gasoline
Engines “Starburst” symbol.
Select the appropriate oil viscosity accord-
ing to the above chart.
We highly recommend you use SAE 5W-
30 oil.
WARNING
When the engine is running, keep
hands, hair, clothing, tools, etc. away
from the moving fan and drive belts.
DEFL: 4 – 7 mm (0.16 – 0.28 in.) DEFL: 9 – 11 mm (0.35 – 0.43 in.)
PS
GE
AC
→: 100 N (22 lbs, 10 kg) press
GE: Generator
DEFL: Deflection
PS: Power steering pump
AC: Air conditioner compressor
CAUTION
Failure to use the recommended oil
can result in engine damage.C
Fo o-30
-22-20
-4-10
14 32 50 68 86 104010203040
10W-30
(1)
5W-30
Temperature
EXAMPLE
“Starburst”
Drive Belt: 1, 2
Engine Oil and Filter: 1, 2
Page 218 of 290
9-11INSPECTION AND MAINTENANCE
66J22-03E
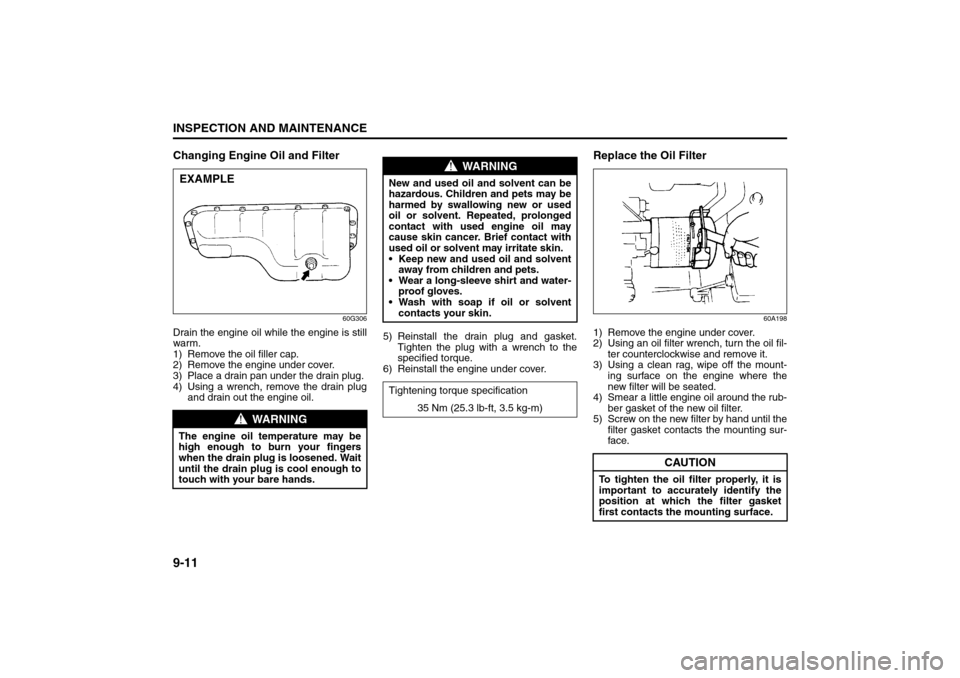
Changing Engine Oil and Filter
60G306
Drain the engine oil while the engine is still
warm.
1) Remove the oil filler cap.
2) Remove the engine under cover.
3) Place a drain pan under the drain plug.
4) Using a wrench, remove the drain plug
and drain out the engine oil.5) Reinstall the drain plug and gasket.
Tighten the plug with a wrench to the
specified torque.
6) Reinstall the engine under cover.
Replace the Oil Filter
60A198
1) Remove the engine under cover.
2) Using an oil filter wrench, turn the oil fil-
ter counterclockwise and remove it.
3) Using a clean rag, wipe off the mount-
ing surface on the engine where the
new filter will be seated.
4) Smear a little engine oil around the rub-
ber gasket of the new oil filter.
5) Screw on the new filter by hand until the
filter gasket contacts the mounting sur-
face.
WARNING
The engine oil temperature may be
high enough to burn your fingers
when the drain plug is loosened. Wait
until the drain plug is cool enough to
touch with your bare hands.EXAMPLE
WARNING
New and used oil and solvent can be
hazardous. Children and pets may be
harmed by swallowing new or used
oil or solvent. Repeated, prolonged
contact with used engine oil may
cause skin cancer. Brief contact with
used oil or solvent may irritate skin.
Keep new and used oil and solvent
away from children and pets.
Wear a long-sleeve shirt and water-
proof gloves.
Wash with soap if oil or solvent
contacts your skin.
Tightening torque specification
35 Nm (25.3 lb-ft, 3.5 kg-m)
CAUTION
To tighten the oil filter properly, it is
important to accurately identify the
position at which the filter gasket
first contacts the mounting surface.
Engine Oil and Filter: 1, 2
Page 222 of 290
9-15INSPECTION AND MAINTENANCE
66J22-03E
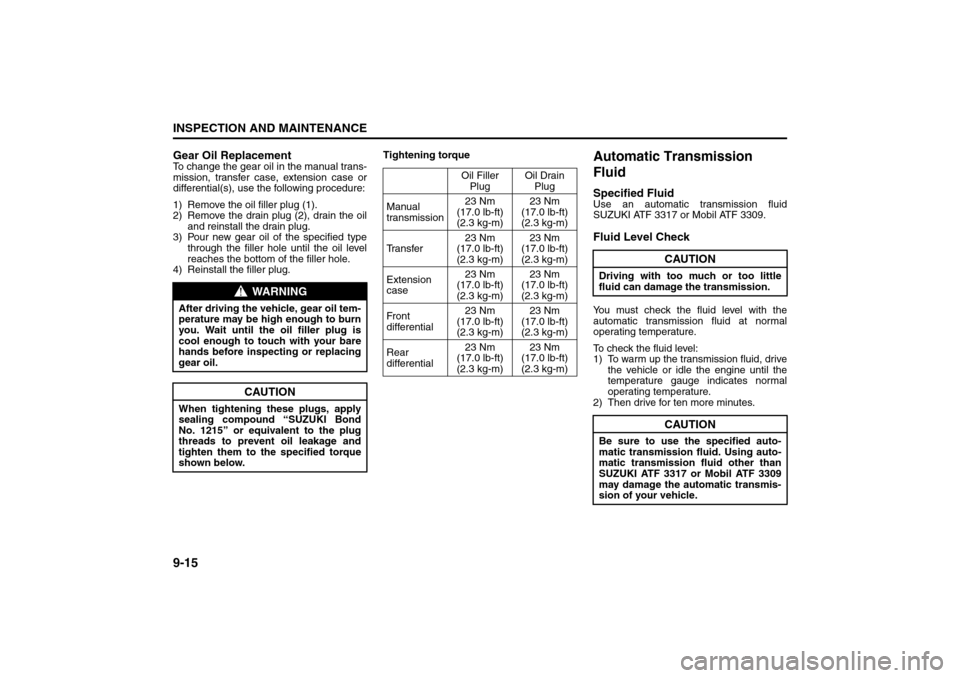
Gear Oil ReplacementTo change the gear oil in the manual trans-
mission, transfer case, extension case or
differential(s), use the following procedure:
1) Remove the oil filler plug (1).
2) Remove the drain plug (2), drain the oil
and reinstall the drain plug.
3) Pour new gear oil of the specified type
through the filler hole until the oil level
reaches the bottom of the filler hole.
4) Reinstall the filler plug.Tightening torque
Automatic Transmission
FluidSpecified FluidUse an automatic transmission fluid
SUZUKI ATF 3317 or Mobil ATF 3309.Fluid Level CheckYou must check the fluid level with the
automatic transmission fluid at normal
operating temperature.
To check the fluid level:
1) To warm up the transmission fluid, drive
the vehicle or idle the engine until the
temperature gauge indicates normal
operating temperature.
2) Then drive for ten more minutes.
WARNING
After driving the vehicle, gear oil tem-
perature may be high enough to burn
you. Wait until the oil filler plug is
cool enough to touch with your bare
hands before inspecting or replacing
gear oil.
CAUTION
When tightening these plugs, apply
sealing compound “SUZUKI Bond
No. 1215” or equivalent to the plug
threads to prevent oil leakage and
tighten them to the specified torque
shown below.
Oil Filler
PlugOil Drain
Plug
Manual
transmission23 Nm
(17.0 lb-ft)
(2.3 kg-m) 23 Nm
(17.0 lb-ft)
(2.3 kg-m)
Tr a n s f e r23 Nm
(17.0 lb-ft)
(2.3 kg-m) 23 Nm
(17.0 lb-ft)
(2.3 kg-m)
Extension
case23 Nm
(17.0 lb-ft)
(2.3 kg-m) 23 Nm
(17.0 lb-ft)
(2.3 kg-m)
Front
differential23 Nm
(17.0 lb-ft)
(2.3 kg-m) 23 Nm
(17.0 lb-ft)
(2.3 kg-m)
Rear
differential23 Nm
(17.0 lb-ft)
(2.3 kg-m) 23 Nm
(17.0 lb-ft)
(2.3 kg-m)
CAUTION
Driving with too much or too little
fluid can damage the transmission.
CAUTION
Be sure to use the specified auto-
matic transmission fluid. Using auto-
matic transmission fluid other than
SUZUKI ATF 3317 or Mobil ATF 3309
may damage the automatic transmis-
sion of your vehicle.
Automatic Transmission Fluid: 10
Engine Coolant: 1, 2
Page 260 of 290
10-5EMERGENCY SERVICE
66J22-03E
If the Engine is FloodedIf the engine is flooded with gasoline, it
may be hard to start. If this happens, press
the accelerator pedal all the way to the
floor and hold it there while cranking the
engine. (Do not operate the starter motor
for more than 15 seconds).
If the Engine OverheatsThe engine could overheat temporarily
under severe driving conditions. If the
engine coolant temperature gauge indi-
cates overheating during driving:
1) Turn off the air conditioner, if equipped.
2) Take the vehicle to a safe place and
park.
3) Let the engine run at normal idle speed
for a few minutes until the indicator is
within the normal, acceptable tempera-
ture range shown by the white band
between “H” and “C”.If the temperature indication does not
come down to within the normal, accept-
able range:
1) Turn off the engine and check that the
water pump belt and pulleys are not
damaged or slipping. If any abnormality
is found, correct it.
2) Check the coolant level in the reservoir.
If it is found to be lower than the “LOW”
line, look for leaks at the radiator, water
pump and radiator and heater hoses. If
you locate any leaks that may have
caused the overheating, do not run the
engine until these problems have been
corrected.
3) If you do not find a leak, carefully add
coolant to the reservoir and then the
radiator, if necessary. (Refer to “Engine
Coolant” in the “INSPECTION AND
MAINTENANCE” section.)
WARNING
If you see or hear escaping steam,
stop the vehicle in a safe place and
immediately turn off the engine to let
it cool. Do not open the hood when
steam is present. When the steam
can no longer be seen or heard, open
the hood to see if the coolant is still
boiling. If it is, you must wait until it
stops boiling before you proceed.
Also, be careful not to touch hot
engine parts (radiator, water hoses,
engine etc.).
If the Engine is Flooded: 2, 9
If the Engine Overheats: 2, 9
Page 264 of 290
11-1APPEARANCE CARE
66J22-03E
Corrosion PreventionIt is important to take good care of your
vehicle to protect it from corrosion.
Listed below are instructions for how to
maintain your vehicle to prevent corrosion.
Please read and follow these instructions
carefully.Important Information About Corro-
sionCommon causes of corrosion
1) Accumulation of road salt, dirt, moisture
or chemicals in hard to reach areas of
the vehicle underbody or frame.
2) Chipping, scratches and any damage to
treated or painted metal surfaces
resulting from minor accidents or
impact from stones and gravel.
Environmental conditions which accel-
erate corrosion
1) Road salt, dust control chemicals, sea
air or industrial pollution will all acceler-
ate the corrosion of metal.
2) High humidity will increase the rate of
corrosion particularly when the temper-
ature range is just above the freezing
point.
3) Moisture in certain areas of a vehicle
for an extended period of time may pro-
mote corrosion even though other body
sections may be completely dry.
4) High temperatures will cause an accel-
erated rate of corrosion to parts of thevehicle which are not well ventilated to
permit quick drying.
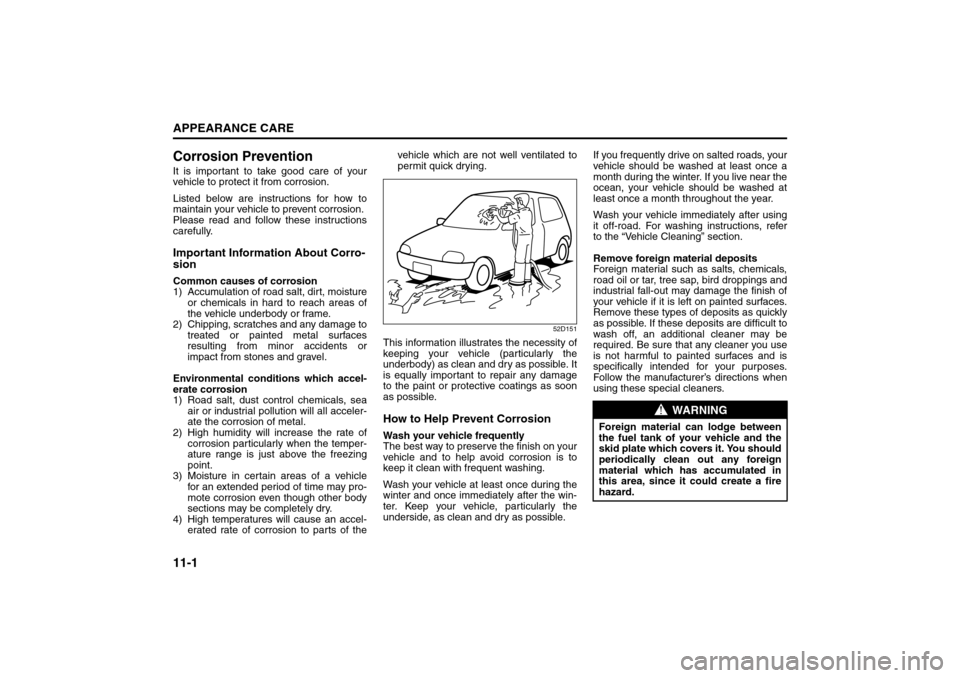
52D151
This information illustrates the necessity of
keeping your vehicle (particularly the
underbody) as clean and dry as possible. It
is equally important to repair any damage
to the paint or protective coatings as soon
as possible.How to Help Prevent CorrosionWash your vehicle frequently
The best way to preserve the finish on your
vehicle and to help avoid corrosion is to
keep it clean with frequent washing.
Wash your vehicle at least once during the
winter and once immediately after the win-
ter. Keep your vehicle, particularly the
underside, as clean and dry as possible.If you frequently drive on salted roads, your
vehicle should be washed at least once a
month during the winter. If you live near the
ocean, your vehicle should be washed at
least once a month throughout the year.
Wash your vehicle immediately after using
it off-road. For washing instructions, refer
to the “Vehicle Cleaning” section.
Remove foreign material deposits
Foreign material such as salts, chemicals,
road oil or tar, tree sap, bird droppings and
industrial fall-out may damage the finish of
your vehicle if it is left on painted surfaces.
Remove these types of deposits as quickly
as possible. If these deposits are difficult to
wash off, an additional cleaner may be
required. Be sure that any cleaner you use
is not harmful to painted surfaces and is
specifically intended for your purposes.
Follow the manufacturer’s directions when
using these special cleaners.
WARNING
Foreign material can lodge between
the fuel tank of your vehicle and the
skid plate which covers it. You should
periodically clean out any foreign
material which has accumulated in
this area, since it could create a fire
hazard.
Corrosion Prevention: 5
Page 286 of 290

15-4INDEX
66J22-03E
PParking Brake Lever
.................................................... 5-1
, 9-23
Pedals
...................................................................................5-1
Periodic Maintenance Schedule
.........................................9-3
Power Assisted Brakes
.......................................................6-16
Power Door Locking System
..............................................2-2
Power Mirror Control
...........................................................2-17
Power Steering
....................................................................9-24
Power Steering Fluid
...........................................................9-24
Power Window Controls
.....................................................2-14
RRadio Antenna
.....................................................................4-35
Rear Window Defroster and Outside Rearview Mirrors
Defroster Switch ..................................................................4-15
Rear Window Wiper/Washer Switch
..................................3-9
Refill with Oil and Check for Leaks ....................................9-12
Remote Audio Controls
............................................ 3-12
, 4-49
Replace the Oil Filter
...........................................................9-11
Replacing Tires and/or Wheels
..........................................6-24
Reporting Safety Defects
....................................................12-4
Roof Rails or Roof Rack Anchors
......................................5-23
SSafety Certification Label
...................................................12-2
Seat Adjustment
..................................................................2-17
Seat Belt Extender ...............................................................2-35
Seat Belt Inspection ............................................................2-27
Seat Belt Pretensioner System
..........................................2-36
Seat Belt Reminder
..............................................................2-24
Seat Belts and Child Restraint Systems
...........................2-20
Selection of Coolant
............................................................9-17
Shopping Hook
....................................................................5-19Shoulder anchor height adjuster
....................................... 2-26
Side Air Bags and Side Curtain Air Bags
......................... 2-40
Side Door Locks
.................................................................. 2-2
SLIP Indicator Light
.....................................................4-6
, 6-19
Snow Tires
........................................................................... 9-32
Spare Tire Nut Lock
............................................................ 2-1
Spark Plugs
......................................................................... 9-20
SPECIFICATIONS
................................................................ 14-1
Specified Fluid
.................................................................... 9-15
Specified Gear Oil ............................................................... 9-13
Specified Oil
........................................................................ 9-9
Speedometer ....................................................................... 4-11
Spot Light
............................................................................ 5-8
Stability Control System
.................................................... 6-18
Starting the Engine
............................................................. 6-2
Steering Wheel
.................................................................... 9-23
Sun Visor
............................................................................. 5-7
Sunroof
................................................................................ 5-11
Supplemental Restraint System (air bags)
....................... 2-37
TTachometer
.......................................................................... 4-13
Tailgate
................................................................................ 2-14
Temperature Gauge
............................................................ 4-14
Theft Deterrent Light .......................................................... 4-21
Thermometer
....................................................................... 4-18
Tilt Steering Lock Lever
..................................................... 3-10
Tire Chains
.......................................................................... 7-5
Tire Changing Tool
............................................................. 5-18
Tire Inflation Pressure ........................................................ 9-26
Tire Inspection
.................................................................... 9-27
Tire Pressure Monitoring System (TPMS)
........................ 6-21