Car seat SUZUKI GRAND VITARA 2012 Owner's Manual
[x] Cancel search | Manufacturer: SUZUKI, Model Year: 2012, Model line: GRAND VITARA, Model: SUZUKI GRAND VITARA 2012Pages: 337, PDF Size: 6.21 MB
Page 276 of 337
7-27INSPECTION AND MAINTENANCE
79K21-03E Tire Inflation Pressure
Tire inflation pressure should be
checked when the tire is cold. “Cold
tire inflation pressure” is the pressure
in a tire that has been driven less than
1 mile (1.6 km) or has been standing
for three hours or more.
54G307
The front, rear and spare tire pressure
specifications for your vehicle are
shown below and are listed on the Tire
and Loading Information Label, which
is located on the driver’s door lock pil-
lar. The Tire and Loading Information
Label contains the following informa-
tion:
Seating Capacity
Maximum Allowed Combined
Weight of Occupants and Cargo
Original Tire Size Recommended Cold Tire Inflation
Pressure of Original Tires
NOTE:
The tire inflation pressure will change
due to changes in atmospheric pres-
sure, temperature or tire temperature
when driving. To reduce the chance
that the low tire pressure warning light
will come on due to normal changes in
temperature and atmospheric pres-
sure, it is important to check and
adjust the tire pressures when the tires
are cold. Tires that appear to be at the
specified pressure when checked after
driving, when the tires are warm, could
have pressure below the specification
when the tires cool down. Also, tires
that are inflated to the specified pres-
sure in a warm garage may have pres-
sure below the specification when the
vehicle is driven outside in very coldtemperature. If you adjust the tire
pressure in a garage that is warmer
than the outside temperature, you
should add 1 psi to the recommended
cold tire inflation pressure for every
10°F difference between garage tem-
perature and outside temperature.
Measuring air pressure
Use the following steps to achieve
proper tire inflation:
1) Identify the recommended tire pres-
sure on the vehicle’s Tire and Load-
ing Information Label or in the
owner’s manual.
2) Remove the valve cap from the tire
valve stem.
3) Using a reliable pressure gauge,
measure the tire inflation pressure
by pressing the tire gauge firmly
onto the valve to get a pressure
measurement. Remember that
inflation pressures should be
checked when the tires are “cold”,
meaning before they have been
driven one mile or after sitting for
three hours or more allowing the
tire to cool to ambient air tempera-
ture.
4) If the air pressure is too high, slowly
release the air by pressing on the
tire valve stem with the edge of the
Recommended Cold Tire Inflation
Pressures
Front Tires230 kPa
33 psi
Rear Tires230 kPa
33 psi
Spare230 kPa
33 psi
Tires: 6
Page 282 of 337
7-33INSPECTION AND MAINTENANCE
79K21-03E
Recommended Inflation Pressure –
the cold tire inflation pressure recom-
mended by a manufacturer.
Rim – metal support for a tire or tire
and tube assembly upon which the tire
beads are seated.
Vehicle Capacity Weight – the rated
cargo and luggage load plus 68 kilo-
grams (150 lbs) times the vehicle’s
designated seating capacity.
Vehicle Maximum Load on the Tire –
the load on an individual tire that is
determined by distributing to each axle
its share of the maximum loaded vehi-
cle weight and dividing by two.
Vehicle Normal Load on the Tire – the
load on an individual tire that is deter-
mined by distributing to each axle its
share of the curb weight, accessory
weight, and normal occupant weight
(distributed in accordance with Table 1
shown below) and dividing by 2.TABLE 1 – Occupant Loading and
Distribution For Vehicle Normal
Load For Various Designated Seat-
ing Capacities
Vehicle LoadingYour vehicle was designed for specific
load capacities. The load capacities of
your vehicle are indicated by the
Gross Vehicle Weight Rating (GVWR),
the Gross Axle Weight Rating (GAWR,
front and rear), and the total load
capacity, the seating capacity, and the
cargo load capacity. The GVWR and
GAWR (front and rear) are listed on
the Safety Certification Label which is
located below the driver’s side door
latch striker. The total load capacity
and seating capacity are listed on the
Tire and Loading Information Labelwhich is located below the Safety Cer-
tification Label. The cargo load capac-
ity can be determined as described
below.
Cargo Load Capacity – Maximum
weight of cargo and luggage that the
vehicle can safely carry. Cargo load
capacity is the difference between the
total load capacity of the vehicle and
the total combined weight of all vehicle
occupants. Refer to “Steps for Deter-
mining Correct Load Limit” for details
on how to determine cargo load
capacity.
GVWR – Maximum permissible overall
weight of the fully loaded vehicle
(including all the occupants, accesso-
ries and cargo plus the trailer tongue
weight if towing a trailer).
GAWR – (Front and Rear) Maximum
permissible weight on an individual
axle.
Seating Capacity – Maximum number
of occupants the vehicle is designed to
carry.
NOTE:
Even though the number of occupants
is within the seating capacity, you still
must make sure that you do not Designated
seating
capacity,
number of
occupantsVehicle
normal
load,
number of
occupantsOccupant
distribution
in a
normally
loaded
vehicle
2 through 4 2 2 in front
5 through 10 3 2 in front,
1 in sec-
ond seat
Fuses: 7
Page 283 of 337
7-34
INSPECTION AND MAINTENANCE
79K21-03E
exceed the total load capacity of the
vehicle.
Total Load Capacity – Maximum per-
missible weight a vehicle can carry
including the weight of all the occu-
pants, accessories, cargo, plus trailer
tongue weight (if towing a trailer).
The weight of any accessories already
installed on your vehicle at the time of
purchase, or that you or the dealer
install after purchase, must be sub-
tracted from the total load capacity to
determine how much capacity remains
available for occupants, cargo, and
trailer tongue weight (if towing a
trailer). Contact your dealer for further
information.
Actual weight of the loaded vehicle
and actual loads at the front and rear
axles can only be determined by
weighing the vehicle using a vehicle
scale. To measure the weight and
load, try making your vehicle to a high-
way weighing station, shipping com-
pany or inspection station for trucks,
etc. Compare these weights to the
GVWR and GAWR (front and rear)
listed on the Safety Certification Label.
If the gross vehicle weight or the load
on either axle exceeds these ratings,
you must remove enough weight tobring the load down to the rated
capacity.
Steps for Determining Correct Load
Limit
1) Locate the statement “The com-
bined weight of occupants and
cargo should never exceed XXX kg
or XXX lbs” on your vehicle’s plac-
ard.
2) Determine the combined weight of
the driver and passengers that will
be riding in your vehicle.
3) Subtract the combined weight of
the driver and passengers from
XXX kg or XXX lbs.
4) The resulting figure equals the
available amount of cargo and lug-
gage load capacity. For example, if
the “XXX” amount equals 1400 lbs
and there will be five 150 lb passen-
WARNING
Never overload your vehicle.
Overloading your vehicle can
cause damage to your tires and
lead to poor steering and braking
which can result in an accident.
The gross vehicle weight (sum of
the weights of the loaded vehicle,
driver and passengers) must
never exceed the Gross Vehicle
Weight Rating (GVWR) listed on
the Safety Certification Label. In
addition, never distribute a load
so that the weight on either the
front or rear axle exceeds the
Gross Axle Weight Rating
(GAWR) listed on the Safety Certi-
fication Label.
WARNING
Always distribute cargo evenly.
To avoid personal injury or
damage to your vehicle, always
secure cargo to prevent it from
shifting if the vehicle moves
suddenly.
Place heavier objects on the
floor and as far forward in the
cargo area as possible. Never
pile cargo higher than the top of
the seatbacks.
Fuses: 7
Page 303 of 337
8-4
EMERGENCY SERVICE
79K21-03E
NOTE:
Remove the full wheel cover from the bot-
tom part to the upper part. Otherwise, the
claws may be broken.
(Half cover type)
78K060
NOTE:
If your vehicle is equipped with the half
cover, remove the center bolt (4), then
remove the outer cover (5) of the spare
wheel half cover.
78K153
5) Pull out the lock cover (B) fitted on the
lock nut of the spare wheel while insert-
ing the key full into the key hole of the
lock cover (B).
6) Remove the lock nut and wheel nuts of
the spare wheel, then remove the spare
wheel with both hands.
To change the wheel:
1) Loosen, but do not remove the wheel
nuts.
2) Jack up the vehicle (follow the jacking
instructions in this section)
3) Remove the wheel nuts and wheel.
4) Before installing the new wheel, clean
any mud or dirt off from the surface of
the wheel and hub with a clean cloth.
Clean the hub carefully; it may be hot
from driving.
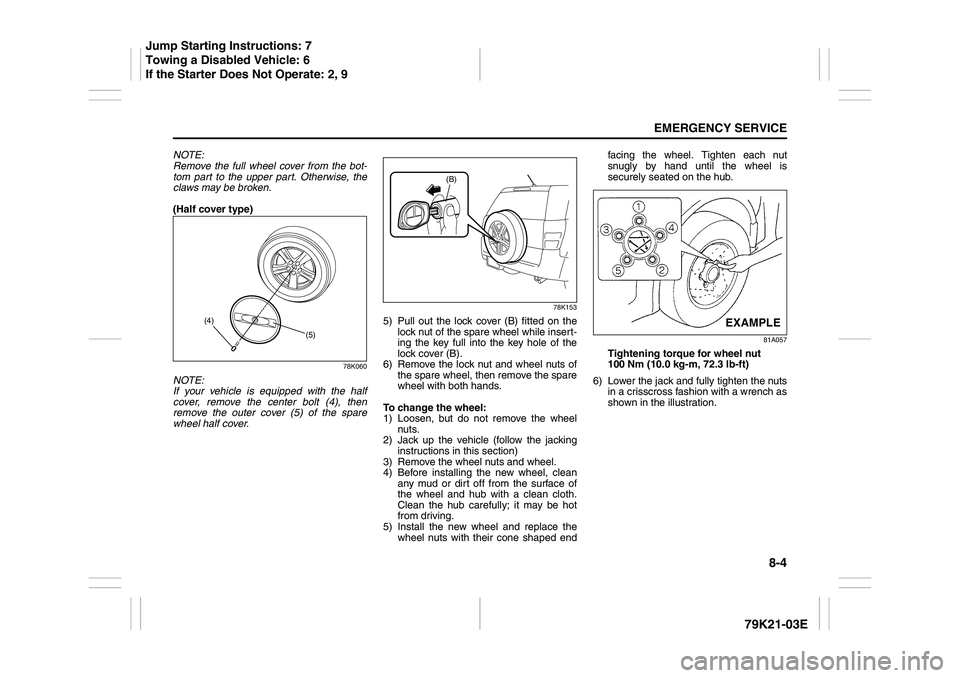
5) Install the new wheel and replace the
wheel nuts with their cone shaped endfacing the wheel. Tighten each nut
snugly by hand until the wheel is
securely seated on the hub.
81A057
Tightening torque for wheel nut
100 Nm (10.0 kg-m, 72.3 lb-ft)
6) Lower the jack and fully tighten the nuts
in a crisscross fashion with a wrench as
shown in the illustration.
(5) (4)
(B)
EXAMPLE
Jump Starting Instructions: 7
Towing a Disabled Vehicle: 6
If the Starter Does Not Operate: 2, 9
Page 314 of 337
9-3APPEARANCE CARE
79K21-03E
Vehicle Cleaning
76G044S
Cleaning InteriorVinyl upholstery
Prepare a solution of soap or mild deter-
gent mixed with warm water. Apply the
solution to the vinyl with a sponge or soft
cloth and let it soak for a few minutes to
loosen dirt. Rub the surface with a clean,damp cloth to remove dirt and the soap
solution. If some dirt still remains on the
surface, repeat this procedure.
Fabric upholstery
Remove loose dirt with a vacuum cleaner.
Using a mild soap solution, rub stained
areas with a clean damp cloth. To remove
soap, rub the areas again with a cloth
dampened with water. Repeat this until the
stain is removed, or use a commercial fab-
ric cleaner for tougher stains. If you use a
fabric cleaner, carefully follow the manu-
facturer’s instructions and precautions.
Leather upholstery
Remove loose dirt with a vacuum cleaner.
Using a mild soap or saddle soap solution,
wipe dirt off with a clean damp soft cloth.
To remove soap, wipe the areas again with
a soft cloth dampened with water. Wipe the
areas dry with a soft dry cloth. Repeat this
until the dirt or stain is removed, or use a
commercial leather cleaner for tougher dirt
or stains. If you use a leather cleaner, care-
fully follow the manufacture’s instructions
and precautions. Do not use solvent type
cleaners or abrasive cleaners.
Seat belts
Clean seat belts with a mild soap and
water. Do not use bleach or dye on the
belts. They may weaken the fabric in the
belts.Vinyl floor mats
Ordinary dirt can be removed from vinyl
with water or mild soap. Use a brush to
help loosen dirt. After dirt is loosened,
rinse the mat thoroughly with water and
dry it in the shade.
Carpets
Remove dirt and soil as much as possible
with a vacuum cleaner. Using a mild soap
solution, rub stained areas with a clean
damp cloth. To remove soap, rub the areas
again with a cloth dampened with water.
Repeat this until the stain is removed, or
use a commercial carpet cleaner for
tougher stains. If you use a carpet cleaner,
carefully follow the manufacturer’s instruc-
tions and precautions.
Instrument panel and console
NOTE:
Wipe up spills containing chemicals, alco-
hol, etc., immediately with a soft, damp
cloth. Use a mild soap solution if neces-
sary. Do not use cleaners or polishes con-
taining strong solvents or acidic solutions.
These chemicals may stain and discolor
the instrument panel and console.
WARNING
When cleaning the interior or exterior
of the vehicle, NEVER USE flammable
solvents such lacquer thinners, gas-
oline, benzene or cleaning materials
such as bleaches and strong house-
hold detergents. The materials could
cause personal injury or damage to
the vehicle.
Vehicle Cleaning: 5