brake SUZUKI IGNIS 2017 User Guide
[x] Cancel search | Manufacturer: SUZUKI, Model Year: 2017, Model line: IGNIS, Model: SUZUKI IGNIS 2017Pages: 505, PDF Size: 8.36 MB
Page 125 of 505
2-102
BEFORE DRIVING
75RM4-01E
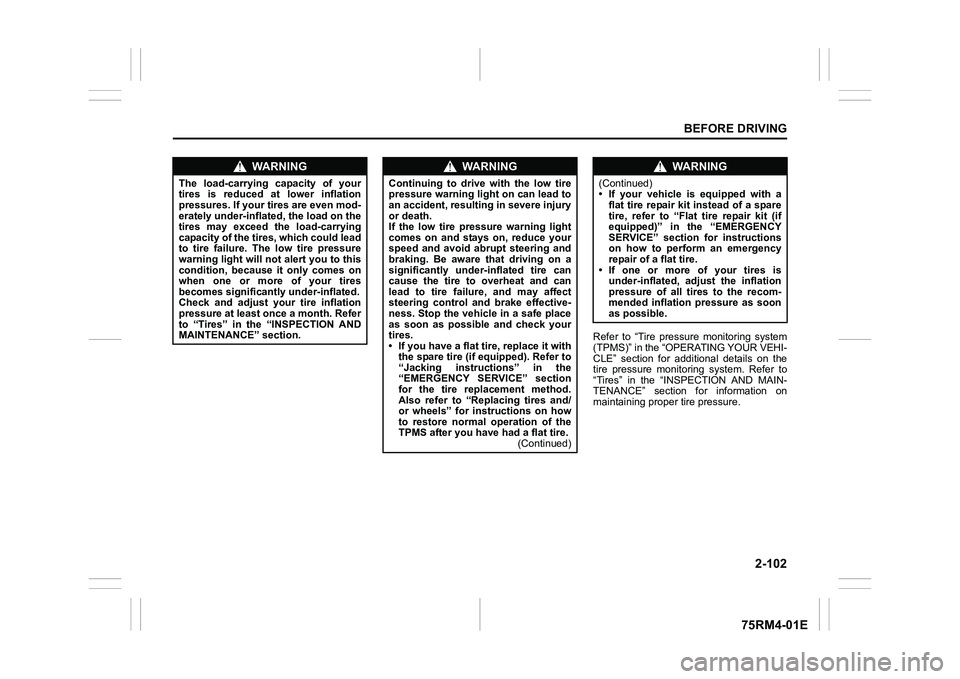
Refer to “Tire pressure monitoring system
(TPMS)” in the “OPERATING YOUR VEHI-
CLE” section for additional details on the
tire pressure monitoring system. Refer to
“Tires” in the “INSPECTION AND MAIN-
TENANCE” section for information on
maintaining proper tire pressure.
WA R N I N G
The load-carrying capacity of your
tires is reduced at lower inflation
pressures. If your tires are even mod-
erately under-inflated, the load on the
tires may exceed the load-carrying
capacity of the tires, which could lead
to tire failure. The low tire pressure
warning light will not alert you to this
condition, because it only comes on
when one or more of your tires
becomes significan tly under-inflated.
Check and adjust your tire inflation
pressure at least once a month. Refer
to “Tires” in the “INSPECTION AND
MAINTENANCE” section.
WA R N I N G
Continuing to drive with the low tire
pressure warning light on can lead to
an accident, resulting in severe injury
or death.
If the low tire pressure warning light
comes on and stays on, reduce your
speed and avoid abrupt steering and
braking. Be aware that driving on a
significantly unde r-inflated tire can
cause the tire to overheat and can
lead to tire failure, and may affect
steering control and brake effective-
ness. Stop the vehicle in a safe place
as soon as possible and check your
tires.
• If you have a flat tire, replace it with
the spare tire (if e quipped). Refer to
“Jacking instructions” in the
“EMERGENCY SERVICE” section
for the tire replacement method.
Also refer to “Replacing tires and/
or wheels” for instructions on how
to restore normal operation of the
TPMS after you have had a flat tire. (Continued)
WA R N I N G
(Continued)
• If your vehicle is equipped with a
flat tire repair kit instead of a spare
tire, refer to “Flat tire repair kit (if
equipped)” in the “EMERGENCY
SERVICE” section for instructions
on how to perform an emergency
repair of a flat tire.
• If one or more of your tires is under-inflated, adjust the inflation
pressure of all tires to the recom-
mended inflation pressure as soon
as possible.
Page 126 of 505
2-103BEFORE DRIVING
75RM4-01E
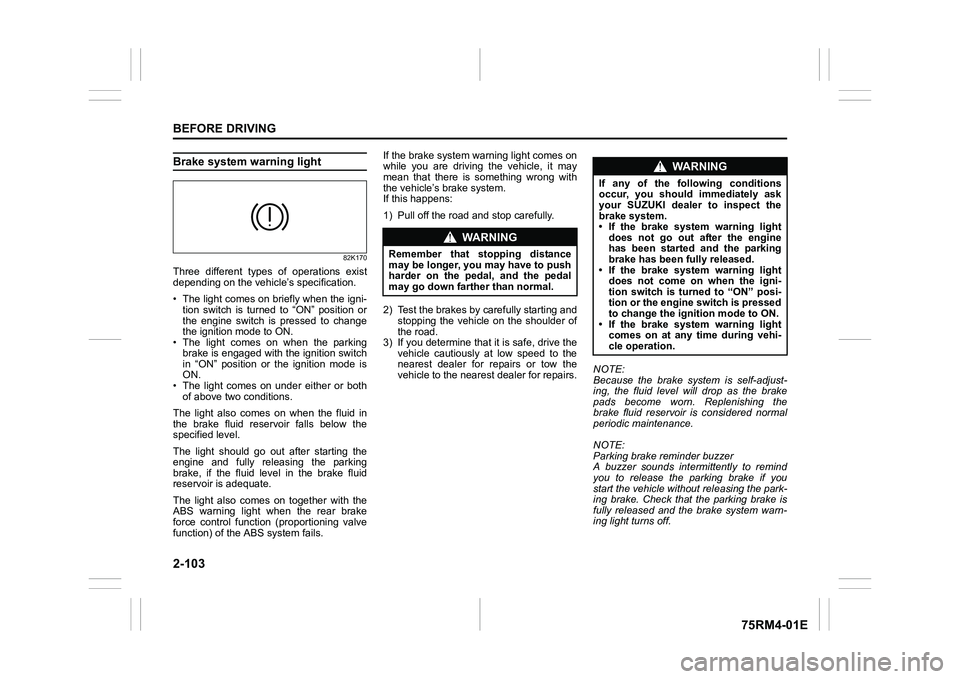
Brake system warning light
82K170
Three different types of operations exist
depending on the vehicle’s specification.
• The light comes on briefly when the igni- tion switch is turned to “ON” position or
the engine switch is pressed to change
the ignition mode to ON.
• The light comes on when the parking
brake is engaged with the ignition switch
in “ON” position or the ignition mode is
ON.
• The light comes on under either or both of above two conditions.
The light also comes on when the fluid in
the brake fluid reservoir falls below the
specified level.
The light should go out after starting the
engine and fully releasing the parking
brake, if the fluid level in the brake fluid
reservoir is adequate.
The light also comes on together with the
ABS warning light when the rear brake
force control function (proportioning valve
function) of the ABS system fails. If the brake system warning light comes on
while you are driving the vehicle, it may
mean that there is something wrong with
the vehicle’s brake system.
If this happens:
1) Pull off the road and stop carefully.
2) Test the brakes by carefully starting and
stopping the vehicle on the shoulder of
the road.
3) If you determine that it is safe, drive the
vehicle cautiously at low speed to the
nearest dealer for repairs or tow the
vehicle to the nearest dealer for repairs. NOTE:
Because the brake system is self-adjust-
ing, the fluid level will drop as the brake
pads become worn. Replenishing the
brake fluid reservoir is considered normal
periodic maintenance.
NOTE:
Parking brake reminder buzzer
A buzzer sounds intermittently to remind
you to release the parking brake if you
start the vehicle without releasing the park-
ing brake. Check that the parking brake is
fully released and the brake system warn-
ing light turns off.
WA R N I N G
Remember that stopping distance
may be longer, you may have to push
harder on the pedal, and the pedal
may go down farther than normal.
WA R N I N G
If any of the following conditions
occur, you should immediately ask
your SUZUKI dealer to inspect the
brake system.
• If the brake system warning light
does not go out after the engine
has been started and the parking
brake has been fully released.
• If the brake system warning light does not come on when the igni-
tion switch is turned to “ON” posi-
tion or the engine switch is pressed
to change the ignition mode to ON.
• If the brake system warning light comes on at any time during vehi-
cle operation.
Page 127 of 505
2-104
BEFORE DRIVING
75RM4-01E
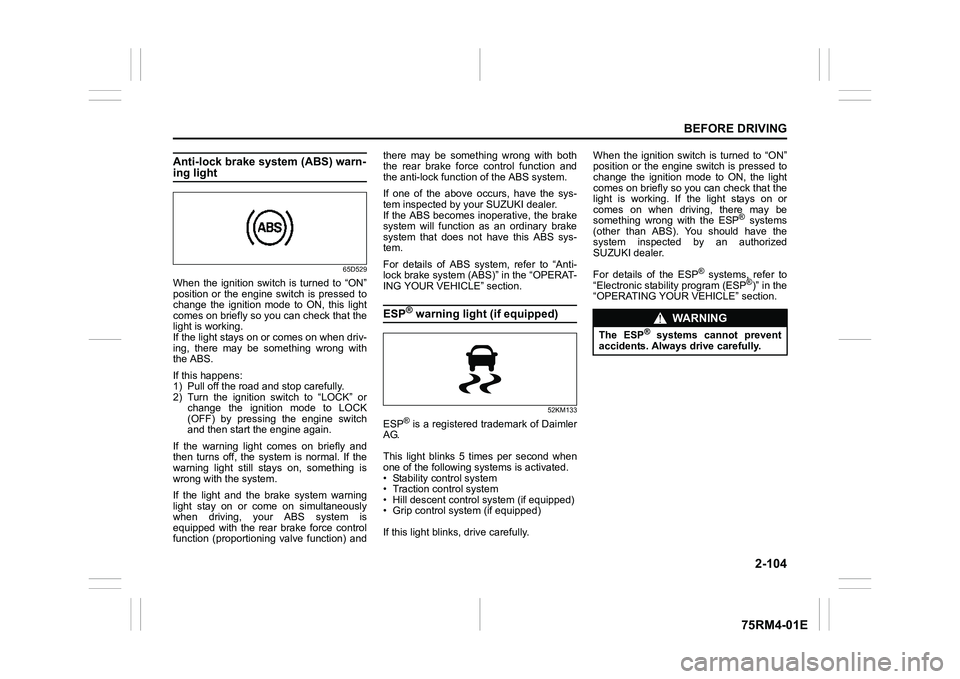
Anti-lock brake system (ABS) warn-ing light
65D529
When the ignition switch is turned to “ON”
position or the engine switch is pressed to
change the ignition mode to ON, this light
comes on briefly so you can check that the
light is working.
If the light stays on or comes on when driv-
ing, there may be something wrong with
the ABS.
If this happens:
1) Pull off the road and stop carefully.
2) Turn the ignition switch to “LOCK” orchange the ignition mode to LOCK
(OFF) by pressing the engine switch
and then start the engine again.
If the warning light comes on briefly and
then turns off, the system is normal. If the
warning light still stays on, something is
wrong with the system.
If the light and the brake system warning
light stay on or come on simultaneously
when driving, your ABS system is
equipped with the rear brake force control
function (proportioning valve function) and there may be something wrong with both
the rear brake force control function and
the anti-lock functi
on of the ABS system.
If one of the above occurs, have the sys-
tem inspected by your SUZUKI dealer.
If the ABS becomes inope rative, the brake
system will function as an ordinary brake
system that does not have this ABS sys-
tem.
For details of ABS system, refer to “Anti-
lock brake system (ABS)” in the “OPERAT-
ING YOUR VEHICLE” section.
ESP
® warning light (if equipped)
52KM133
ESP
® is a registered trademark of Daimler
AG.
This light blinks 5 times per second when
one of the following sy stems is activated.
• Stability control system
• Traction control system
• Hill descent control system (if equipped)
• Grip control system (if equipped)
If this light blinks, drive carefully. When the ignition switch is turned to “ON”
position or the engine switch is pressed to
change the ignition mode to ON, the light
comes on briefly so you can check that the
light is working. If the light stays on or
comes on when driving, there may be
something wrong with the ESP
® systems
(other than ABS). You should have the
system inspected by an authorized
SUZUKI dealer.
For details of the ESP
® systems, refer to
“Electronic stability program (ESP
®)” in the
“OPERATING YOUR VEHICLE” section.
WA R N I N G
The ESP
® systems cannot prevent
accidents. Always drive carefully.
Page 133 of 505

2-110
BEFORE DRIVING
75RM4-01E
Dual camera brake support indica-tor light (if equipped)
54P000255
When the ignition switch is turned to “ON”
position or the engine switch is pressed to
change the ignition mode to ON, this light
comes on briefly so you can check that the
light is working.
When the dual camera brake support is
activated, this light blinks rapidly.
If this light comes on, there is a problem
with the dual camera brake support. Bring
the vehicle to your SUZUKI dealer to have
the problem corrected.
For details, refer to “Dual camera brake
support” in the “OPERATING YOUR VEHI-
CLE” section.
Dual camera brake support OFF indicator light (if equipped)
62R0316
When the ignition switch is turned to “ON”
position or the engine switch is pressed to
change the ignition mode to ON, this light
comes on briefly so you can check that the
light is working.When the dual camera brake support OFF
switch is pushed to turn off the dual camera
brake support, this light comes on.
For details, refer to “Dual camera brake sup-
port” in the “OPERATING YOUR VEHICLE”
section.
Lane departure warning indicator light (if equipped)
81M31080
When the ignition switch is turned to “ON”
position or the engine switch is pressed to
change the ignition mode to ON, this light
comes on briefly so you can check that the
light is working.
When the lane departure warning is acti-
vated, this light blinks.
If this light comes on, there is a problem with
the dual camera brake support. Bring the
vehicle to your SUZUKI dealer to have the
problem corrected.
For details, refer to “Dual camera brake sup-
port” in the “OPERATING YOUR VEHICLE”
section.
Page 134 of 505
2-111BEFORE DRIVING
75RM4-01E
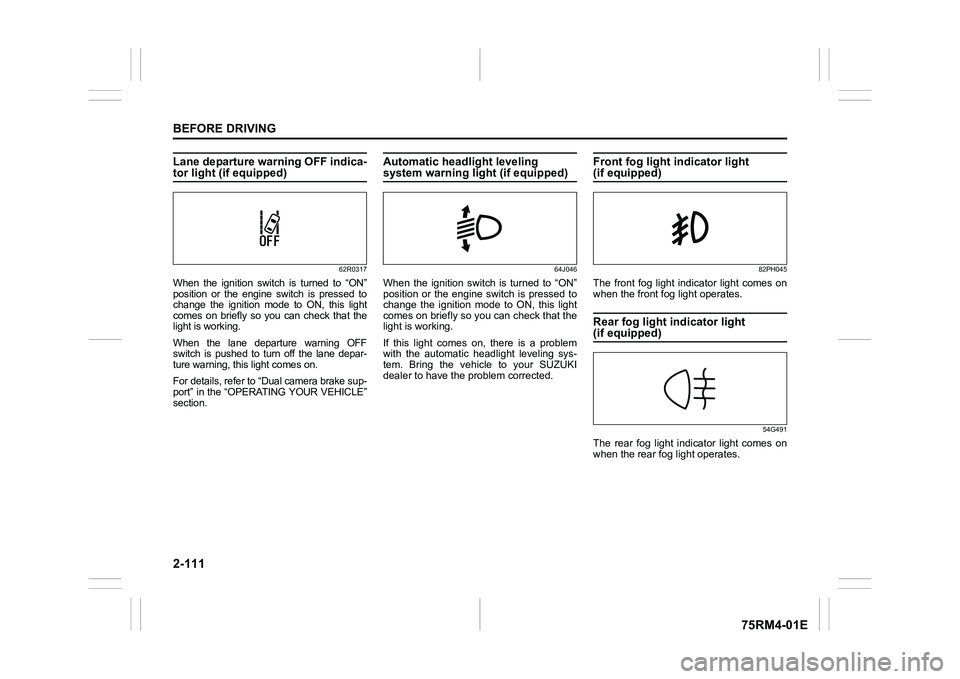
Lane departure warning OFF indica-tor light (if equipped)
62R0317
When the ignition switch is turned to “ON”
position or the engine switch is pressed to
change the ignition mode to ON, this light
comes on briefly so you can check that the
light is working.
When the lane departure warning OFF
switch is pushed to turn off the lane depar-
ture warning, this light comes on.
For details, refer to “Dual camera brake sup-
port” in the “OPERATING YOUR VEHICLE”
section.
Automatic headlight leveling system warning light (if equipped)
64J046
When the ignition switch is turned to “ON”
position or the engine switch is pressed to
change the ignition mode to ON, this light
comes on briefly so you can check that the
light is working.
If this light comes on, there is a problem
with the automatic headlight leveling sys-
tem. Bring the vehicle to your SUZUKI
dealer to have the problem corrected.
Front fog light indicator light (if equipped)
82PH045
The front fog light indicator light comes on
when the front fog light operates.Rear fog light indicator light (if equipped)
54G491
The rear fog light indicator light comes on
when the rear fog light operates.
Page 138 of 505
2-115BEFORE DRIVING
75RM4-01E
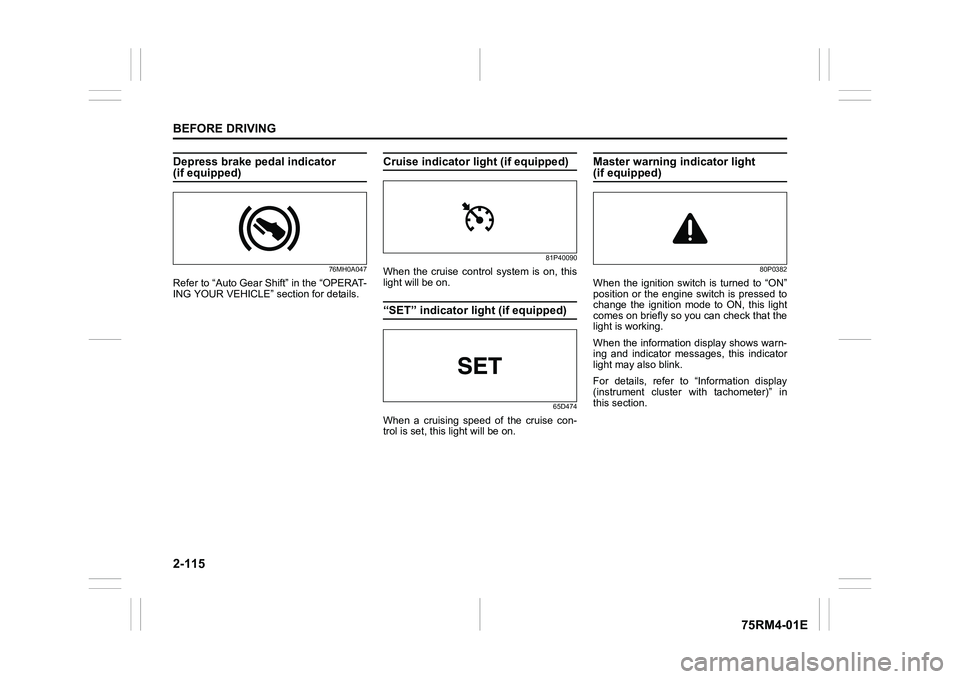
Depress brake pedal indicator (if equipped)
76MH0A047
Refer to “Auto Gear Shift” in the “OPERAT-
ING YOUR VEHICLE” section for details.
Cruise indicator light (if equipped)
81P40090
When the cruise control system is on, this
light will be on.“SET” indicator light (if equipped)
65D474
When a cruising speed of the cruise con-
trol is set, this light will be on.
Master warning indicator light (if equipped)
80P0382
When the ignition switch is turned to “ON”
position or the engine switch is pressed to
change the ignition mode to ON, this light
comes on briefly so you can check that the
light is working.
When the information display shows warn-
ing and indicator messages, this indicator
light may also blink.
For details, refer to “Information display
(instrument cluster with tachometer)” in
this section.
Page 139 of 505
2-116
BEFORE DRIVING
75RM4-01E
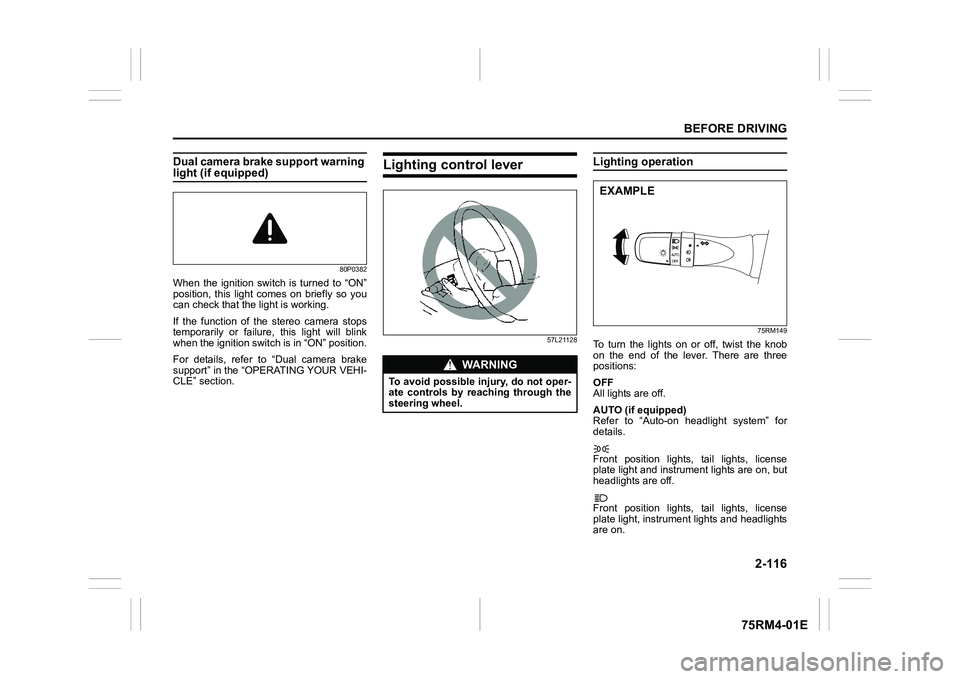
Dual camera brake support warning light (if equipped)
80P0382
When the ignition switch is turned to “ON”
position, this light comes on briefly so you
can check that the light is working.
If the function of the stereo camera stops
temporarily or failure, this light will blink
when the ignition switch is in “ON” position.
For details, refer to “Dual camera brake
support” in the “OPERATING YOUR VEHI-
CLE” section.
Lighting control lever
57L21128
Lighting operation
75RM149
To turn the lights on or off, twist the knob
on the end of the lever. There are three
positions:
OFF
All lights are off.
AUTO (if equipped)
Refer to “Auto-on headlight system” for
details.
Front position lights, tail lights, license
plate light and instrument lights are on, but
headlights are off.
Front position lights, tail lights, license
plate light, instrument lights and headlights
are on.
WA R N I N G
To avoid possible injury, do not oper-
ate controls by reaching through the
steering wheel.
EXAMPLE
Page 153 of 505
OPERATING YOUR VEHICLE
3
75RM4-01E
60G408
OPERATING YOUR VEHICLEExhaust gas warning .......................................................... 3-1
Daily inspection checklist .................................... .............. 3-1
Engine oil consumption ........................................ ............. 3-2
Ignition switch
(vehicle without keyless push s tart system) ....................3-3
Engine switch
(vehicle with keyless push sta rt system) .......................... 3-5
Keyless push start system (if equipped) .......................... 3-6
Parking brake lever ........................................... .................. 3-10
Pedal ......................................................... ............................ 3-12
Starting engine
(vehicle without keyless push s tart system) ....................3-13
Starting engine
(vehicle with keyless push sta rt system) .......................... 3-14
Using transaxle ... ....................... ......................................... 3-17
Gearshift indicator (if equipped) ............................. ........... 3-33
ENG A-STOP system
(engine auto stop start system) (if equipped) ................. .3-35
Cruise control (if equipped) ............................................... 3-48
Speed limiter (if equipped) ................................... .............. 3-51
Dual camera brake support (if equipped) ......................... 3-53
Emergency stop signal (ESS) (if equipped) ......................3-71
Rearview camera (if equipped) ................................. ......... 3-72
Braking ....................................................... .......................... 3-75
Electronic stabi lity program (ESP
®) (if equipped) ........... 3-78
Tire pressure monito ring system (TPMS) (i f equipped) .. 3-85
Page 155 of 505
3-2
OPERATING YOUR VEHICLE
75RM4-01E
NOTE:
It is normal for water to drip from the air
conditioning system after use.
4) Check that the hood is fully closed andlatched.
5) Check the headlights, turn signal lights, brake lights and horn for proper opera-
tion.
6) Adjust the seat and head restraint.
7) Check the brake pedal and the parking brake lever.
8) Adjust the mirrors.
9) Check that you and all passengers have properly fastened your seat belts.
10)Check that all warning lights come on as the ignition switch is turned to “ON”
position or the engine switch is pressed
to change the ignition mode to ON.
11)Check all gauges.
12)Check that the brake system warning light turns off when the parking brake is
released.
Once a week, or each time you fill your fuel
tank, perform the following under-hood
checks:
1) Engine oil level
2) Coolant level
3) Brake fluid level
4) Lead-acid battery solution level
5) Windshield washer fluid level
6) Hood latch operation Pull the hood release handle inside the
vehicle. Check that you cannot open the hood all the way without releasing
the secondary latch. Close the hood
securely after checking for proper latch
operation. See the item “All latches,
hinges and locks” of “Chassis, body
and others” in “Maintenance schedule”
in the “INSPECTION AND MAINTE-
NANCE” section for lubrication sched-
ule.
Once a month, or each time you fill your
fuel tank, check the tire pressure using a
tire pressure gauge. Also check the tire
pressure of the spare tire.
Engine oil consumptionIt is normal for the engine to consume
some engine oil during normal vehicle
operation.
The amount of engine oil consumption
depends on viscosity and quality of the oil
and your driving conditions.
More oil is consumed during high-speed
driving and when there is frequent acceler-
ation and deceleration. Under high loads,
your engine also will consume more oil.
A new engine also consumes more oil,
since its pistons, piston rings and cylinder
walls have not yet become conditioned.
New engines reach the normal level of oil
consumption only after approximately
5000 km (3000 miles) driving.
Oil consumption:
Max. 1.0 L per 1000 km
(1 Qt. per 600 miles)
When judging the amount of oil consump-
tion, note that the oil may become diluted
and it is difficult to judge the accurate oil
level.
As an example, if a vehicle is used for
repeated short trips, and consumes a nor-
mal amount of oil, the dipstick may not
show any drop in the oil level at all, even
after 1000 km (600 miles) or more of driv-
ing. This is because the oil gradually
becomes diluted with fuel or moisture,
WA R N I N G
Check that the hood is fully closed
and latched before d riving. If it is not,
it can fly up unexpectedly during
driving, obstructing your view and
resulting in an accident.
Page 158 of 505
3-5OPERATING YOUR VEHICLE
75RM4-01E
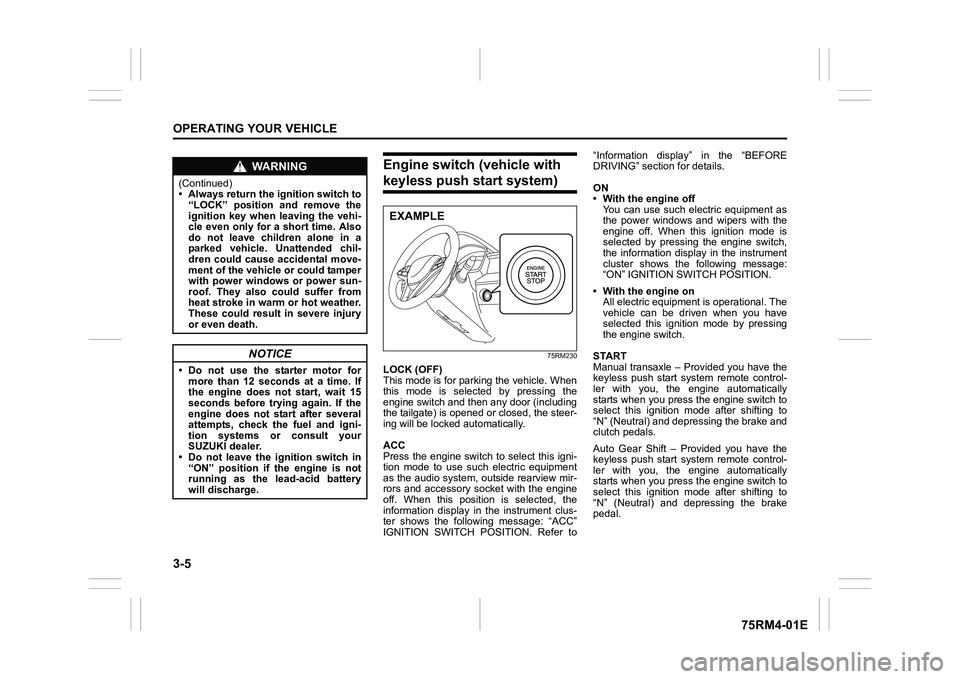
Engine switch (vehicle with keyless push start system)
75RM230
LOCK (OFF)
This mode is for parking the vehicle. When
this mode is selected by pressing the
engine switch and then any door (including
the tailgate) is opened or closed, the steer-
ing will be locked automatically.
ACC
Press the engine switch to select this igni-
tion mode to use such electric equipment
as the audio system, outside rearview mir-
rors and accessory socket with the engine
off. When this position is selected, the
information display in the instrument clus-
ter shows the following message: “ACC”
IGNITION SWITCH POSITION. Refer to“Information display” in the “BEFORE
DRIVING” section for details.
ON
• With the engine off
You can use such electric equipment as
the power windows and wipers with the
engine off. When this ignition mode is
selected by pressing the engine switch,
the information display in the instrument
cluster shows the following message:
“ON” IGNITION SWITCH POSITION.
• With the engine on All electric equipment is operational. The
vehicle can be driven when you have
selected this ignition mode by pressing
the engine switch.
START
Manual transaxle – Provided you have the
keyless push start system remote control-
ler with you, the engine automatically
starts when you press the engine switch to
select this ignition mode after shifting to
“N” (Neutral) and depressing the brake and
clutch pedals.
Auto Gear Shift – Provided you have the
keyless push start system remote control-
ler with you, the engine automatically
starts when you press the engine switch to
select this ignition mode after shifting to
“N” (Neutral) and depressing the brake
pedal.
WA R N I N G
(Continued)
• Always return the ignition switch to “LOCK” position and remove the
ignition key when leaving the vehi-
cle even only for a short time. Also
do not leave children alone in a
parked vehicle. Unattended chil-
dren could cause accidental move-
ment of the vehicle or could tamper
with power windows or power sun-
roof. They also could suffer from
heat stroke in warm or hot weather.
These could result in severe injury
or even death.
NOTICE
• Do not use the starter motor formore than 12 seconds at a time. If
the engine does not start, wait 15
seconds before try ing again. If the
engine does not start after several
attempts, check the fuel and igni-
tion systems or consult your
SUZUKI dealer.
• Do not leave the ignition switch in
“ON” position if the engine is not
running as the lead-acid battery
will discharge.
EXAMPLE